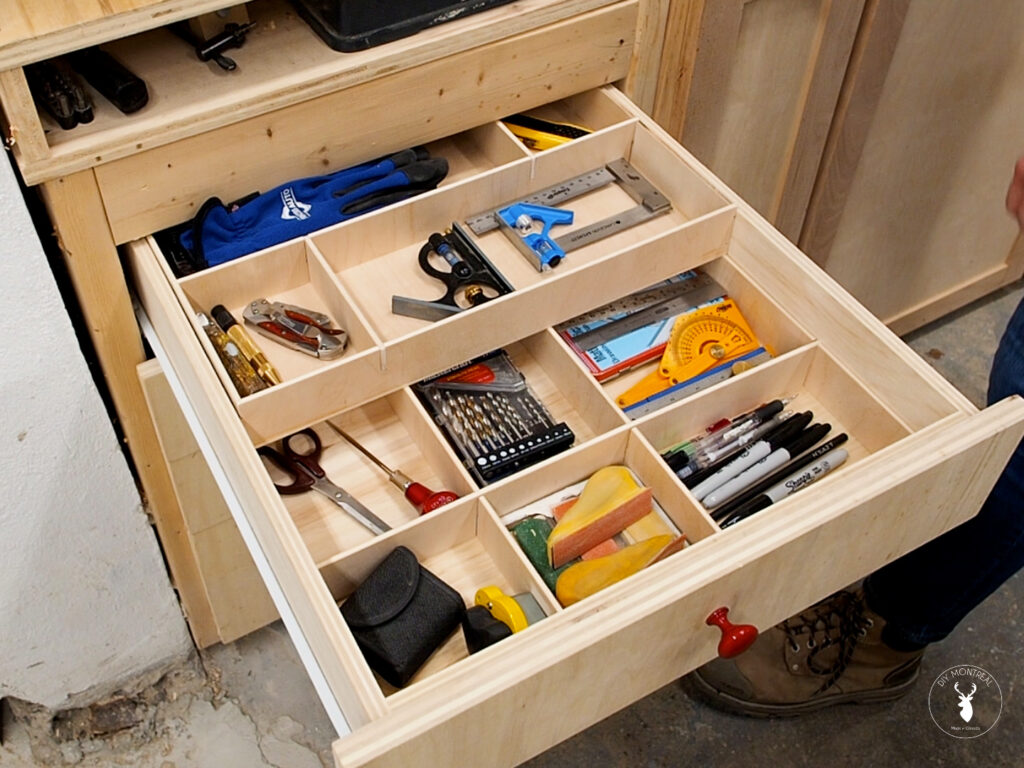
Get your drawers organized! In this workshop drawer organization tutorial, I’m making simple DIY drawer dividers with an upper level sliding tray for extra storage. Adding drawer organizers actually makes drawers bigger and you can easily find what you’re looking for.
If you’re interested in learning more on how I built these shop drawers and installed them using Euro slides, you can read the drawer making tutorial here.
How to Make Drawer Dividers with a Sliding Tray
We’ve all been there: you open up a drawer only to find this: a giant mess. Not only is it disorganized but there’s actually a lot of wasted vertical space. So today I’m getting organized and building these simple drawer dividers with an upper-level sliding tray for extra storage.
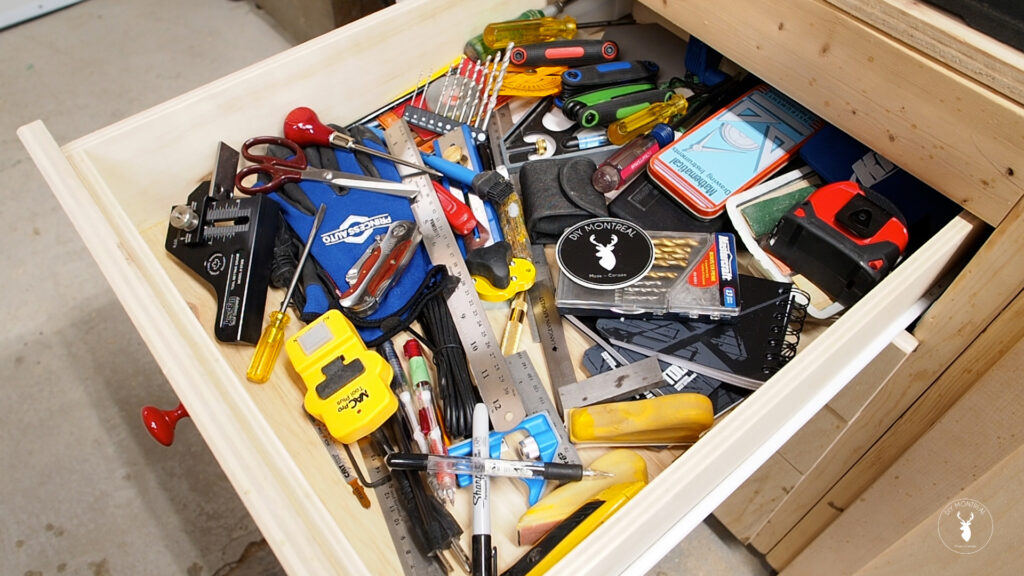
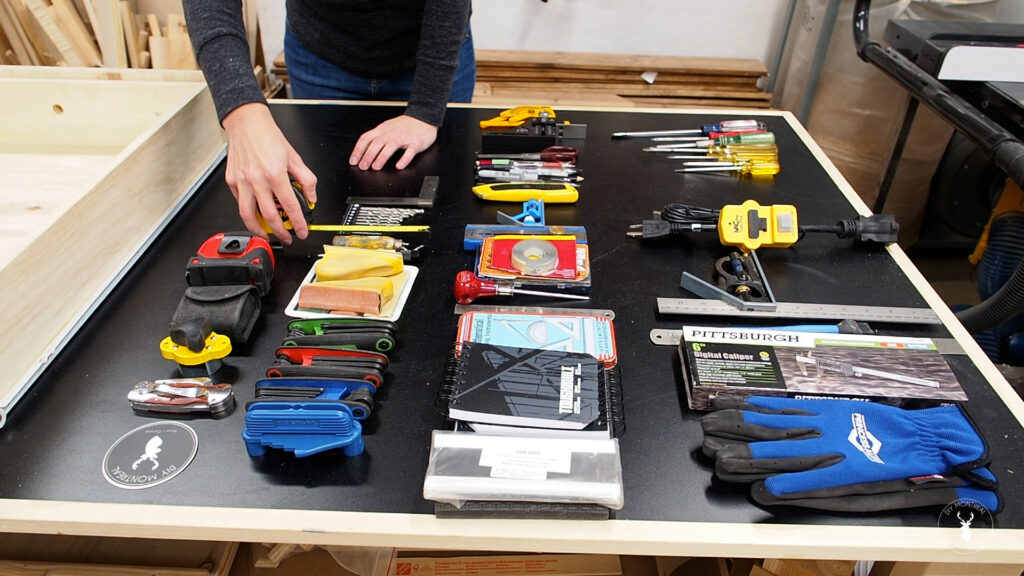
To start off. I’ll remove the drawer and empty it all out. I’ll lay everything out on my workbench and organize my items by size. While I’m not going to make custom cubbies for each item, this step helps me get a general idea of the size of the dividers I should make.
DIY Drawer Dividers
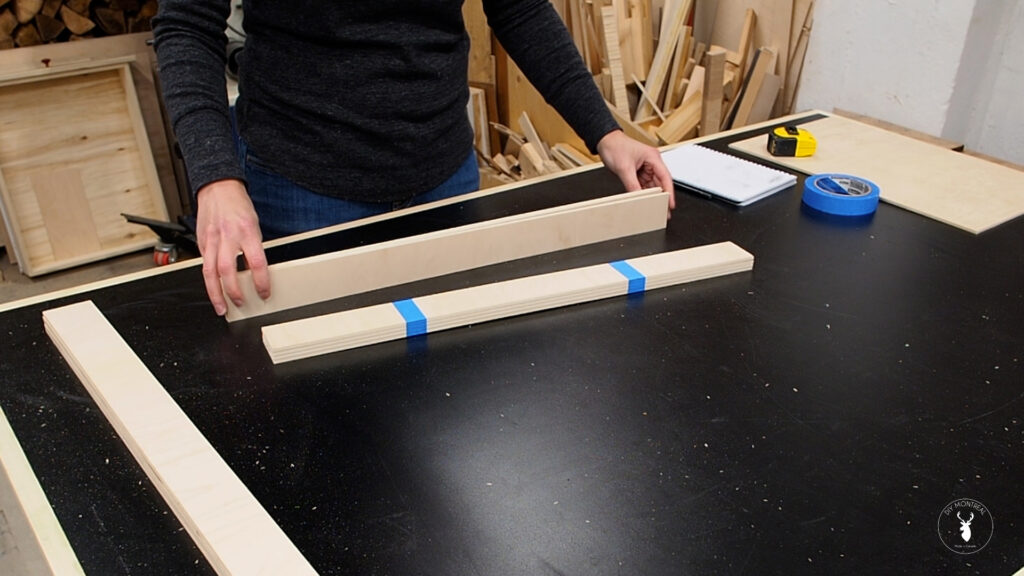
To maximize storage, I’m going to make two storage levels. As such, each level will be half the depth of the drawer. My drawer is only 4 inches deep, so I’m cutting up a bunch of 2 inch strips that I’ll use to make the dividers. I’m using quarter inch plywood because I have some on hand, but quarter inch MDF would work just as well.
I’ll need to cut notches into these strips so to make sure they are consistent. To do so, I’ll grab 4 strips and tape them together. These pieces will be parallel to the drawer sides. I’ll do the same with another 3 strips that will be perpendicular to the sides. With that done, I’ll measure the drawer length and width and cut the strips to length.
Next, I’ll measure and mark where I want to cut the notches, making sure to account for the thickness of the notches themselves. Afterwards I can come back with a scrap piece of the same plywood and mark out both sides of the notches. These really don’t have to be that precise, so I’m comfortable using this less-than-scientific method. If you want, you can even mark the top of the notches which should be just a hair more than half the width of the strip.
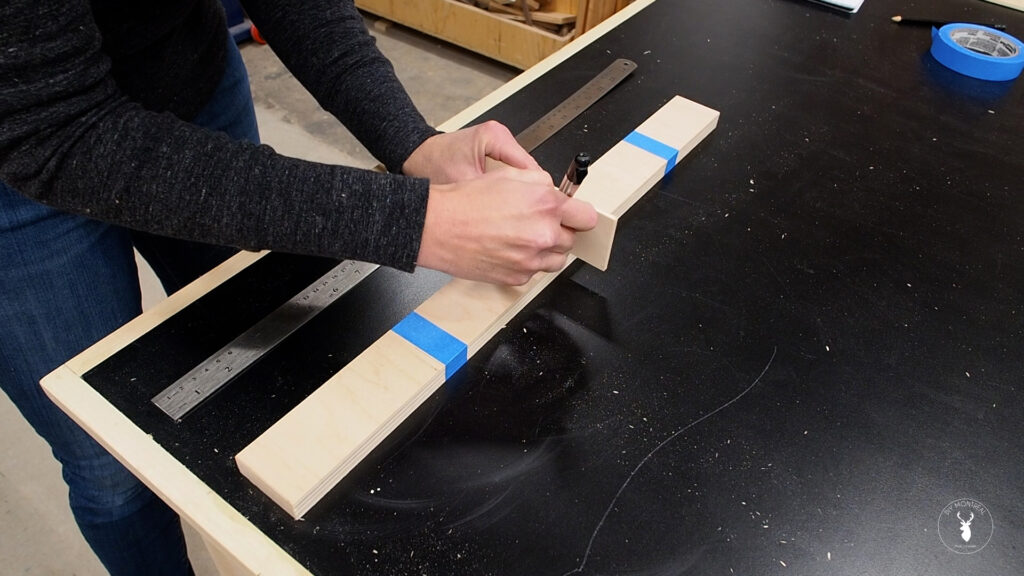
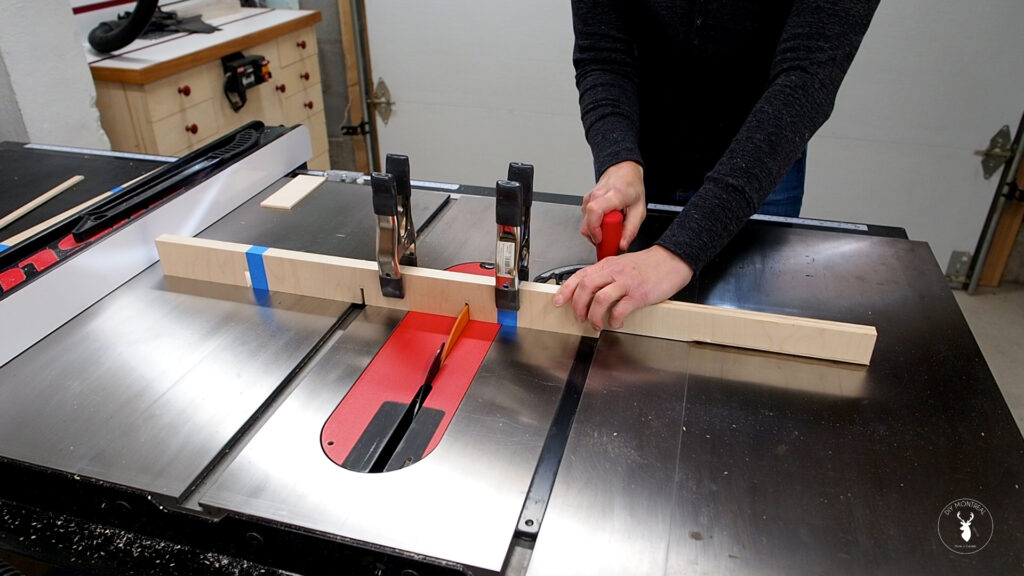
With all the notches marked out, I can head over to my table saw and set the blade height, again aiming for just a hair above the halfway mark, in my case just over 1 inch.
You can use a fancy aftermarket miter gauge (like my Jessem miter gauge) to cut the notches, or just attach a sacrificial fence to your saw’s miter gauge. This will help support the board and allow you to clamp the strips in place while you cut.
I’ll start by lining up the blade just inside the left marking and make the first cut. I can then move it over ever so slightly, and line it up inside the marking on the right, then make the cut. Then repeat this for every notch.
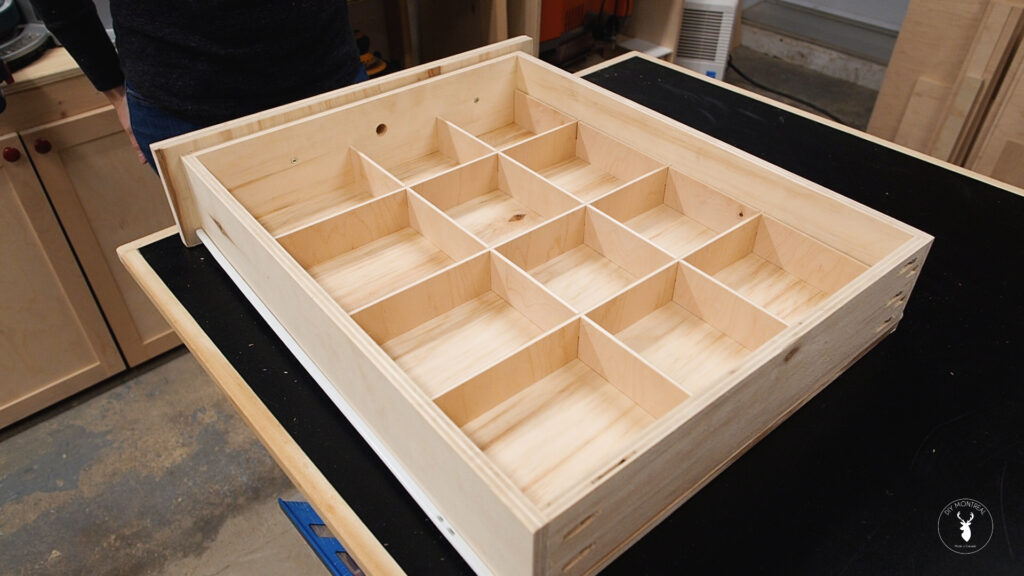
With all the notches cut, I can take the tape off and get these installed. I’m not going to glue or nail anything down, so these dividers will be completely removable if I change my mind or want to change the layout. Getting the first ones in is probably the hardest piece of the puzzle, but after that everything should drop into place fairly easily. Once the grid is installed, it’s really solid even without any fasteners.
DIY Drawer Organizer Tray
Next, I want to build an upper tray that will slide back and forth. I’ve cut the bottom piece just one eighth shy of the width of the drawer and half the depth of my drawer.
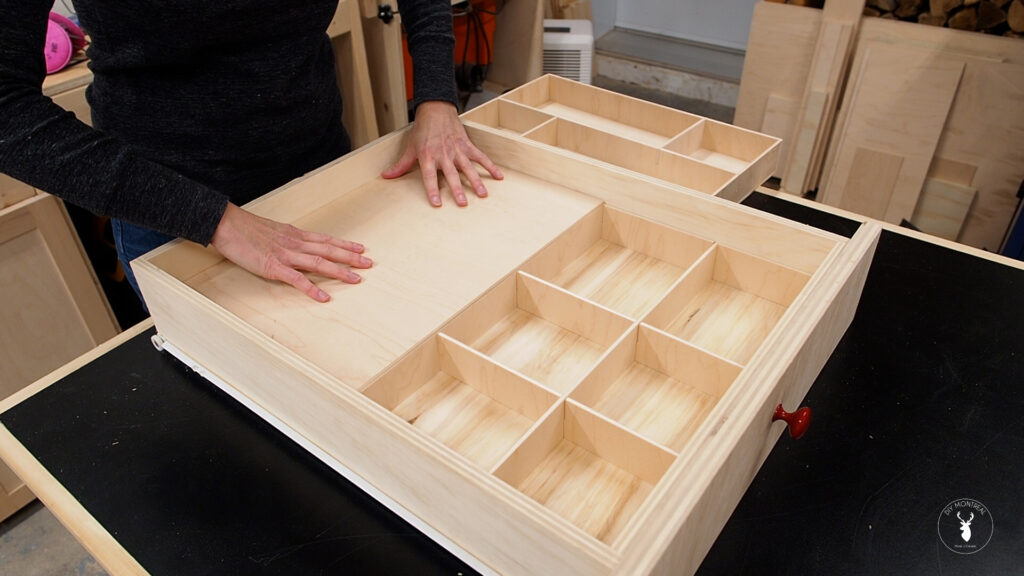
Just as before, I started by grouping and cutting all my parts to size. Then laid out the notches and made the cuts using my miter gauge. To assemble the tray I’ll use a little glue and some brad nails. The material is so thin which makes it a little challenging, so I’ll first secure the corners with tape, then drive the nails with my cordless nailer.
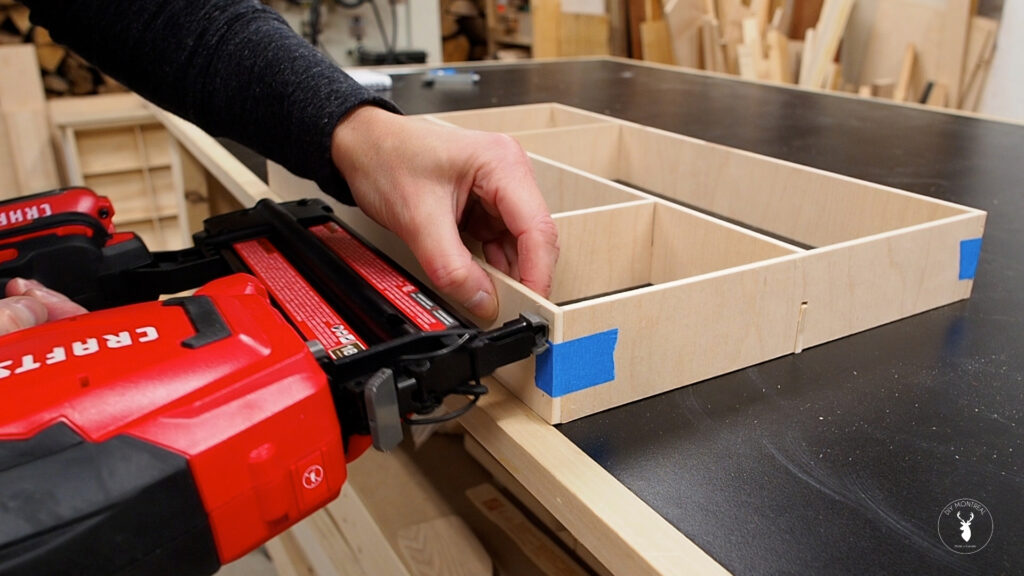
A little more glue, then drop on the bottom and attach it with some more short brads. With that done, I can drop in the tray and reinstall the drawer.
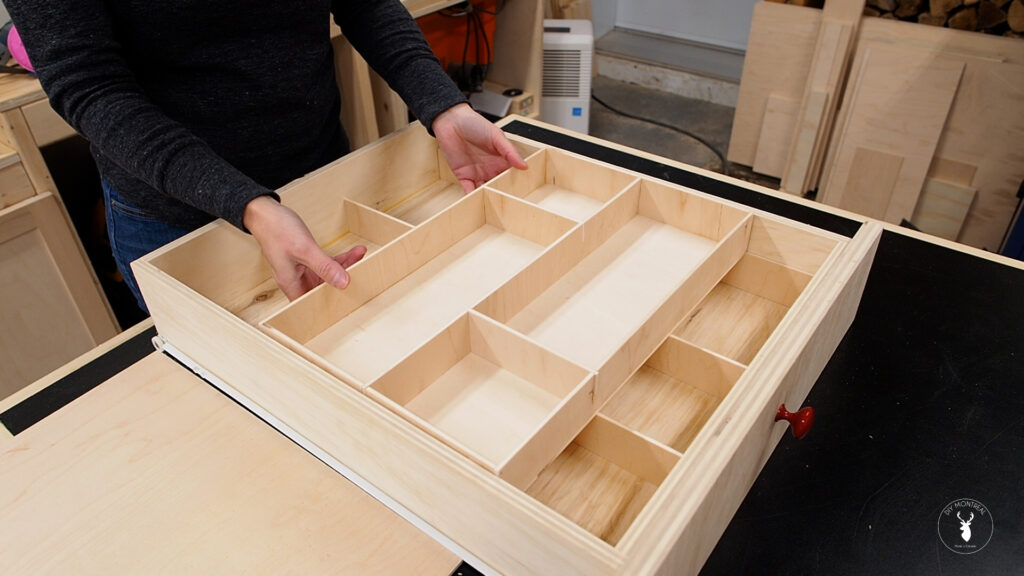
Time to load this drawer up! The funny thing is that even though the drawer has as much stuff in it as it had before, it seems much more spacious and I can easily see where everything is. And there’s even room left to add in a little more.
