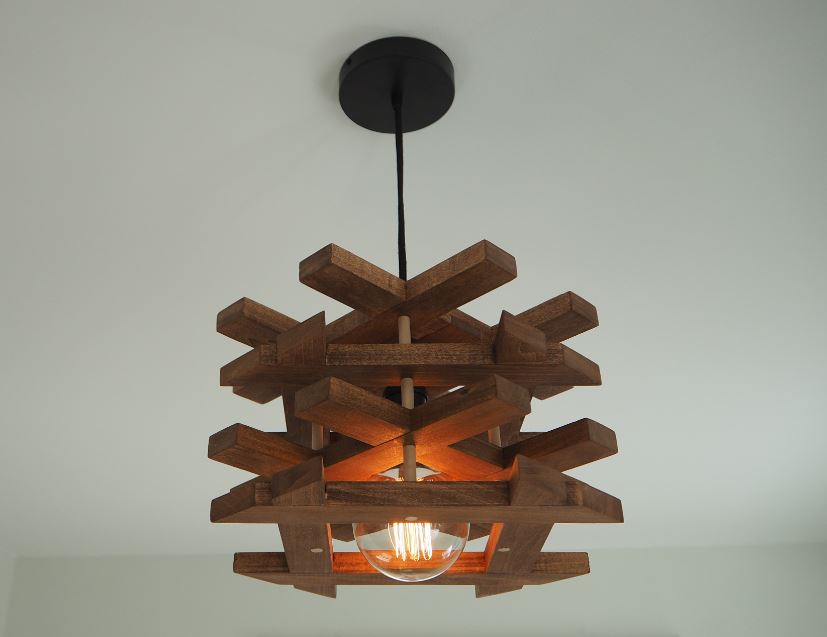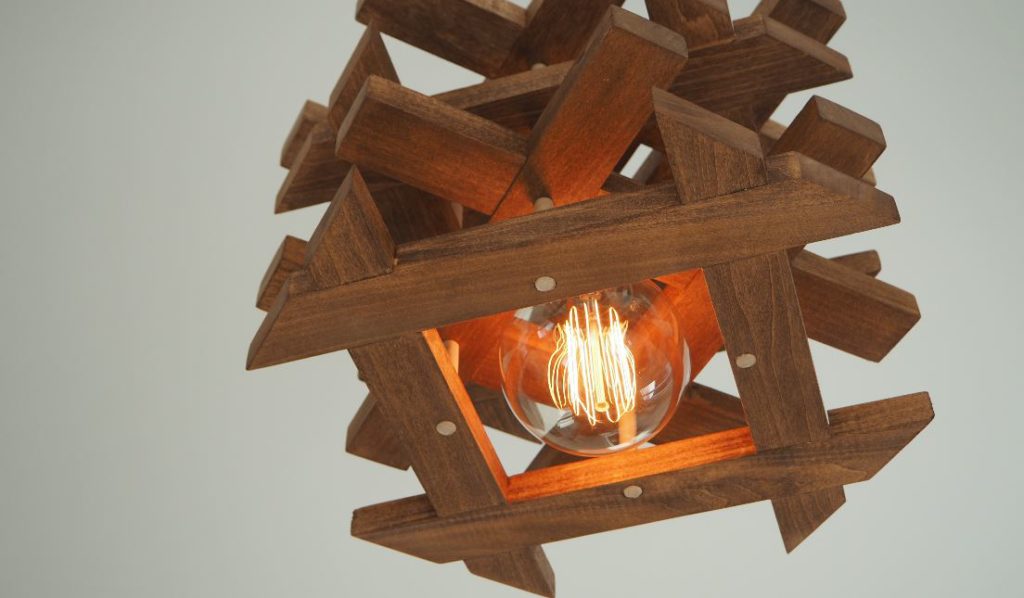
This DIY wood chandelier has a story, but I’ll spare you the details and just tell you this. I wanted to create a project that required several half lap joints to put my half lap joint method to the test. Well, let me tell you, if you want to practice woodworking joints, a homemade wooden pendant light made entirely from wood is the perfect project!
Click here to SUBSCRIBE to my YouTube channel for more DIY videos!
To make this chandelier, I used 1×2 poplar boards. Although they’re called 1 by 2s, they’re actually 3/4 by 1-1/2 inches. You can get these at any big box store.
MATERIALS
TOOLS
- Spring clamps
- Quick-grip clamp
- Glue brush
- Bench dogs
- Rubber mallet
- Flush cut saw
- Combination square
- Table saw (Home Depot)
- Miter saw (Home Depot)
- Drill press
DIY Wood Chandelier
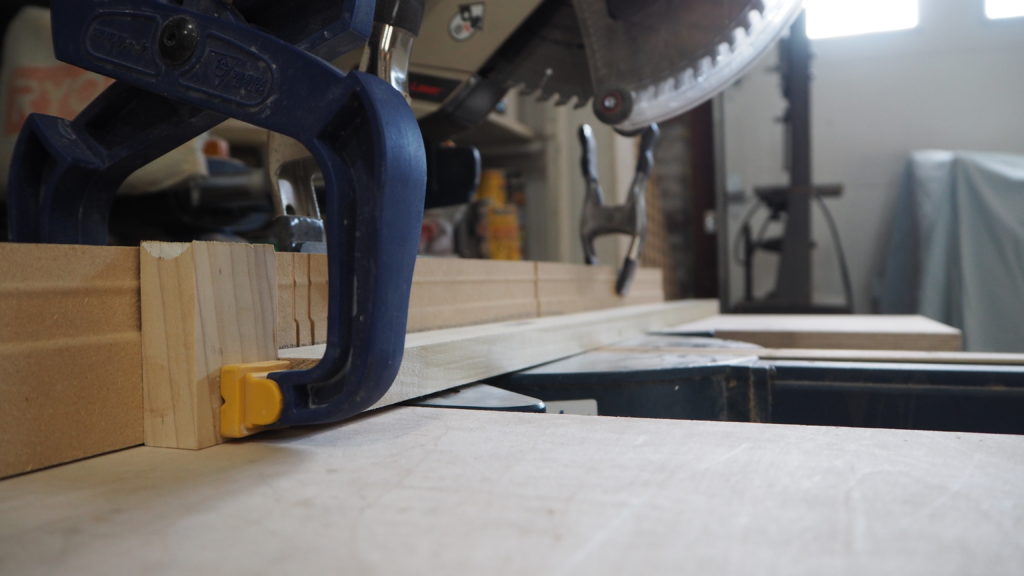
I started by setting up a stop block at my miter saw at exactly twelves inches. You’ll need to make 4 boxes, so you’ll need 16 pieces at 12 inches. You’ll also need one extra piece at 5-5/8.
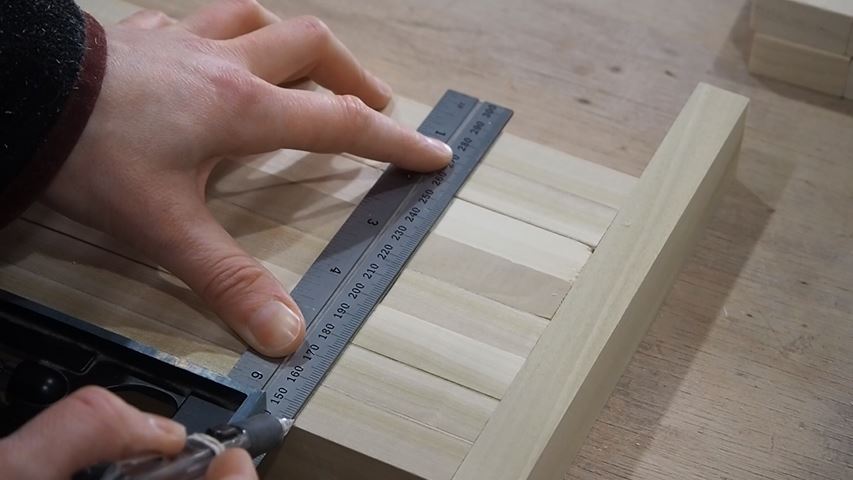
Next it’s time to make the half lap joints. I grabbed 8 of my 16 pieces and flipped them on their side. I then lined them up and drew a reference line at 2 inches in from each side. I grabbed the 8 remaining pieces and did the same, this time at 3-3/16 from each end.
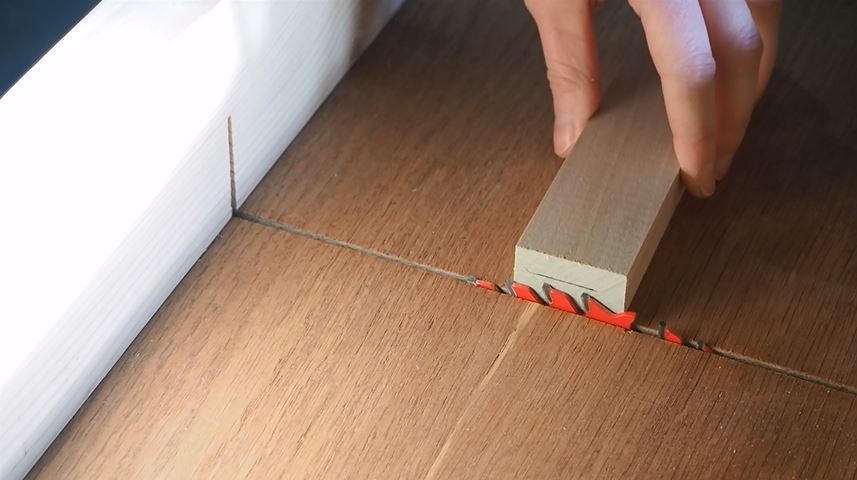
Over at my table saw with my crosscut sled in place, I adjusted the blade height at exactly half the thickness of the material. If you haven’t seen my video on how to make consistent & accurate half lap joints, you’ll want to check that out first.
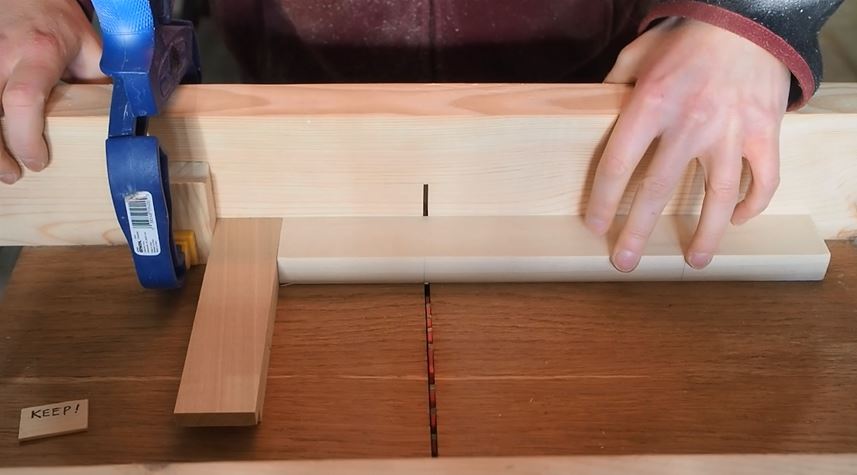
I lined up the reference line I made with the kerf of my crosscut sled and started cutting the half lap joints. Then I cut some more… and some more.
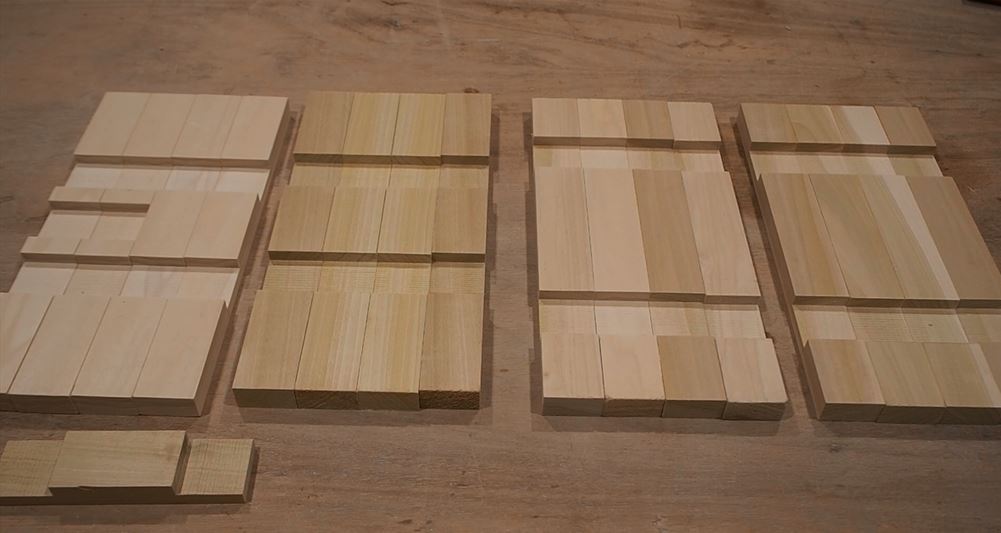
In all, this project involved 18 half lap joints, which translates to 36 notches to be cut out!
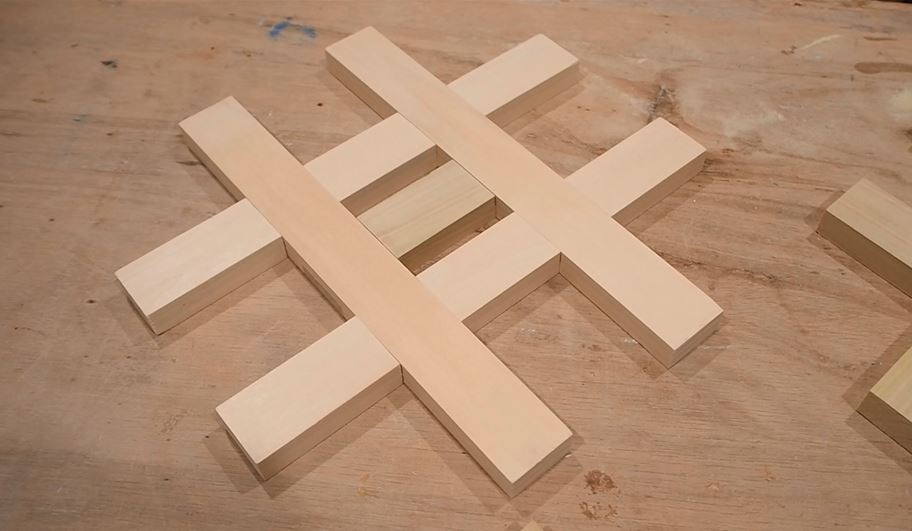
When all your notches are done, you’ll end up with 4 boxes – 2 wide and 2 narrow. One of the narrow boxes will be on the top level of the chandelier, so I needed to add a cross support in the center that would connect the chandelier to the pendant light. I roughly centered the left over piece (5-5/8) and drew a reference line to make the half lap joint.
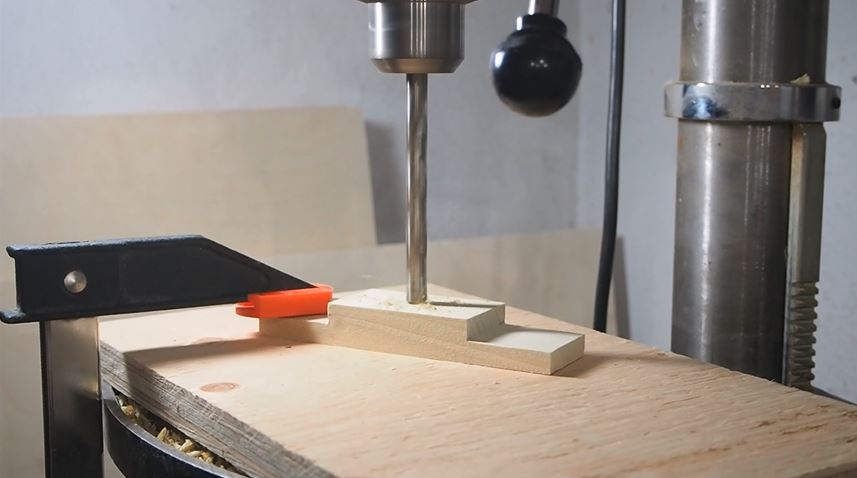
Before glue-up, I did a dry fit to make sure that all the pieces fit nicely. One last step before I apply glue is to make a hole for the pendant lamp wire. I used a 3/8 drill bit and made a hole on center.
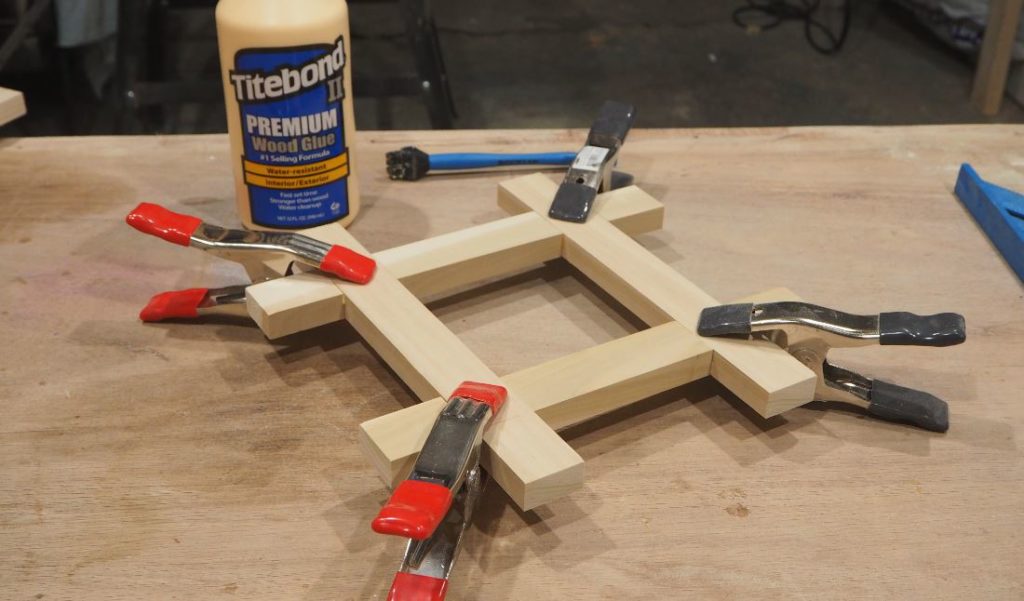
Next I glued each of the 4 boxes together. I applied the glue to the joints using a glue brush and used some spring clamps to hold it together while it dried. I also used a wet paper towel to wipe off any squeeze out before it dried as this will affect the stain’s ability to penetrate the wood.
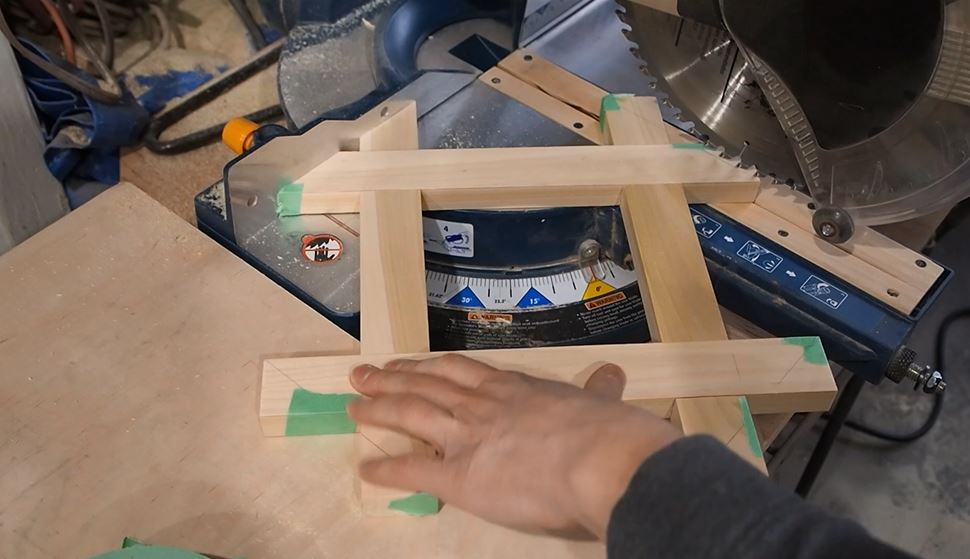
After letting them dry, I decided to modify my design slightly by trimming off the corners of the two wider boxes. I made the cuts using my miter saw and made sure to apply some painter’s tape across the back of the cuts to reduce the risk of tear out.
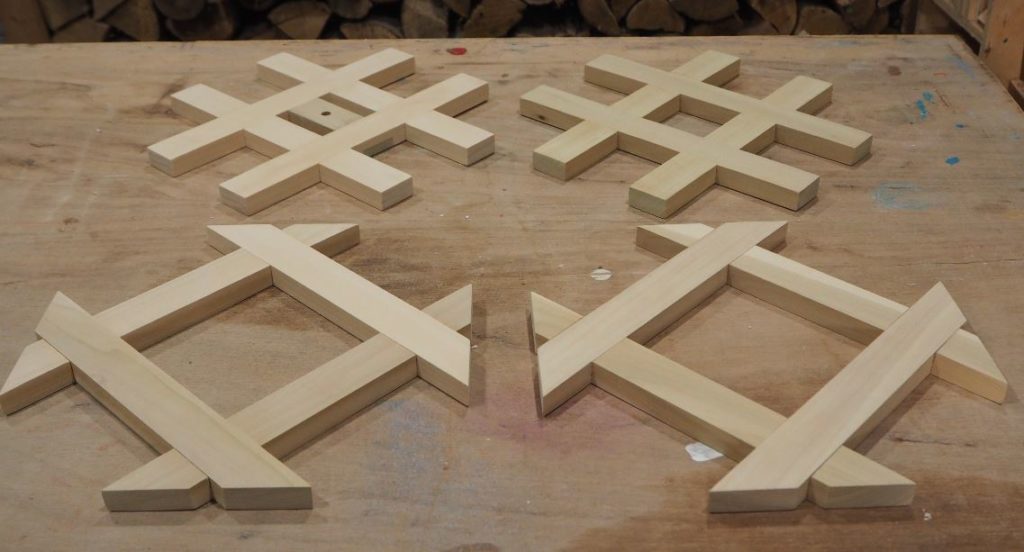
Then of course came sanding… (FUN!)
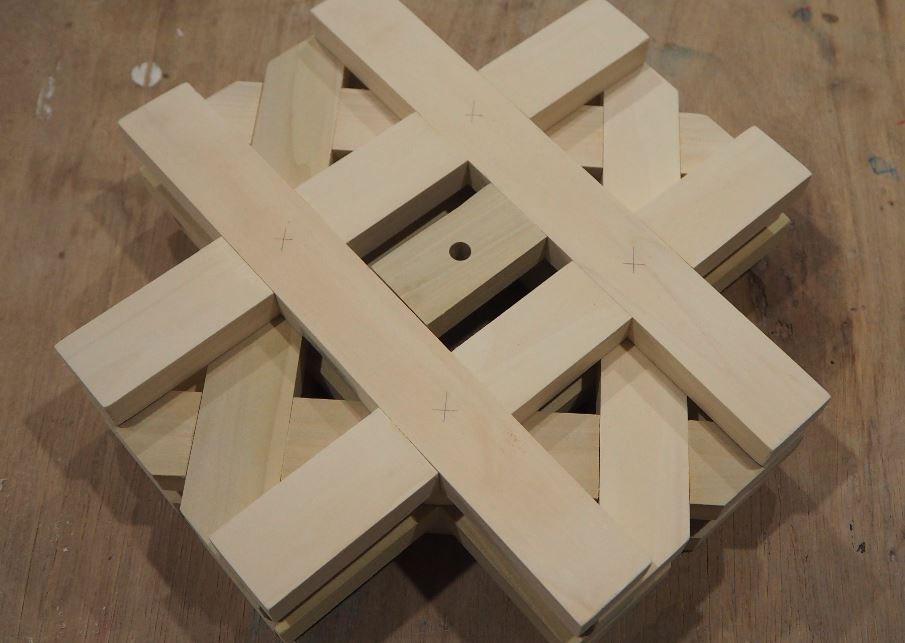
I next moved onto assembling the lamp. I piled the 4 boxes up, making sure to align all the outside edges. I’m going to drill a hole all the way though the 4 boxes, so alignment is important here. I marked the four sports where the 4 boxes cross each other.
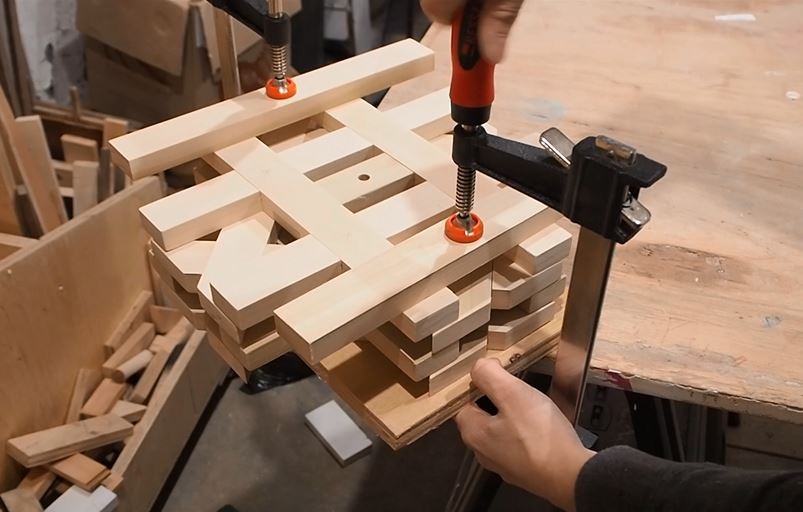
Now, I hadn’t really planned this part out, so I had to improvise. I needed to clamp the whole thing together, so I started by moving it onto a small piece of plywood, careful not to move anything. I added a scrap piece of wood across the top on one end, then clamped it all down to the plywood board. And then did the same on the other side.
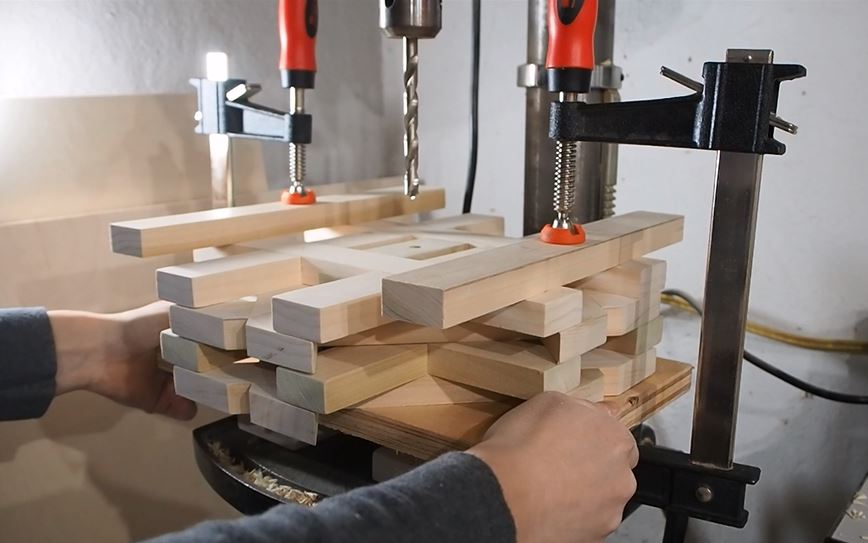
I was then able to move it over to my drill press, and drill all the way through using a 3/8 drill bit.
I used my all-time favorite wood stain, Early American. I also used wood conditioner, but only on the ends. The wood conditioner will reduce the amount of stain that gets absorbed by the end-grain, so it won’t be darker than the flat faces.
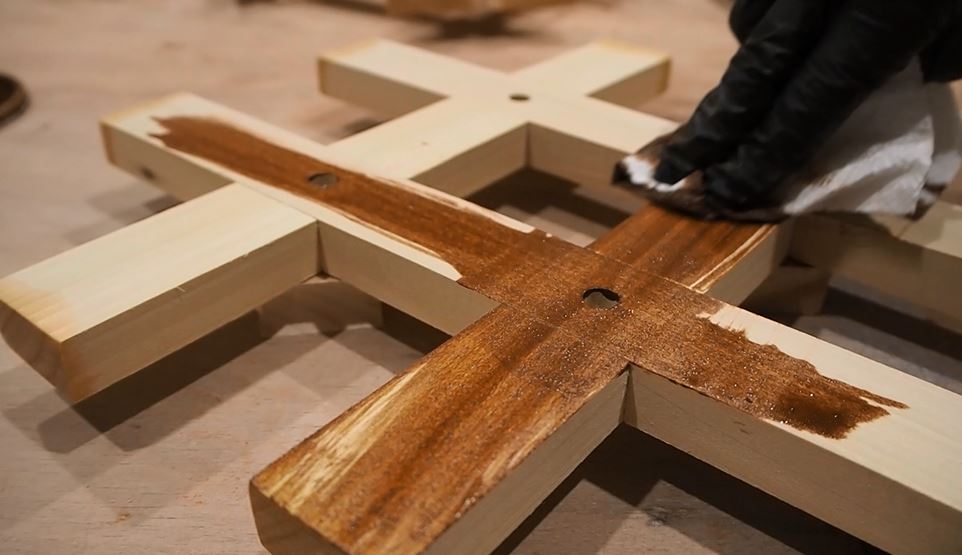
I started by applying the conditioner to all the ends, and while that dried, I went ahead and applied the stain to all the other surfaces. I finished off by applying stain to all the ends, then wiped off the excess with a clean towel.
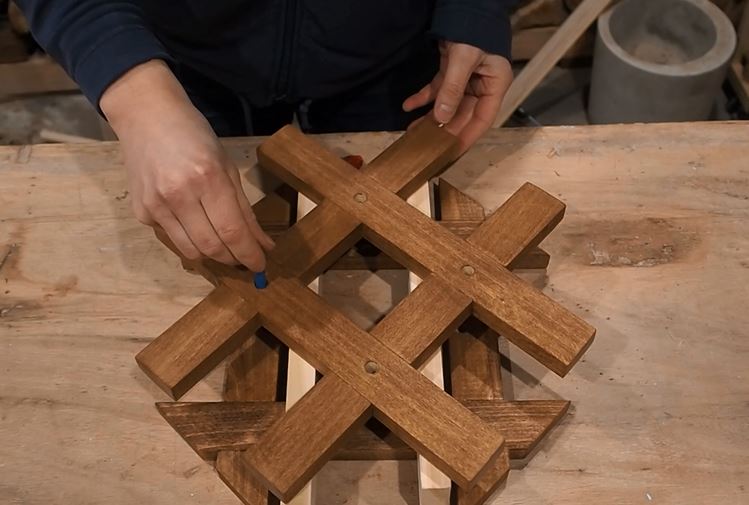
To assemble the chandelier, I used left over 1 by 2s that I flipped on edge and used as spacers between each level. I also used a pencil to check that the holes were aligned as I went.
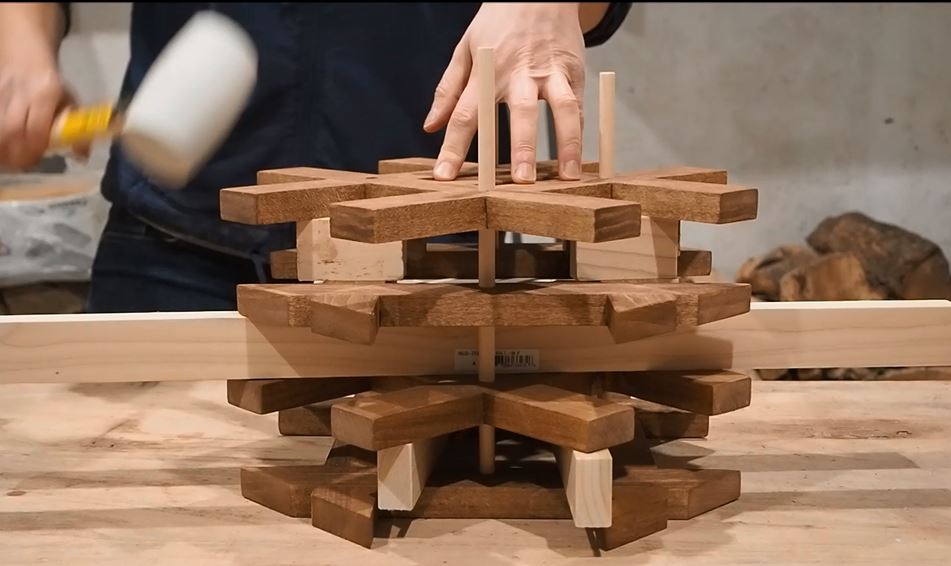
To assemble the chandelier, I used 3/8 dowel rods that matched the size of the holes. I simply hammered them in using a rubber mallet. I didn’t want to muck up the lamp, so I decided not to apply any glue. It was a tight fit and after assembly, I’m confident that it will hold.
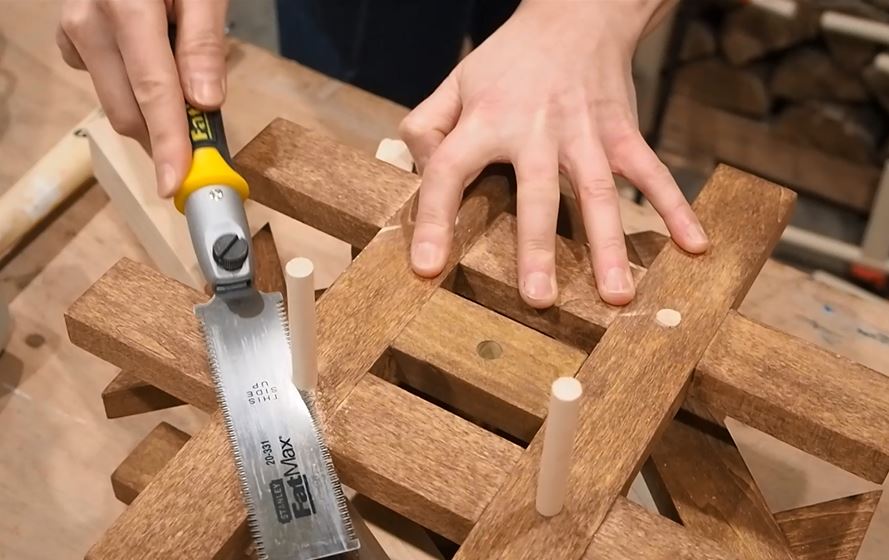
To finish off, I used a flush trim saw to cut of the dowels from the top side of the chandelier. The saw left a few scuff marks, so I simply touched them up with a little stain.
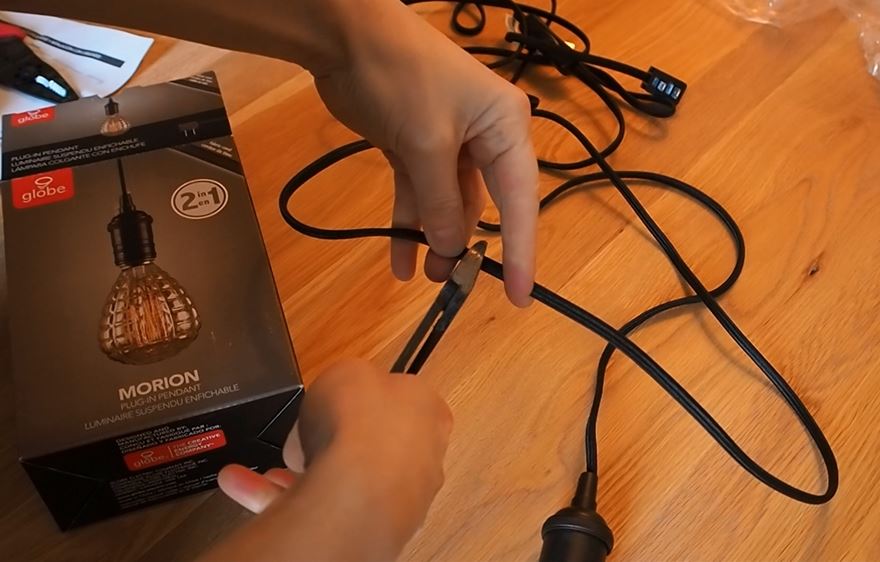
I used a pendant light kit with a nice fabric wire. The wiring was really generous though, so I cut it down to size.

The last step was simply to thread the wire up through the chandelier and install it.
