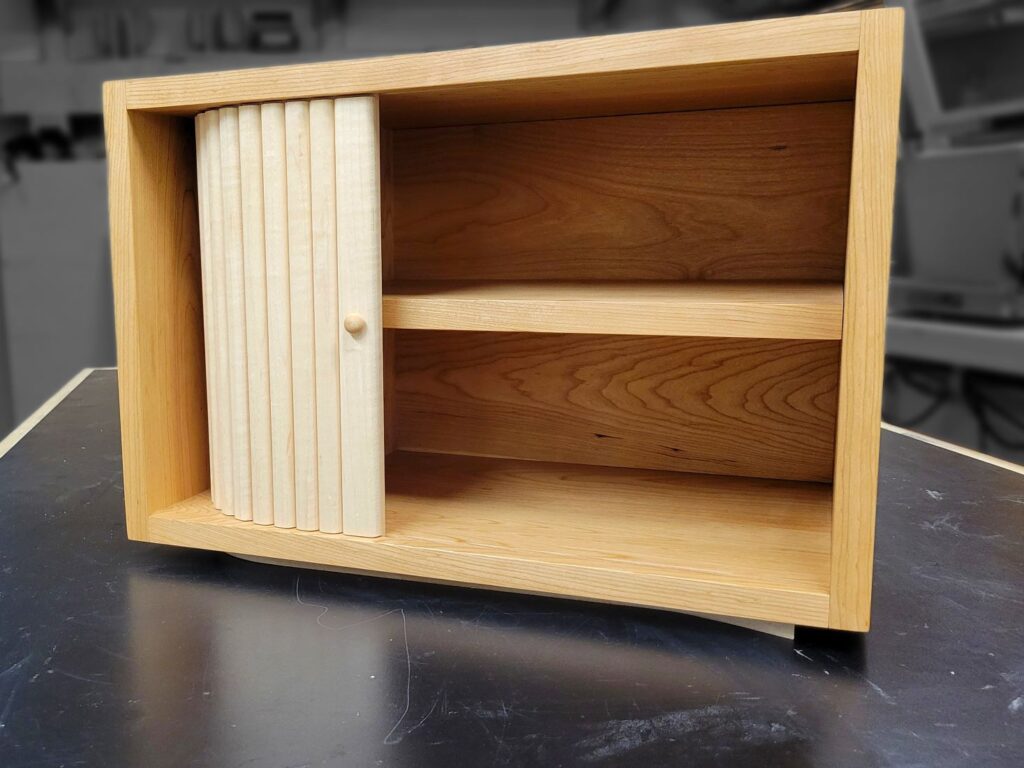
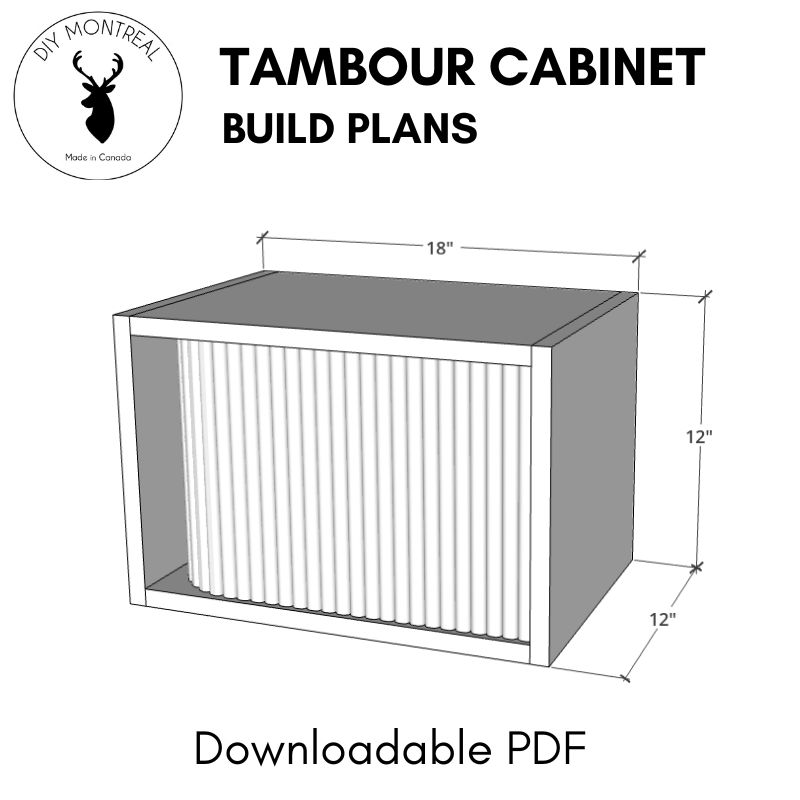
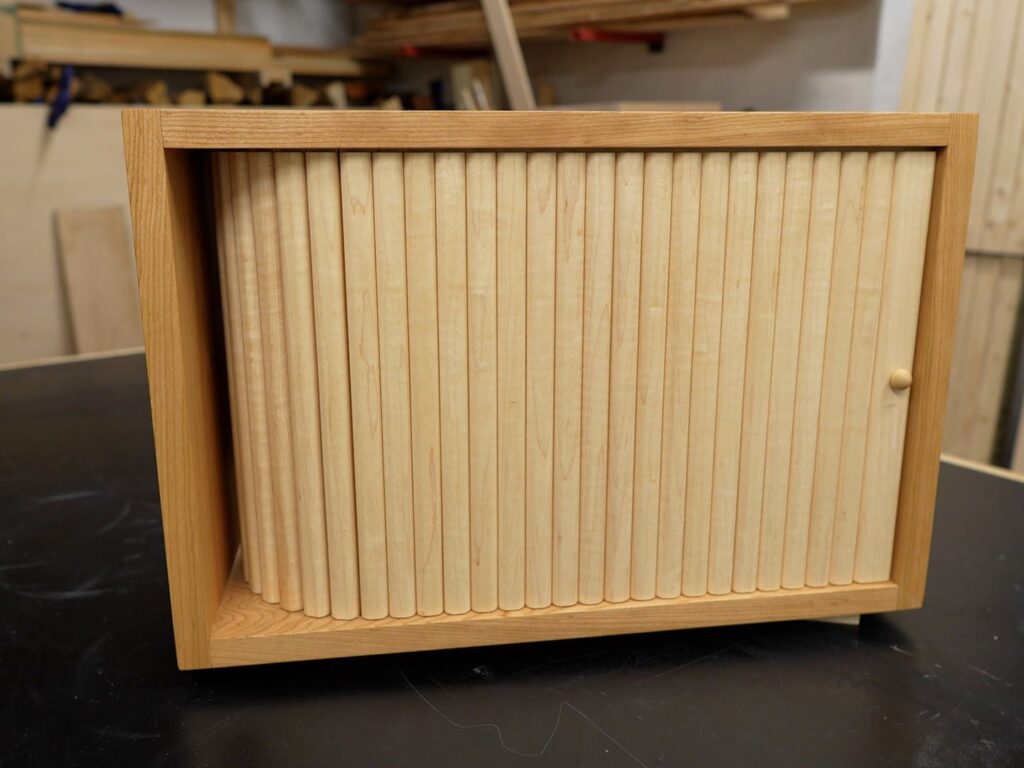
Whenever I’m at a furniture store, I find myself peeking behind the back of pieces or checking under tables, searching for a glimpse of the craftsmanship that went into them. That curiosity is what inspired me to build a tambour cabinet. While designing it from scratch felt daunting, the construction process isn’t as complicated as it seems. It’s built around a straightforward structure: an inner cabinet, a track for the tambour door to slide along, and an outer cabinet to hide the mechanics.

Recommended Tools & Materials
- Cherry wood milled to 3/4″ thick
- Maple wood milled to 1/2″ thick
- 1/2″ MDF – for template
- 3/4″ Plywood – for tambour jig
- 1/4″ Plywood strips – for tambour jig
- Canvas
- 3/8″ dowel pins
- 1-½” #8 flat head wood screws
- Wood glue
- Hard-wax oil
- Small door pull (optional)
- Table saw
- Router table
- Benchtop sander
- Dowel jig
- Compass
- Digital protractor (or square)
- Handheld plunge router
- 1/4″ spiral bit
- 7/16 OD Guide bushing
- Double-sided tape
- 1/2″ straight router bit
- Drill/Driver
- Countersink bit with depth stop
- Foam roller
- Card spreader
- Straight edge
- Utility knife
Get the Plans

How to Build a Tambour Door Cabinet
Step 1: Assemble Cabinet Panels
I chose to make this cabinet out of cherry wood, with contrasting maple for the tambour door slats.
After milling the cherry wood to 3/4″ thick, I glued up my panels and cut the 7 parts I’ll need to build the cabinet to size: top, bottom, sides (2), shelf, inner back and inner side panel. The dimensions for each part can be found in the build plans.
Step 2: Creating the Door Track
The next step is to build identical tracks in the top and bottom panels for the tambour door to glide along. This requires precision, so I made a template from MDF, sized to match my bottom panel exactly. Using a compass, I rounded the corners to ensure a smooth track, and then added an exit slot at the back to allow the door to slide in or out once the cabinet is assembled.
With the template ready, I used a quarter-inch spiral bit with a guide bushing in my router, which allowed me to follow the template with precision. I then mirrored this process for the top and bottom panels to create identical tracks, sanding the tracks thoroughly to ensure a smooth glide for the door.
Step 3: Making the Tambour Door
For the tambour door, I wanted a contrasting wood, which I initially thought was ash, though it turned out to be maple. Maple’s tendency to burn when cut at the table saw meant I needed to be cautious. After milling the wood down to half an inch and cutting it to length, I ripped the boards into 5/8-inch strips. Cutting extra strips was essential—some were warped or had burn marks.
To complete the look, I used a round-over bit on the front edges of each slat. I also left one slat slightly wider to attach a door pull later. After rounding, I gave each slat a good sanding to remove any remaining imperfections. Sanding them individually at this stage made the final assembly much easier.
To assemble the tambour door, I built a simple jig to keep all the tambour slats aligned. The jig was made from a piece of plywood with guide rails on all four sides. This ensured my slats stayed aligned and allowed for even spacing. Setting up the jig required careful attention to detail—I used a digital protractor for precise 90-degree angles, though a simple square would work fine, too.
Once the jig was set, I began sliding the slats in one by one, with their rounded edges facing down. After securing the slats, I applied painter’s tape to the top and bottom edges to keep glue off the areas that would ride along the cabinet’s tracks. For the backing, I chose a lightweight canvas to hold the slats together. Using a foam roller, I applied a thin, even layer of glue to prevent any glue from squeezing out between the slats. After pressing down the canvas and adding weights, I let it dry before trimming off the excess canvas with a utility knife.
Step 4: Crafting Rabbets in the Tambour Door
For the tambour door to slide effortlessly, I needed to cut rabbets along the edges of the door. Using a straight router bit, I made a series of passes, carefully adjusting the depth to ensure a clean cut with minimal tear-out. A test fit showed that it worked well, but a minor adjustment made the movement even smoother.
An unexpected discovery was that my initial exit slot didn’t quite allow the tambour to slide as intended, as I had misjudged the bending direction of the door. A quick modification fixed this, and I learned that creating a straight diagonal rather than an S-shaped exit slot would have been a better choice for easy assembly.
Step 5: Assembling the Cabinet Frame
For the frame, I opted for both screws and dowels: screws for hidden sections and dowels for visible, outer areas. The dowel jig helped with alignment, especially for the edge-to-edge panels. To ensure precision, I used two separate drill bits to achieve the correct depths for dowel holes, preventing accidental puncturing through the panels. A dry fit confirmed everything lined up, so I secured the panels with dowels, glue, and a few mallet taps.
Step 6: Applying the Finish
The tambour door remained removable, which allowed me to finish each part separately. Using a hard-wax oil, I applied the finish with a wipe-on, wipe-off technique to avoid drips or runs. This method made it easier to coat the slats individually by simply rolling up the door and creating space between each slat. I carefully applied the finish to the cabinet frame, wiping away any excess to prevent it from clogging the track.
Step 7: Finishing Touches
Once the finished had dried, I could slide the tambour door into the track from the backside of the cabinet. I couldn’t be happier with the results—the tambour door moved smoothly, the contrasting wood added depth, and the finish brought out the character of each piece.
I may have overlooked a final door pull, so for now, a tiny wood knob will have to do. If you’re inspired to try this build yourself, I’ve made the plans available with detailed measurements and tips.
This project taught me that with patience and curiosity, anyone can build something unique and functional. So, if you’re tempted to look beneath a table or behind a cabinet in the future, let that curiosity be the spark for your next project. Thanks for following along, and happy building!

