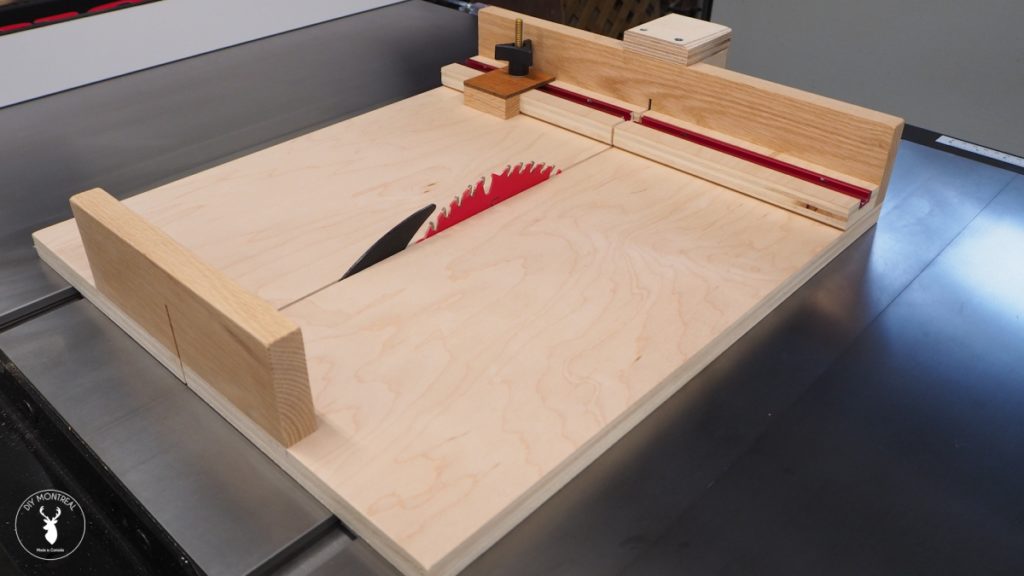
I’ve been needing to build a crosscut sled for my new table saw for some time and decided this would be the first project I tackled this year.
I was debating what size to make it when I realized what I really need is a miniature sled to cut small pieces. I was really impressed when I came across some plans for a small parts crosscut sled from WoodSmith magazine, so I decided to base my sled build off of them.
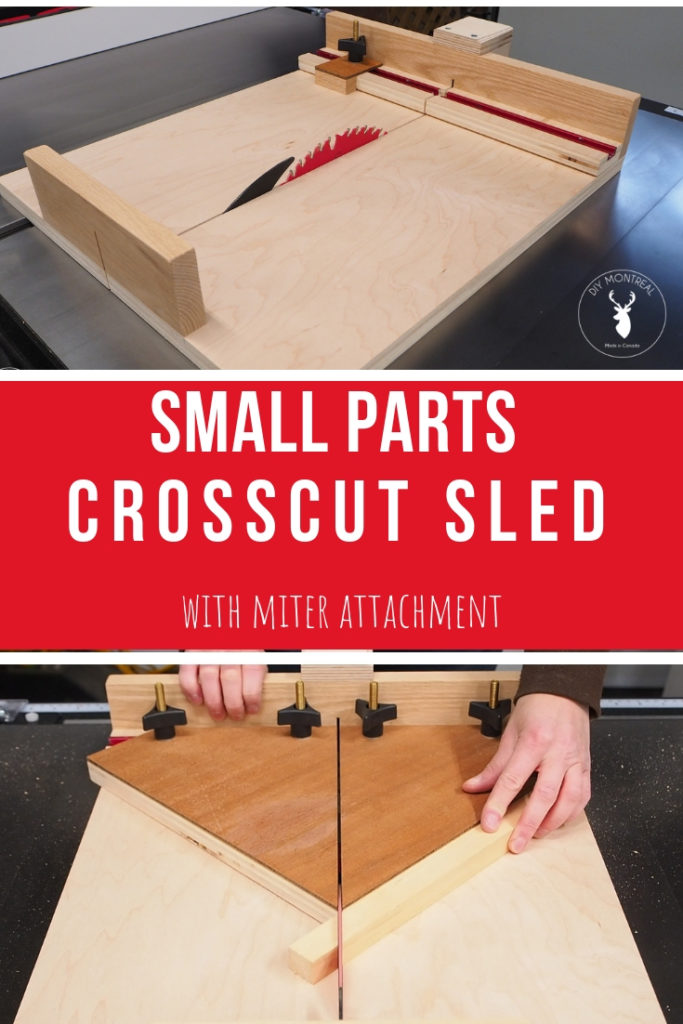
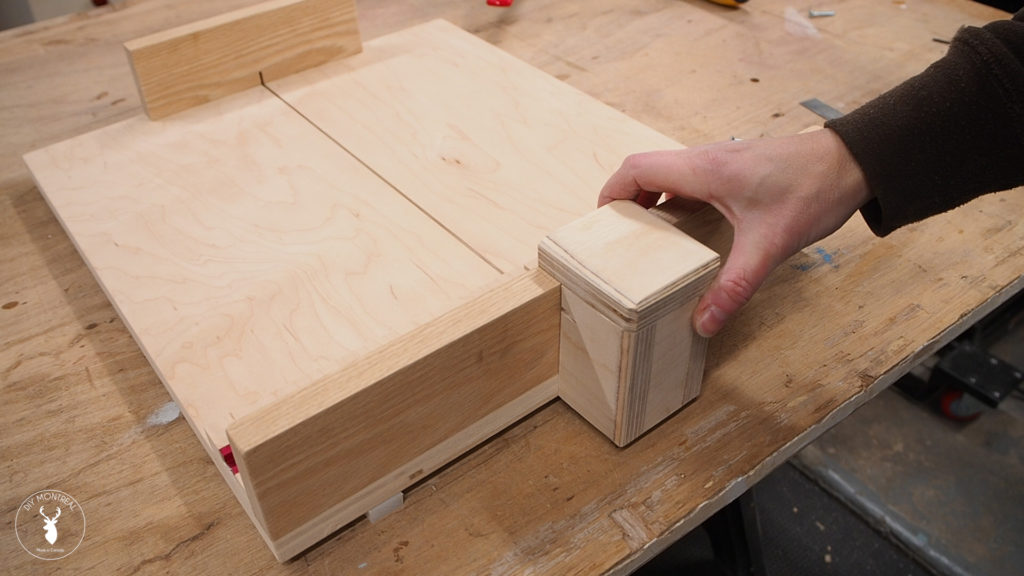
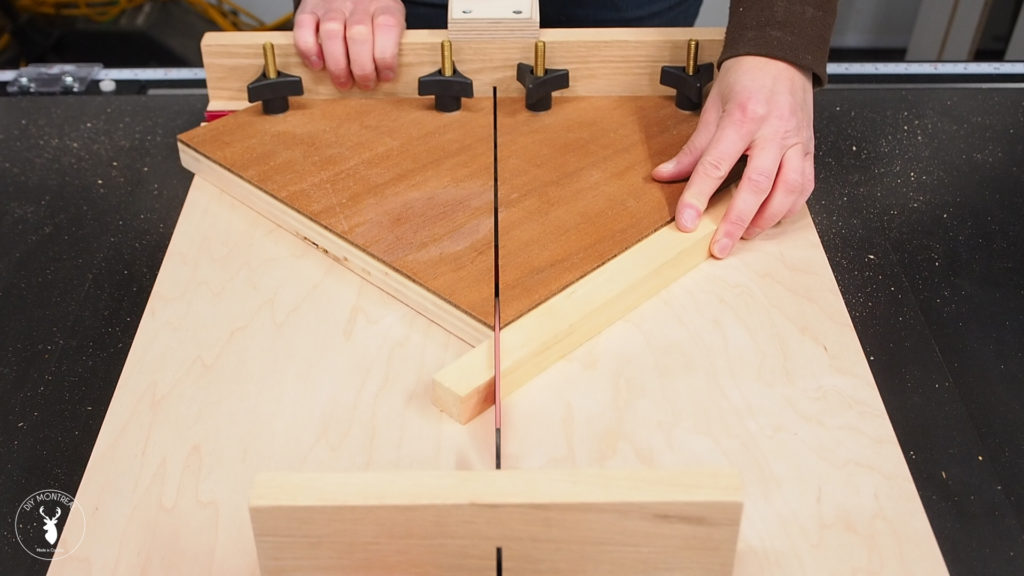
The compact crosscut sled has an adjustable stop block that slides along a T-track in the fence and it also has a miter attachment for making picture frames or other miter cuts.
– – – WATCH THE VIDEO – – –
– – – SUBSCRIBE TO MY YOUTUBE CHANNEL – – –
Materials
- Polyethylene runner
- T-track
- 5 Closet bolts (5/16)
- 5 Star knobs (5/16)
- 5 washers (5/16)
- OR Bolt & knobs Kit
- Screws:
- #8 1-1/4 inch FH – for front & back bridge
- #8 1 inch FH – for front plywood fence
- #6 5/8 inch FH – for T-track
- #6 ¾ inch FH – for runners
- Paste Wax
- Krazy Glue
Cut List
¾ Baltic Birch or Hardwood plywood
- 16 x 18 – base
- 2 x 16 – fence
- 12 x 12 – miter attachment
¼ Baltic Birch or Hardwood plywood
- 12 x 12 – miter attachment
- 2 x 2-5/8 – stop block
¾ hardwood such as maple
- 2 x 3/4 – stop block
- 2-½ x 16 – front bridge
- 2-½ x 8 – back bridge
Small Parts Crosscut Sled
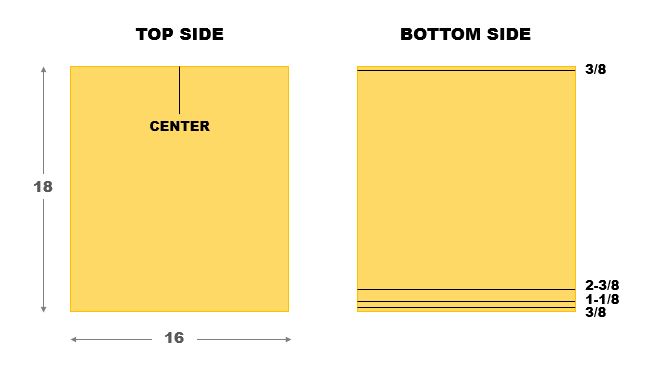
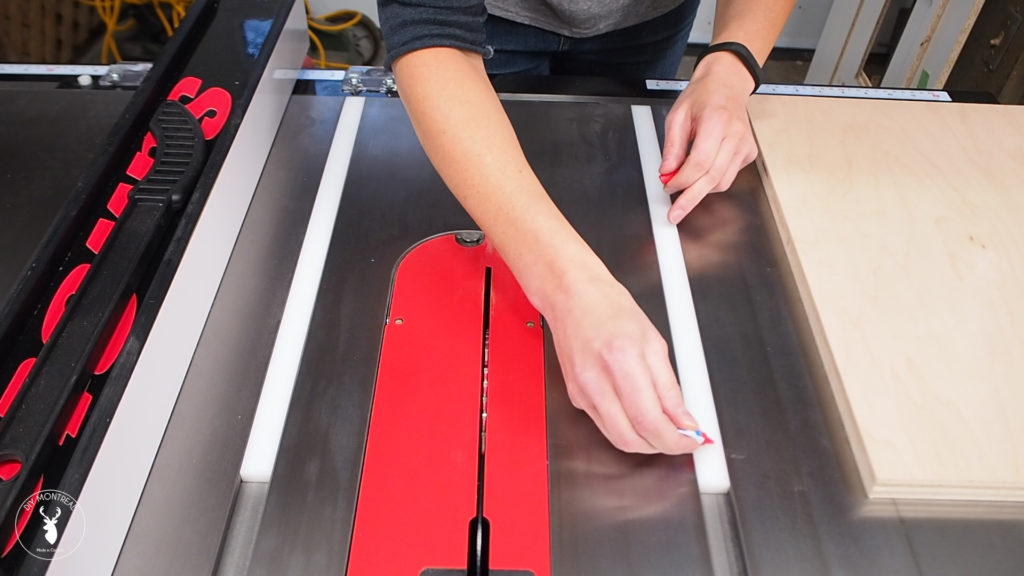
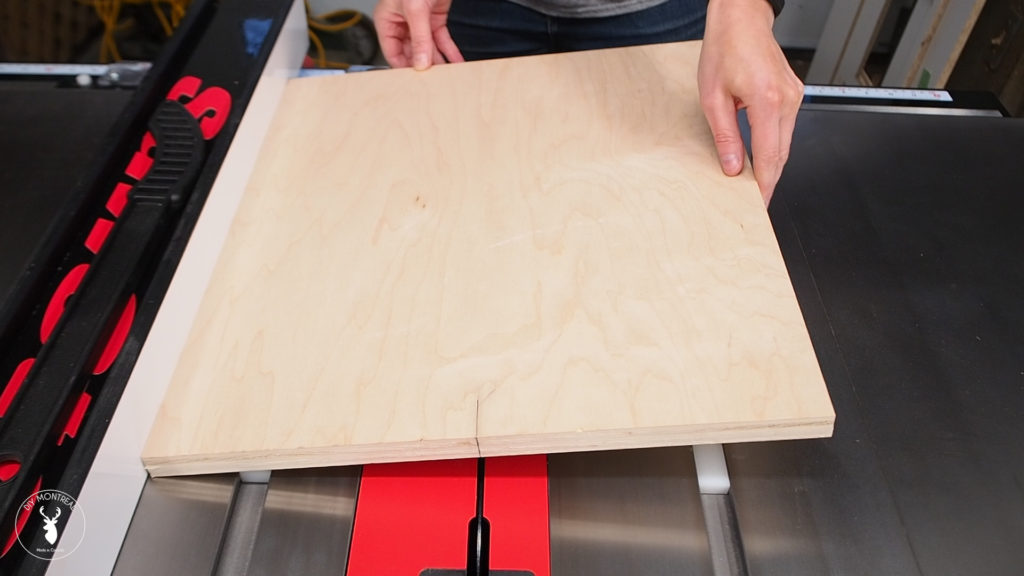
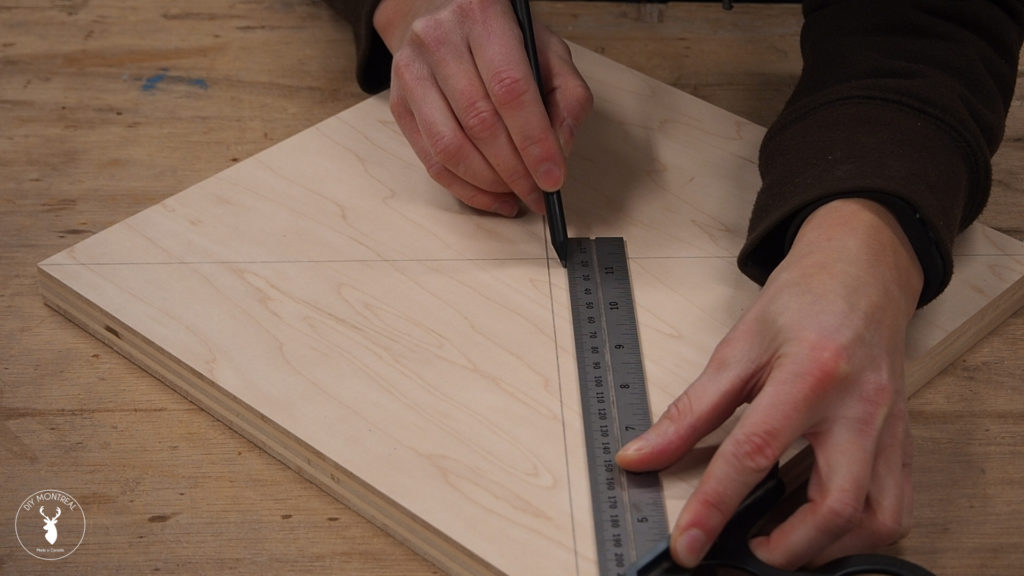
For the sled base I used some left over 3/4 inch maple plywood. Baltic Birch would have been another good choice. I started with a 16″ x 18″ board. Before going any further, I took the time to make some markings with a pencil that will come in handy later on.
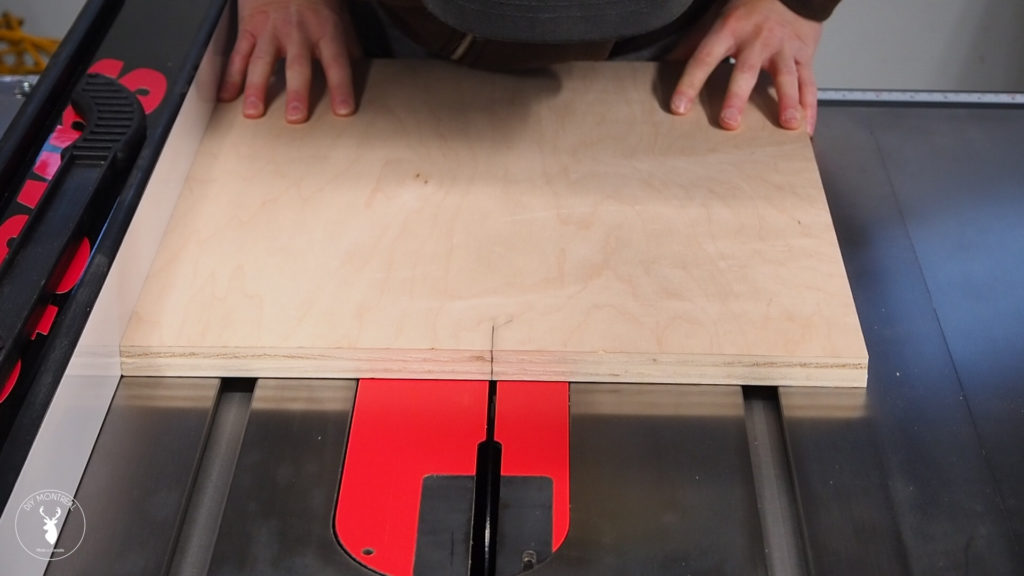
Over at my table saw, I positioned the fence so that the center marking lined up with the blade. I locked the fence down and removed the board so I could install the runners.
I used a polyethylene runner that I cut in half (@18 inches) for this sled, but you can make them out of wood if you prefer. I liked the idea of these polyethylene runners since they’re a perfect fit, slide smoothly and won’t be affected by fluctuations in temperature or humidity which can cause wood runners to swell or shrink.
I used a few dimes in each miter slot to raise up the runners, then applied a few drops of Krazy Glue before dropping the board into place.
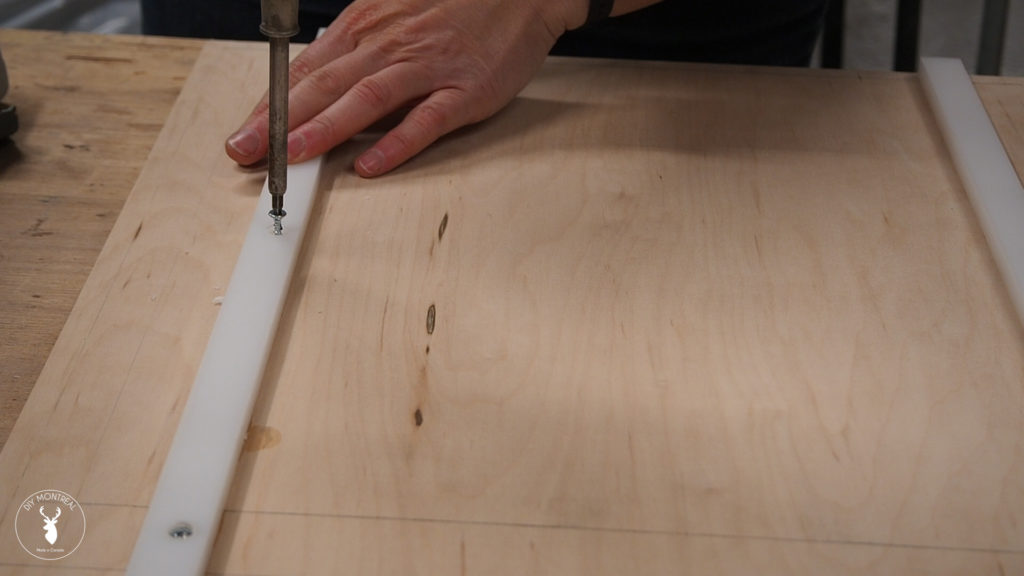
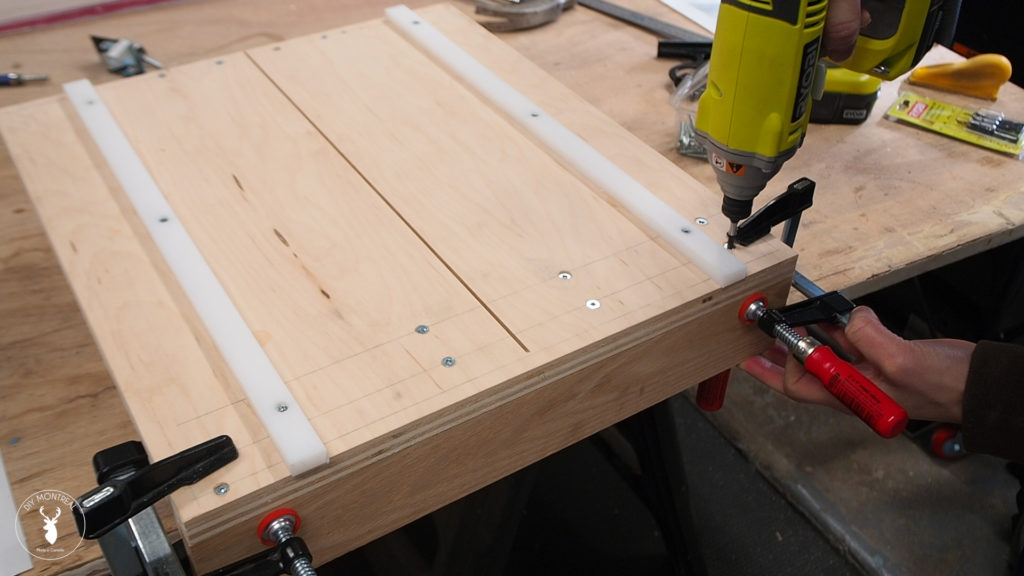
I applied pressure for a couple minutes, then was able to flip over the board to drill some countersunk holes and permanently attach them with some #6 ¾ inch FH screws.
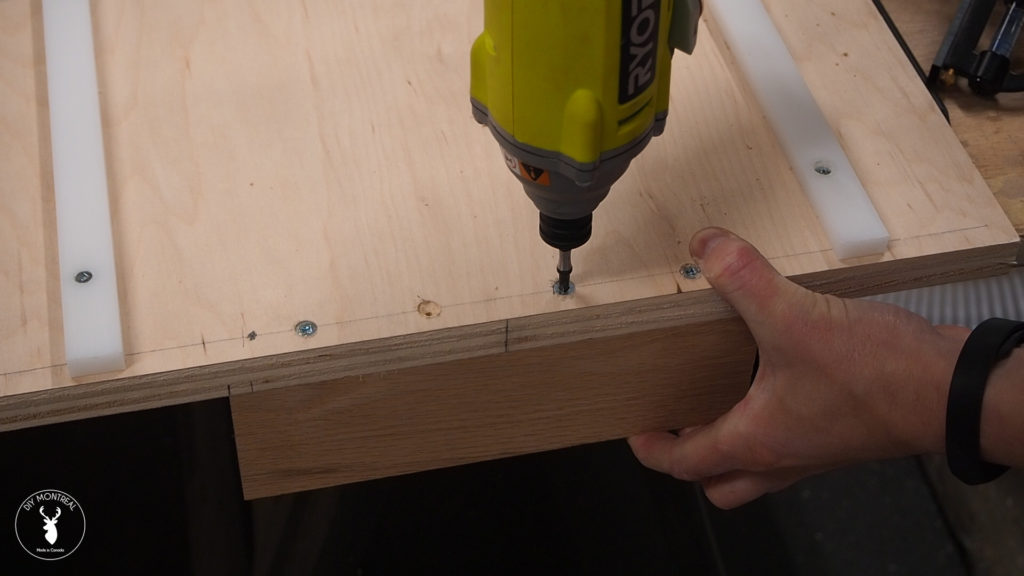
I attached the back bridge by countersinking some #8 1-¼ inch FH screws, making sure to avoid the center line where the blade will pass.
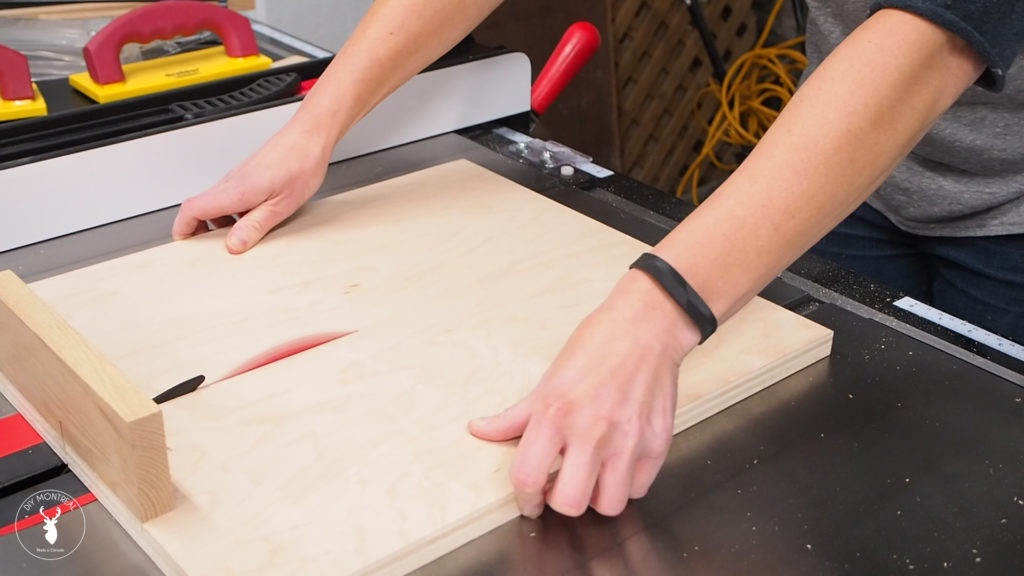
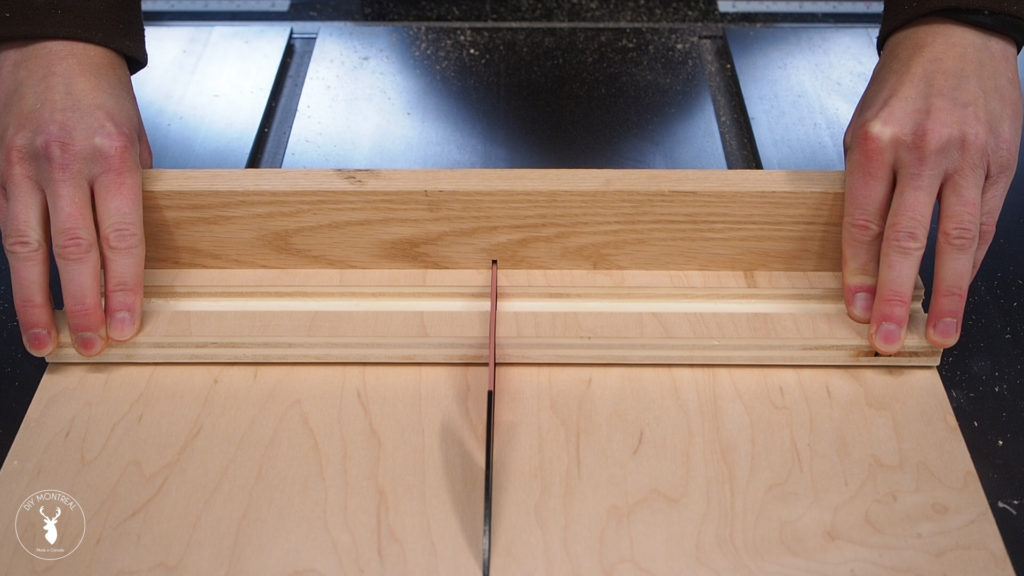
With the back bridge secured, I could now cut the kerf line, stopping just short from the front edge of the sled.
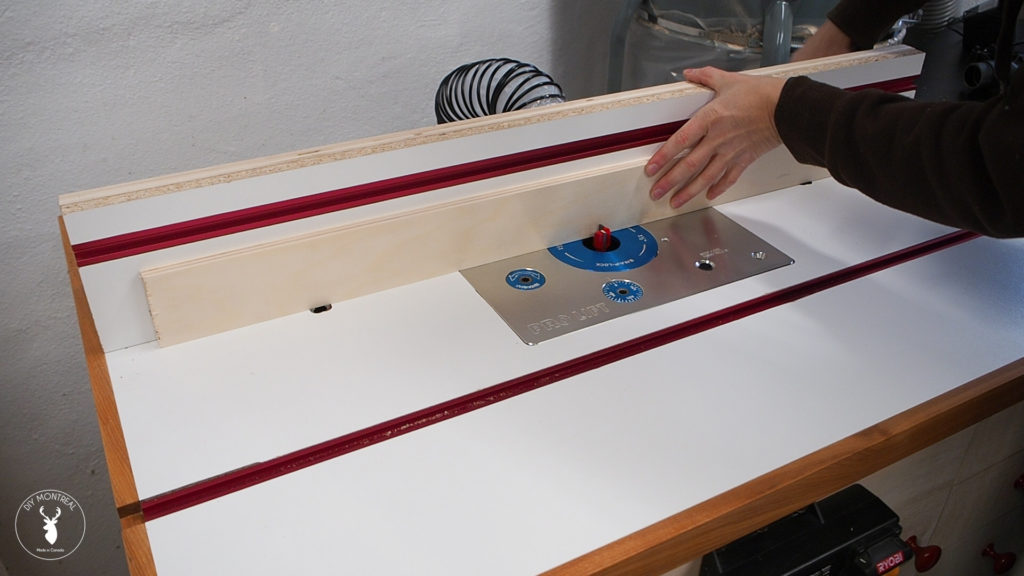
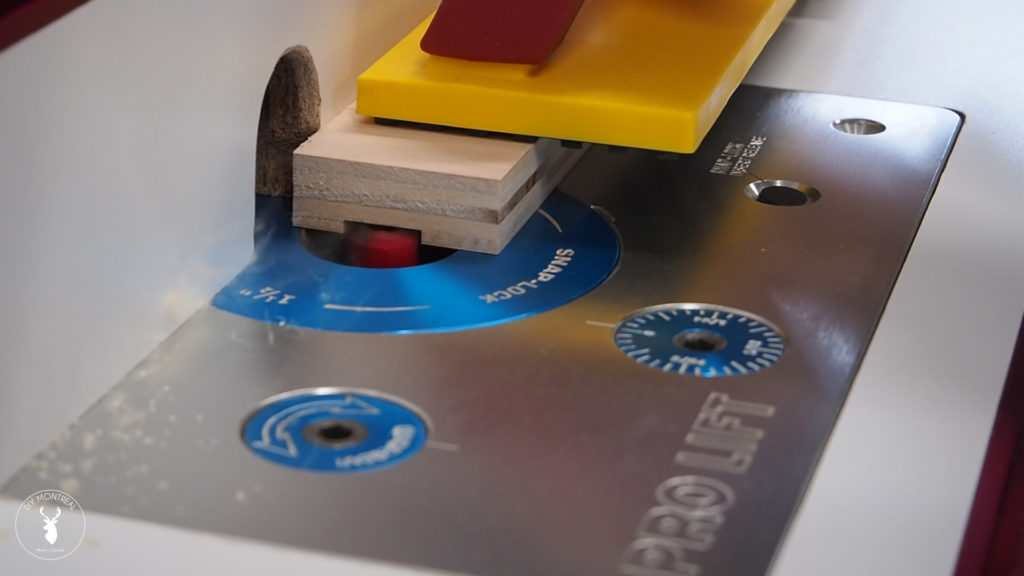
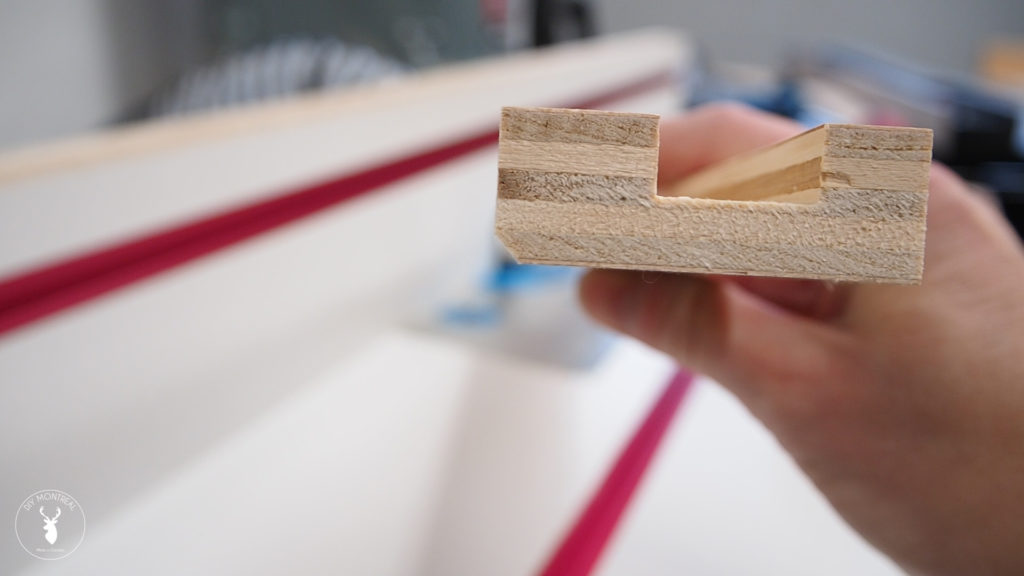
The front fence consists of three parts: a vertical hardwood back bridge and a horizontal plywood fence with an integrated T-track. I used my router table to make the dado in the plywood fence. The dado has to be half an inch from the back edge so I used a piece of half inch plywood as a spacer to set up my router table.
I could then raise my bit and make a few passes until the the depth was just right. I checked the fit and made sure that the T-track was below the surface.
I then switched over to a chamfer bit to make a small chamfer on the front bottom side.
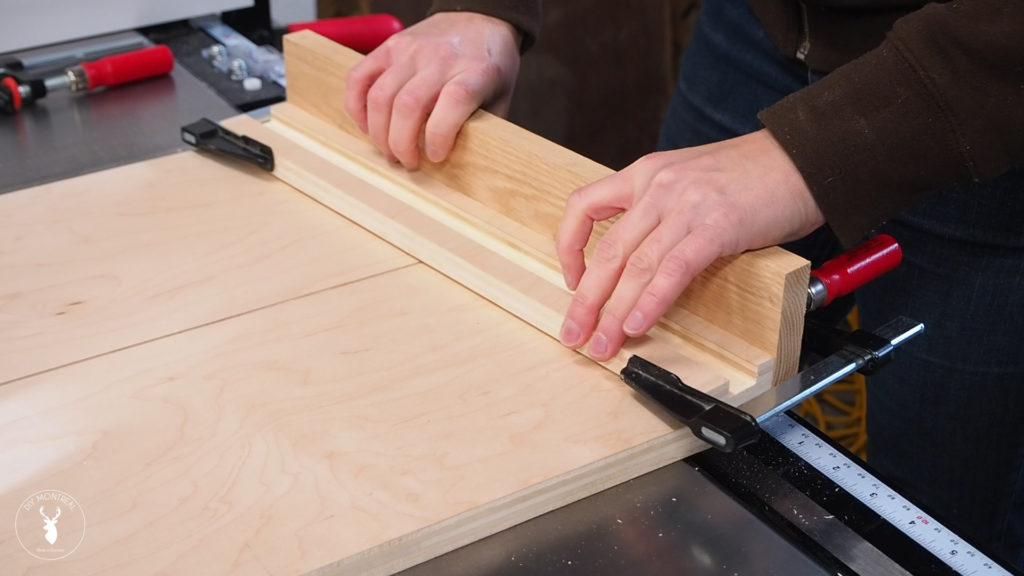
I attached the front bridge with a single #8 1-¼ inch FH screw on one side and then clamped the fence to it, making sure the fence could still move freely front to back. Note that the chamfered edge is on the bottom front edge, closest to the blade, so that sawdust will have somewhere to escape and won’t interfere with the fence.
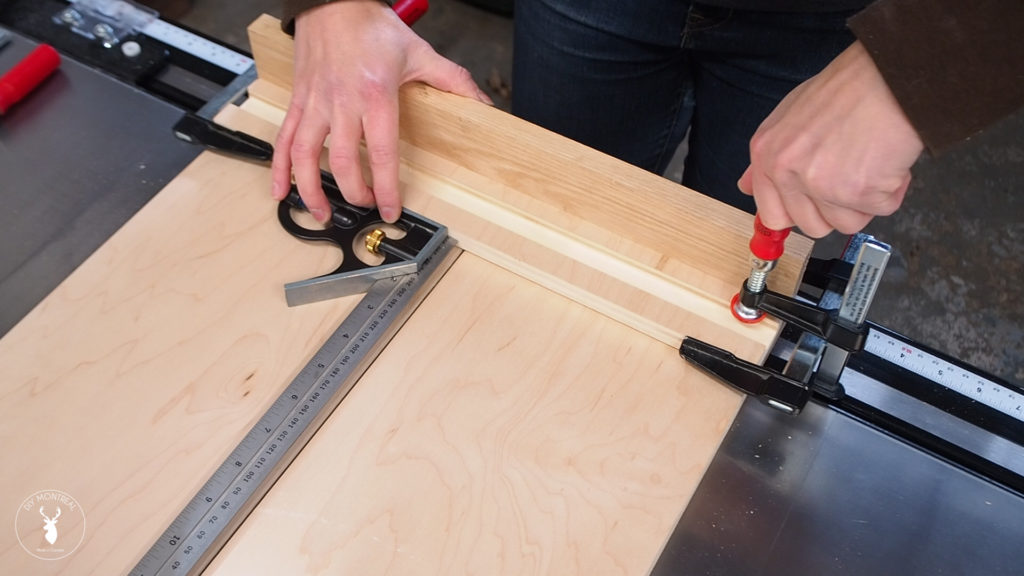
The fence needs to be square to the blade and there are various methods to do this, like the 5-cut method. I’m not going to cut anything long with this sled, so I’m comfortable just using a square to line it up visually.
Once I was happy with it, I clamped it down so I could flip the sled over and countersink some #8 1 inch screws. Now this is where those lines come in handy so you’ll know exactly where to put the screws without potentially hitting the T-track.
Speaking of the T-track, now would be a good time to install it. However since my table saw has a safety mechanism that gets triggered by conductive material, I don’t want the aluminum T-track touching the blade, so I’m using a different method. First I finished cutting the kerf line through the back fence.
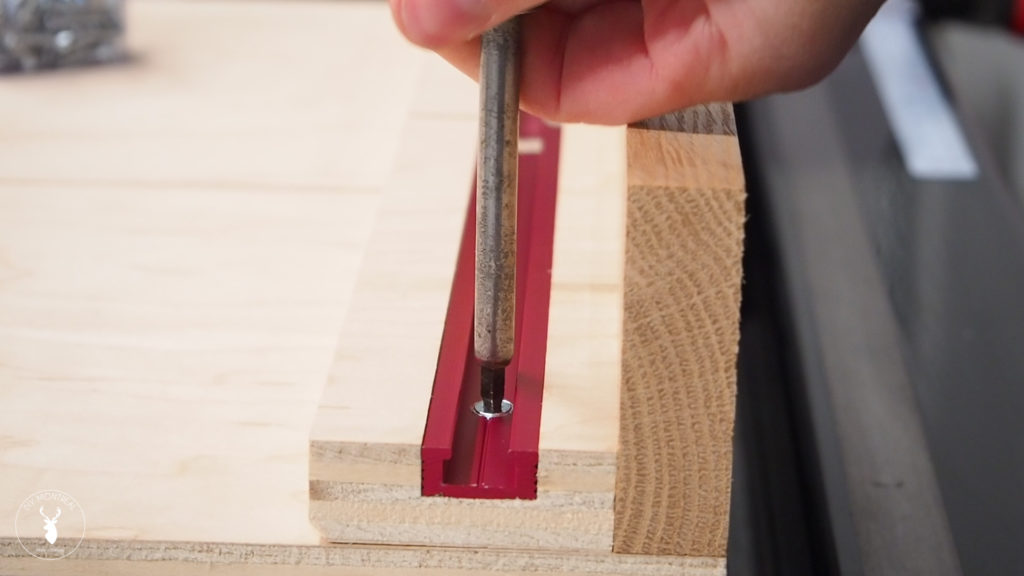
I then measured the length of the dadoes on each side and cut the T-track pieces slightly shorter in order to leave a gap with the blade. I installed the T-track with some #6 5/8-inch FH screws making sure to countersink the heads.
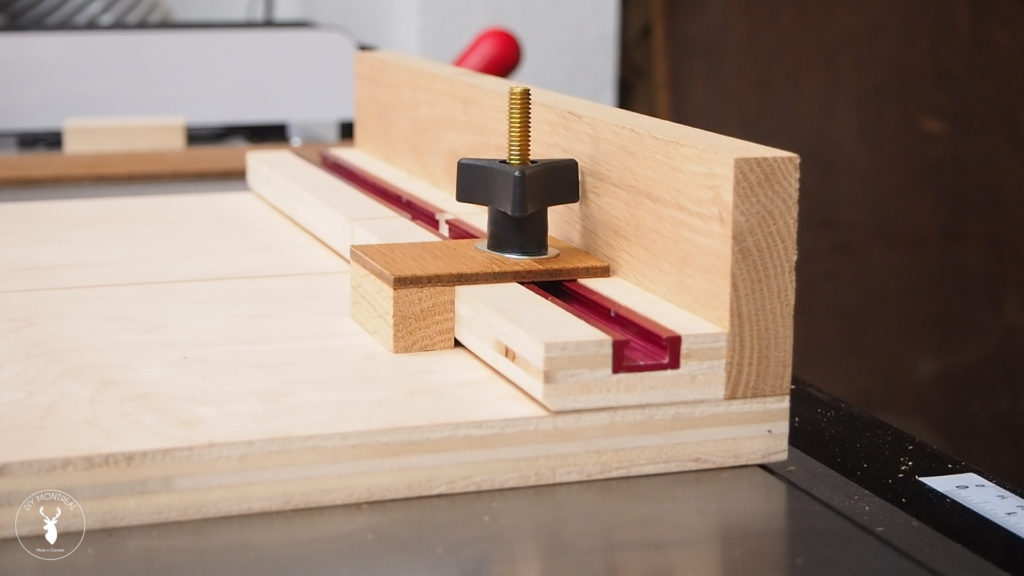
The last step is to make a simple stop block that will ride along the T-track. I used a piece of hardwood with some leftover backer board from an old Ikea dresser, but ¼ inch plywood will work just as well. Once it was dry, I drilled a hole for a flange bolt, using a backer to prevent blowout. The hole was made with a 5/16 bit, at 1-7/8 inch of the front edge of the stop block. I’m using toilet bolts but the heads are a little too wide so they need to be sanded or filed down just a bit in order to fit the track.
I added a small box in the back for added safety and as a reminder to keep my fingers away from the blade.
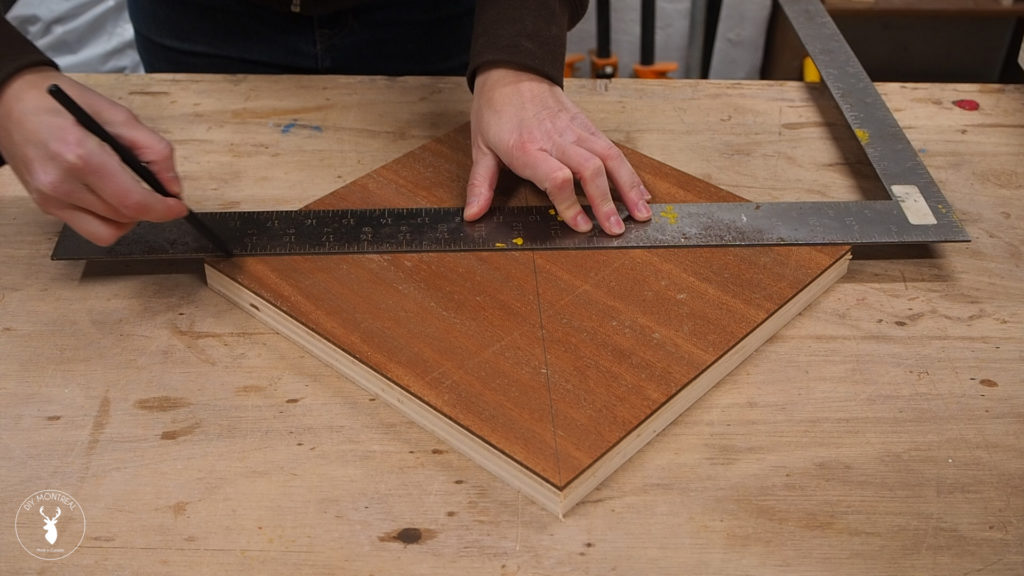
Moving on to the miter attachment, you’ll need two identical 12 x 12 inch squares, one from ¾ material and the other ¼ material. I drew diagonal lines from corner to corner on both pieces.
On the ¾ inch board I drew a line offset by ¼ inch from center with the help of a combination square. For the ¼ inch board, the offset needs to be 2-1/8.
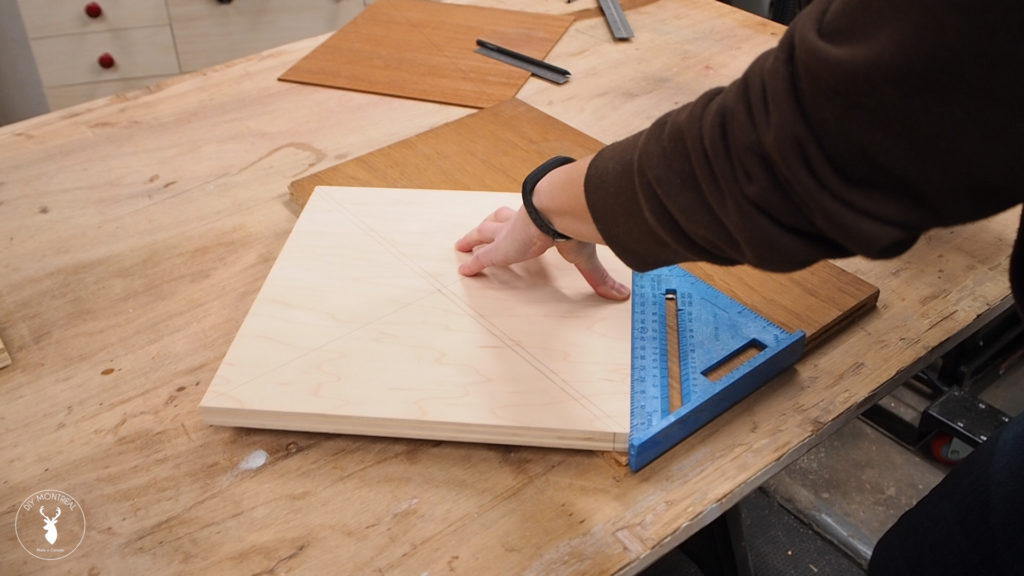
I grabbed a scrap board that was nice and square and lined up my marking on the edge with the help of a speed square. The key here is to get a perfect 45 degrees so take your time.
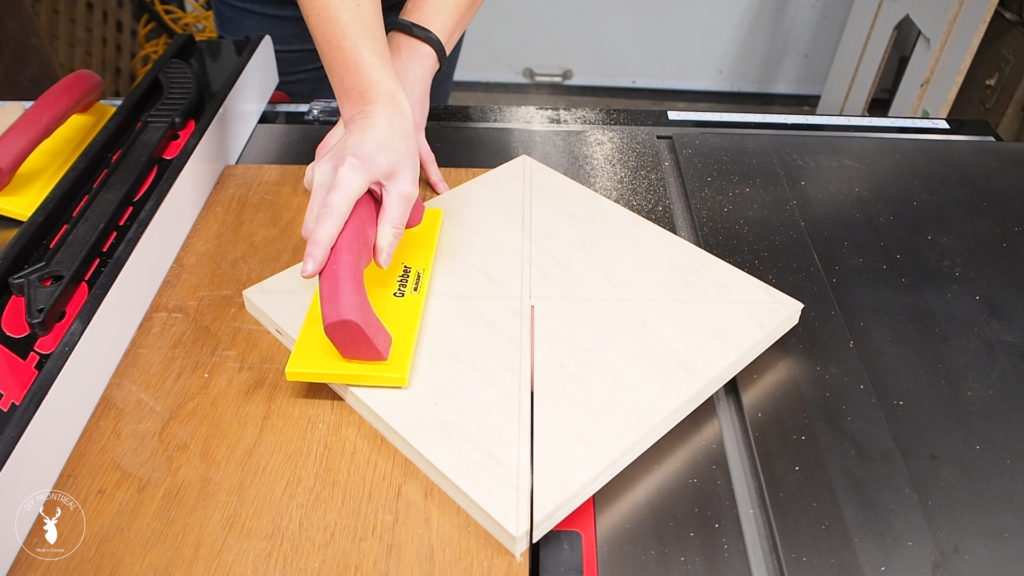
I used a couple brad nails to hold it in place and then made the cut on my table saw.
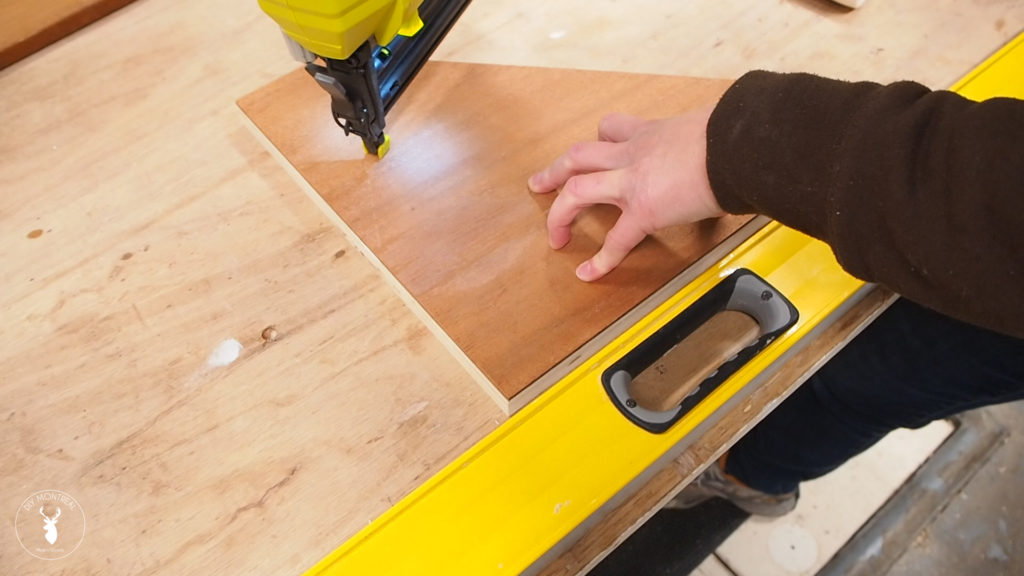
Next I glued both pieces together. It’s crucial to get the edges perfectly aligned, so I used the edge of my level, and once the alignment was perfect a put in a couple brad nails to make sure it wouldn’t move while it dried.
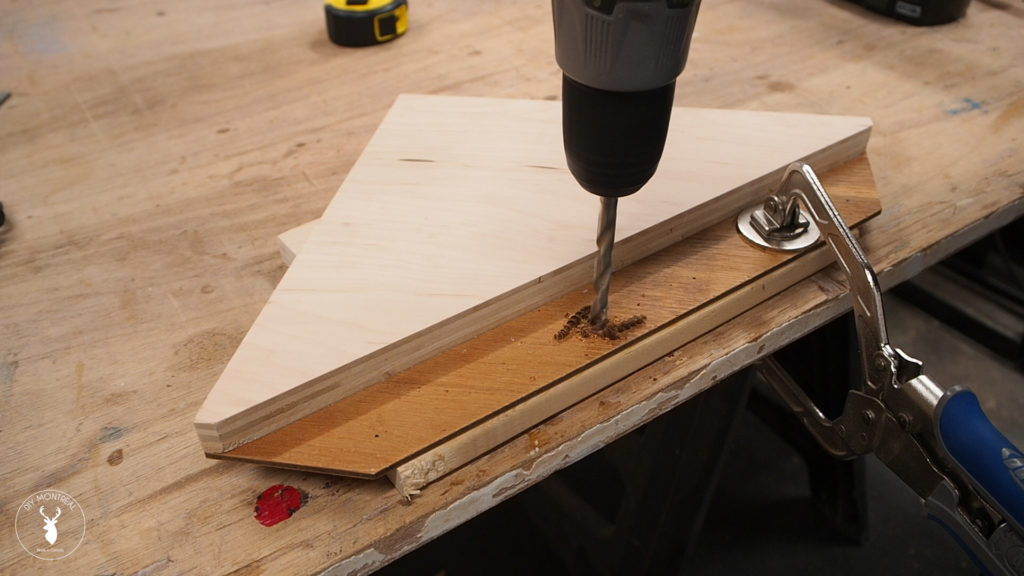
I then pre-drilled 4 holes for the T-track bolts using a 5/16 bit. The holes must be exactly 1-1/8 inch from the edge of the 3/4 plywood.
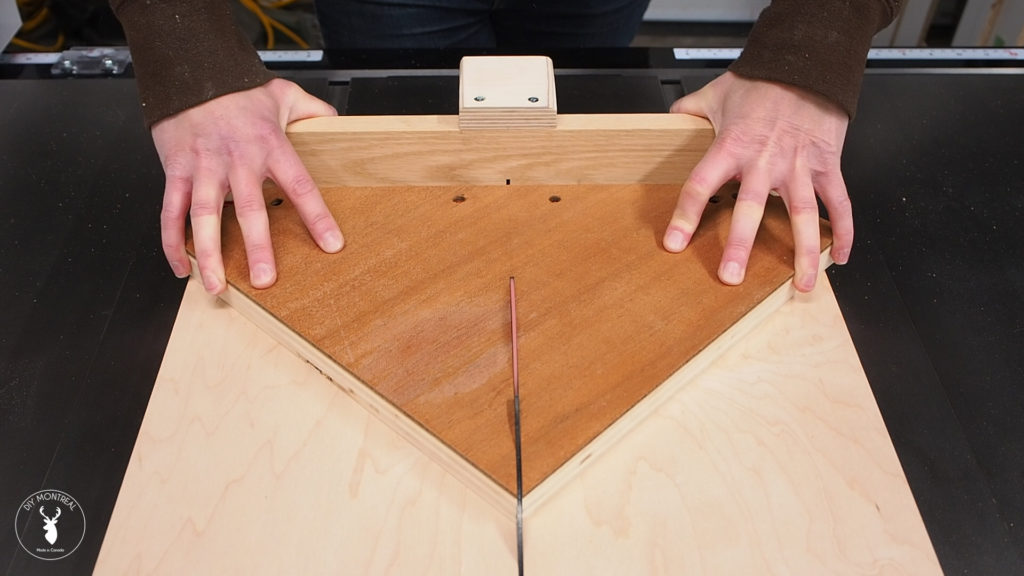
With it pushed back square against the fence and the point of the triangle dead center on the kerf line, I made the cut.
Next all that’s left is to lock it into place using the T-track bolts.

