I used to keep my sanding discs in a plastic storage bin. I saw this somewhere at some point and thought it was so smart, so I followed suite.
A few years later, and all my sanding discs are curled up like potato chips. I get so annoyed every time I try to pull out a single disc but end up pulling the whole stack with it and inevitably spilling them all onto the floor.
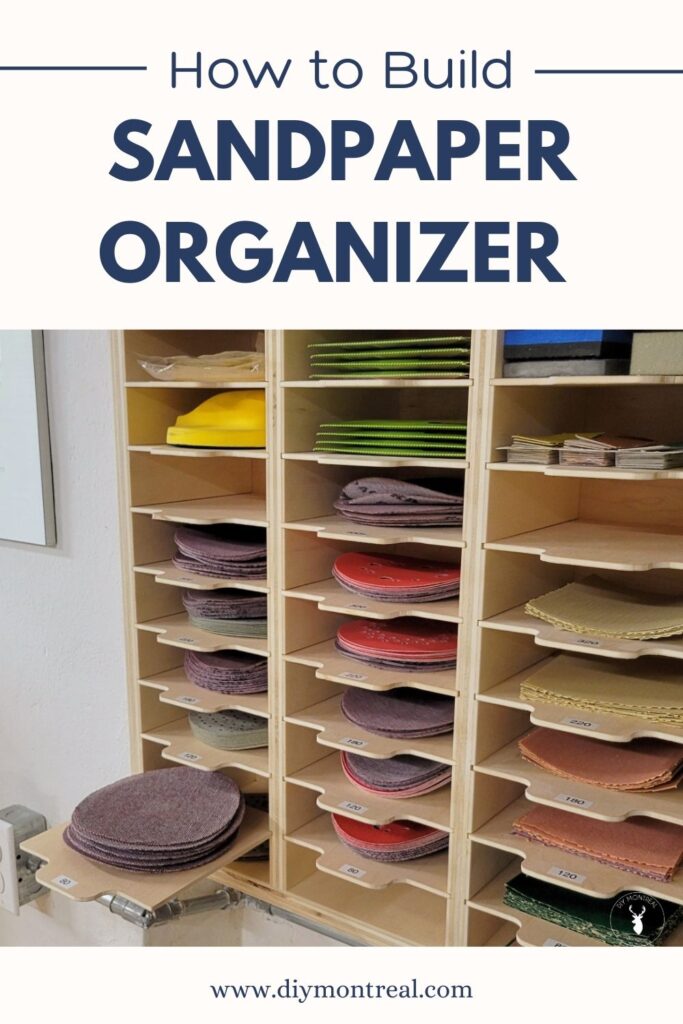
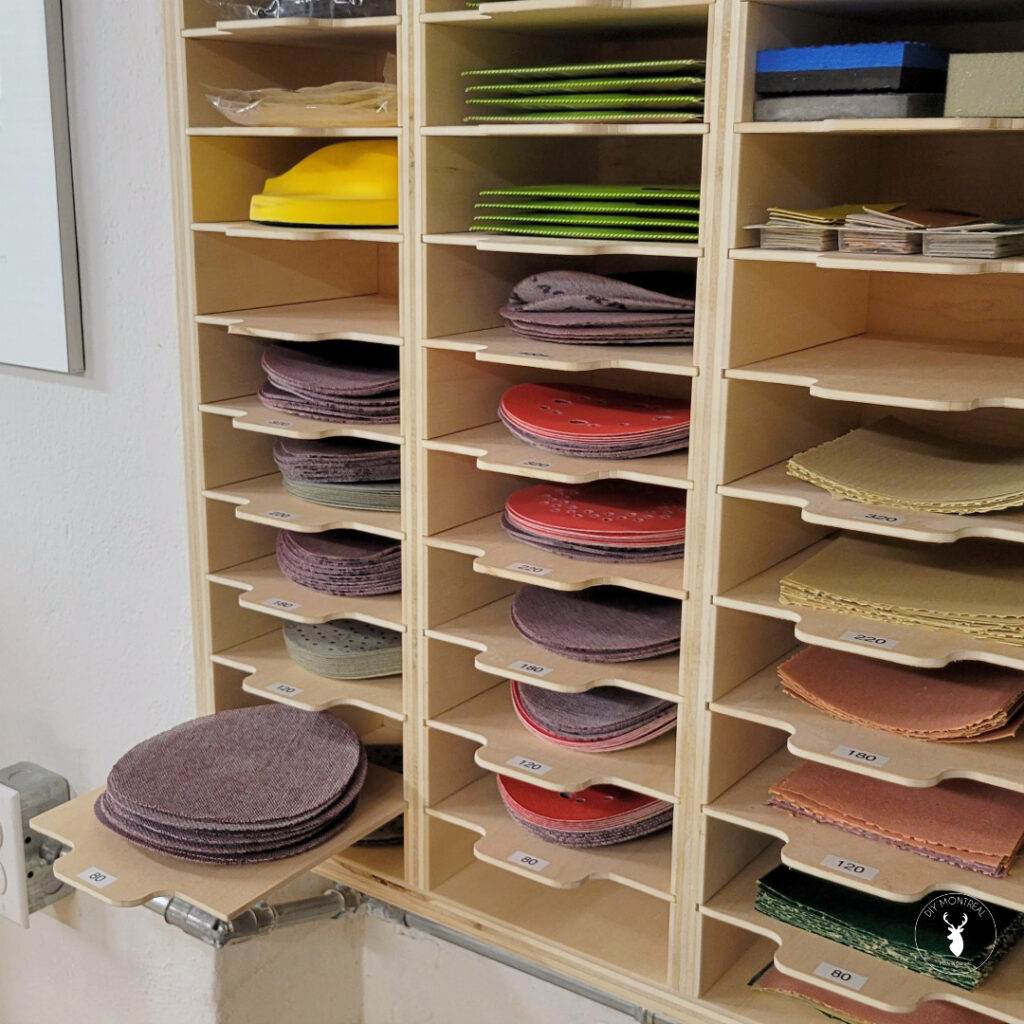
My new sandpaper organizer solves all these annoyances, plus it can hold all my sanding accessories too! The discs lay flat and each shelf pulls out so you can easily grab just the sheet you need.
Recommended Tools and Materials
- Quarter sheet of 3/4 plywood
- Half sheet of 1/4 plywood
- Screws
- Brad nails
- Wood glue
- Tapcon (concrete) screws
Sandpaper Storage Cabinet Plans
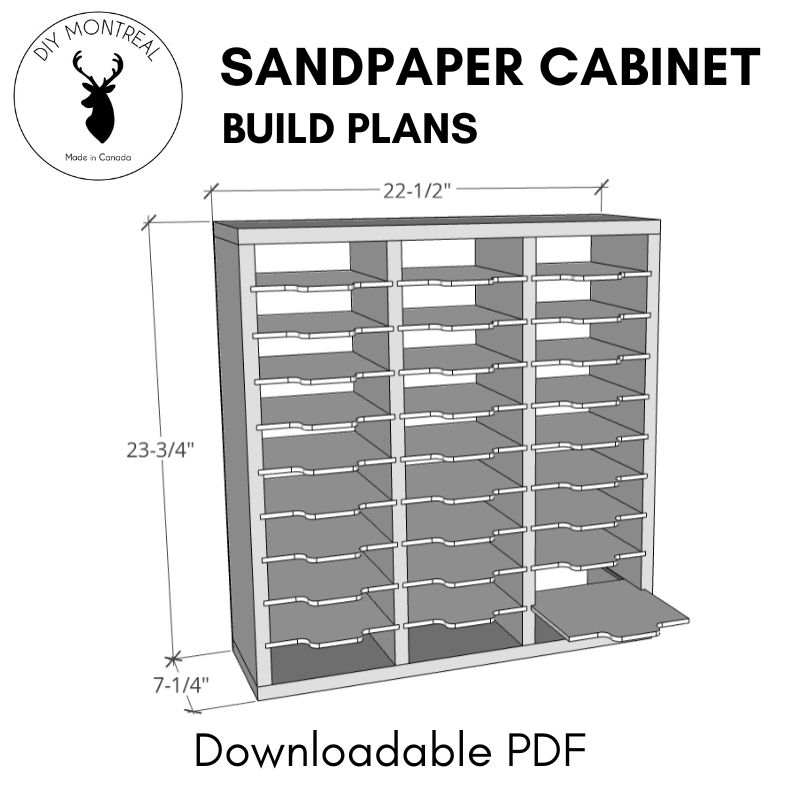
Build a Sandpaper Organizer and Storage Cabinet
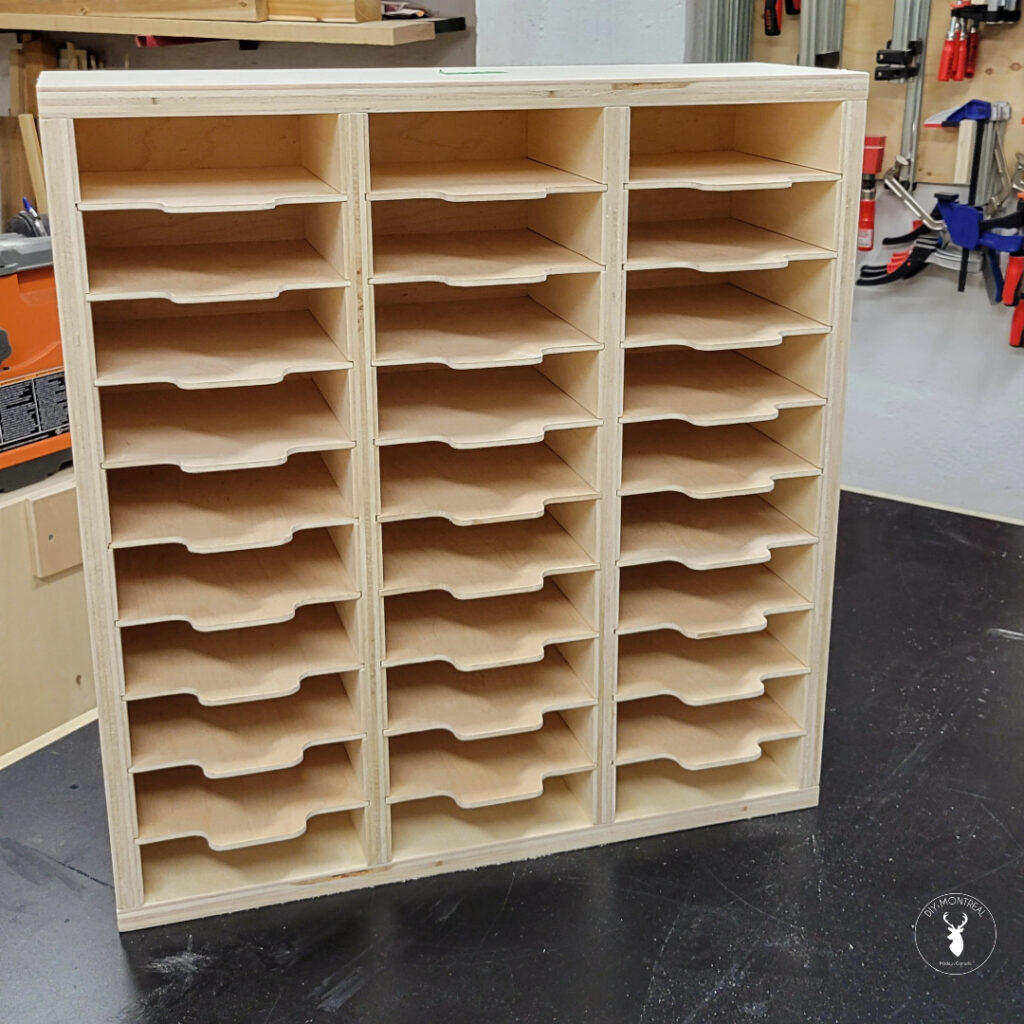
The sandpaper cabinet design is really simple. It’s assembled just with nails and screws, so the only challenge, really, is cutting all the dados consistently and having them all line up.
Cut Dados for Sliding Shelf Trays
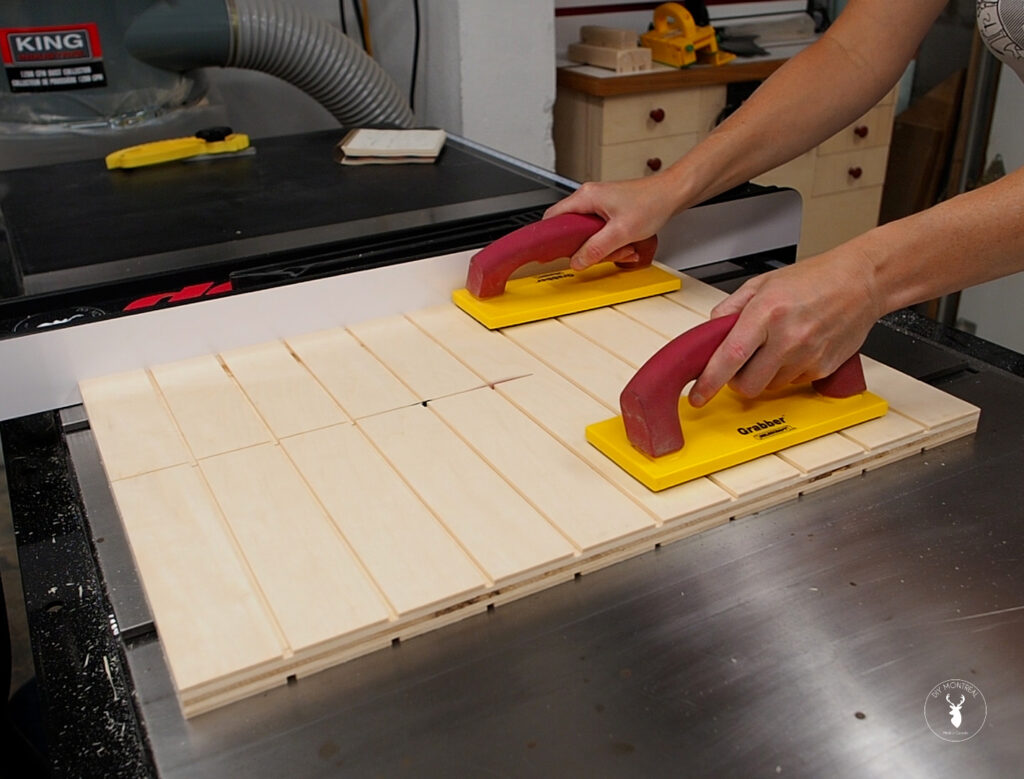
I’m going to cut all the dados on a single panel that I’ll then cut into 4 parts. This will make the process much easier and less prone to making mistakes. To cut the dados I’ll a regular table saw blade – no dado stack required. The blade height should be set to about one eighth of an inch, or just a hair over that.
I’ll start by setting the fence 2 inches away from the blade, then run the panel through to make the first cut.
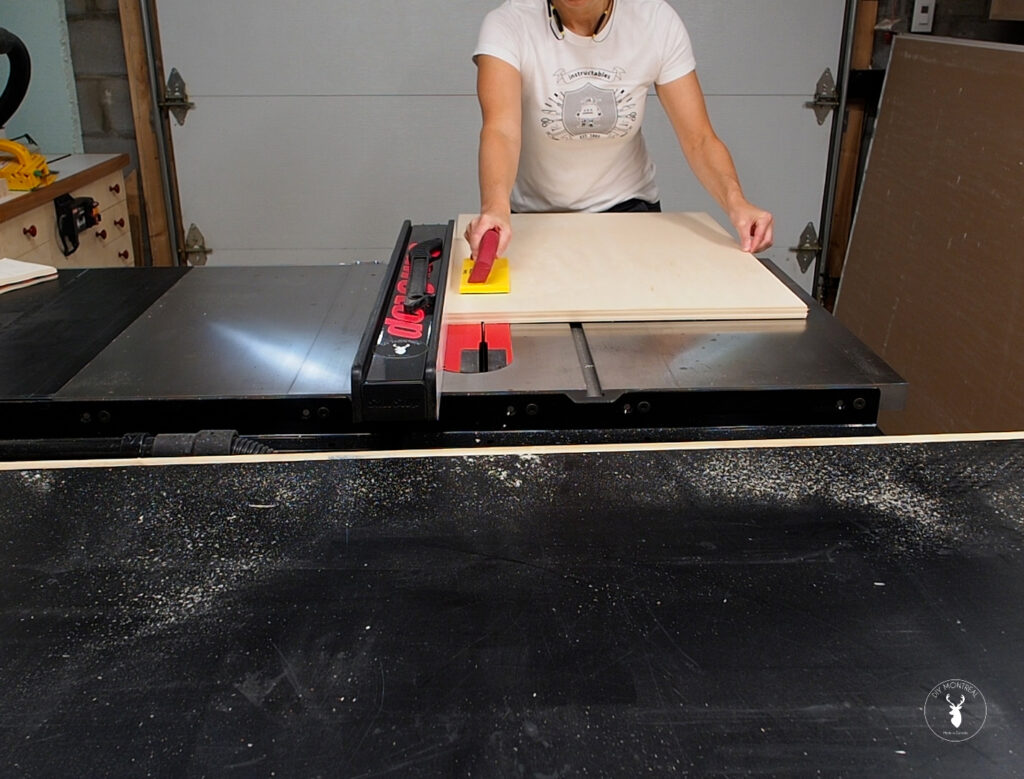
The key to this operation is to figure out how far you need to move the fence over to make a second pass and widen the groove just enough so it will fit a quarter inch piece of plywood. I did a test on a scrap piece and figured out that I need to move the fence away from the blade by 3/16th of an inch to get the exact dado width that I need.
I can now run the panel through again, and test the fit, just to be sure.
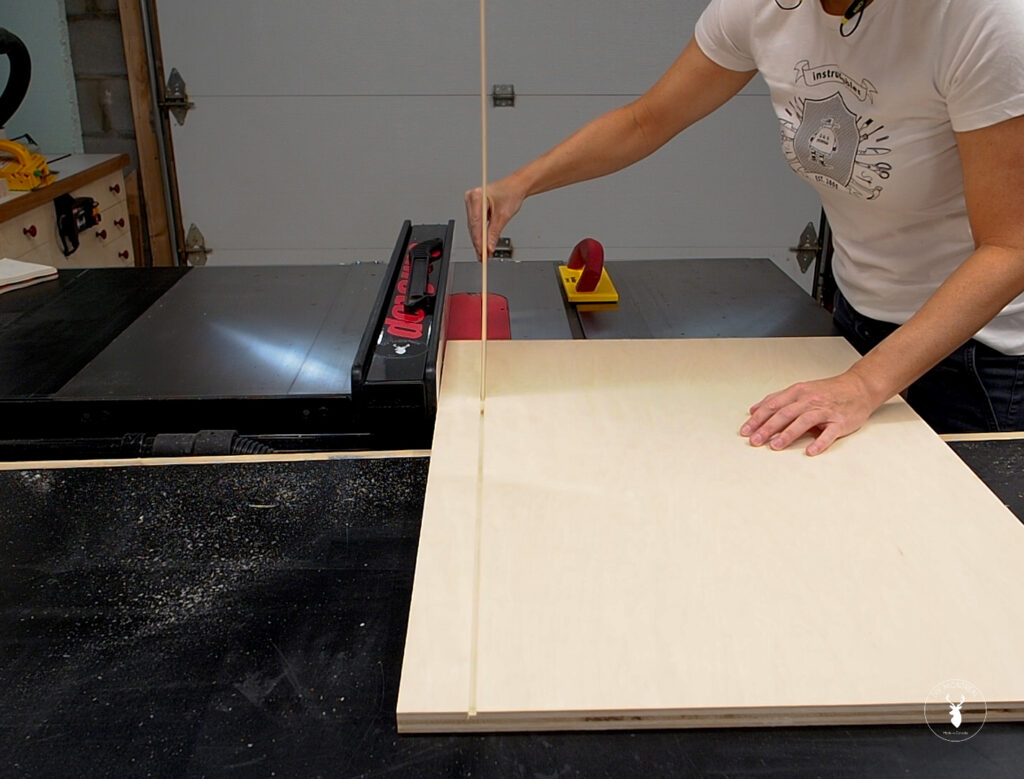
With the first dado cut, just keep moving the fence away from the blade to make the other dados. The exact measurements are all included in the plans. So just follow along and move the fence to the next distance, run the panel through, then move it by 3/16 and run it through again.
Then keep repeating the same process until the end of the panel is reached.
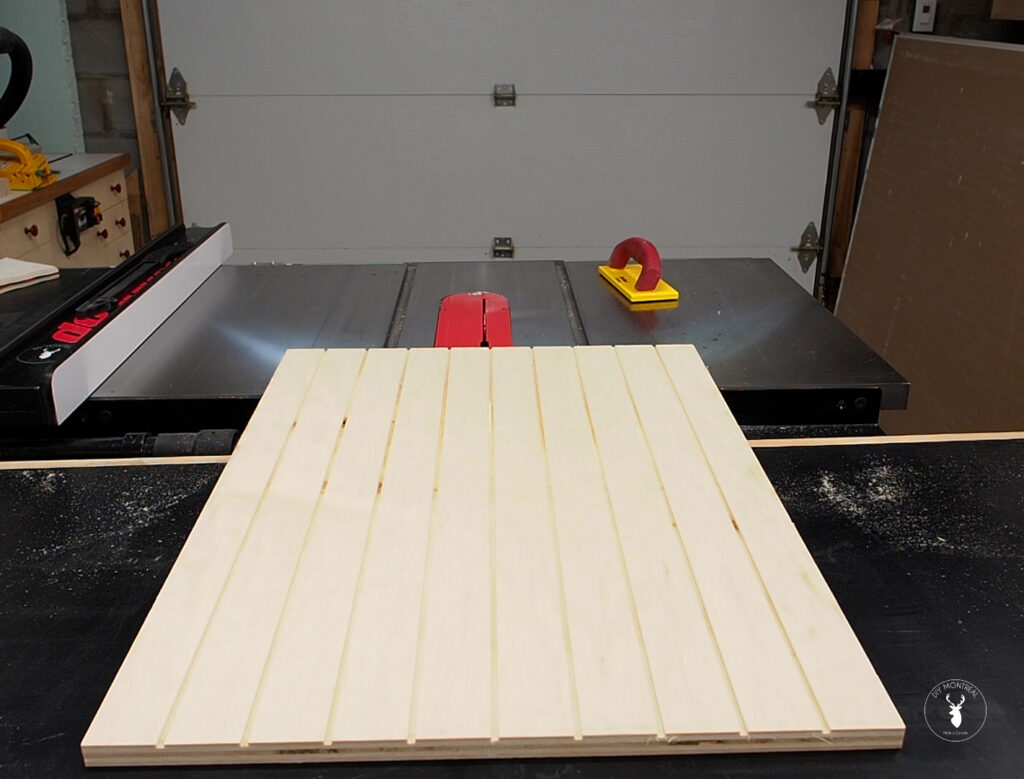
With all the dados cut, the panel can now be divided into parts. I’m only going to cut the left and right sides at this point, then stop. That’s because the two inner dividers need dados on both sides.
So, I reset my blade height to 1/8, and repeated the same process as before to cut all the dadoes on the opposite face. And FYI – they should mirror the opposite side exactly.
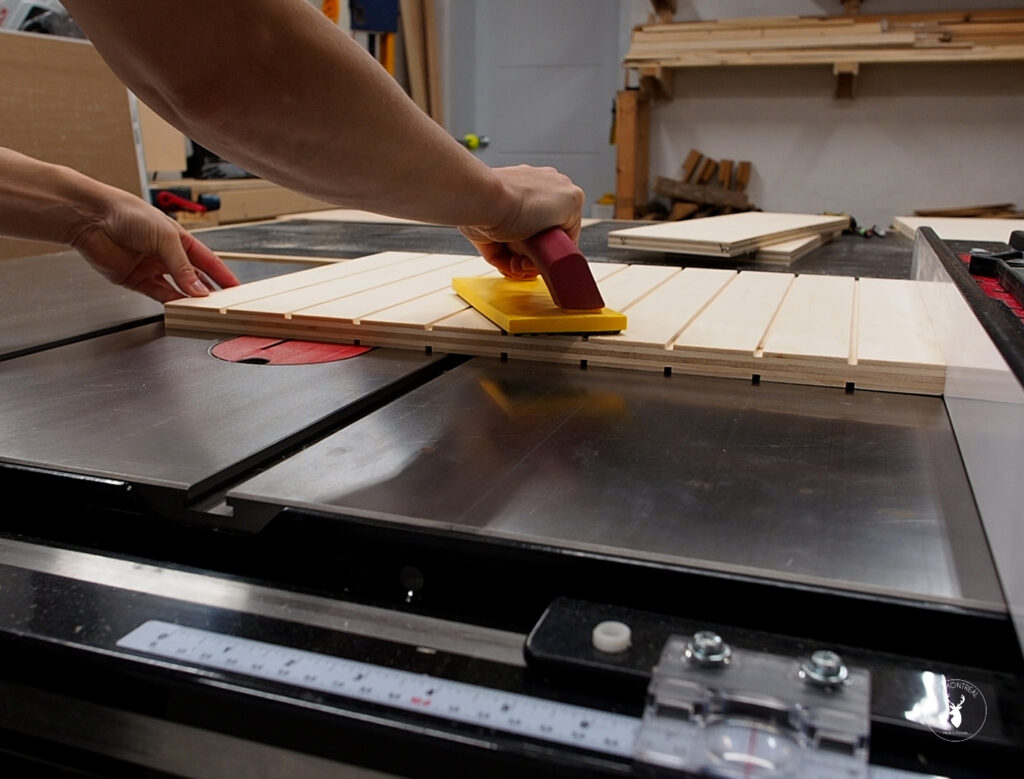
Once all the dadoes are cut, I can cut the inner dividers to their final width.
Assemble Cabinet Frame
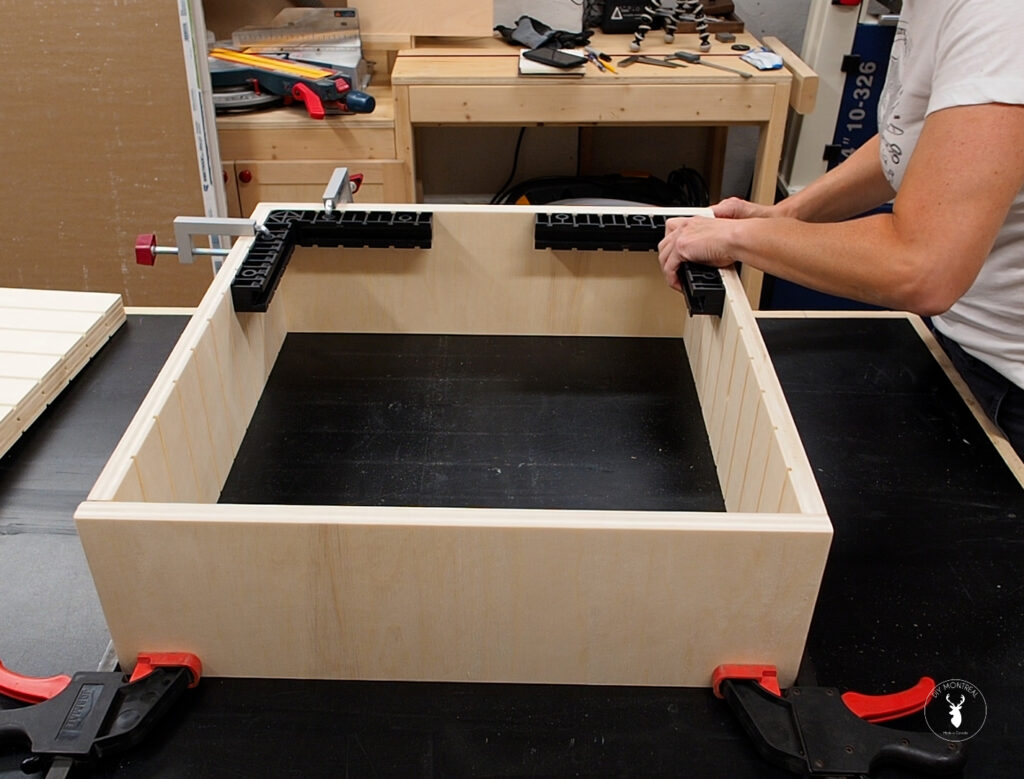
Like I said before, I’m keeping this design super simple, using screws and butt joints. Using 90 degree clamp squares helps keep the corners square and aligned while you drive in the screws after predrilling countersink pilot holes first.
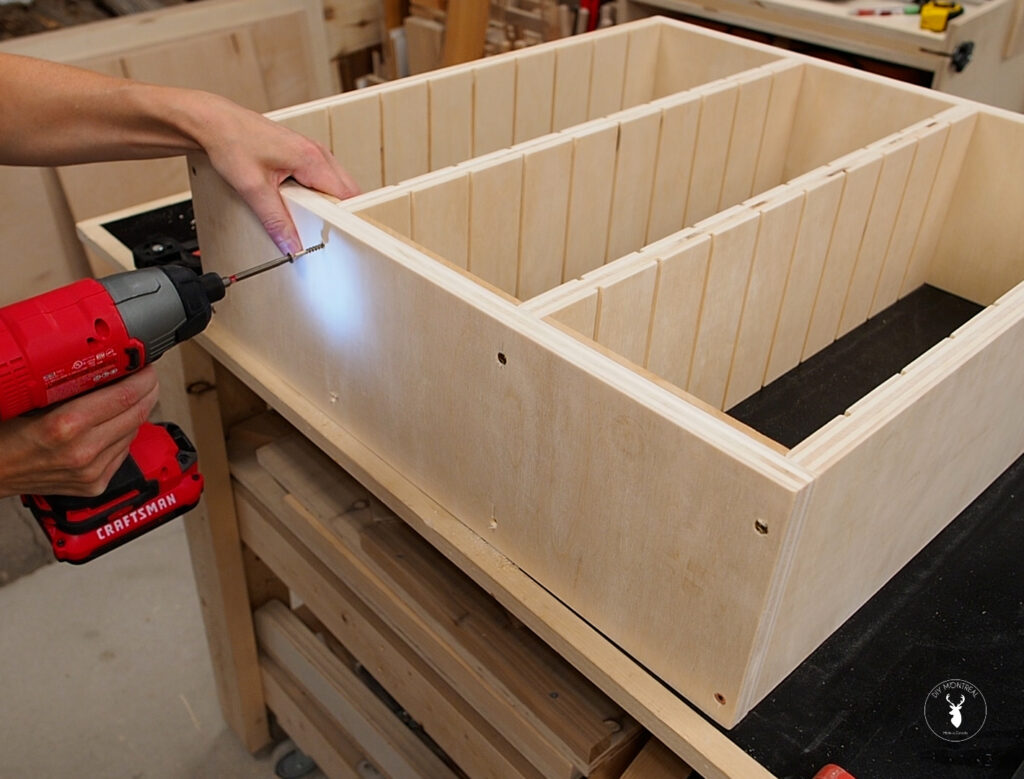
After assembling the outer frame, the middle dividers can be added. I cut spacers out of some scrap MDF to get the spacing just right.
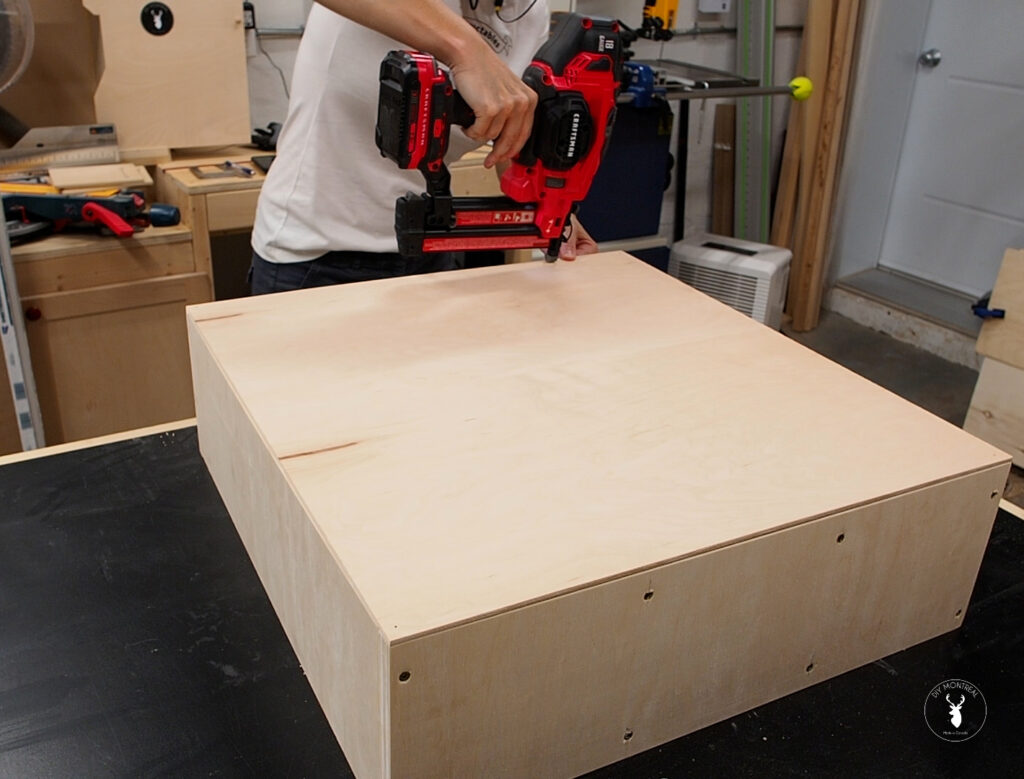
A simple back panel cut out of quarter inch plywood gets installed using glue and brad nails.
Pull-out shelf trays
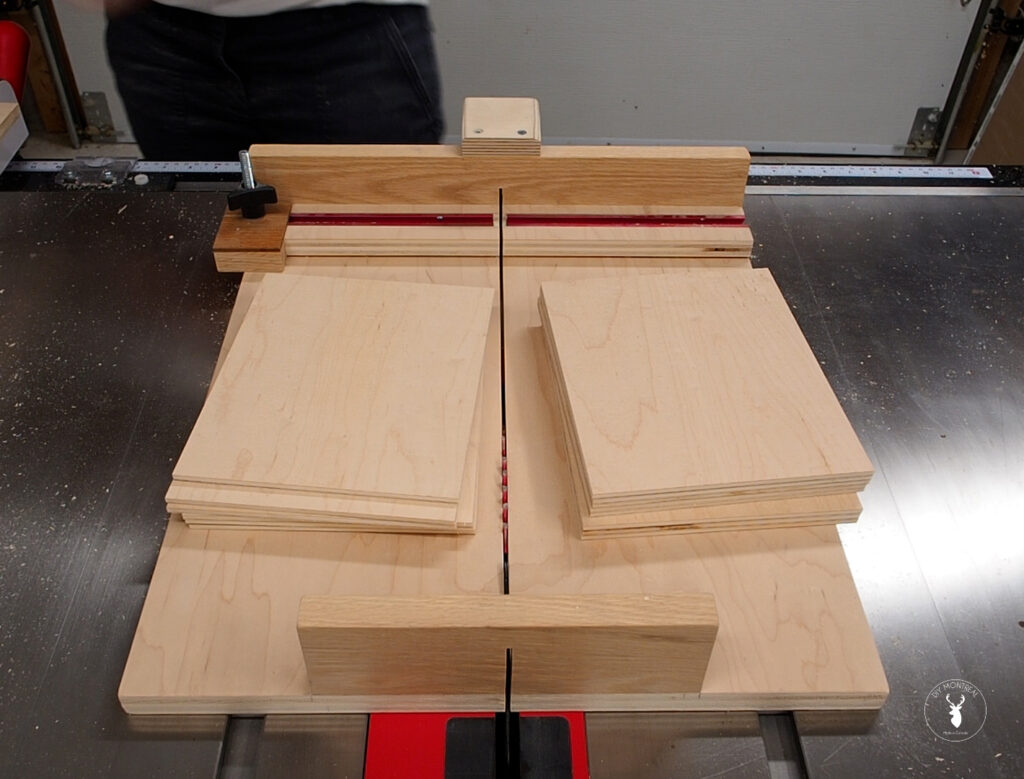
I’m going to add pull-out shelf trays that will slide into each pair of dados and essentially create little cubbies. I’ll start by cutting up a bunch of even sized blanks using my small parts crosscut sled.
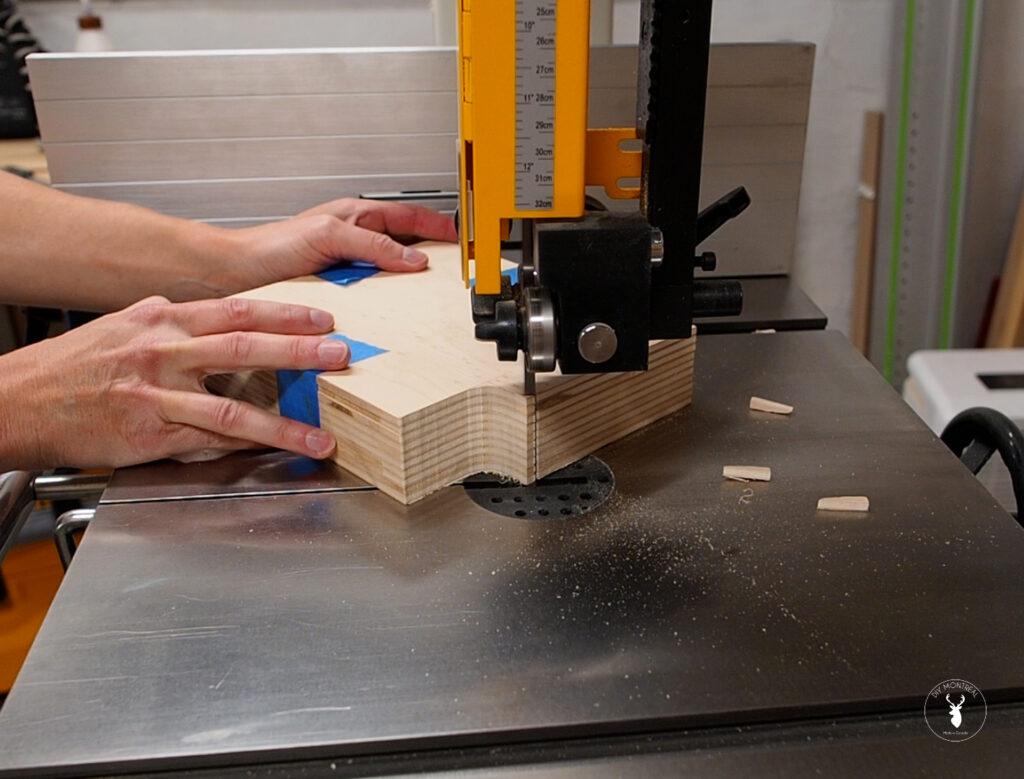
To create the tab pull, I’ll trace out a template onto one of the pieces using combination square and a nickel for the rounded corners. Taping all the blanks together in stacks helps to ensure consistency as I cut them out on the bandsaw.
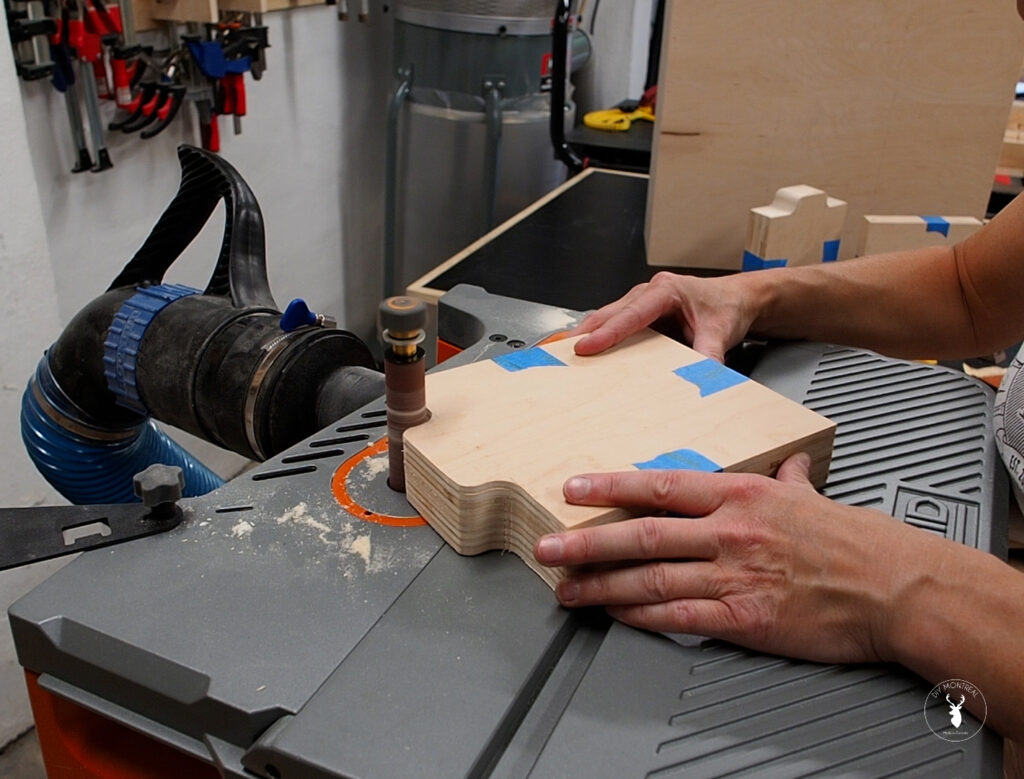
My bandsaw curve cutting skills still need some work, but it’s nothing that my spindle sander can’t clean up. A little careful sanding will make all the curves even and smooth.
Mount Cabinet to Wall (French Cleat)
A French cleat system is a simple way to mount the cabinet on the wall, especially if you have concrete walls like I do. Just tilt the blade to 45 degrees, and rip a strip of 3/4 ply roughly down the middle.
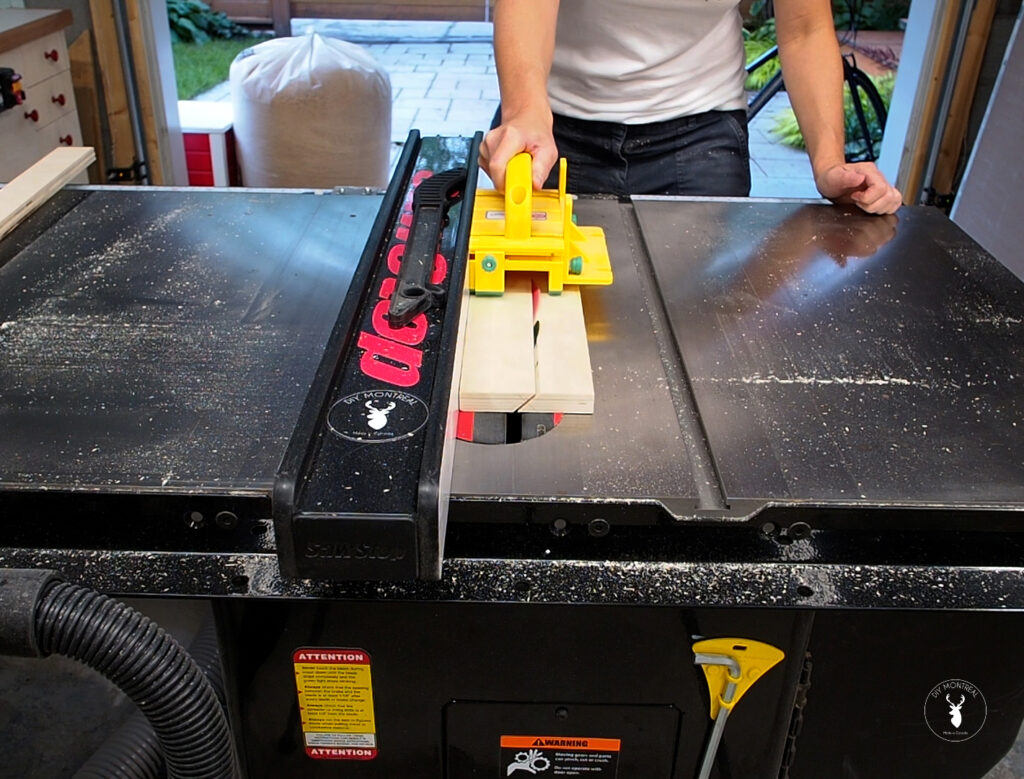
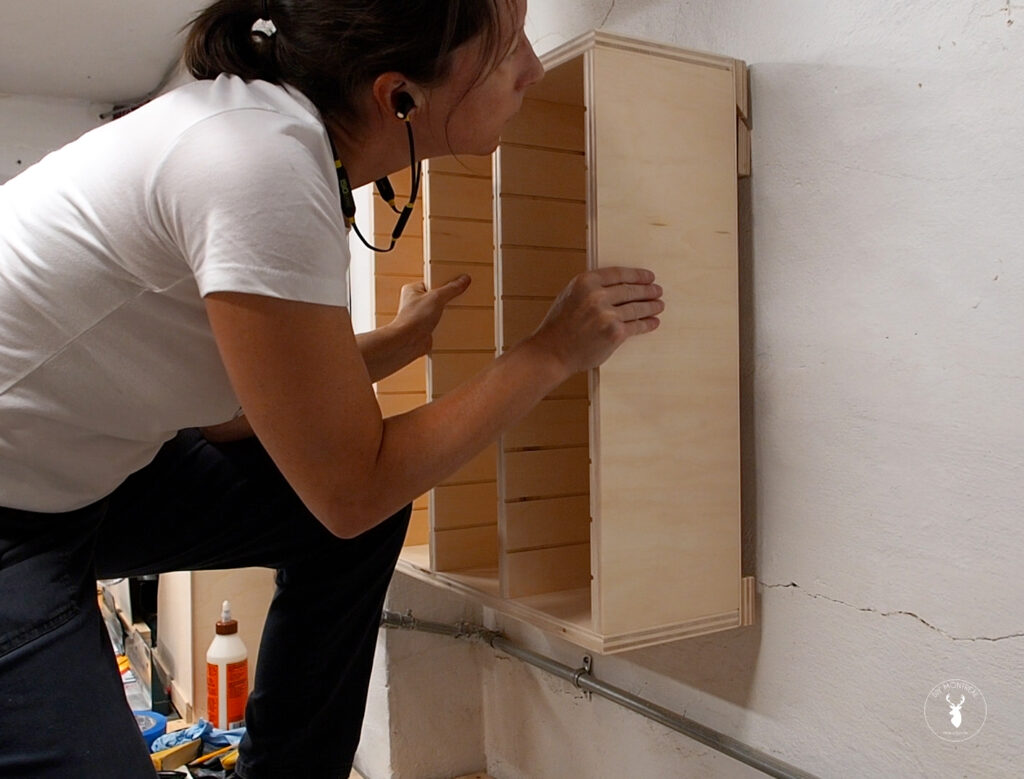
One half gets screwed onto the back of the cabinet; the other half goes on the wall with the help of a hammer drill and Tapcon concrete screws.
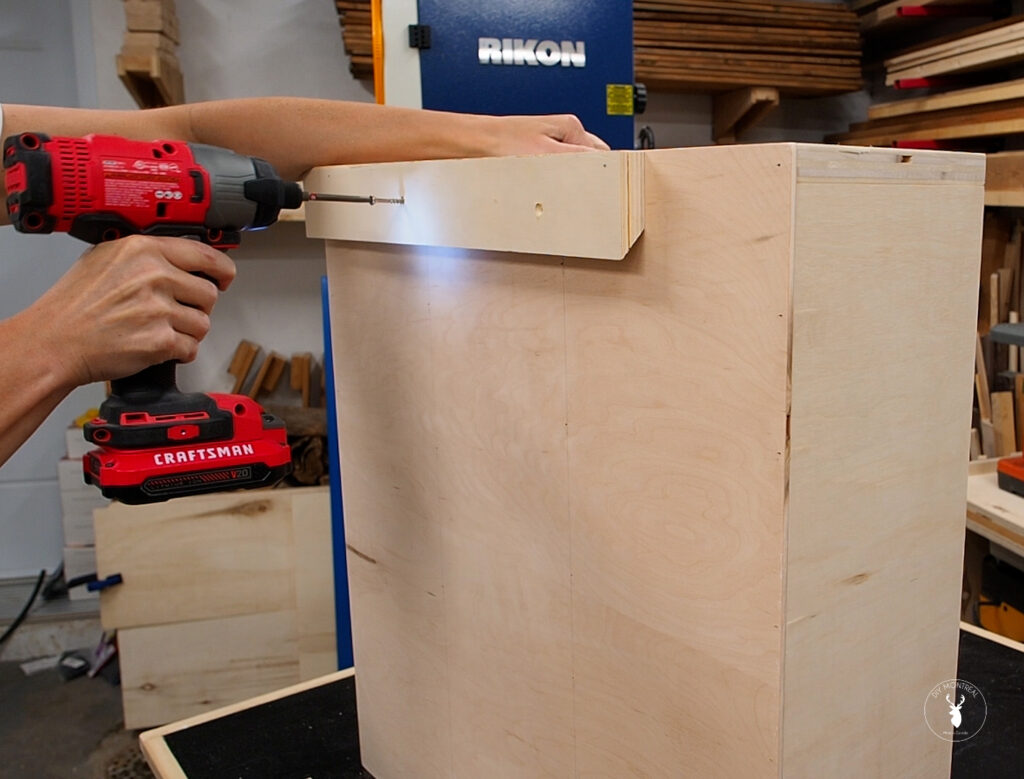
With the done, the cabinet simply gets hung on the cleat. Time to load it up!
And if I’m getting organized, I might as well pull out the label maker, right? I have both 6-inch and 5-inch sanding discs, so I put the 6-inch discs on the left, the 5-inch discs in the middle, and kept the right side for sanding sheets.
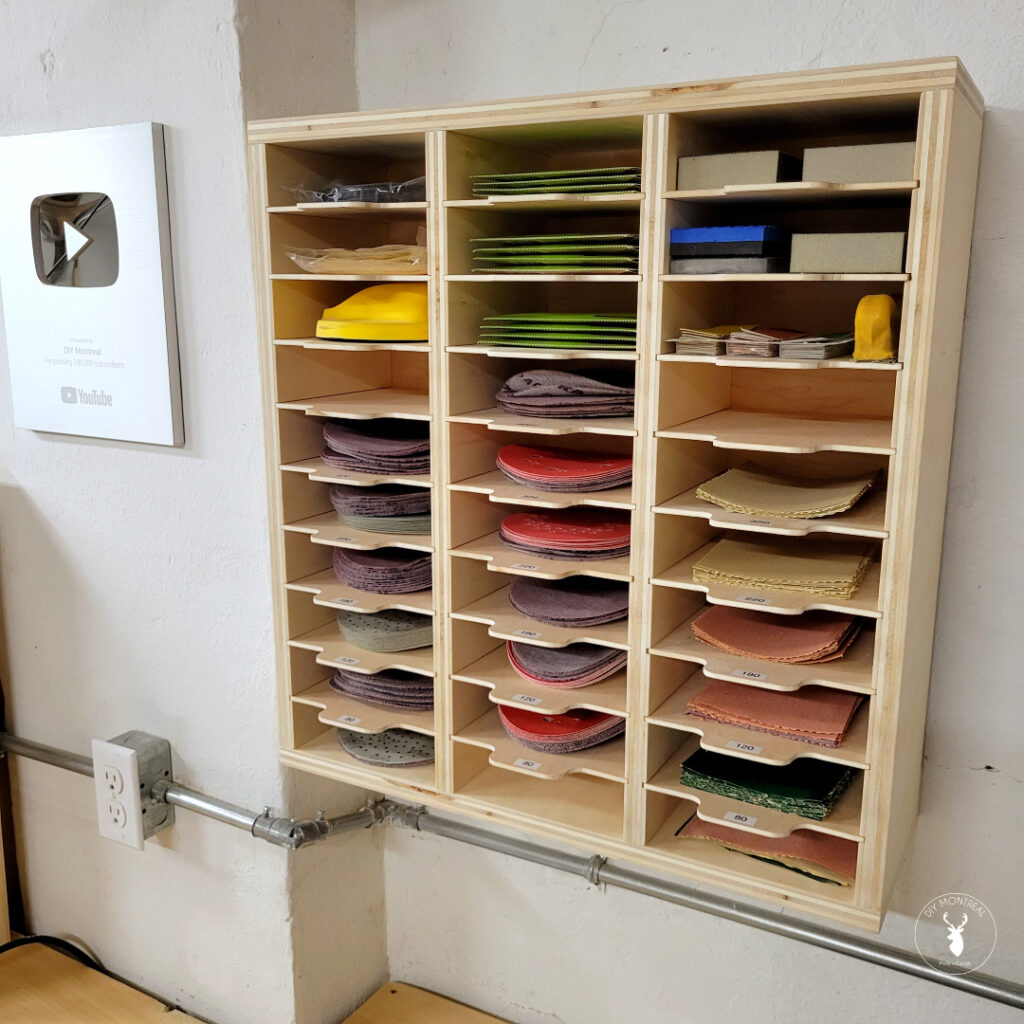
I’ve still got room left over to store my detail sanders, sanding blocks, sponges, and all of my sanding accessories. There’s even a spot for those gently used pieces that still have a little life left in them.
