I’ve been wanting to build a wood mirror frame for a while now, and I finally got around to it! There are so many different techniques for building mirror frames, I just couldn’t seem to choose. But when I got my hands on some reclaimed tongue and groove barnwood, I knew exactly how I was going to make my wooden mirror frame.
The great thing about this DIY project is that you can easily adapt this rustic mirror frame to any size, and use whatever type of wood you want! Like I said, I used reclaimed tongue and groove boards for the frame, but if you’re thinking Well, what if I don’t have reclaimed wood lying around? There are tons of tutorials out there that show you how to distress wood, and you can easily cut a groove using a table saw.
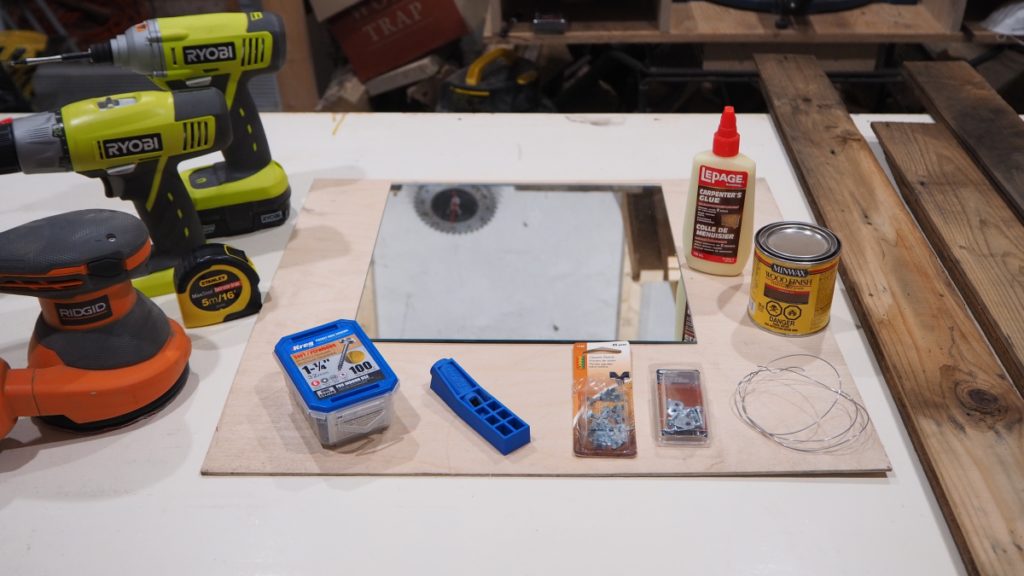 Tools and materials I used to make this reclaimed wood mirror frame
- Reclaimed tongue and groove wood
- Square 30x30cm mirror
- Plywood 1/8x12x12
- Mini Kreg jig
- Pocket hole screws
- Wood stain
- D-Ring hangers and wire frame kit
- Drill/driver set
- Orbital sander
- Miter saw
- Table saw
Cut the Backer
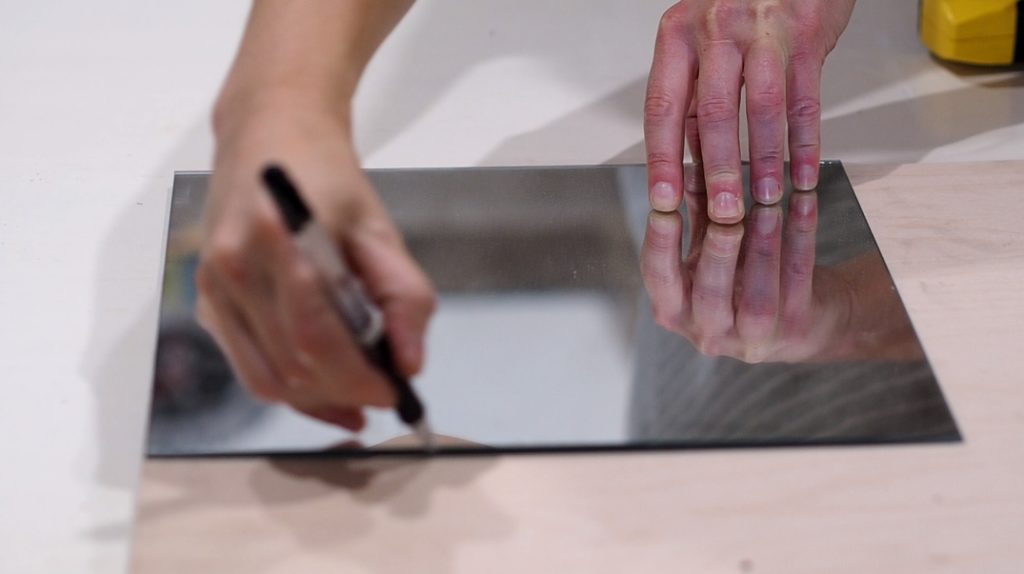
Lay your mirror flat on your 1/8″ plywood and trace the contour, then cut it down to size.
Cut Off the Tongues
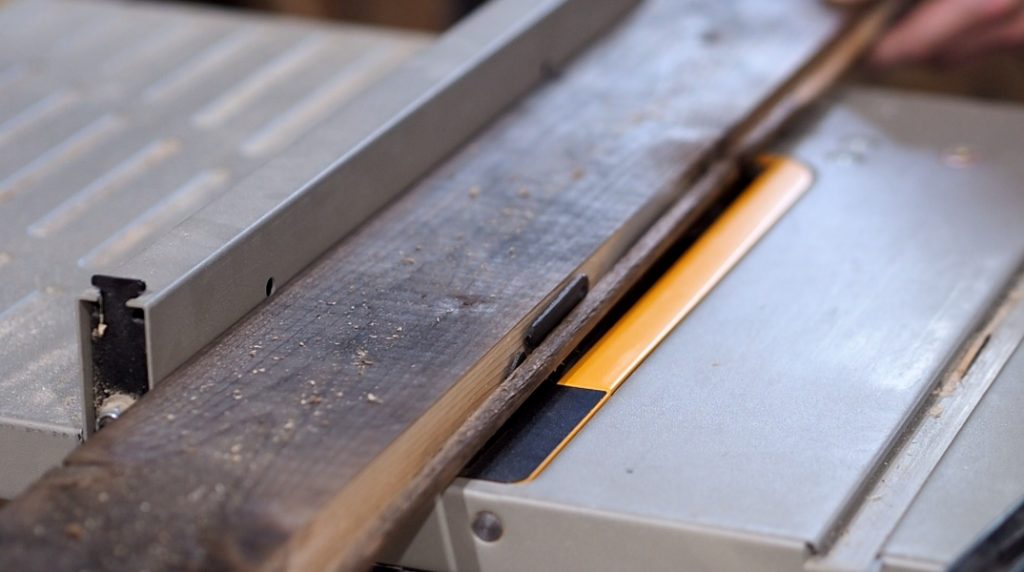
If you’re using tongue and groove boards, start by trimming off the tongues using your table saw.
Or, start with any regular board, and add a 1/4″ groove using your table saw.
Cut the Frame Pieces
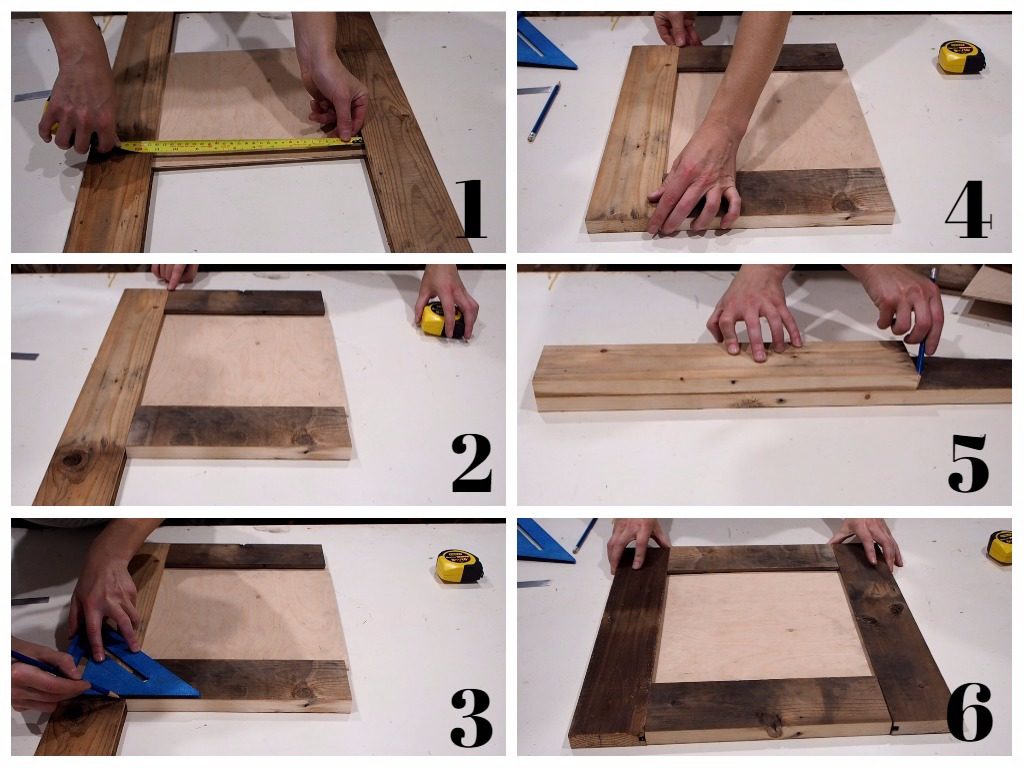
I started by inserting my mirror into the grooves of two of my boards, with one board on each side of the mirror. I measured the distance between the 2 boards (1). It came out to 11-1/4″.
I used my miter saw to cut 2 boards to this length. These will be my top and bottom pieces.
Next, I dry fitted the top and bottom pieces I had just cut, and placed a third board on the left side. I lined up one end of this board flush with the bottom of my frame (2), and marked where I needed to cut the top end (3).
After cutting that piece and checking the fit was good (4), I transferred the length onto another board to cut the right side (5). Then made the cut on my miter saw and checked the fit was perfect (6).
Make sense? You can also watch the building process in this short video.
Assemble With Pocket Hole Screws
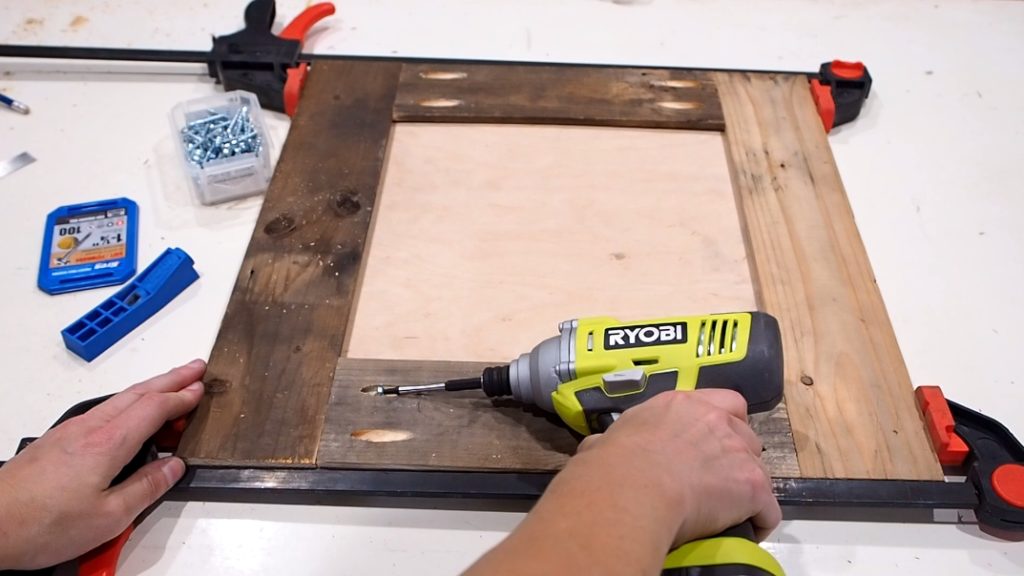
I used my Mini Kreg Jig to make two pocket holes on each end of my two shorter boards. (Note that I flipped over the frame to make the holes on the back side)
I then clamped the boards together (with my backer and mirror inserted into the frame) and screwed it all together using pocket screws.
Finishing Touches
After it was assembled, I gave the frame a light sanding, then wiped it down and applied a dark espresso stain. Turns out I kind of liked it better without the stain. Live and learn.
Finally, I used a D-ring wire frame kit that simply screws into the back of the frame so I could hang it on the wall.

If you haven’t already done so, you can watch the build video
