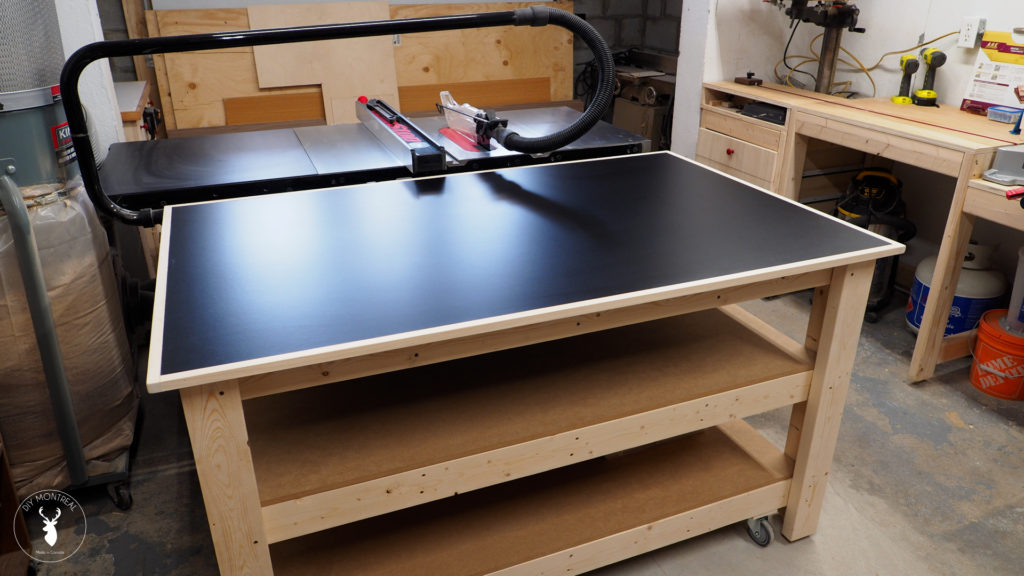
I’ve needed to build an outfeed table for my table saw – and a workbench for that matter (my current workbench consists of sawhorses and a beat up sheet of plywood) – and since my shop is so small, I figured I might as well build a mobile workstation that can do both.
With that in mind I built a simple 2×4 mobile workbench with casters, so I can move it around easily, and adjustable leveling feet so I can lock it in place, no matter how uneven my floors are (which they really are).
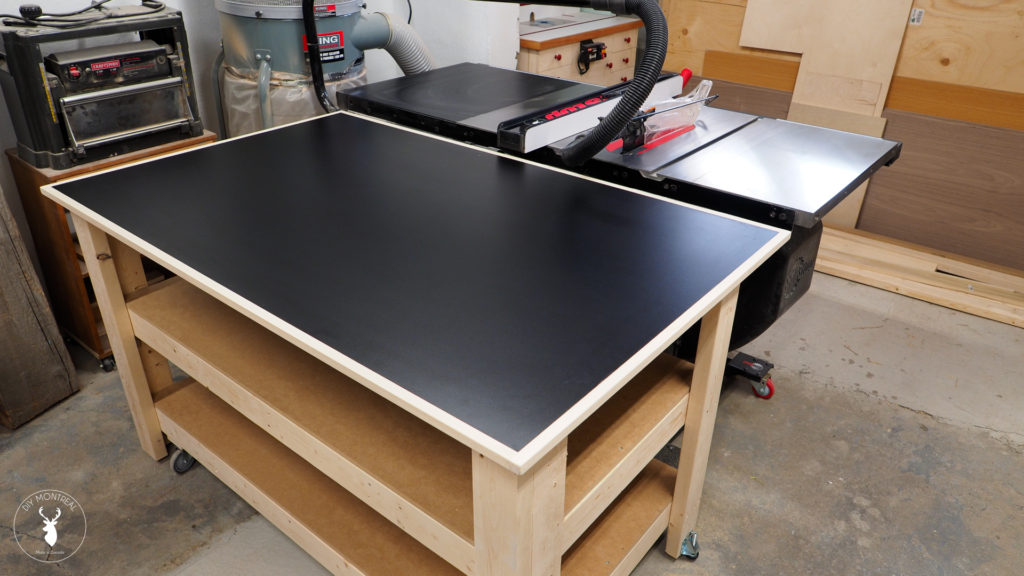
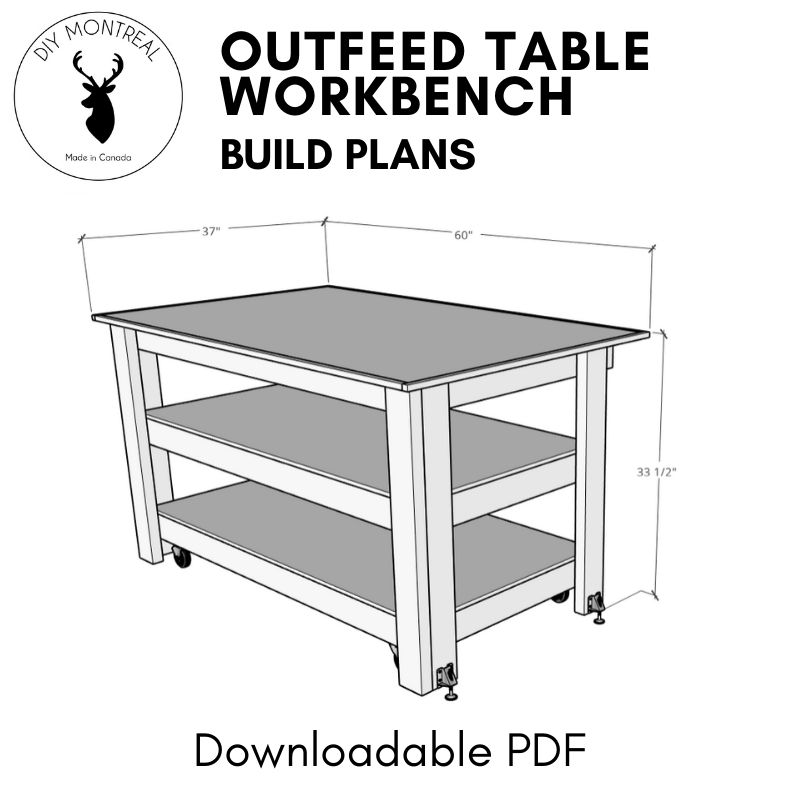
The table will be roughly 3 feet by 5 feet, and sit half an inch lower than my table saw to allow enough clearance for sleds and miter gauges.
Materials
I used eleven 2x4s for the base, but bought some extra just in case, picking out the straightest ones I could find at the store. The lower shelves will be MDF for affordability, while for the top I’ll use a sleek, non-stick sheet of black melamine to keep away glue and stains.
Here are all the materials I used for this build:
- 2×4 pine studs
- 1/2″ MDF
- 5/8″ Black melamine
- Hardwood (for trim)
- 3″ swivel caster wheels
- Leveling feet
- Melamine glue
- 1″ & 2-1/2″ pocket screws
- Hex screws
- 3″ wood screws
- 1-1/4″ wood screws
- Brad nails
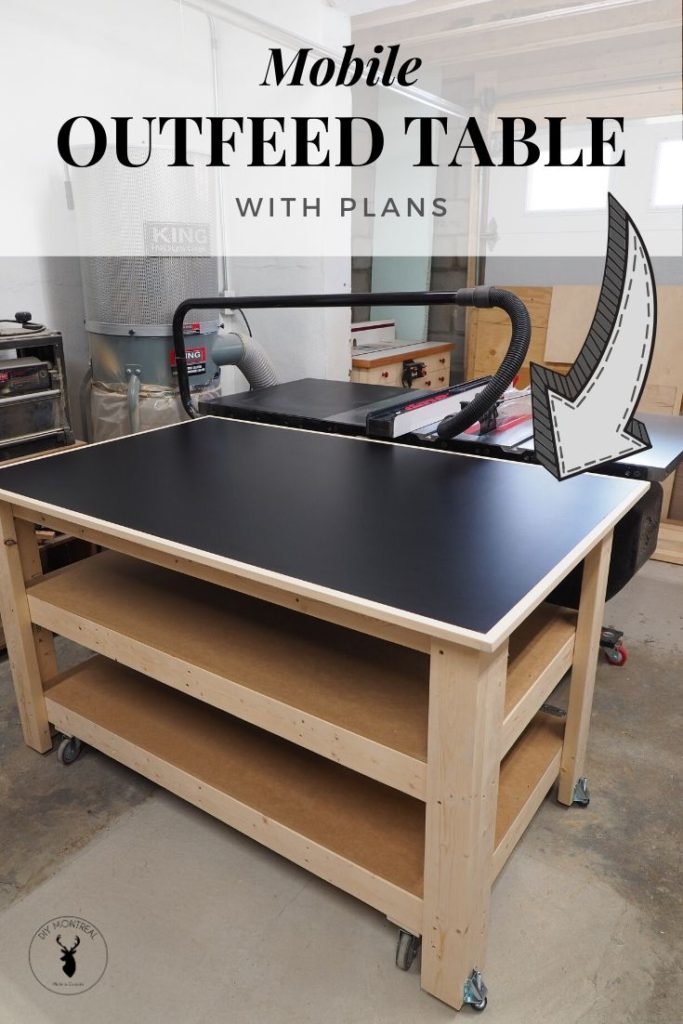
Get the plans
How to Build a Mobile Outfeed Table / Workbench
I used my miter station to cut down all the 2x4s to length, using a stop block for consistency.

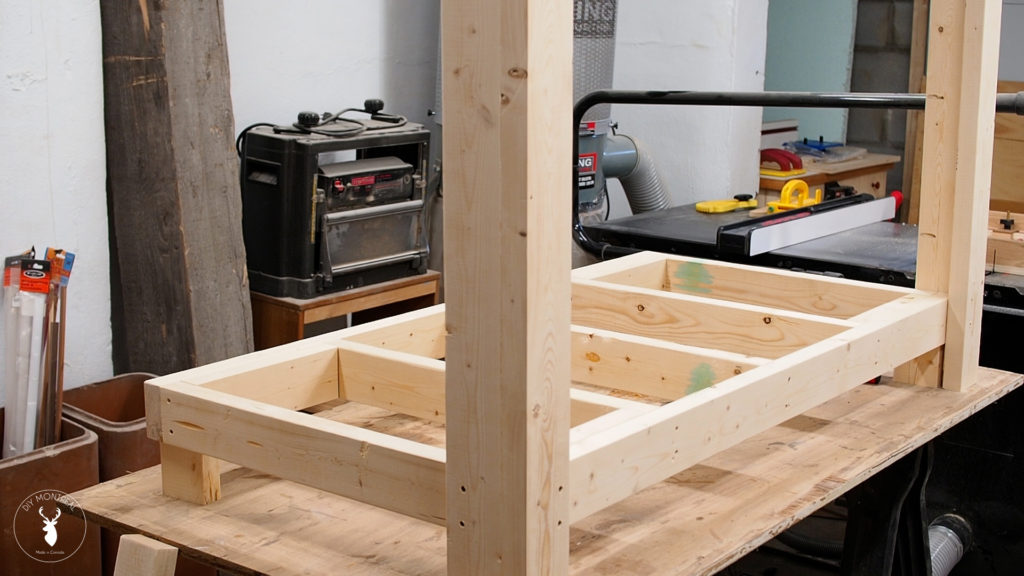
I then began assembling the 3 frames, one by one. I first made pilot holes using a countersink bit, then secured the boards with two 3″ wood screws per joint. To make assembly easier, I cut 2 spacer blocks to help position the other stretchers. That way there’s no measuring, no marking and the boards don’t move around on me while I’m driving the screws.
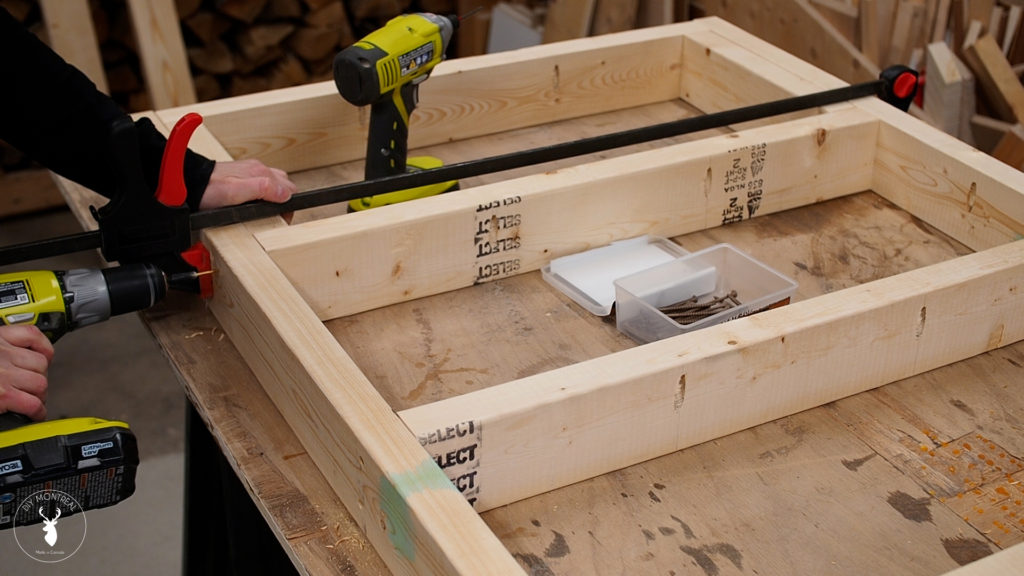
After completing the first frame, I simply repeated the process for the middle frame.
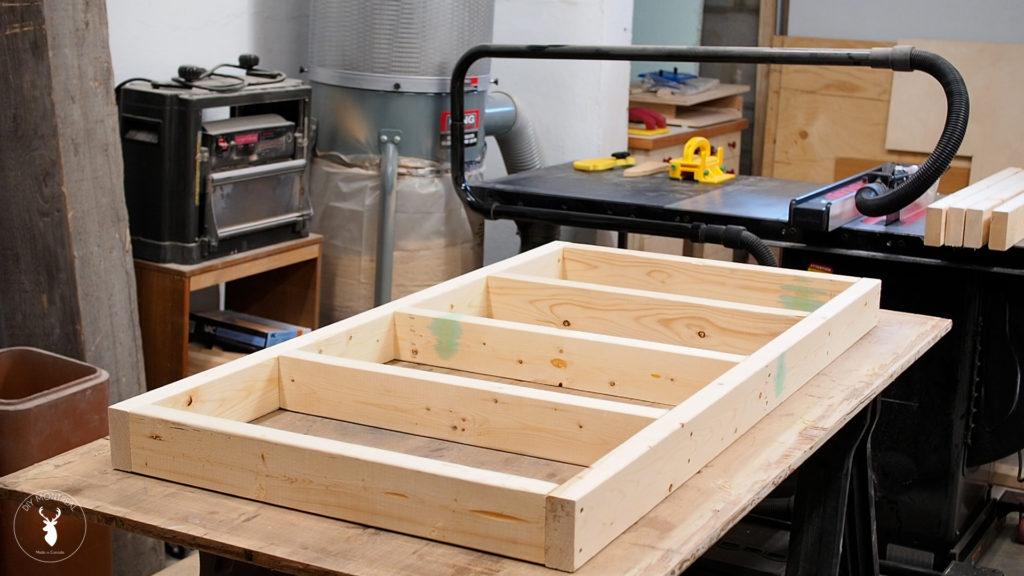
I made the top frame a little deeper, and this is to leave clearance at the back of the outfeed table for my Sawstop’s dust collection hoses. Before assembly, I made pocket holes in all the 2x4s so I can attach the top of the workbench from underneath later. I then assembled the frame making sure to keep all the pocket holes facing upwards and inwards.
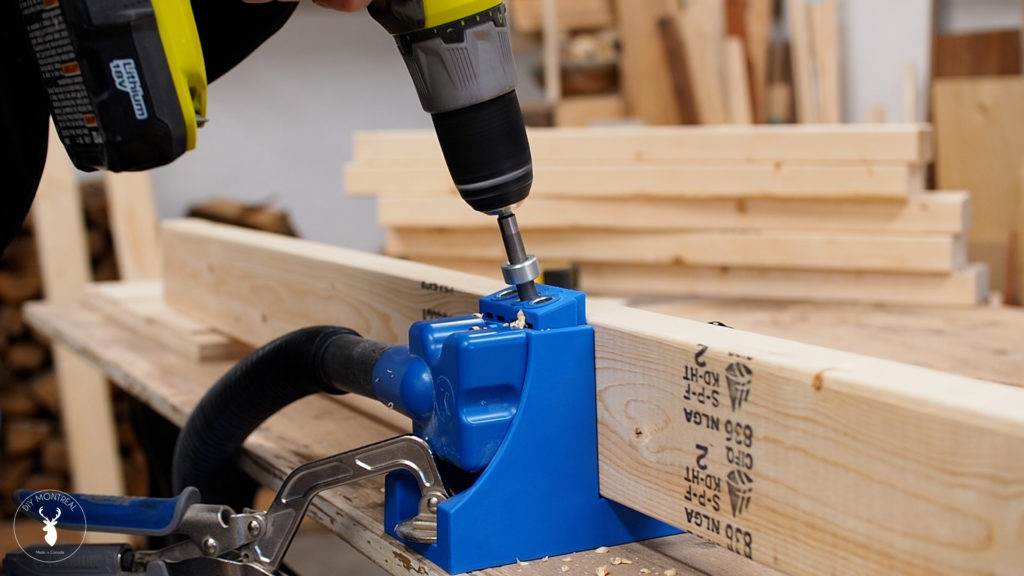
Next, I got to work on the legs. Two of the legs will be assembled in a corner formation for added stability. For a cleaner look and to have a straight flat edge to work with, I ripped one edge of each board. I then made a few pocket holes and applied some glue, before aligning the boards and clamping them down while I drove in the pocket screws.
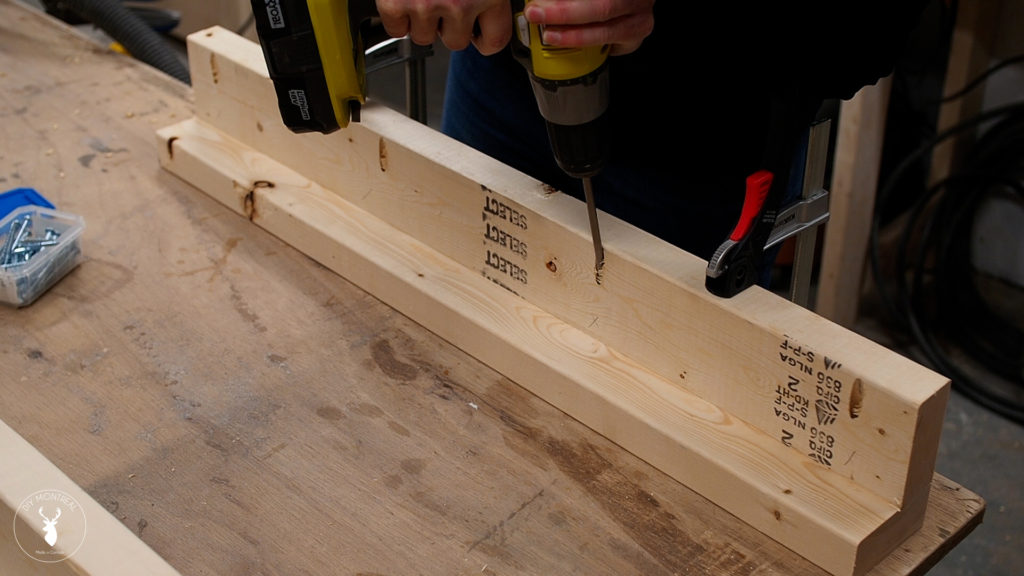
Before moving onto assembly, I added additional blocks to the lower frame, and this will be so the caster wheels have a big enough surface to rest on. The good thing is that I can reuse the spacer blocks I previously cut for assembly.

To install the legs, I used 4 spacer blocks to raise up the lower frame to the desired height. I then positioned the front corner legs and attached them, again first making countersunk pilot holes, and securing with screws.
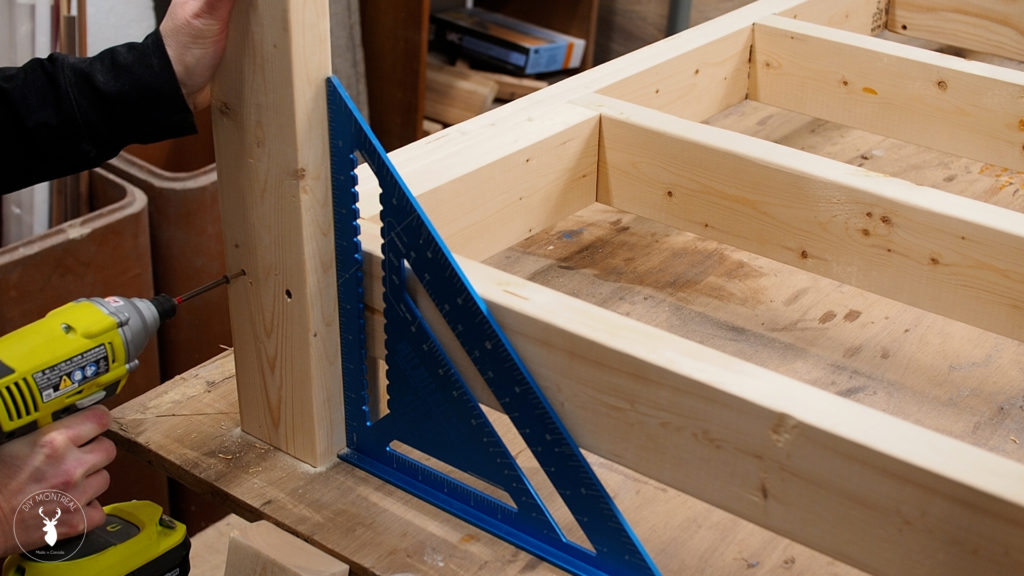
The back legs are single 2x4s that I lined up with the back edge of the frame and used a speed square to make sure they were square to the frame.
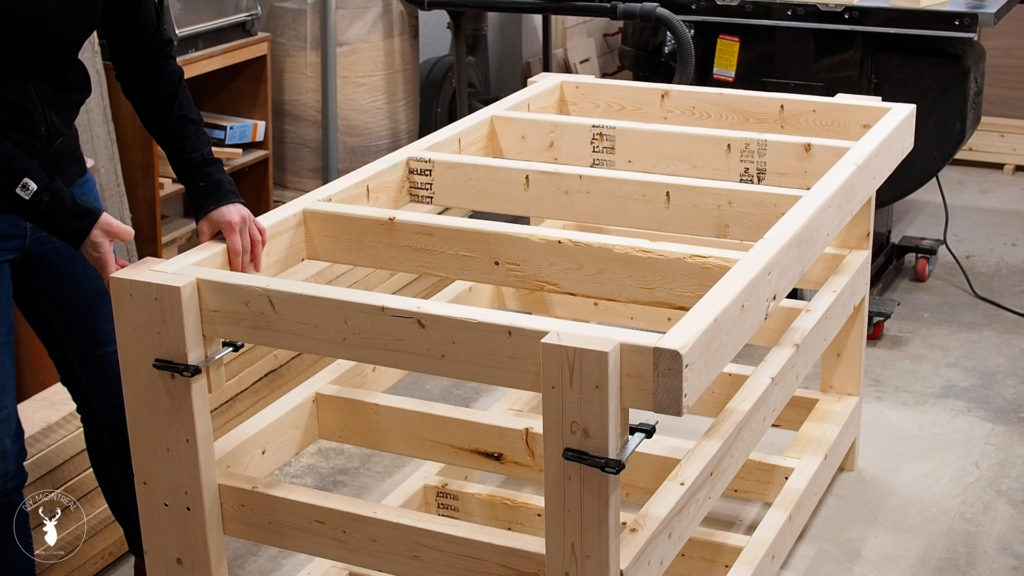
With all 4 legs attached to the lower frame, I cut another spacer block that I could pair up with the ones I previously used. I went around and secured the blocks with some clamps, and then could just drop the middle frame into place and secure it with some more screws.
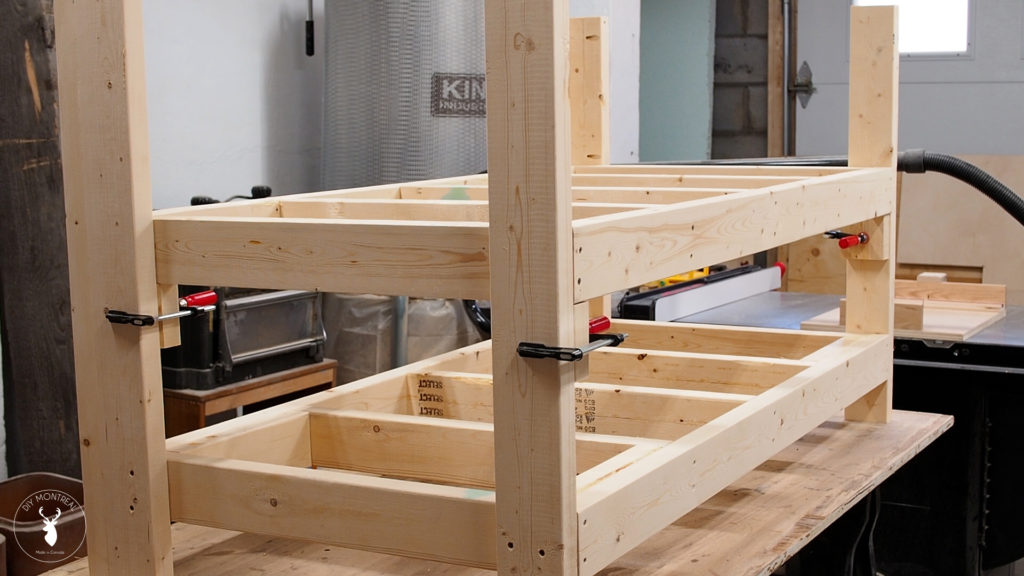
I repeated the same process for the top frame, first making sure the top was nice and flush with the top of the legs. I also made sure to check that the pocket holes were facing upwards.
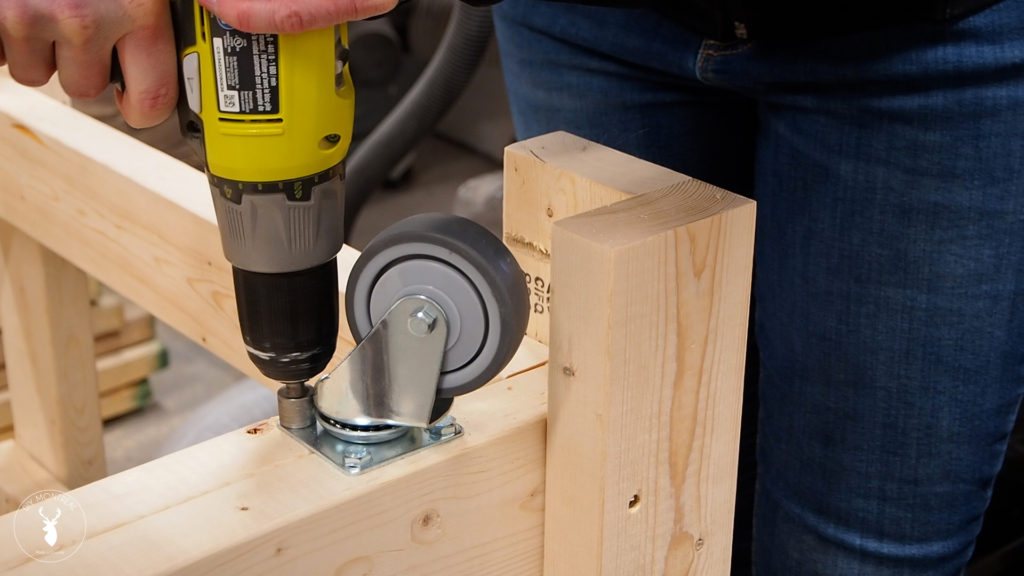
I then flipped over the workbench so I could attach the casters. I made sure to inset the casters far enough so that the wheels fully cleared the legs 360°. I used some hex screws (lag screws) to attach the casters.
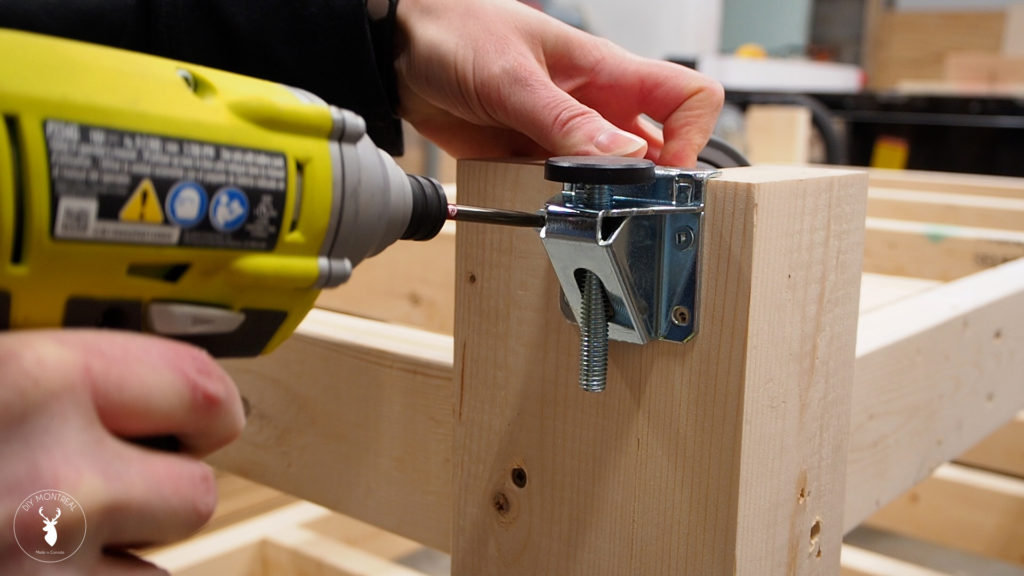
Now, if you watch the build video, you’ll see how uneven my garage floor is. Not being level is one thing, but having odd slopes and dips is a real challenge. That’s why I’m going to add heavy duty leveling feet so I can not only stabilize the outfeed table but also level it so it’s parallel with my table saw.
I cut 2 sheets of half inch MDF to size for the lower and middle shelf, and attached them to the frames with just a handful of screws.
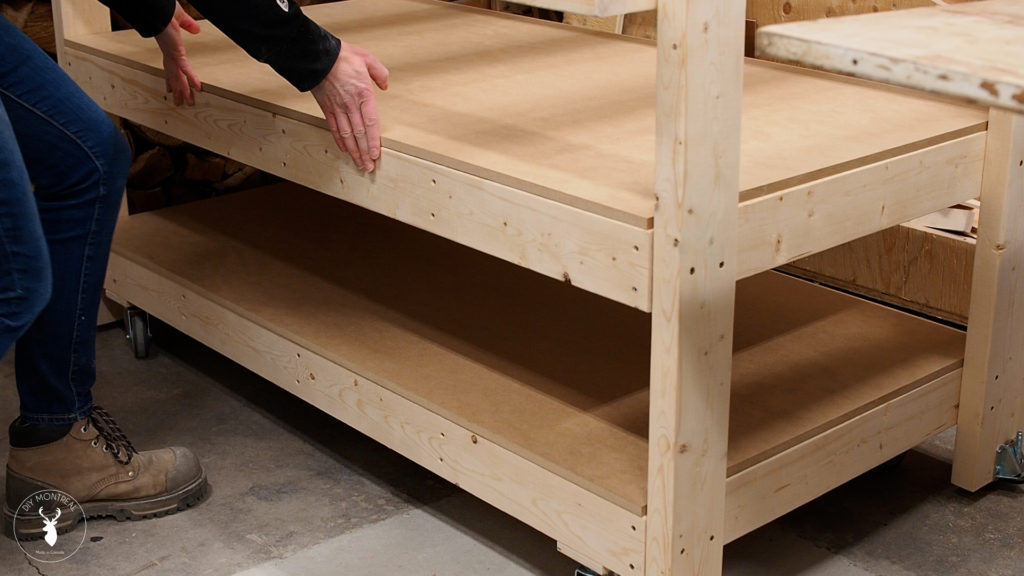
For the top of the workbench, I want a smooth slick non-stick surface so I’m going to try black melamine. I cut the top so it would overhang the frame on all sides. I know I’ll end up using this as a workbench, and I want to have the flexibility to be able to easily clamp stuff down.

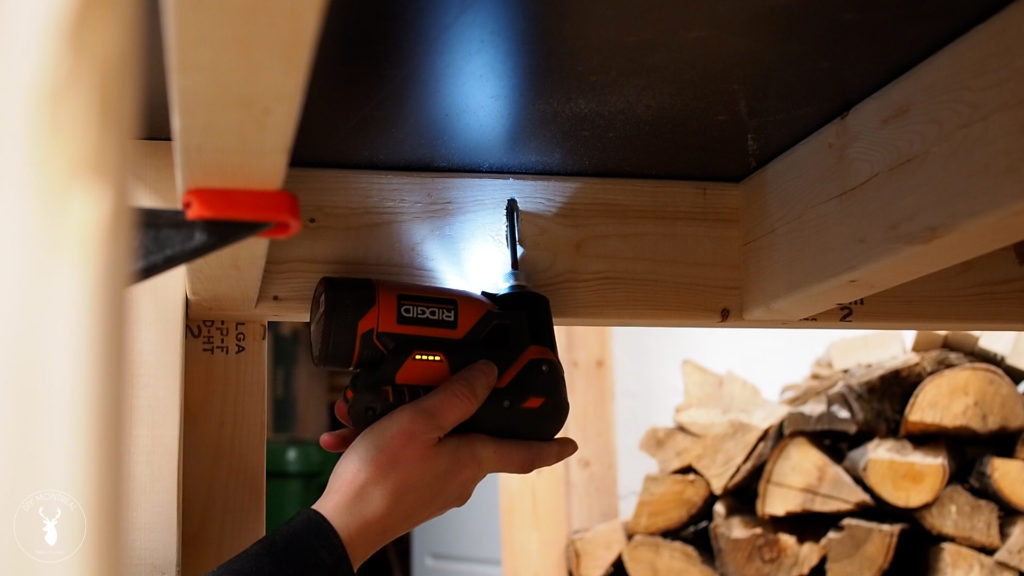
After checking that the overhang was even on all four sides, I used pocket screws to attach the top from underneath.
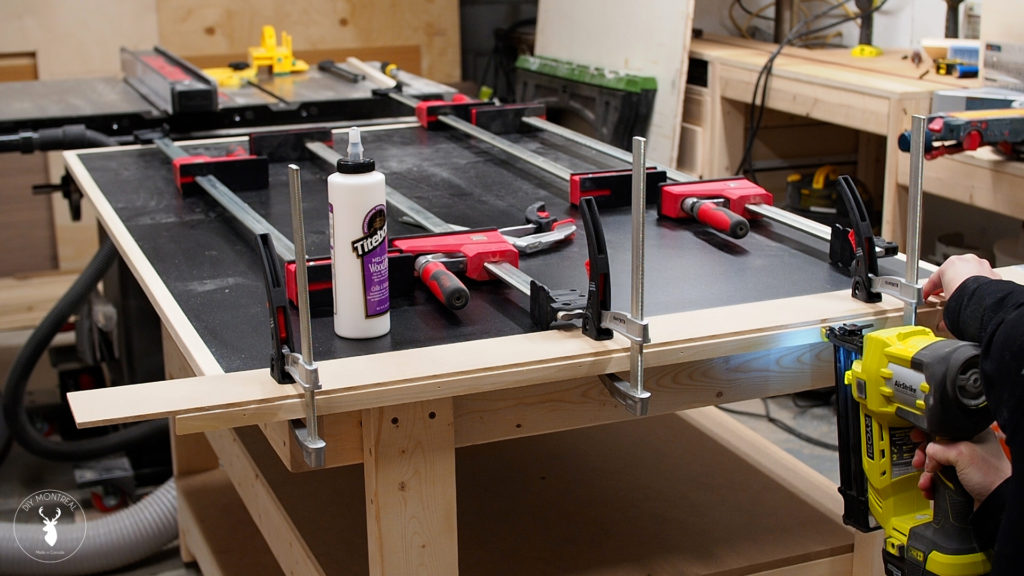
To hide those unsightly melamine edges and offer some additional protection, I’m going to trim all the edges with hardwood. I applied a generous amount of melamine glue and temporarily secured the trim with a few brad nails. I then added some clamps to hold it tight while the glue dried.
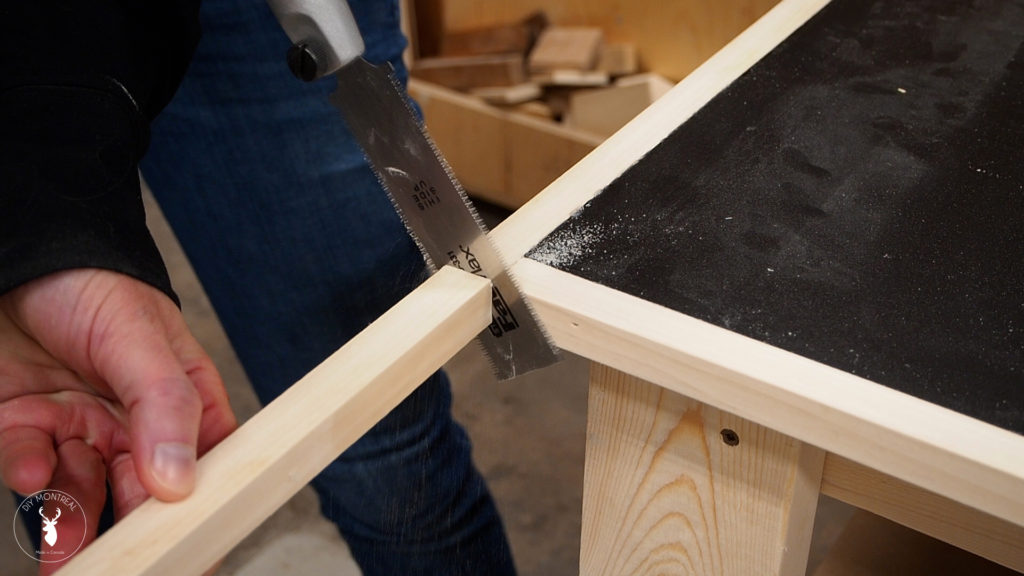
I did one side at a time, leaving the trim long and then using a flush cut saw to trim it down to length once dried, and then repeated the process for the next side.
I then sanded and rounded all the corners and also made sure to break all the sharp edges as well.
I’ll probably add some wipe on poly to the trim – eventually – but for now I can roll it into place and start putting it to work.