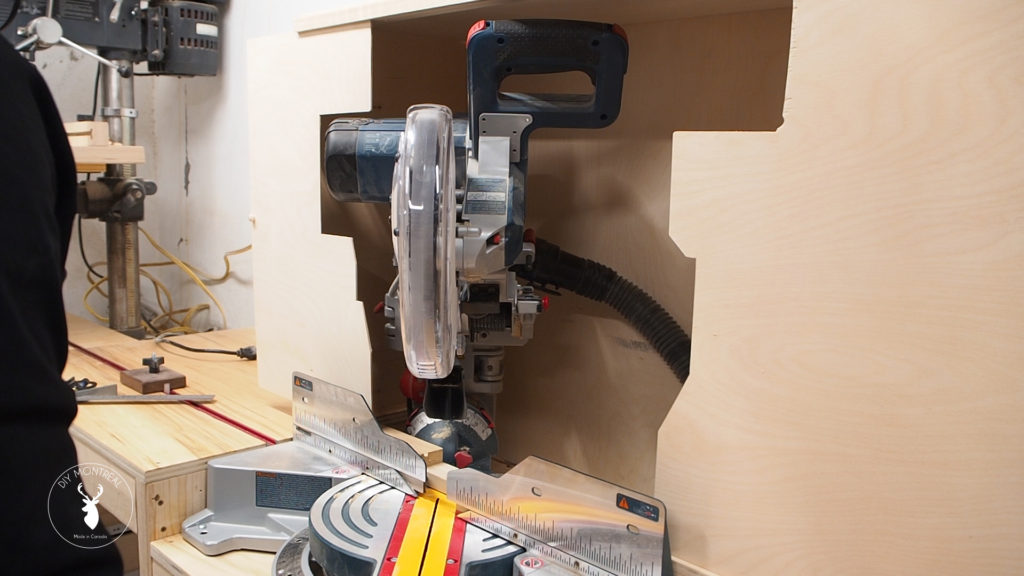
A few months back I built a kick ass miter saw station. Today, I’m upgrading the miter saw station with dust collection. I made a dust hood with sliding adjustable doors which makes it easy to open up for mitered cuts. I’ll also show you how to set up a dust cyclone on an automated switch.
I built my modular 2×4 miter saw station back in March, and I have a separate video for that build if you want to check it out here. I also have plans available that include stop blocks and an extension wing.
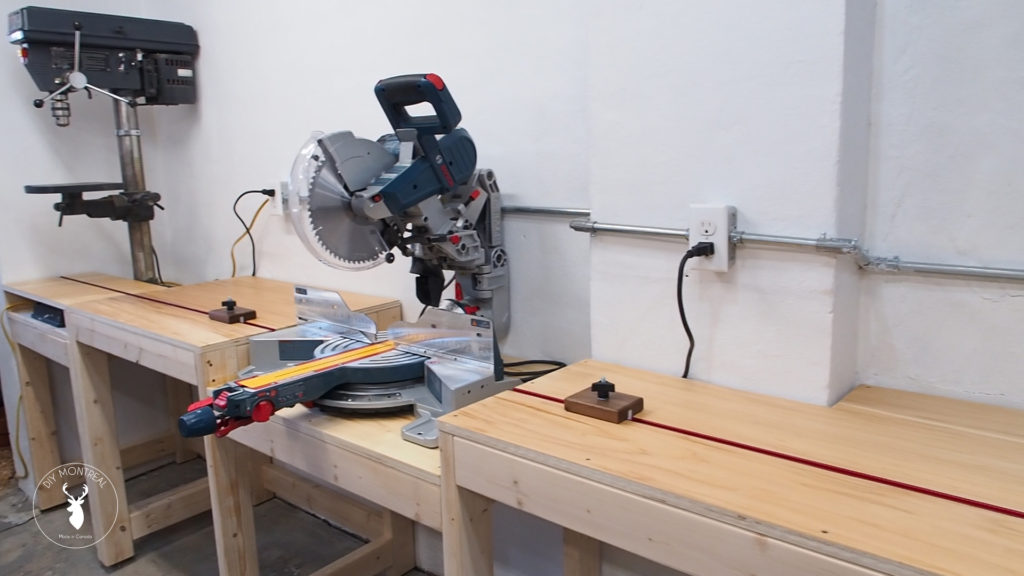
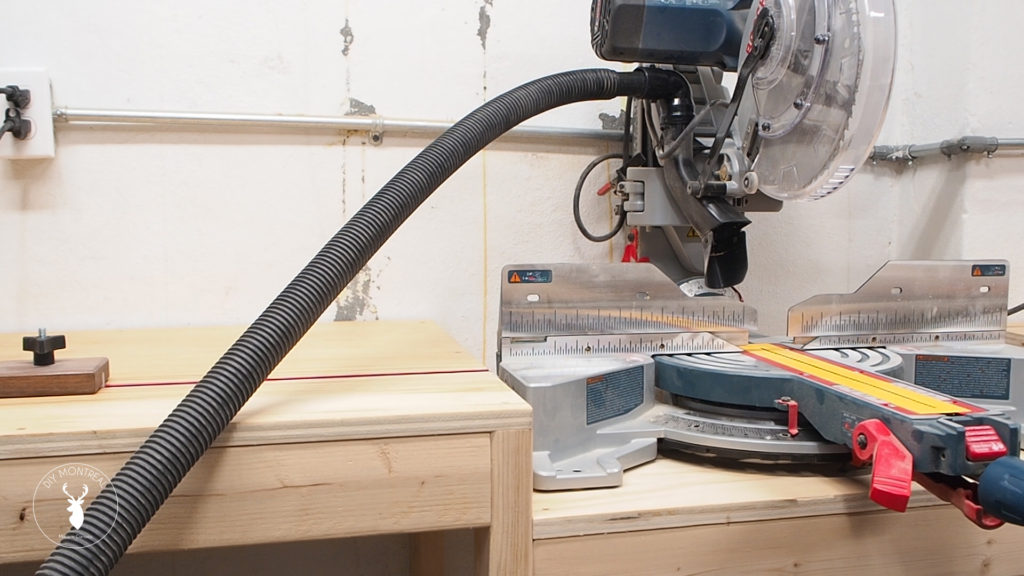
Since then I’ve just been using my little shop vac that I connect to the dust port on my miter saw. Although the dust collection on this miter saw is fairly good, my shop vac filter quickly gets clogged and looses suction, which results in sawdust in the air and all over the workbench.
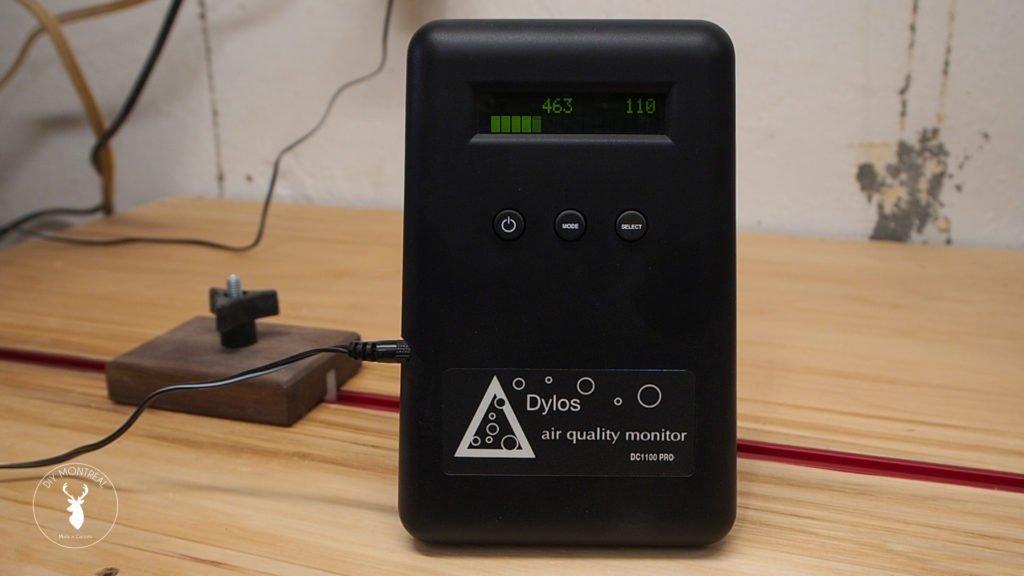
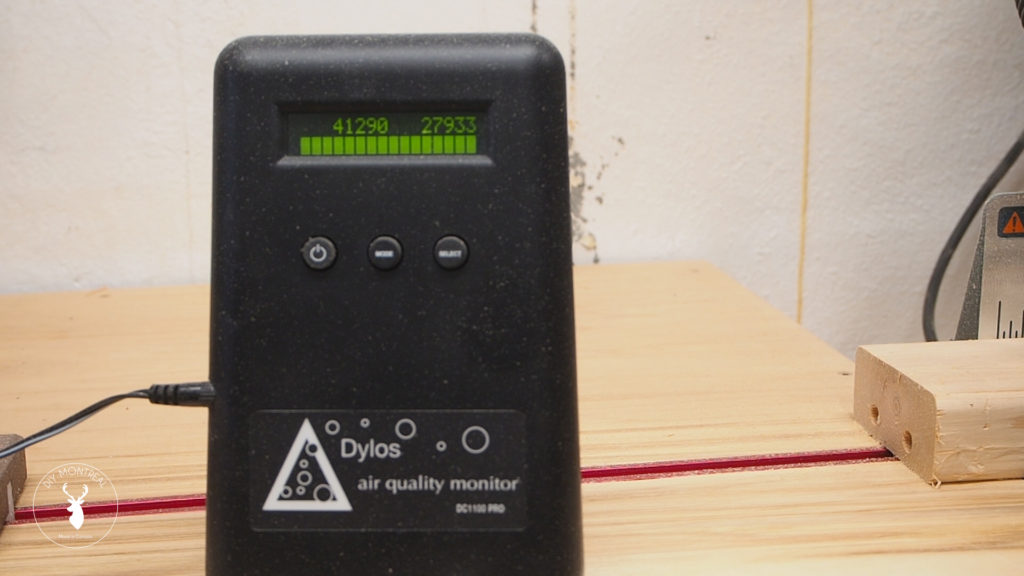
I have an air particle monitor that I use, and below I’m showing a reading I took when I first walked into the shop without running any tools. So this is my baseline.
Now I want to show you the readings when I run the saw using my regular shop vac setup. After only a few cuts, the particles skyrocket to seriously unhealthy levels (>40,000).
The first solution I want to implement is adding a dust cyclone to my shop vac. Why? Firstly, it will significantly improve the suction on my shop vac, which means I’ll have less airborne sawdust, and secondly, it will keep the filter from clogging up all the time, which means I won’t have to clean the filter as often. Instead I’ll simply empty the bucket.
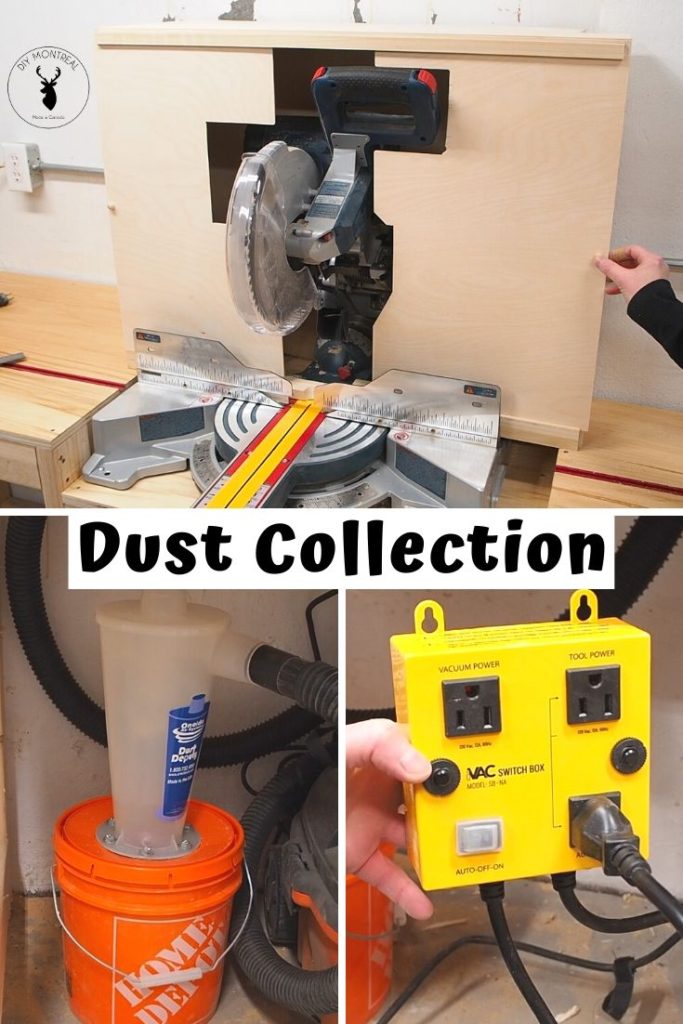
Tools & Materials
- Shop Vac https://amzn.to/2YdE9sv
- Dust Cyclone https://amzn.to/2Yc5Xhb
- Extra hose https://amzn.to/2qhfR4p
- Bosch 35mm adapter https://amzn.to/2DLLjuA
- Bucket with lid https://amzn.to/2rPl5os
- iVac automated switch https://amzn.to/36a4QBt
- Bosch Miter Saw https://amzn.to/2DGIMlx
- Air Quality monitor https://amzn.to/2sAyWiK
Dust Cyclone Shop Vac Setup
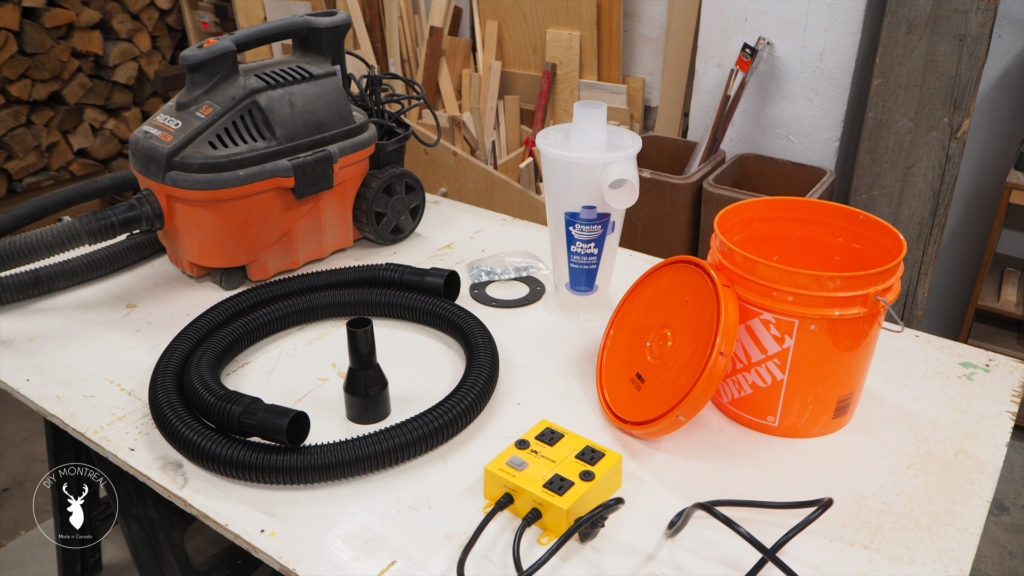
I’m using the Dust Deputy cyclone which comes with a foam gasket and bolts. You’ll also need a bucket with a lid, a shop vac an extra hose, and likely some sort of adapter to fit your miter saw, like the one I used for my Bosch Axial-glide.
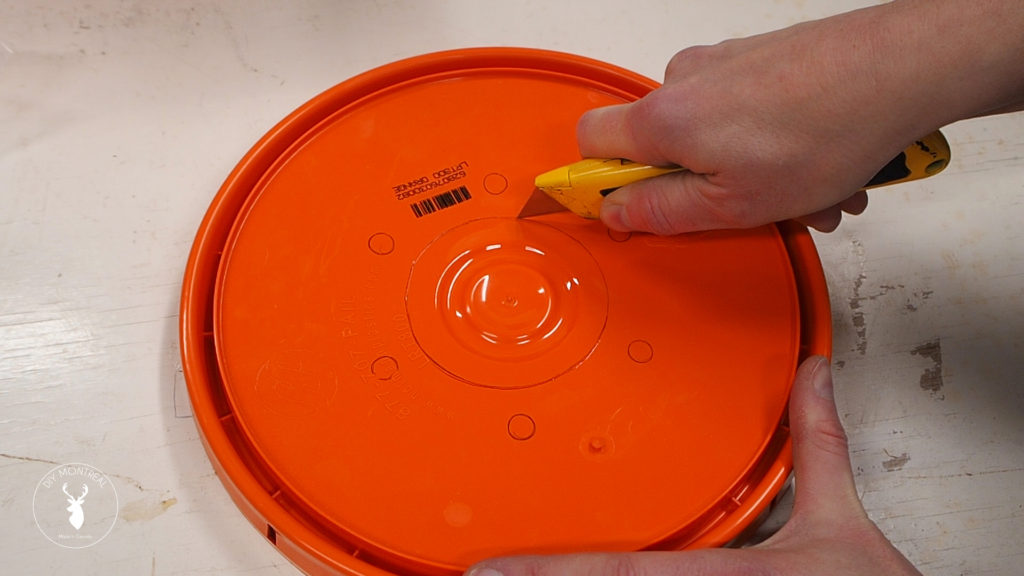
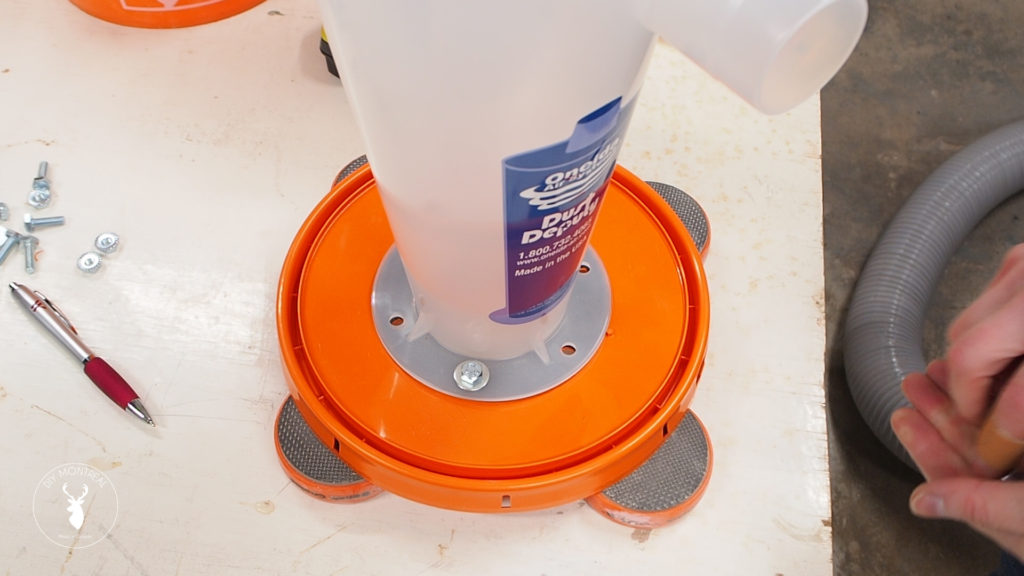
The first step is to trace and cut out the hole for the cyclone to fit onto the lid. I cut out the circle using a utility knife, and drilled the six holes for the bolts.
After lining up the gasket with the holes, I positioned the cyclone and used the provided washers and bolts to attach the cyclone to the lid.
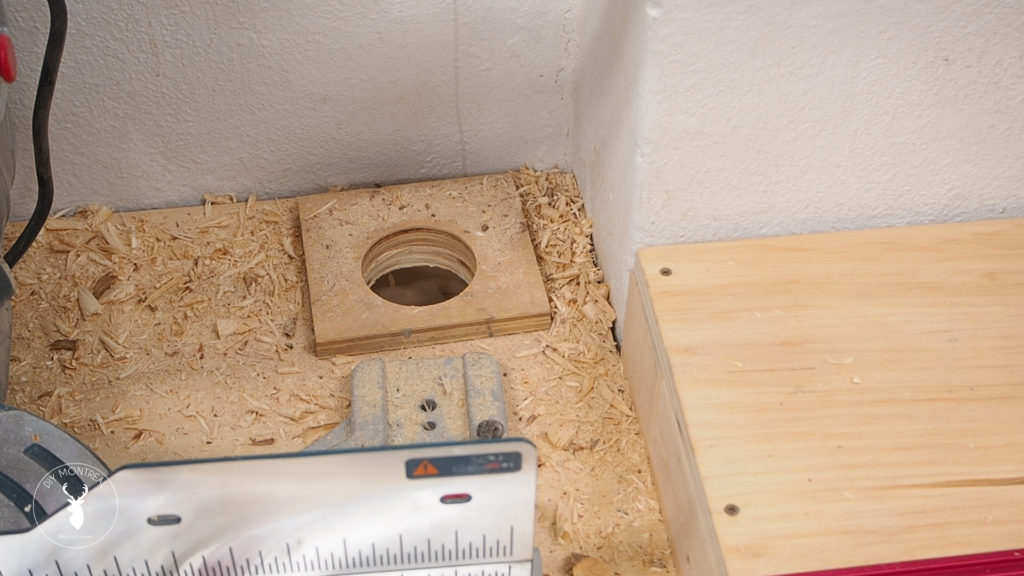
Next, I drilled a hole through my workbench using a 3 inch hole saw. Since I typically always swing my miter saw motor-left when making miter cuts, I decided to place the hose to the right so it wouldn’t get in the way.
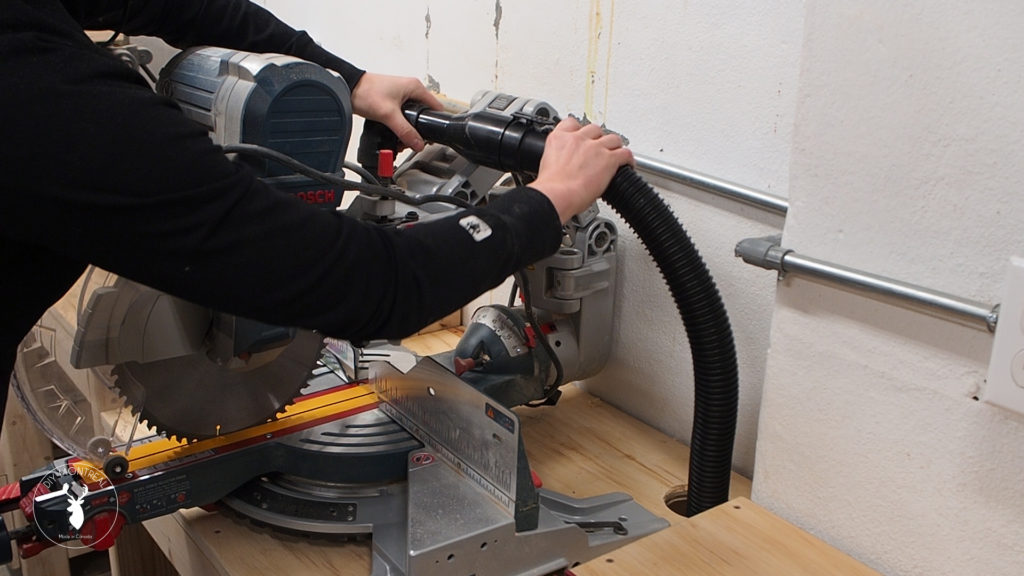
I threaded the extra hose I purchased through the hole, and hooked it up to my miter saw using a Bosch 35 mm adapter.
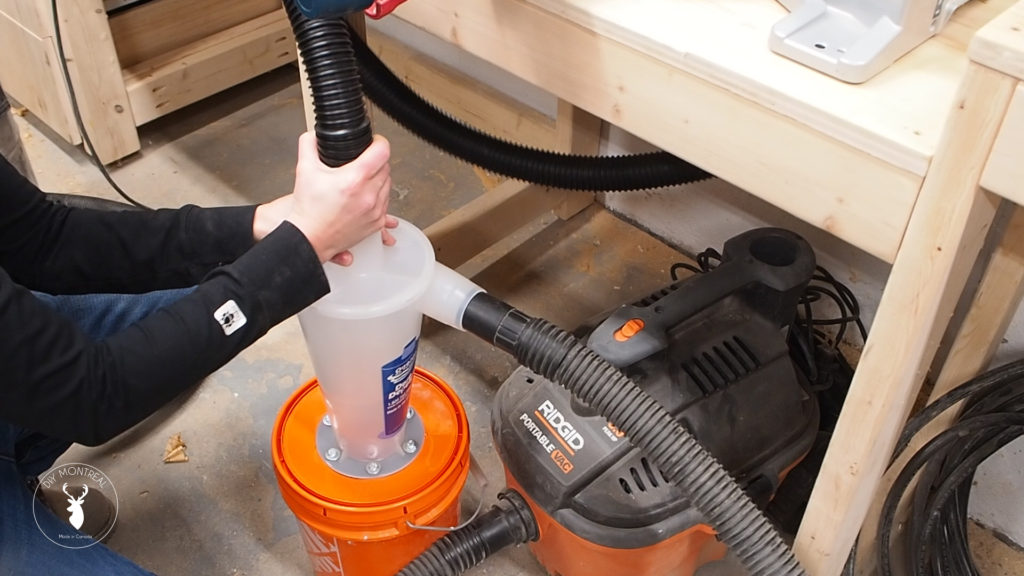
Underneath the workbench, I connected the hoses to the dust cyclone: connect the shop vac to the top of the cyclone, and then connect the other hose (the one that goes to the saw) to the side of the cyclone.
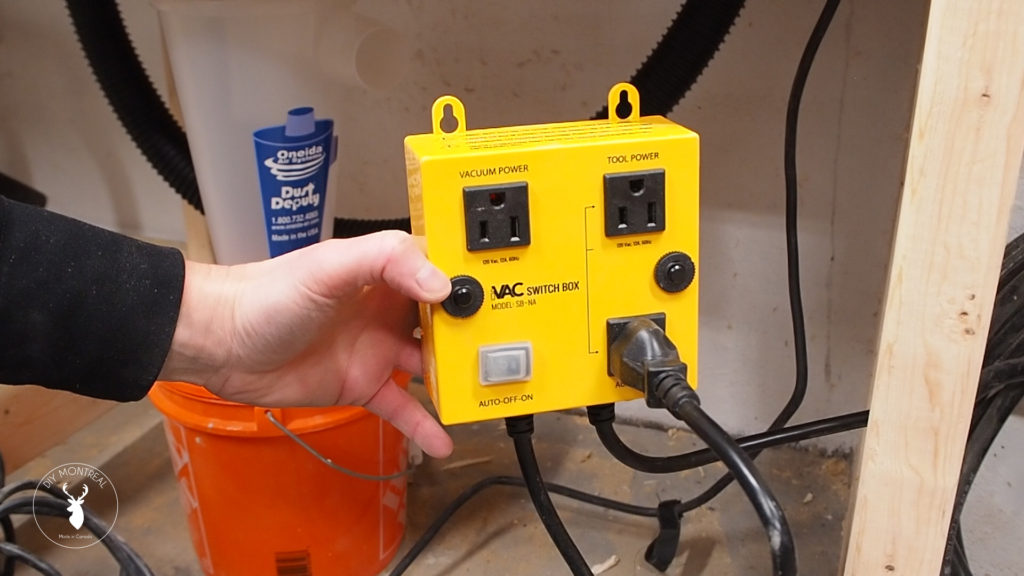
I’m going to use an iVac switch to automate the shop vac so it turns on and off by itself. Just connect the saw and the vac to the indicated receptacles, and make sure to set the switch to auto. Now the shop vac will automatically turn on when the saw is activated, and will stay on for 6 seconds after the saw stops to clear the hose. Totally worth it.
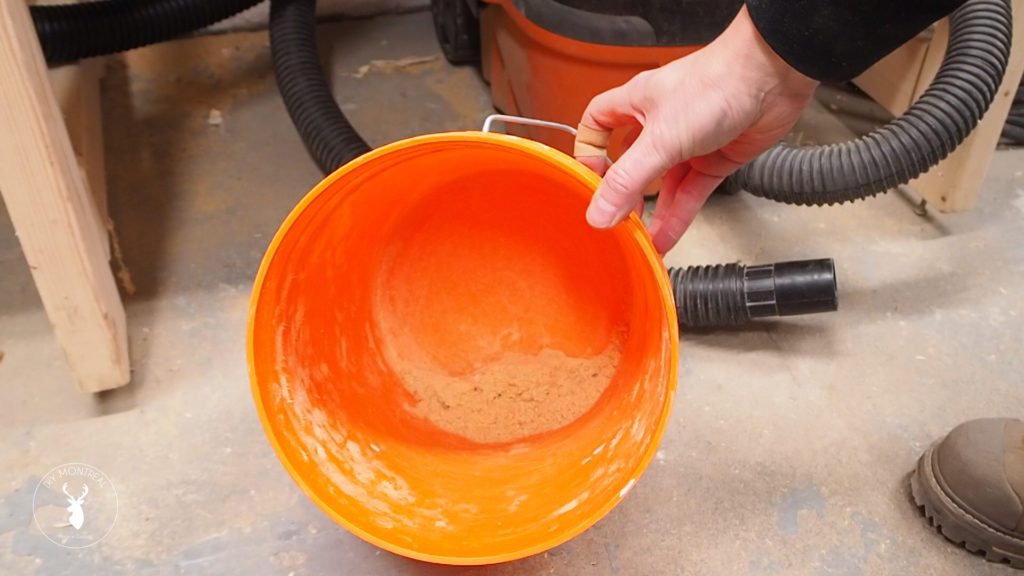
I was surprised to see how well the cyclone seemed to work. After a few cuts I opened the bucket and could already see a good amount of sawdust in there.
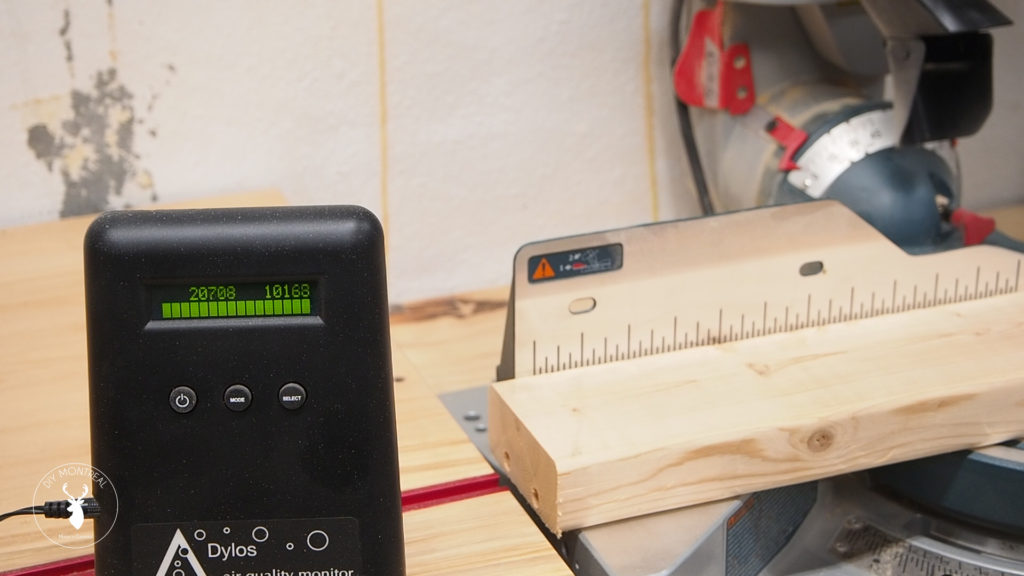
At this point I did another air particle monitor test, and as you’ll see below, the particle monitor light up again, although less so than before (20,000).
Dust Hood with Sliding Doors
To improve the dust control further, I’m going to build a dust hood behind the miter saw to trap as much dust as possible. By no means will this improve the cyclone’s suction, but I’m hoping that by containing the dust, it’ll improve dust control overall.
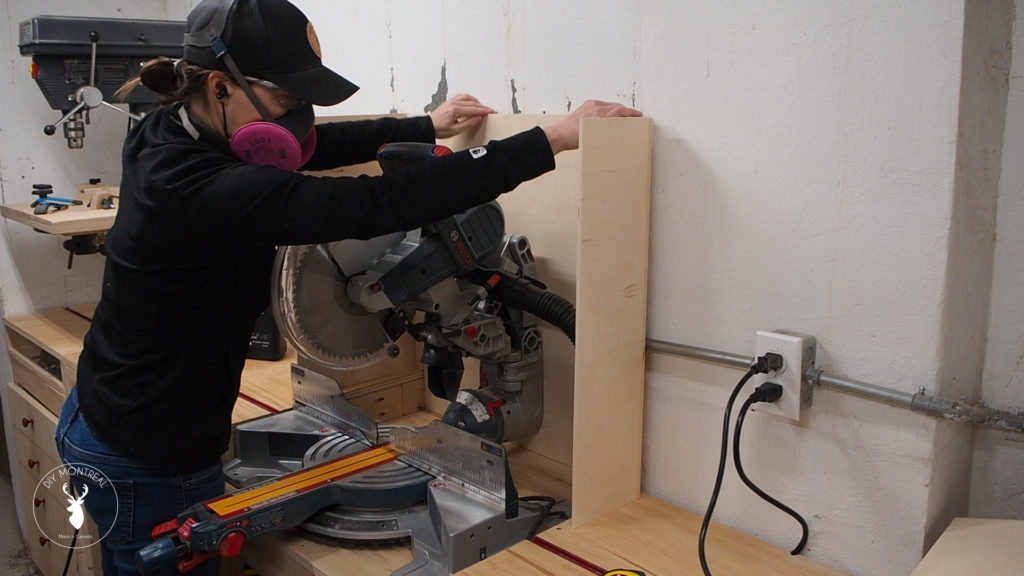
I’m using quarter inch plywood, and basically just measuring and cutting one piece at a time like a puzzle, until I have a box built around the back of the saw. I’m building the box so that it’ll reach just to the back of the fence, so I can attach the sliding doors.
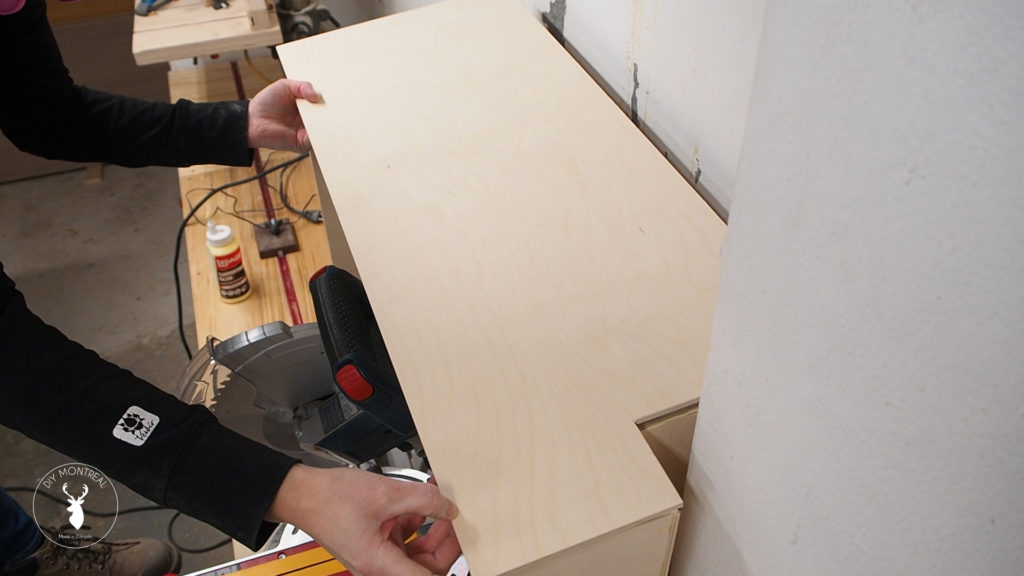
With the box built I’m now going to add some rails for the sliding doors. I’m using a simple 1 by 2 for this. I need to cut out 2 slots to make room for the knobs at the back of the fence, and I’ll show you what I mean in the next step.
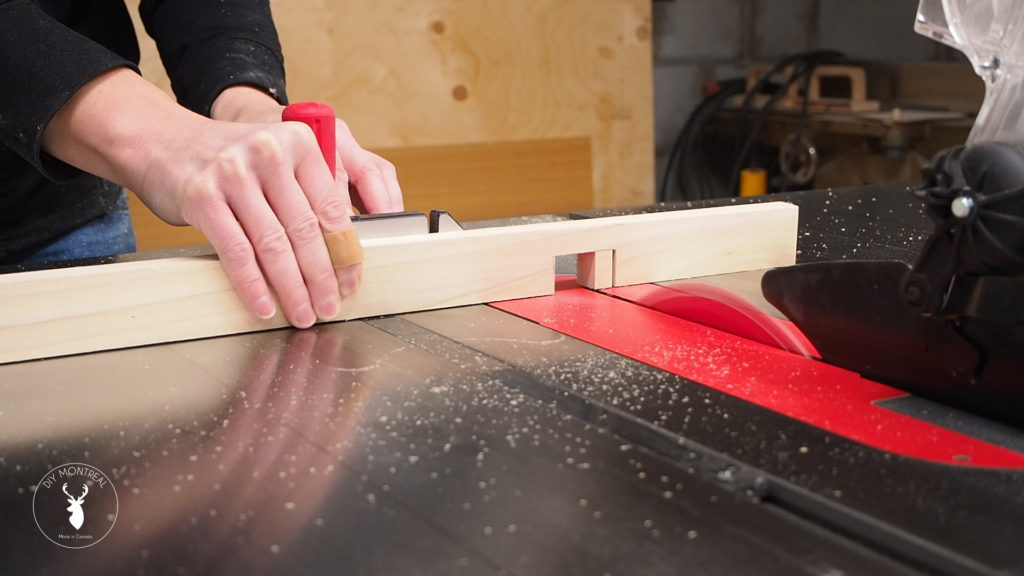
I positioned the rail flush up against the back of my fence. Here’s what I meant about those knobs being in the way. As you can see, the rail is being supported by my workbench on each side and on the saw’s base in the middle.
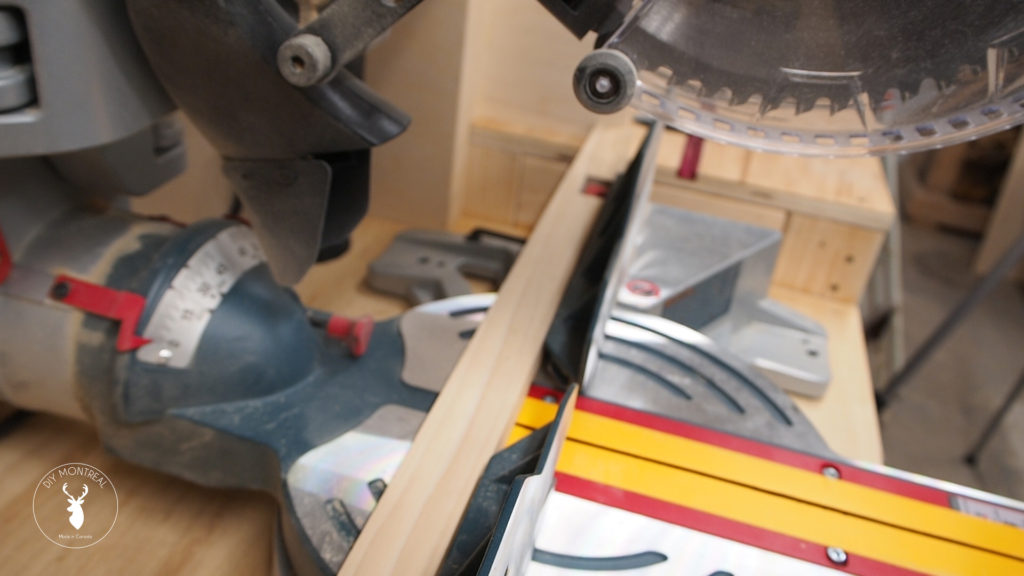
Seeing the the blade will hit the rail, I made a little notch using a Forstner bit on an angle.
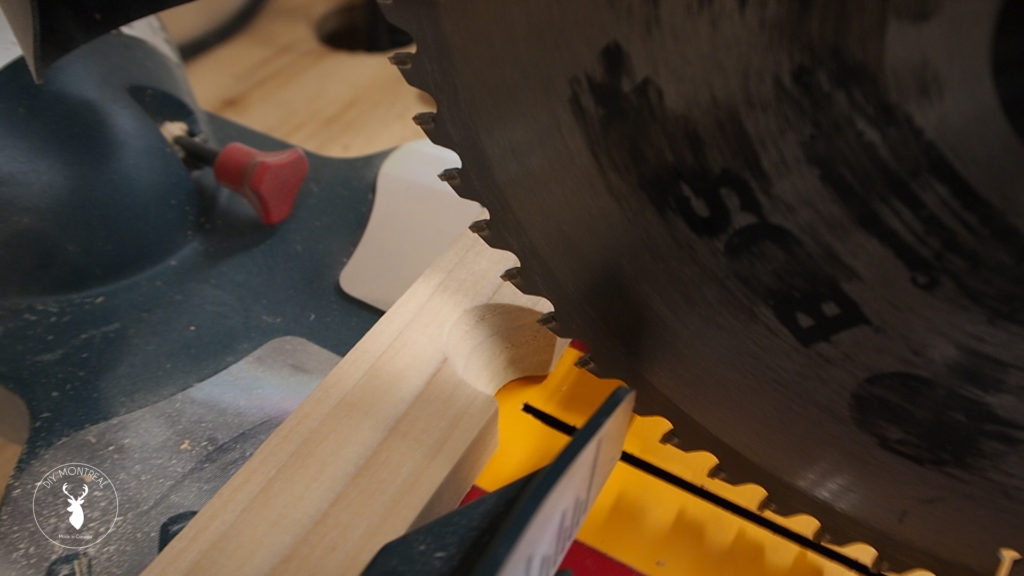
I noticed that the knobs reach right to the top of the rail. Since, I want to make a groove where the doors will slide, this is a problem. An easy fix is to add another piece of wood to build it up.
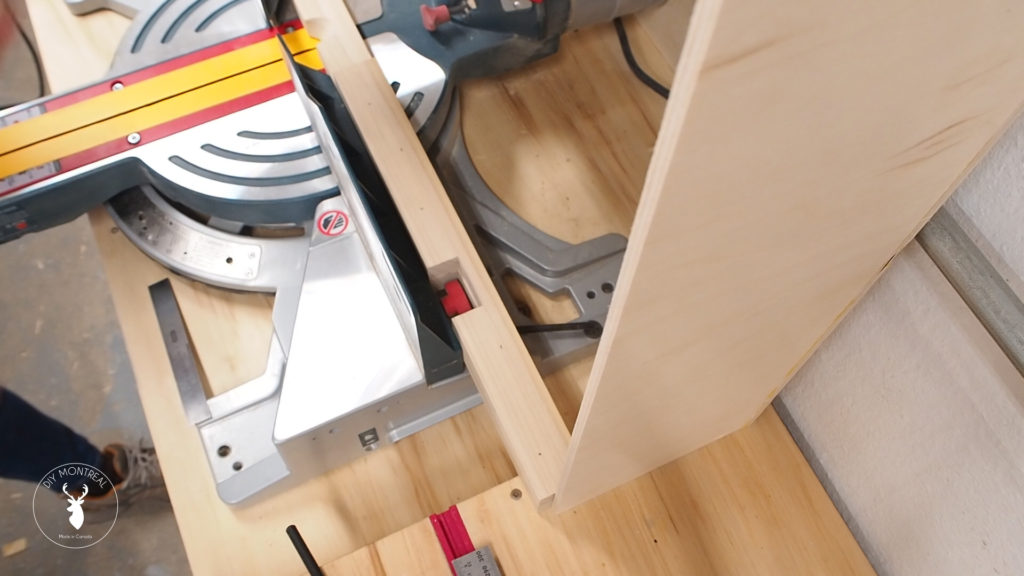
Okay, with those minor adjustments made, I now want to mark out where I need to cut the groove so that the doors will slide right up against the box.
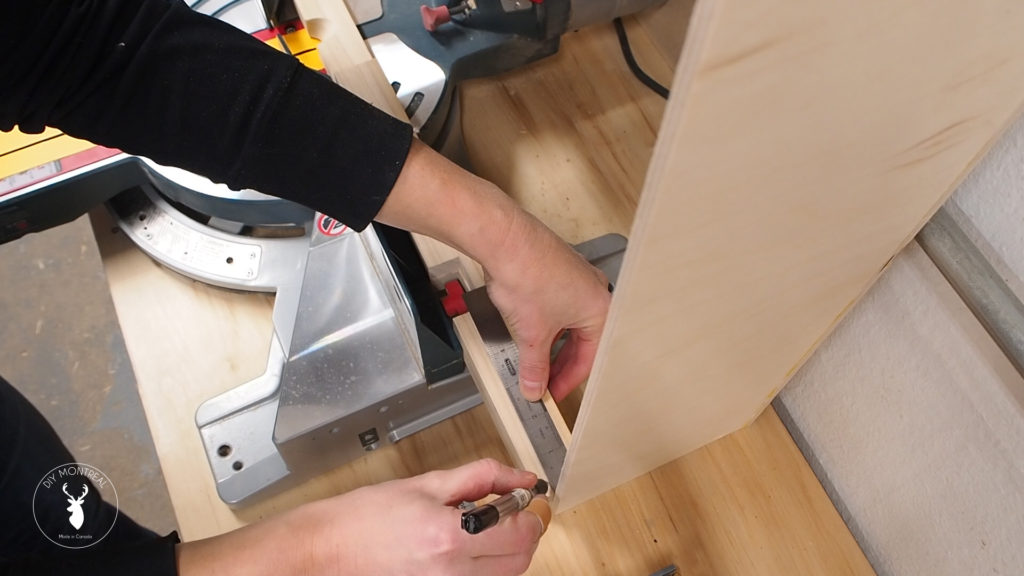
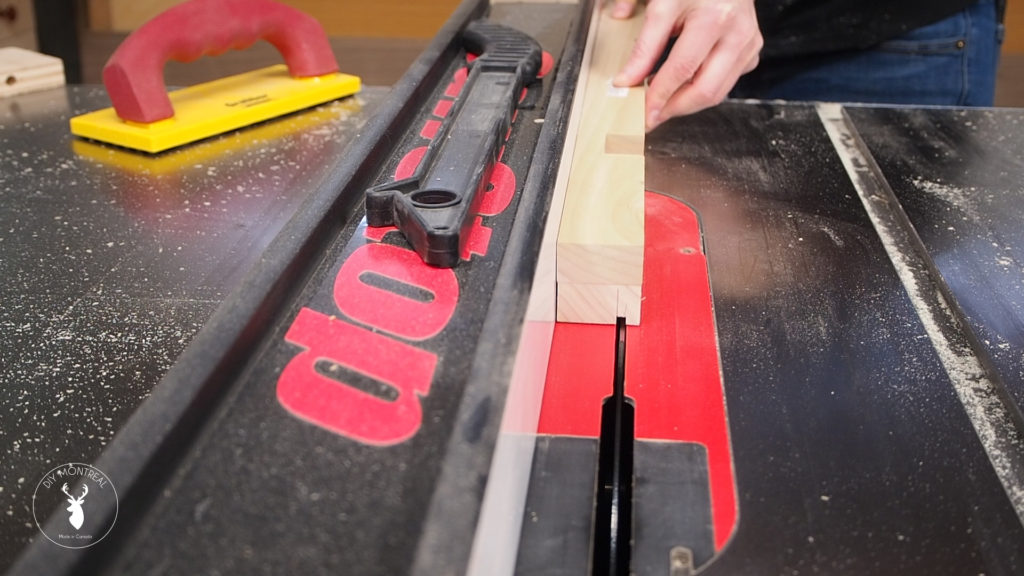
I set my table saw blade just peeking out of the table and made a shallow groove in 2 passes, just wide enough to loosely fit some one eighth plywood I’ll be using for the doors.
Then I’ll just add some glue and a few nails to hold it in place.
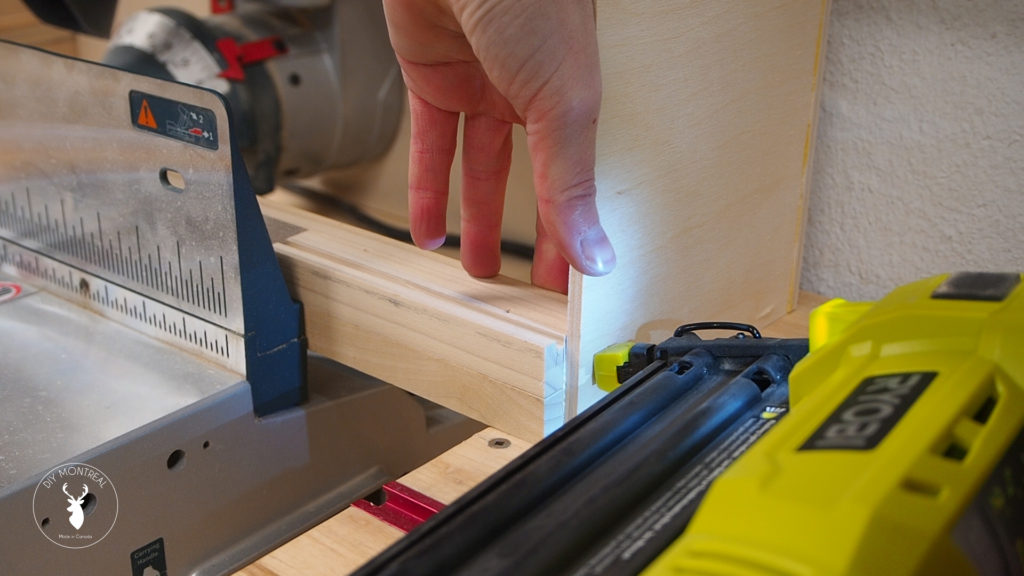
I made another rail for the top and cut out the same groove, and attached it, making sure that the groove lined up with the front edge of the box so the doors could slide in.
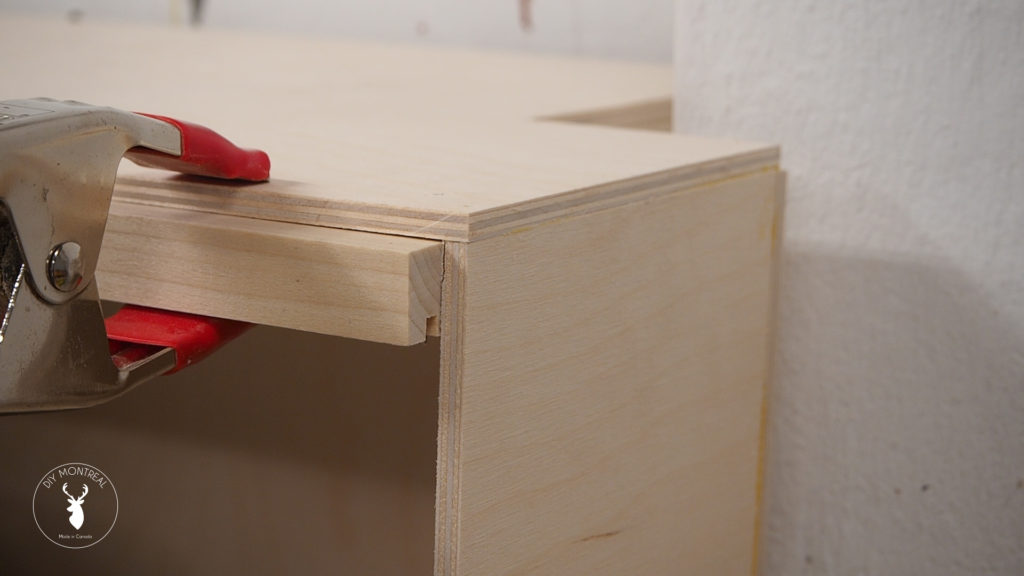
After cutting the doors, I did a few test fits and adjusted until I felt that they slid nice and smoothly.
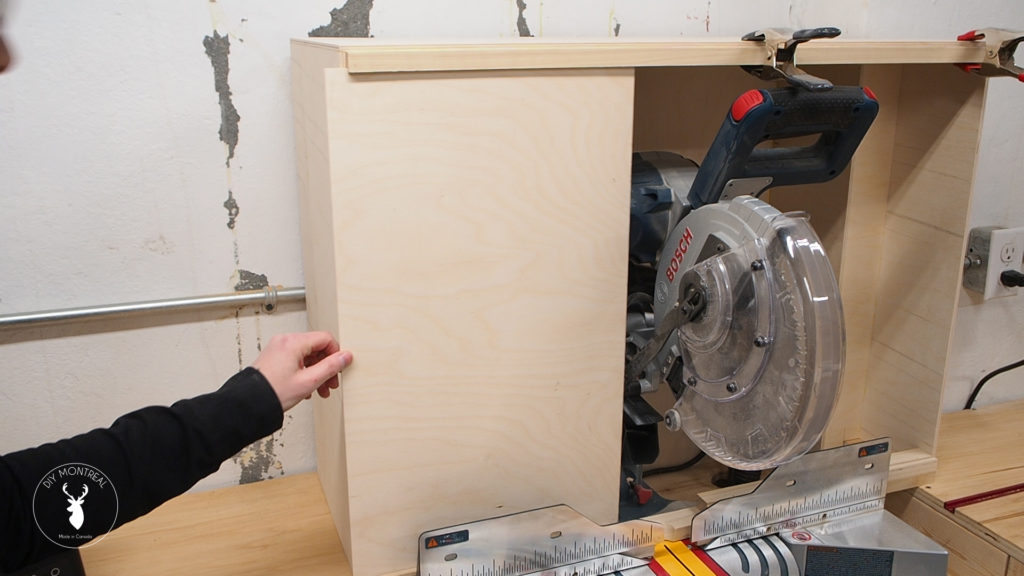
I want to be able to close the doors as much as possible so I made a few cuts outs for the handle and the motor. I just eyeballed it, but you could make a cardboard template first and then use that to cut out your door.
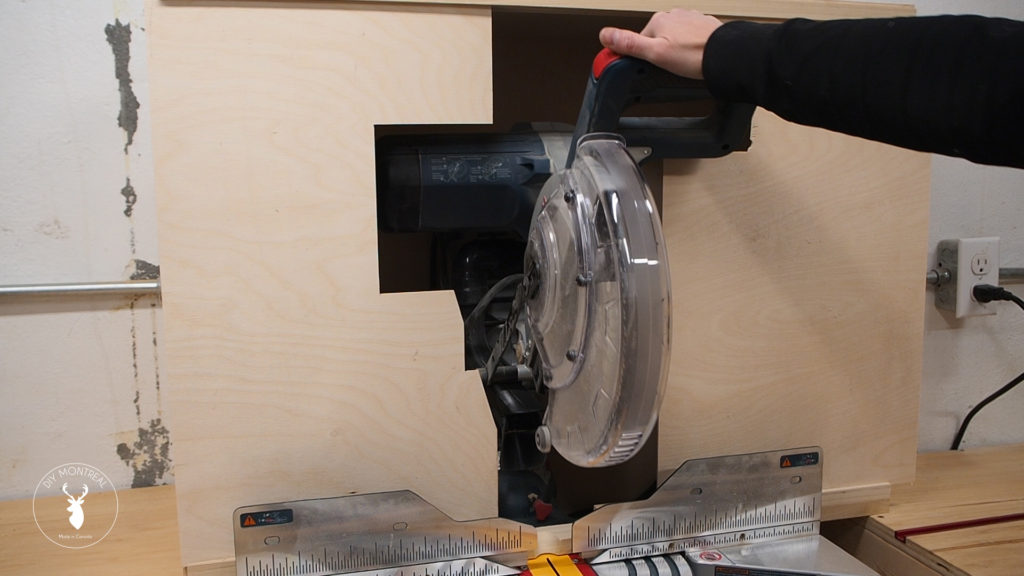
So after making a few different cuts and tests until the saw moved freely in the 90 degree position, it was time for another air quality test to see if this dust hood makes a difference.
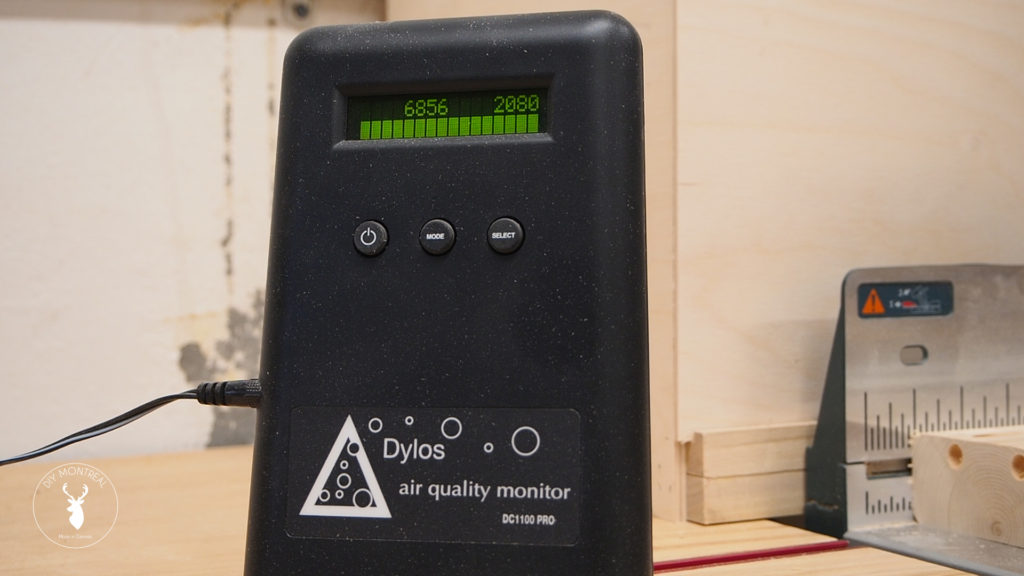
After a few cuts, the particle monitor lights up again, but much less than in the previous tests (6,800). That’s a significant improvement from the >40,000 original readings!
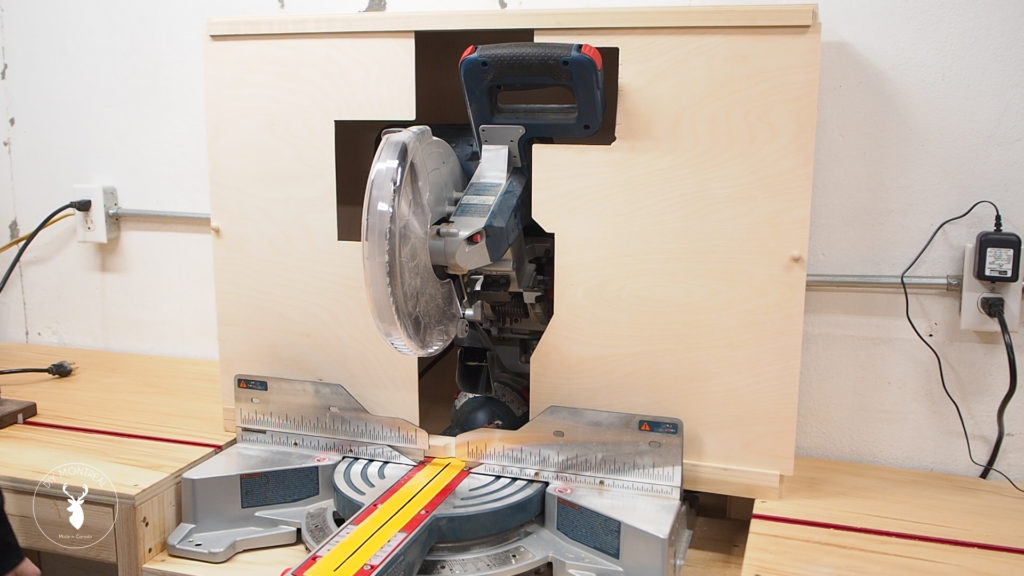
Again, my goal with this setup isn’t to have perfect dust collection, but really to improve upon my current setup, and I’m pretty happy with the results so far. The dust goes into the box, and whatever isn’t collected by the cyclone seems to stay in the box, which ultimately means I’ll have a cleaner shop.
