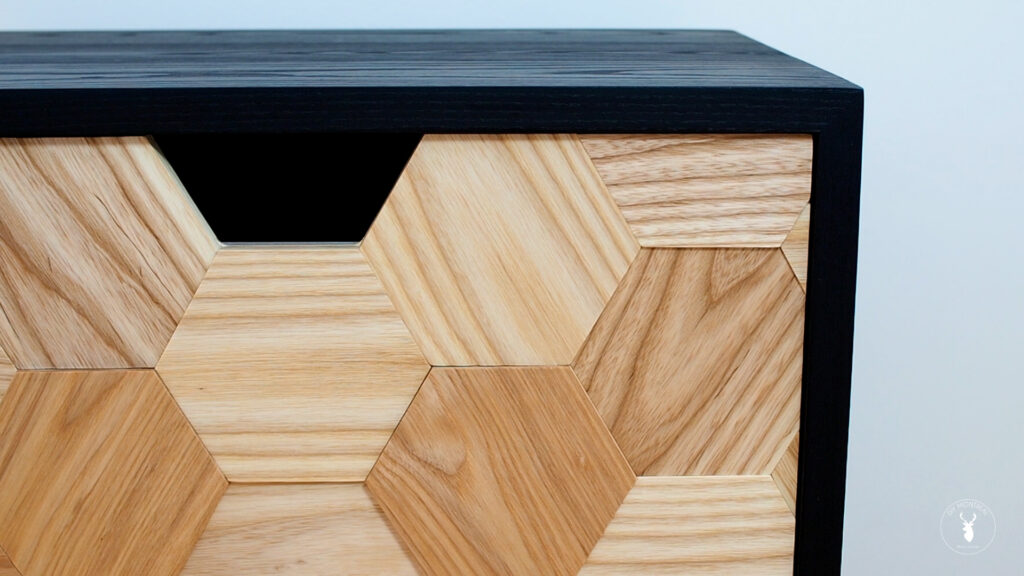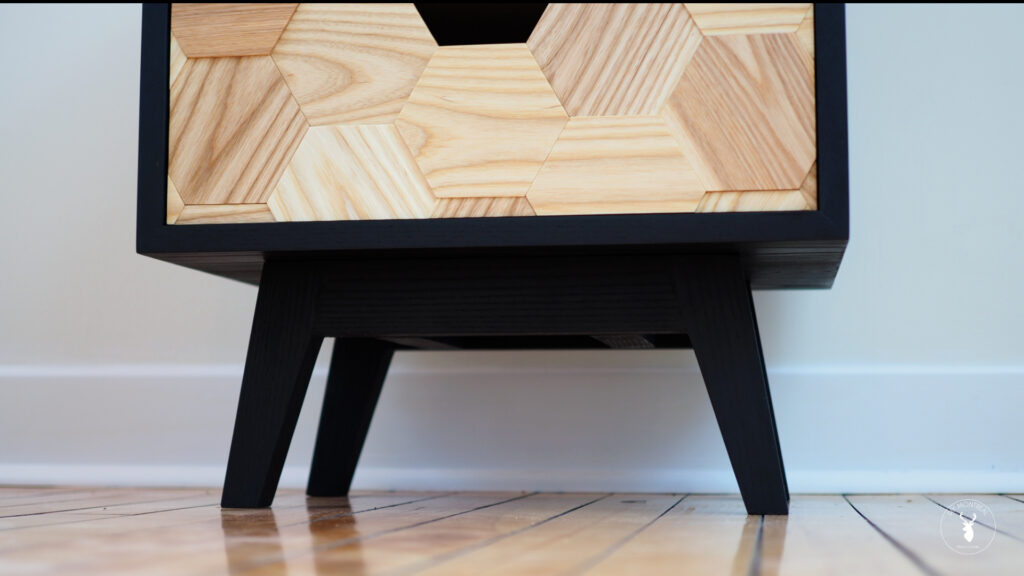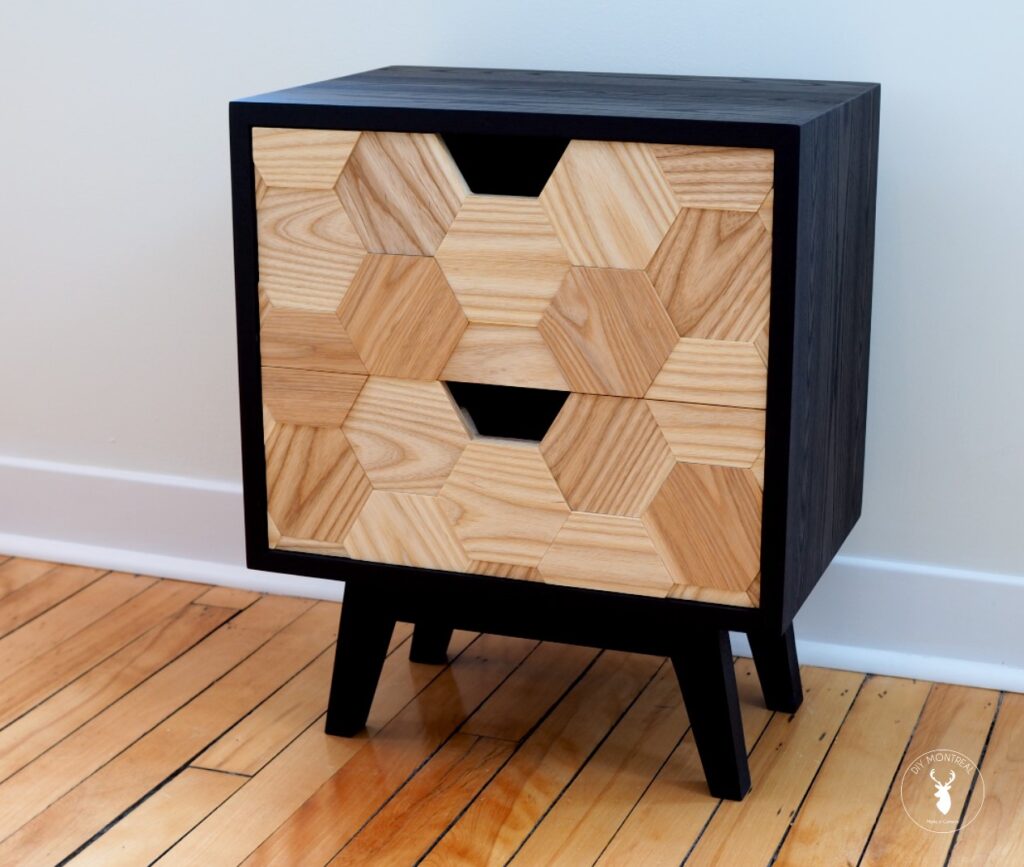
My goal was to build an original yet timeless nightstand. I had vision of a black frame with hexagon pattern drawers, and a mid-century style base. In this tutorial, I’ll walk you through everything from making the carcass from rough-sawn lumber, to making the base and the drawers, making wooden drawer slides, and of course, how to make the hexagon drawer fronts. Oh, and I’ll also share my secret for how to get a deep black wood stain without hiding the grain.
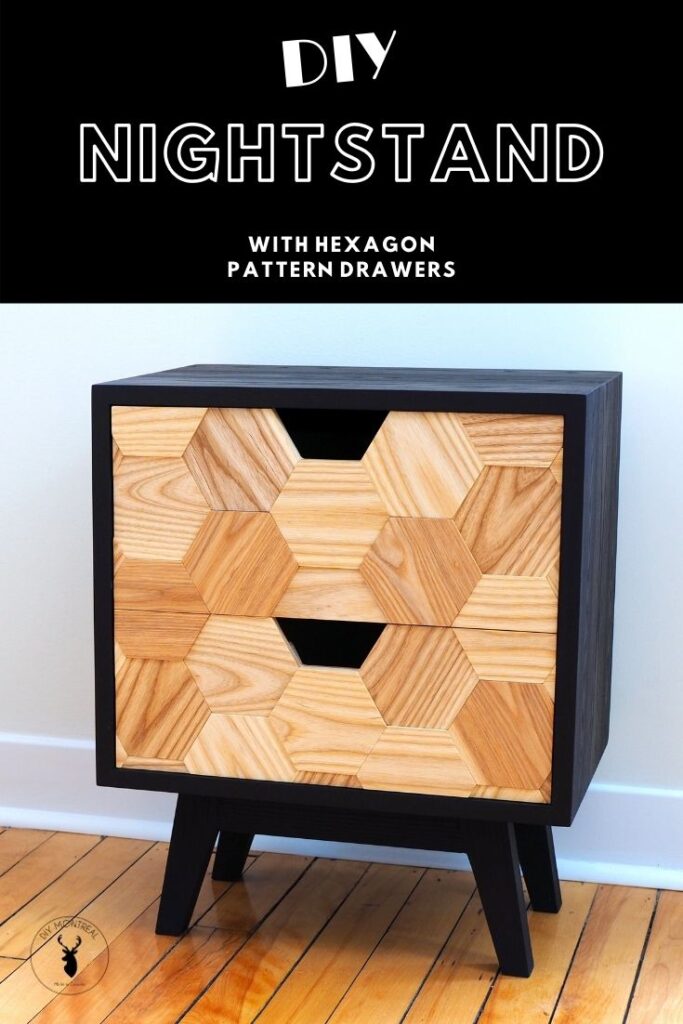
I’m using ash wood for this build, mostly because the grain will really pop with the finish I plan to use. The overall dimensions of this bedside table will be 18 inches wide by 22 inches tall and 13 inches deep.
Below you’ll find the key tools and materials I used in this build (affiliate links):
Big thanks to Bessey Tools for sponsoring this project!
How to Build a Mid-century Nightstand with Hexagon Pattern Drawer Fronts
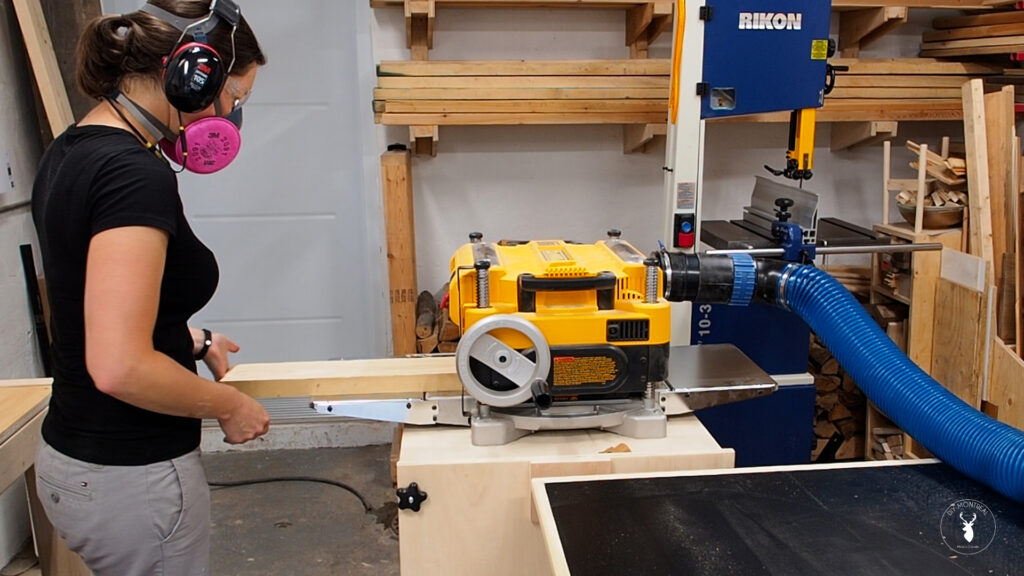
To start things off, I milled all my lumber to their rough dimensions. I ran all of my boards on the jointer, then through the planer, before trimming the final edge on the table saw.
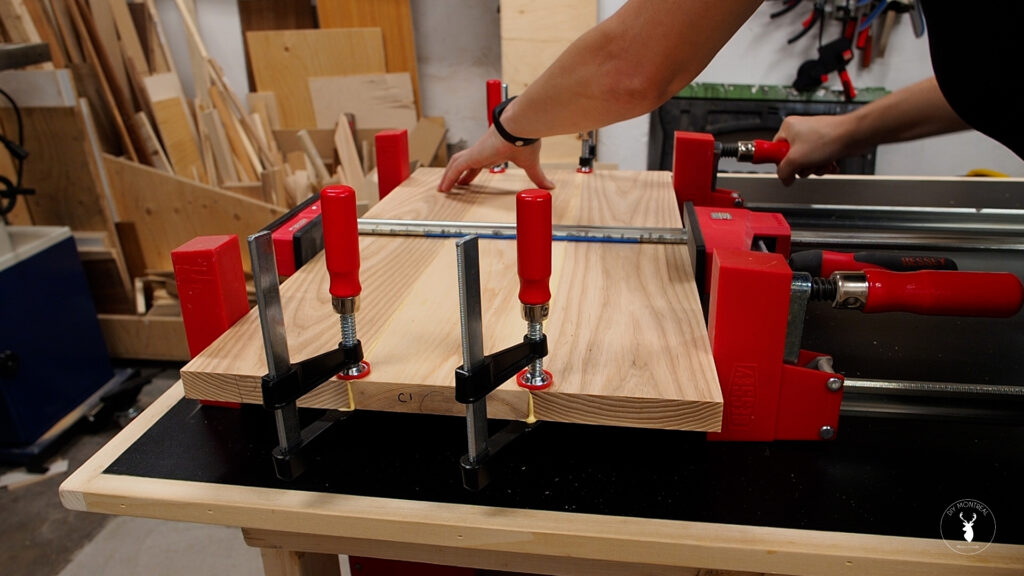
With all my boards nice and flat, I glued up 4 panels that were 13 inches wide.
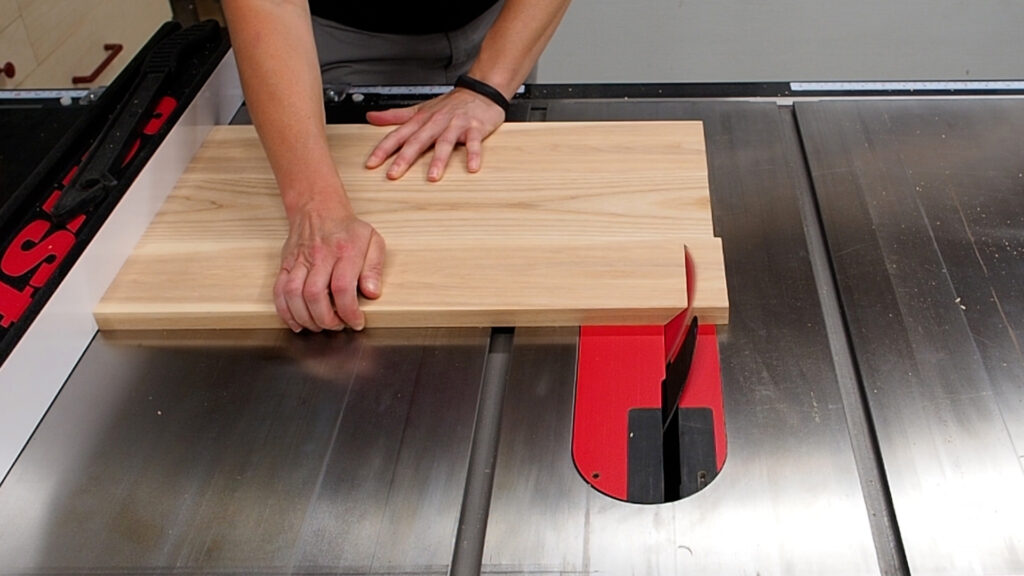
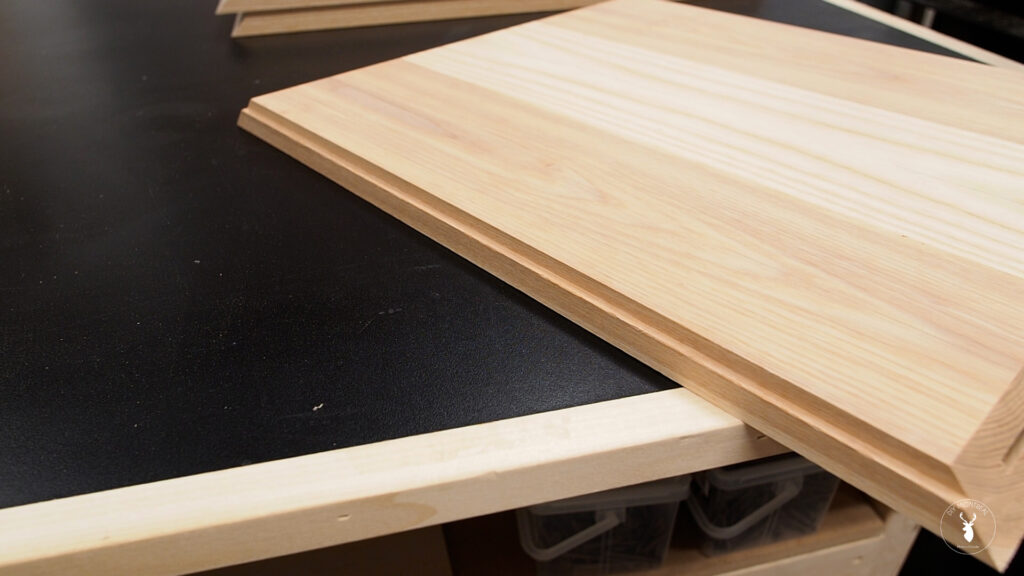
I used I’m going with mitered corners for this nightstand, but first I need to square of the edges so I’ll have a reference edge to ride against my fence. I used my cross-cut sled for this. Next, I set my table saw bade to 45 degrees, and made the bevel cuts..
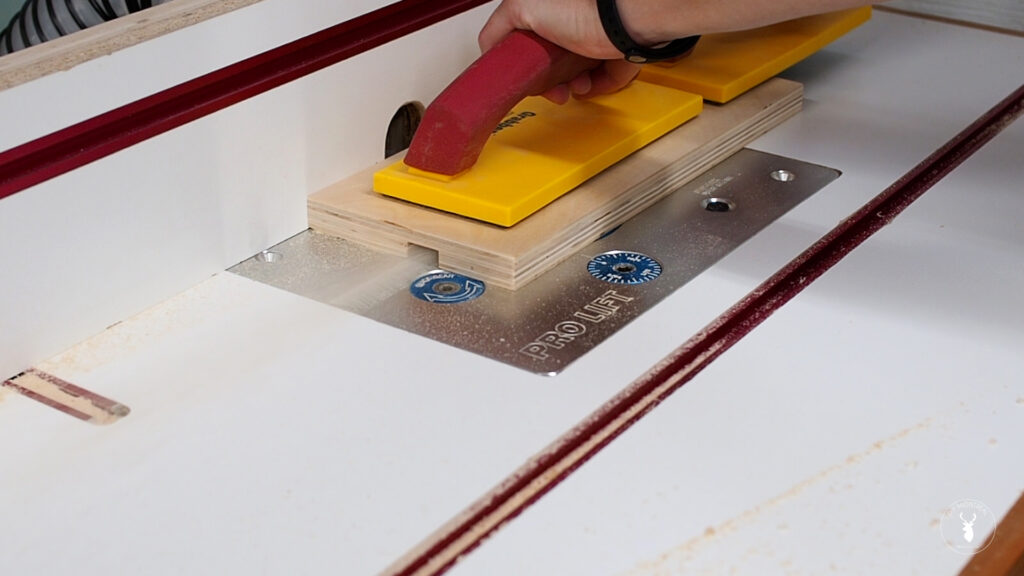
Before I moved onto the glue-up, I used my router to cut a small rabbet in each of the panels. This will allow me to insert a back panel later that sits flush in the carcass once assembled.
I made 3 biscuit slots on both ends of each board using the #0 setting. Anything bigger and you’ll punch through. I find that biscuits make it much easier to assemble mitered carcasses, not to mention they add strength to an otherwise weak joint. I then grabbed my strap clamp and got ready to glue up the mitered carcass.
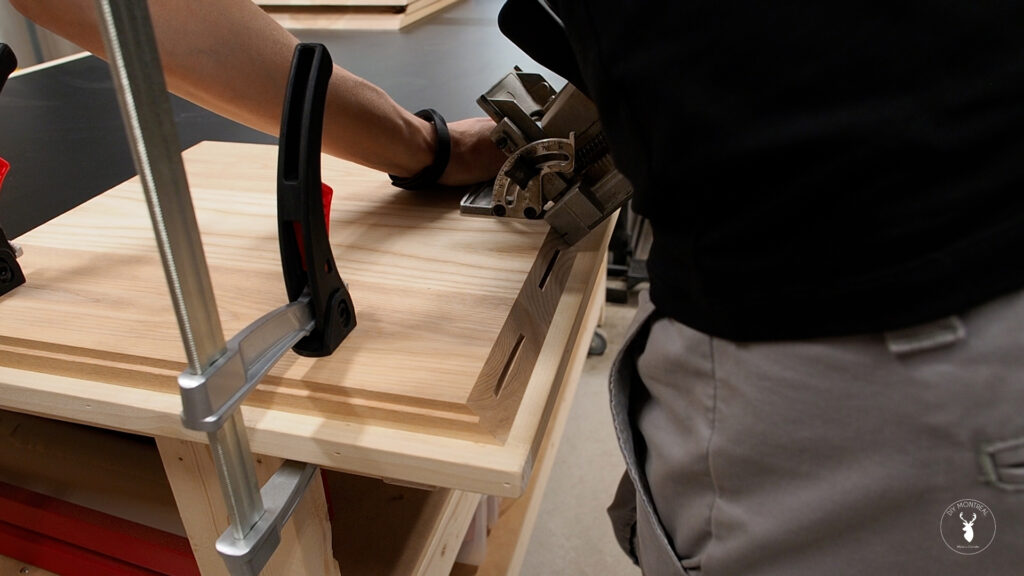
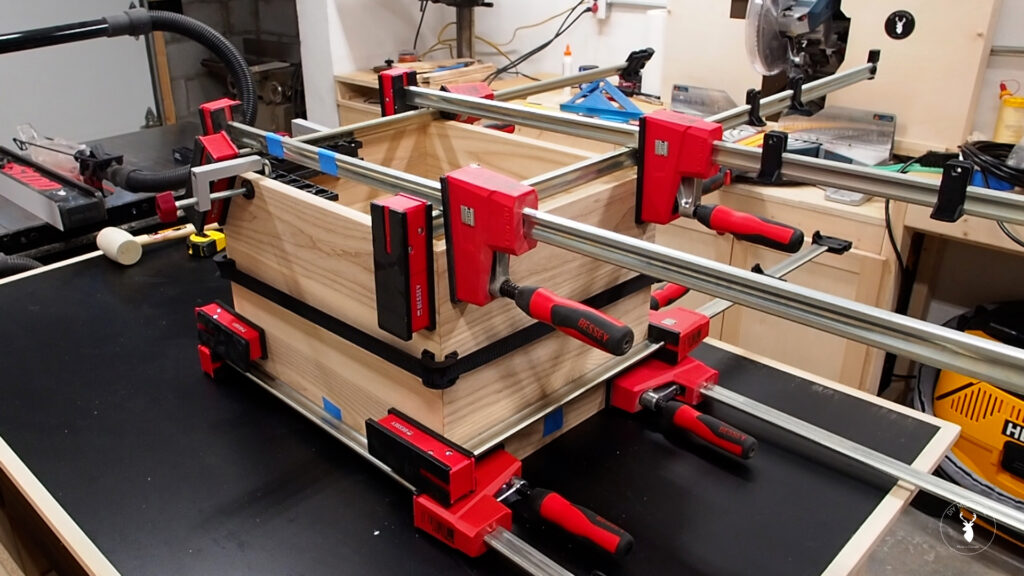
The glue-up was a little nerve racking but using the strap clamp to hold everything together while I added parallel clamps and squeezed the joints together was like having an extra set of hands. To give myself a little extra time, I used Elmer’s glue-all which has an open time of 37 minutes according to this article.
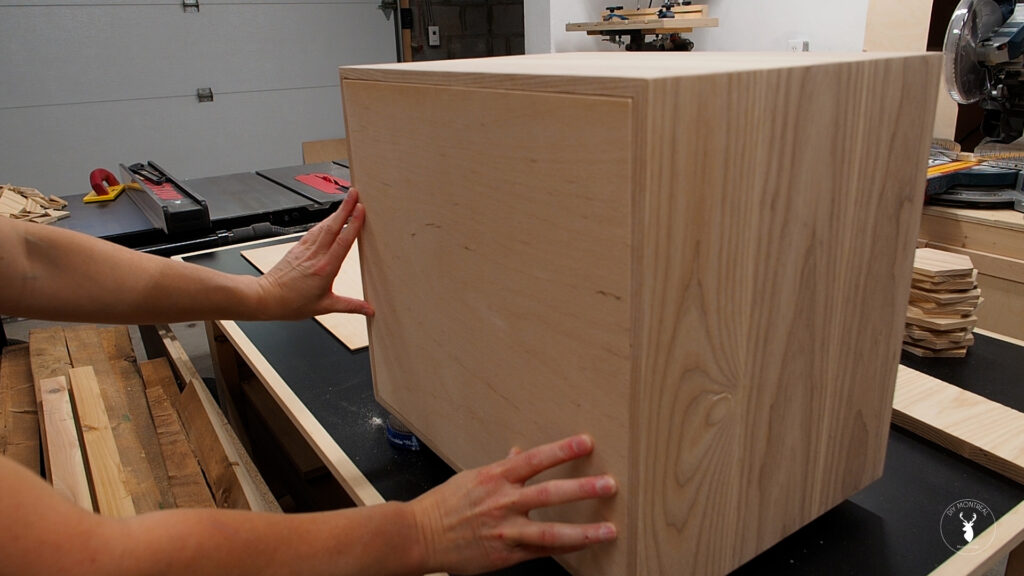
Once dry, I used my router with a small roundover bit to help make the miter joint disappear, then sanded away any tool marks left by the router. At this point I cut a back panel to size out of 1/8th plywood and did a test fit. I’ll come back later to secure it with brad nails, but first, I want to apply my finish, so let’s get to that.
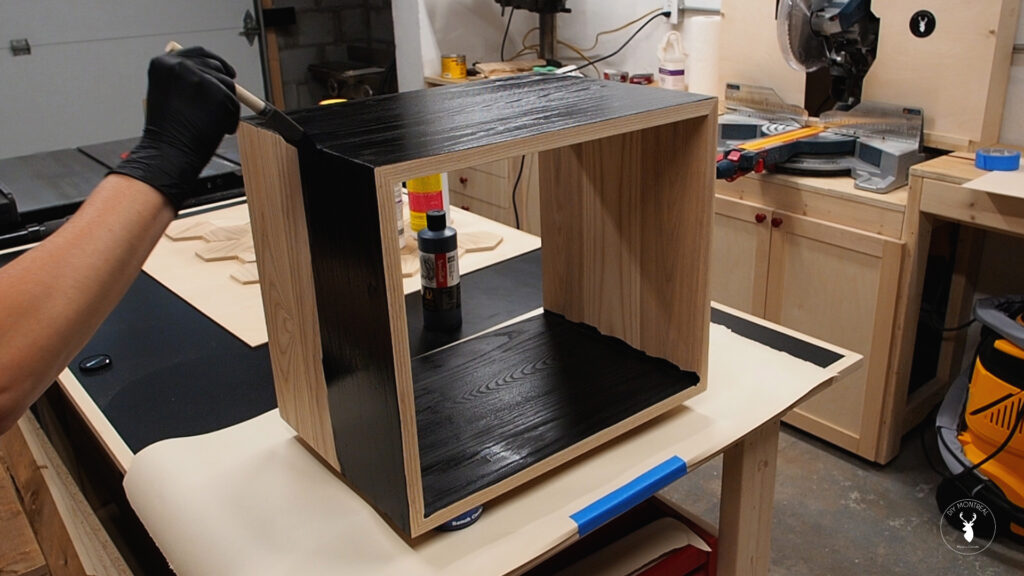
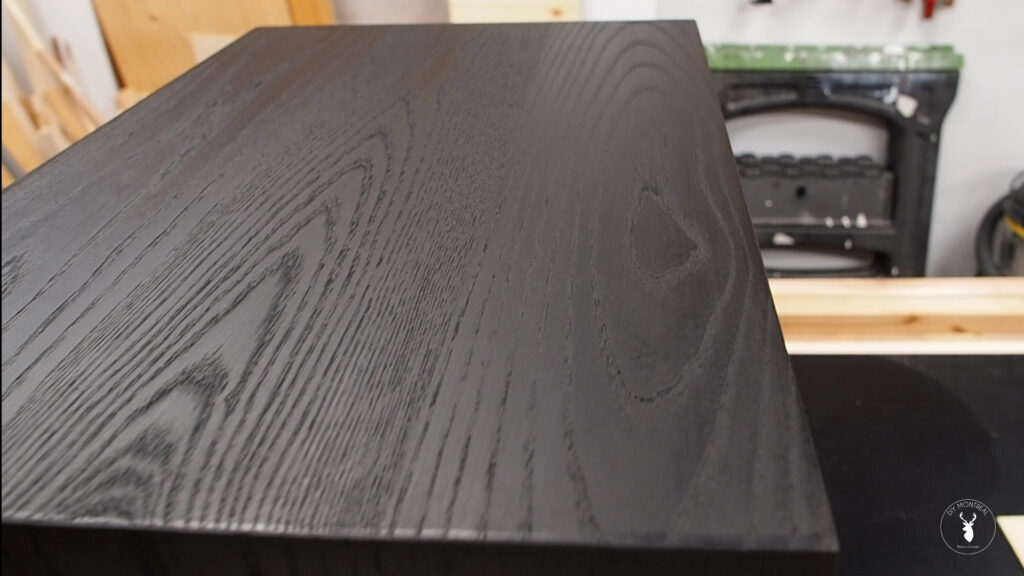
If you follow me on Instagram, you’ll have seen me apply this black finish. It’s not stain, it’s not paint. It’s called India Ink and it’s used mostly in calligraphy, but it can also be used to ebonize wood. I’ll leave a link to the one I used down below. I applied it just like paint, using a foam brush with even strokes, then just let it dry. I only applied one coat, and that was enough. The beauty is that unlike paint, it leaves the grain visible, and in my opinion, looks really really good.
After it was dry, I applied a wipe-on clear coat finish and here I’m just buffing it out. I was worried the ink might rub off, and it did a tiny bit, but nothing to affect the finish. I’ll let that dry, and move onto the base.
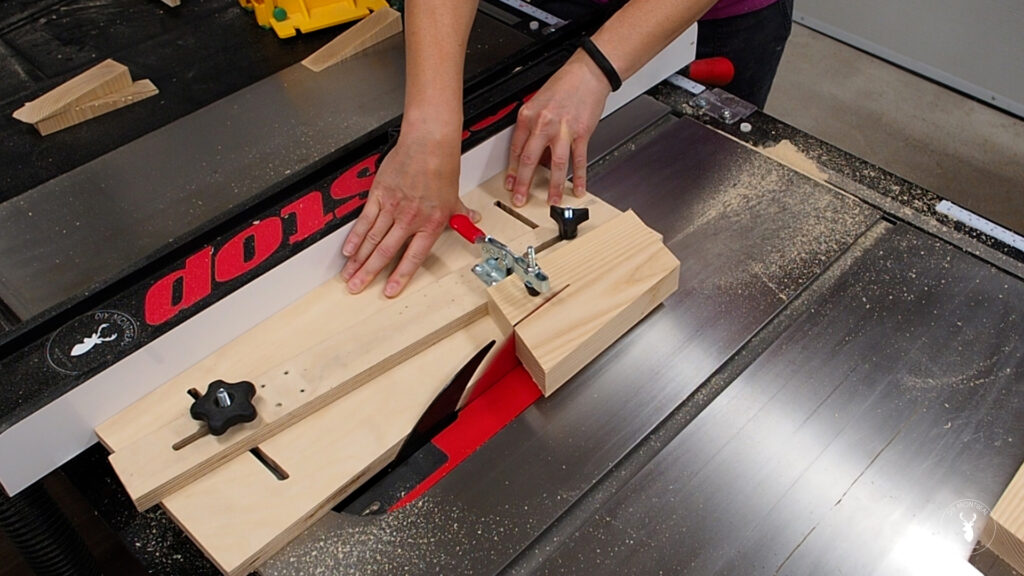
To make the base, I first cut out a template out of scrap plywood and hot glue. To make the outer angled legs, I first used my miter gauge (set to 10 degrees) to cut some blocks, then made the inside taped using my tapering jig.
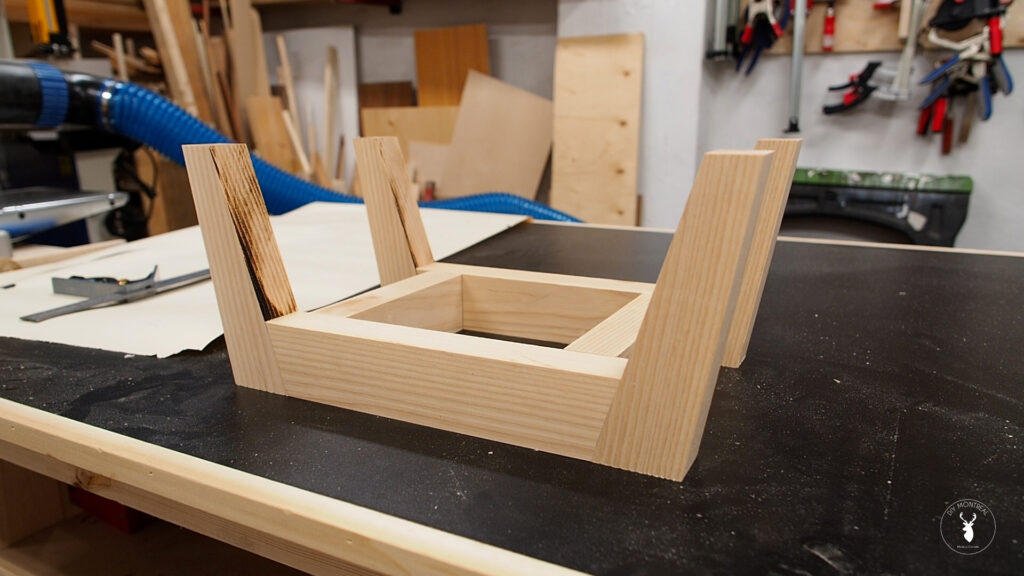
I then cut the horizontal stretcher pieces and used dowels to assemble the base. For more details on making the base, be sure to watch the video.
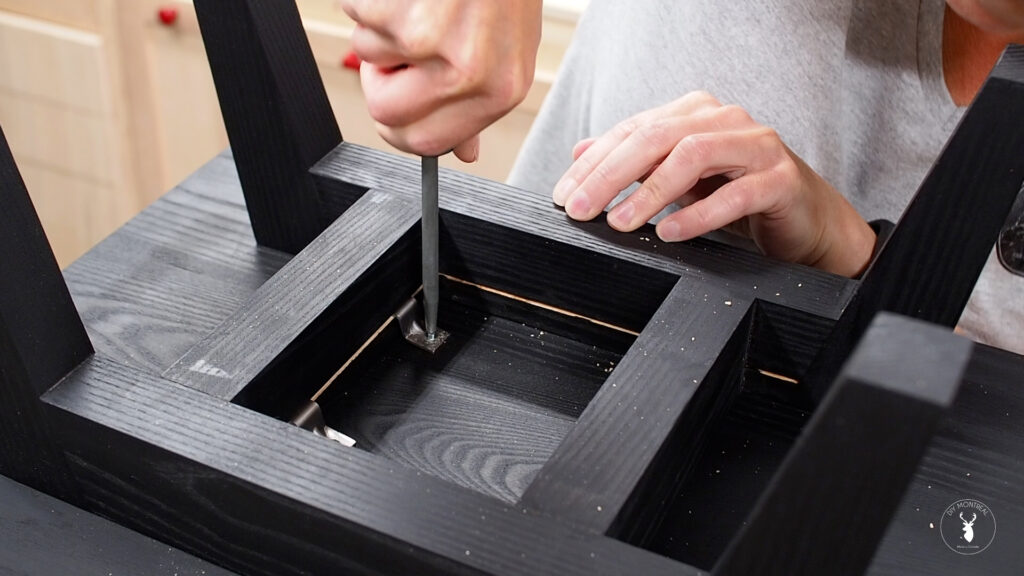
After applying the same finish to the base, it was time to attach it to the carcass. I flipped over the carcass and centered the base. I decided to use Z-clips to allow for wood movement, but in hindsight, this was probably overkill given the small footprint of the base.
With my frame now fully completed, it’s time to move onto the drawers. But first, now’s a good time to insert the back panel (that I also stained black) that I secured simply using a few brad nails.
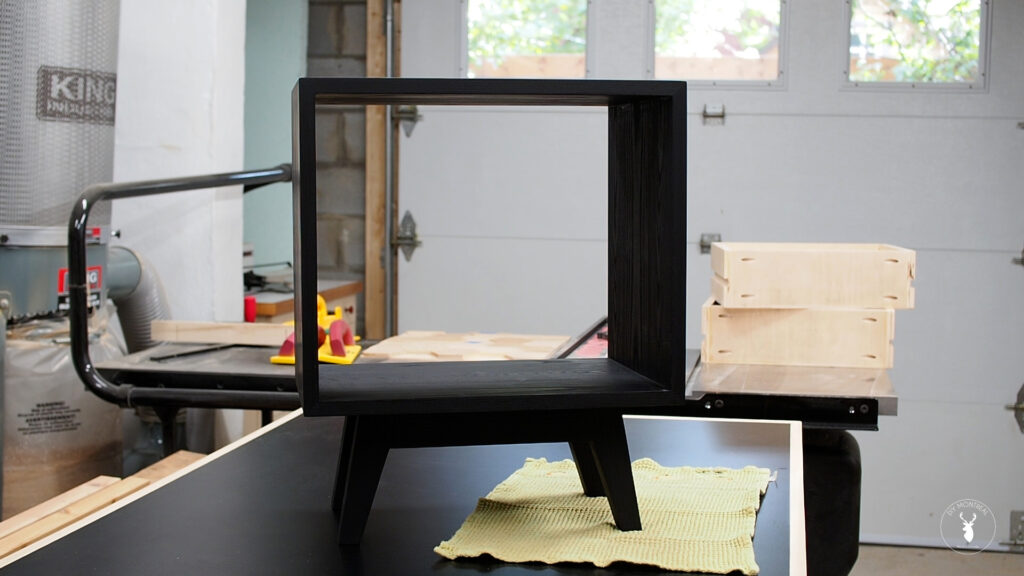
At this point I want to get started on the hexagon patterned drawer fronts. For this I planed down a few more boards of ash to various thicknesses, between 1/4 and 1/2 inch. This will give the pattern a 3D effect that I really like.
To cut the Hexagons, I’ll use my hexagon cutting jig. I have a video that shows how to make this jig and how to use it, and you can watch that video here.
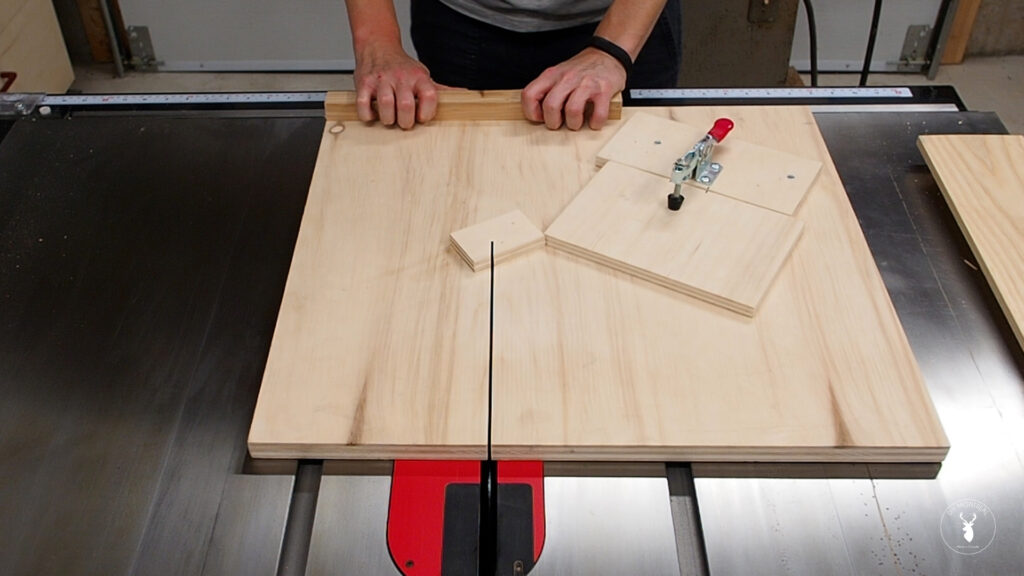
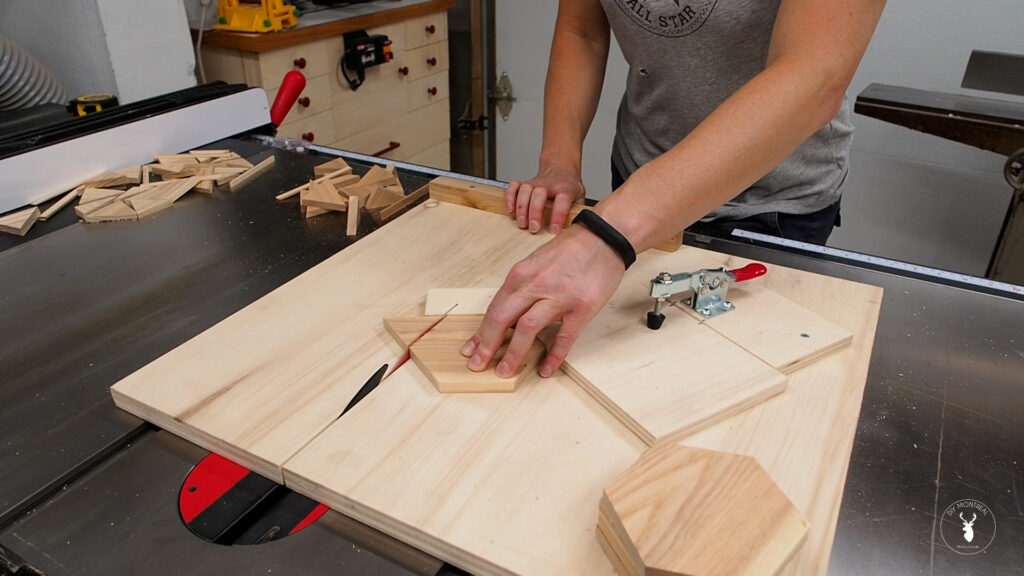
After the first cut is made and the stop is clamped back into place, you simply rotate the piece clockwise as you go until you have a perfect hexagon. It’s super easy to use. And what I love about this jig is that you get consistent results, no matter how you lay them out, it’s always a perfect nice tight fit.
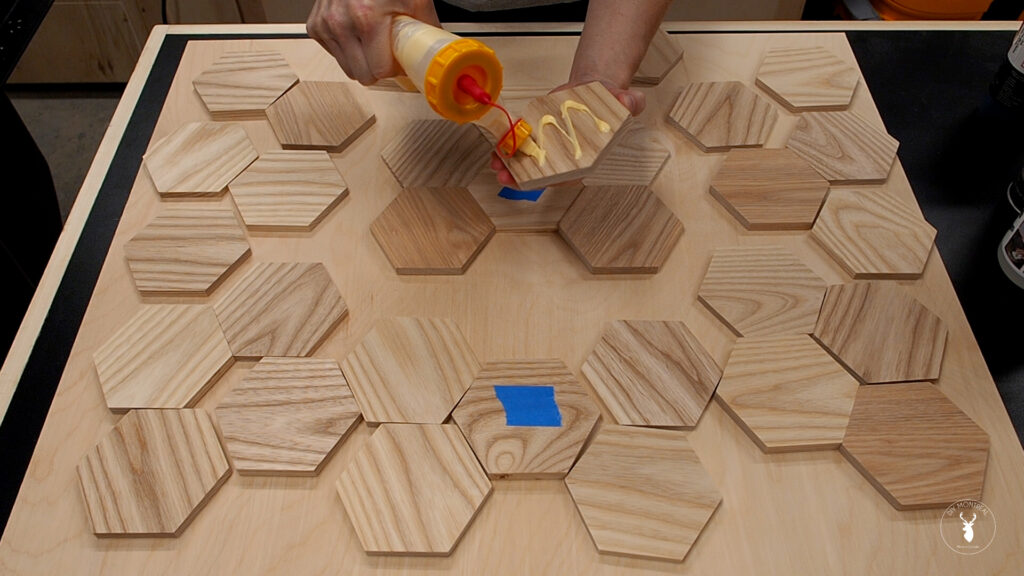
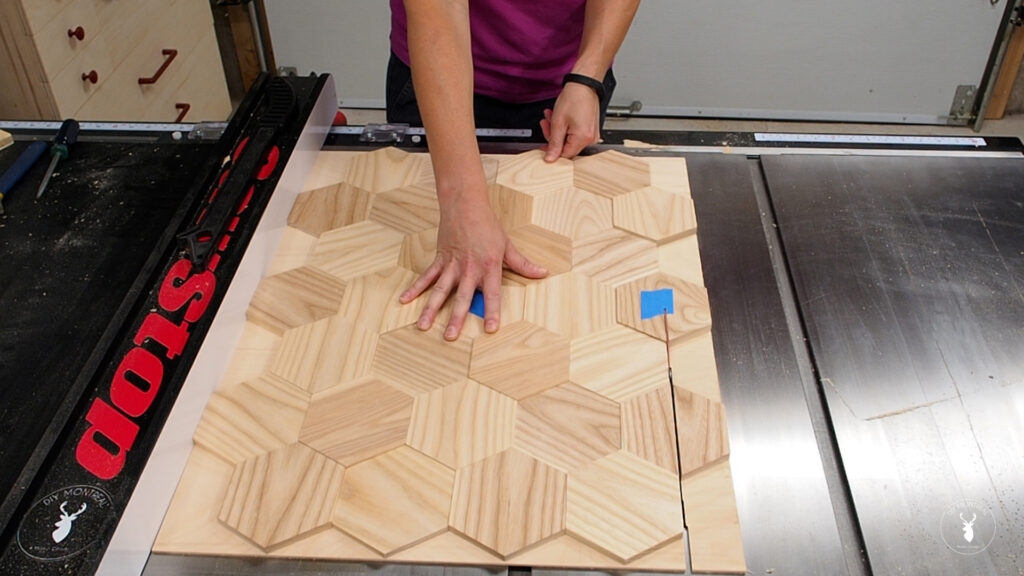
To glue up these hexagons and make them into drawer fronts, I cut a piece of backer board from 1/8th ply, then laid out the hexagons into a pattern I liked. I did the glue-up in small batches, one ring at a time. starting with the inner ring. I applied a little glue to each piece and held it down with small household items.
After it dried, I used my track saw to square up the board on one side, then with the help of a square, I lined up my track to cut a perpendicular edge. With one corner now squared up, I could take it over to the table saw to square up the other sides, then start cutting it down to its final dimensions.
I left the hexagons aside for now and moved onto the drawers. I’m keeping it simple and using plywood to make the drawers. Very mid century, I know. I cut my pieces to sides, and before assembly, made a shallow dado into the side pieces using a 3/4 inch straight bit. These will be for the drawer slides.
I assembled the drawer box using pocket screws, then applied a bead of glue to the bottom and used my brad nailer to secure the bottom panel.
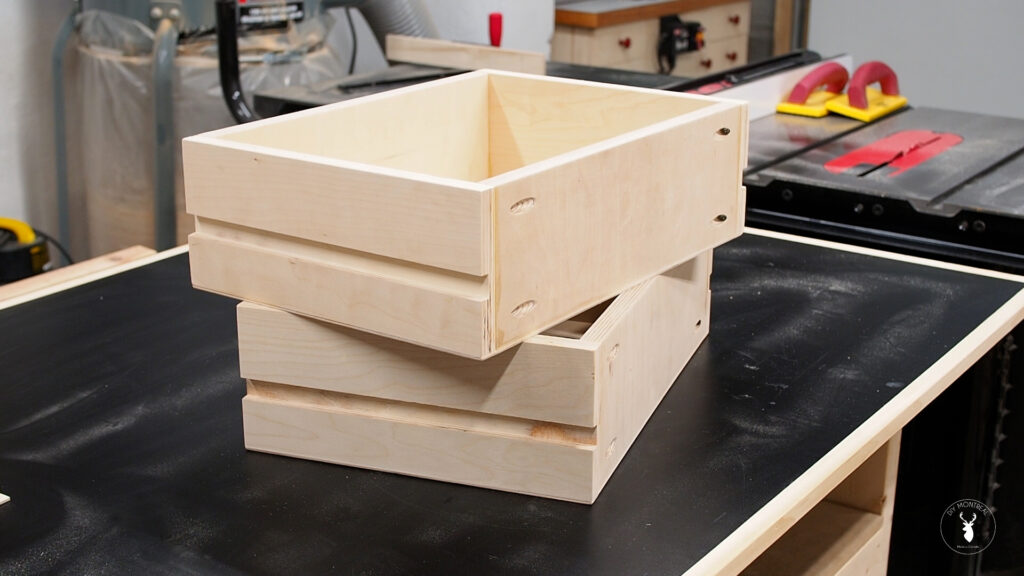
As I mentioned before, I decided wooden slides would be more fitting for this nightstand than metal ones, so I cut the slides out of some maple scraps I had on hand. The idea was to get a snug fit, with no side to side play, but with enough room for the slide to do just that: slide back and forth.
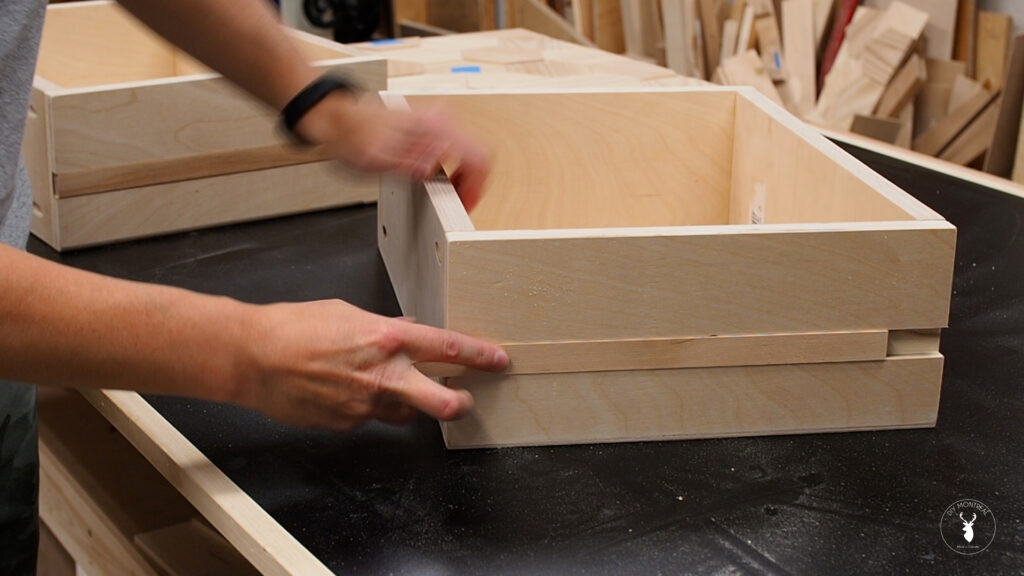
I pre-drilled and countersunk the slides, then used a spacer to set the slide in place, and transfer the pilot holes to the carcass. I could then screw the slides in place, making sure the screw heads were flush beneath the surface.
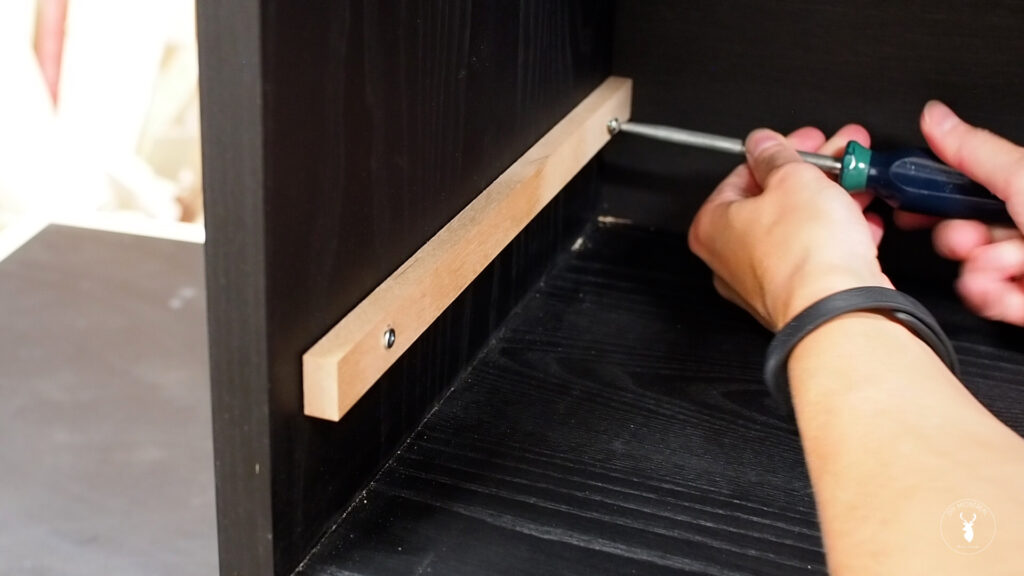
I slid in the drawers, then turned my attention back to the hexagon drawer fronts.
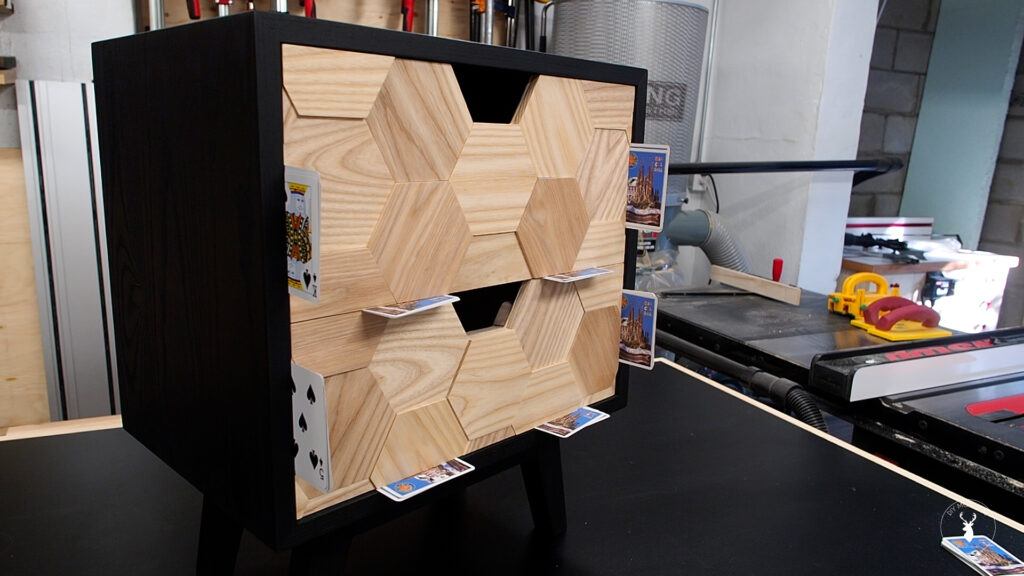
I cut my drawer fronts to size and used some playing cards as spacers all around to get the positioning just right. I could then throw on a clamp to hold the face in place, and pull out the drawer.
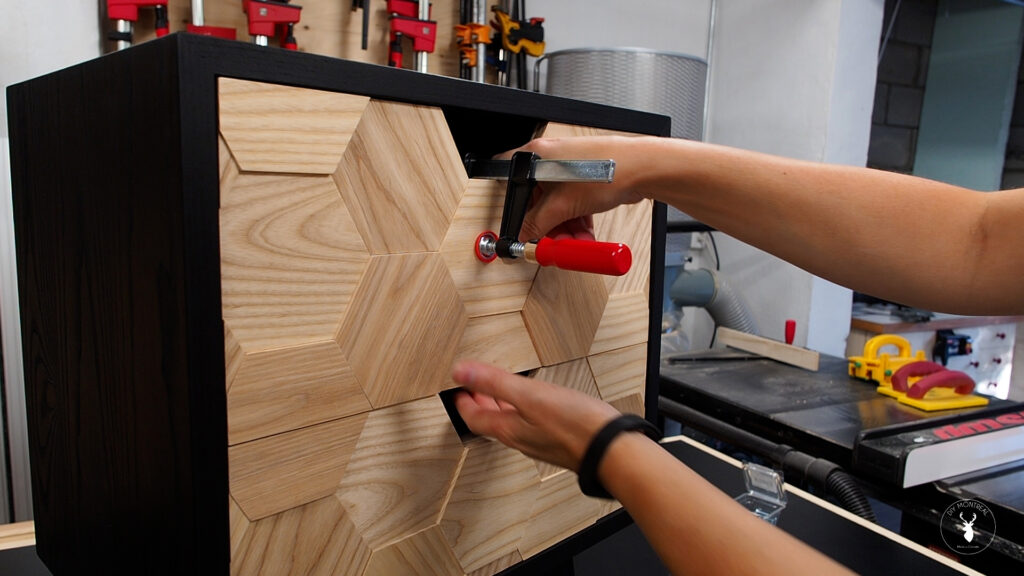
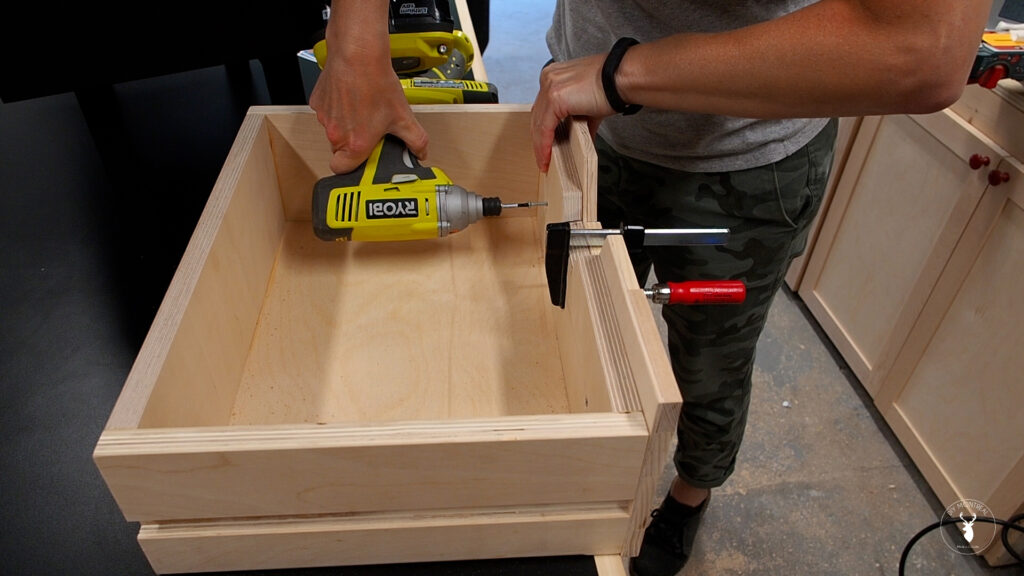
I could then drill some pilots holes from the inside of the drawer and secure the drawer front with some screws.
All that’s left now is to add a clear coat finish to the drawer fronts and this project is a wrap! I couldn’t be happier with how this nightstand turned out, from the hexagon drawers to the ebonized ash wood, I love it all!
