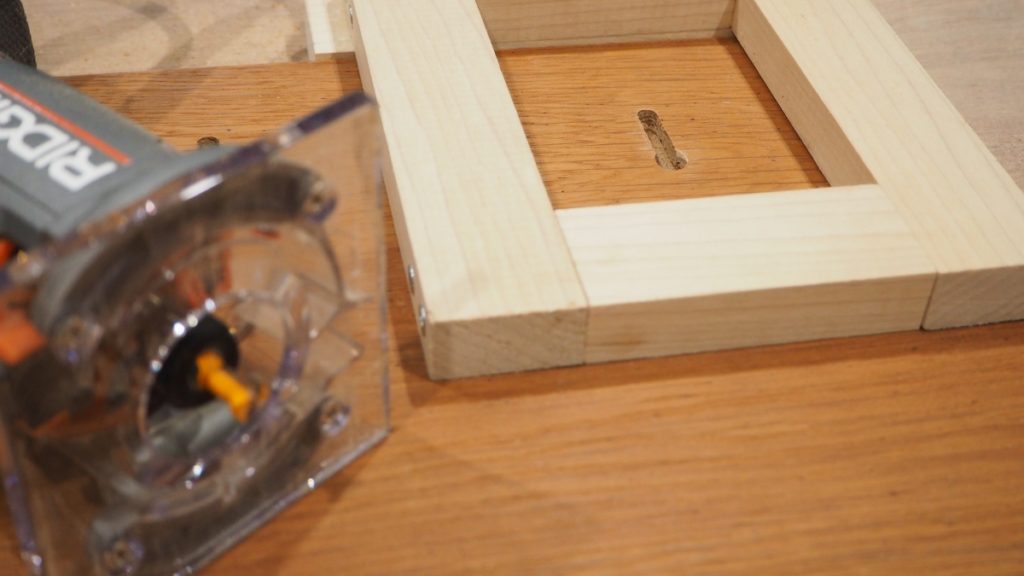
One of the easiest ways to hang frames flush against the wall is using keyhole slots. They are easy to make with a keyhole router bit. The tricky part is making all your keyholes the same distance from the top of the frame so your picture will be level. You can make a simple keyhole router bit jig that will not only help guide your router, but also make consistent keyholes every time.
Watch the 2-minute video or read on!
Click here to SUBSCRIBE to my YouTube channel for more DIY videos!
Materials
All you need are basic tools and materials to make this keyhole router jig
- Trim router
- Keyhole bit
- Countersink bit
- 1-1/2 x 3/4 poplar board
- (8) 2-inch FH wood screws
- (3) 1-1/4 FH wood screws
Figure out the dimensions
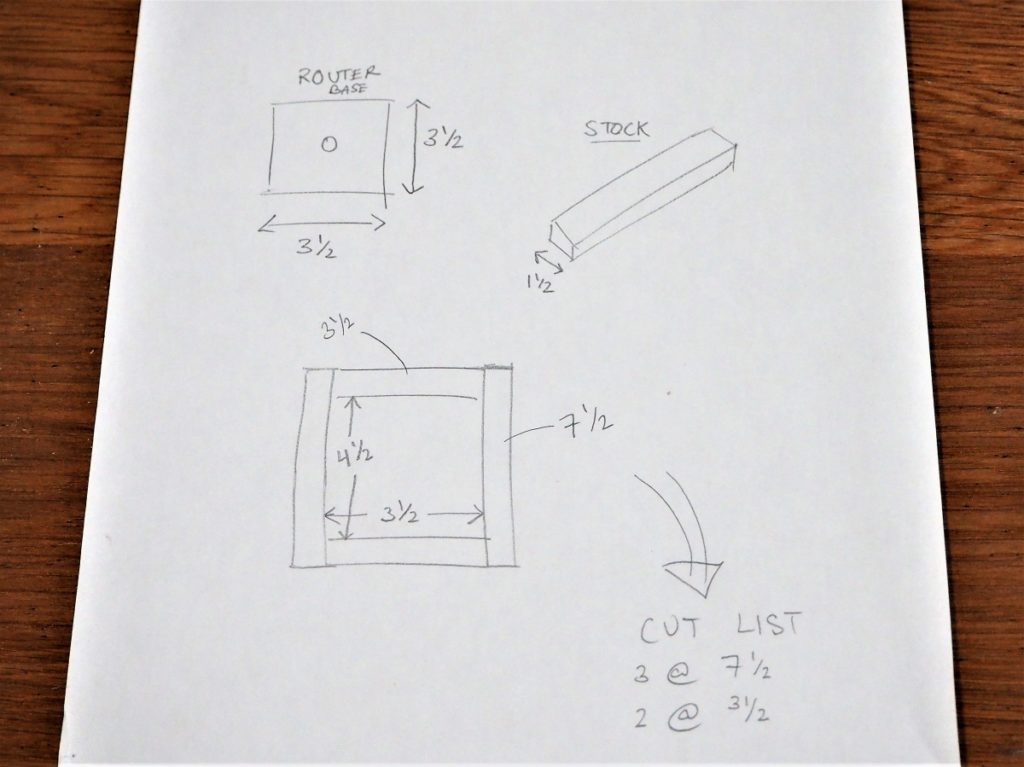
I started by measuring the size of my router’s base. My RIDGID trim router‘s base was 3-1/2 by 3-1/2.
I decided to make my jig 3-1/2 x 4-1/2 so I would have a 1-inch span to slide the router back and forth when cutting my keyhole slots.
I bought some 1-1/2 poplar to use for the frame and figured out I would need the following cuts:
- (2) @ 3-1/2 (top and bottom piece)
- (3) @ 7-1/2 (both sides and an extra which will serve as a stop piece)
Assemble the frame
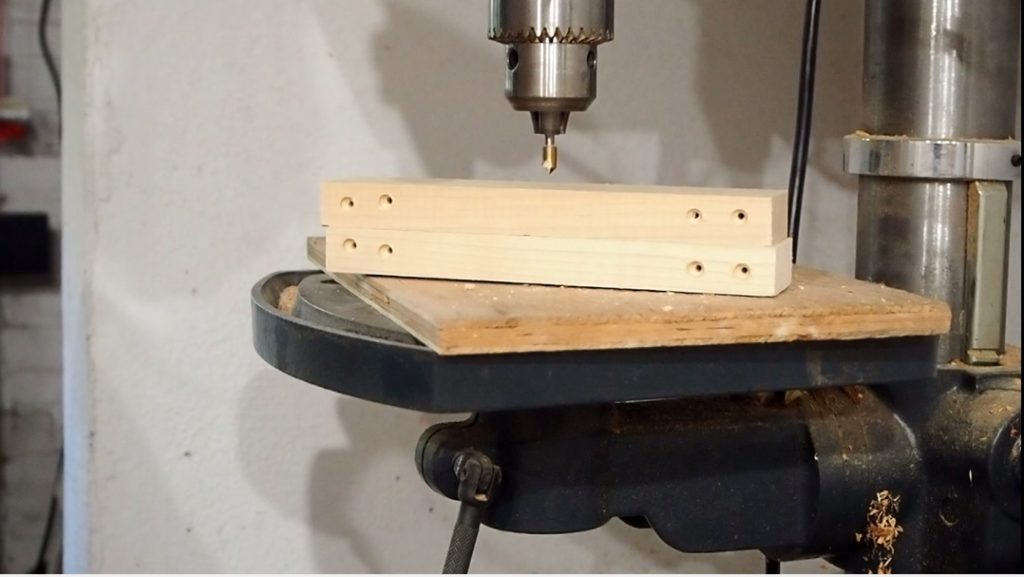
Make pilot holes. Really, this is important. I first tried making this without pilot holes and I split my wood.
I marked by boards and used a 1/8″ drill bit on the drill press to make the pilot holes. I also used a countersink bit so my screw heads would be flush.
I used eight 2-inch flat head wood screws to assemble the 4 corners.
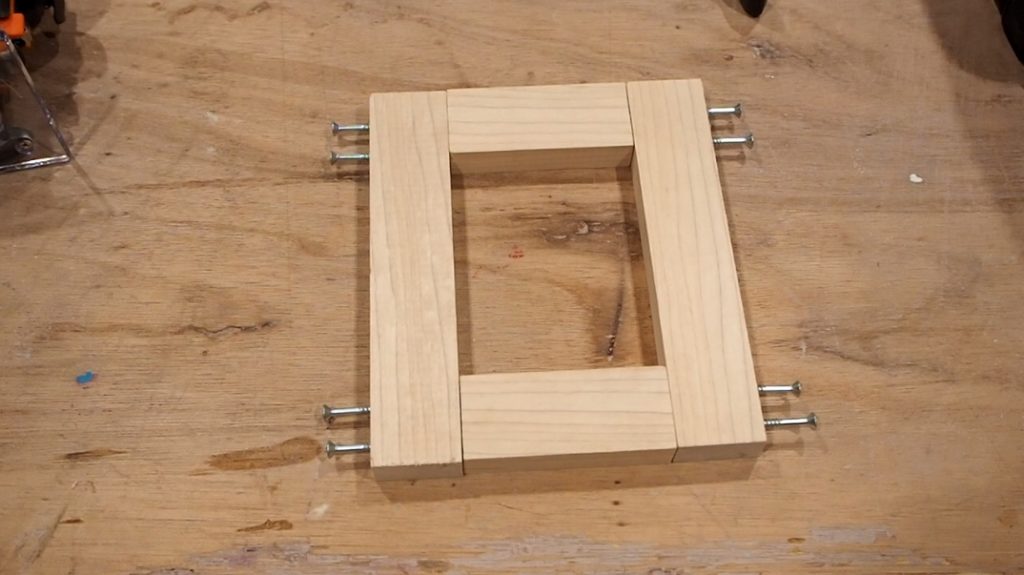
Attach a stop
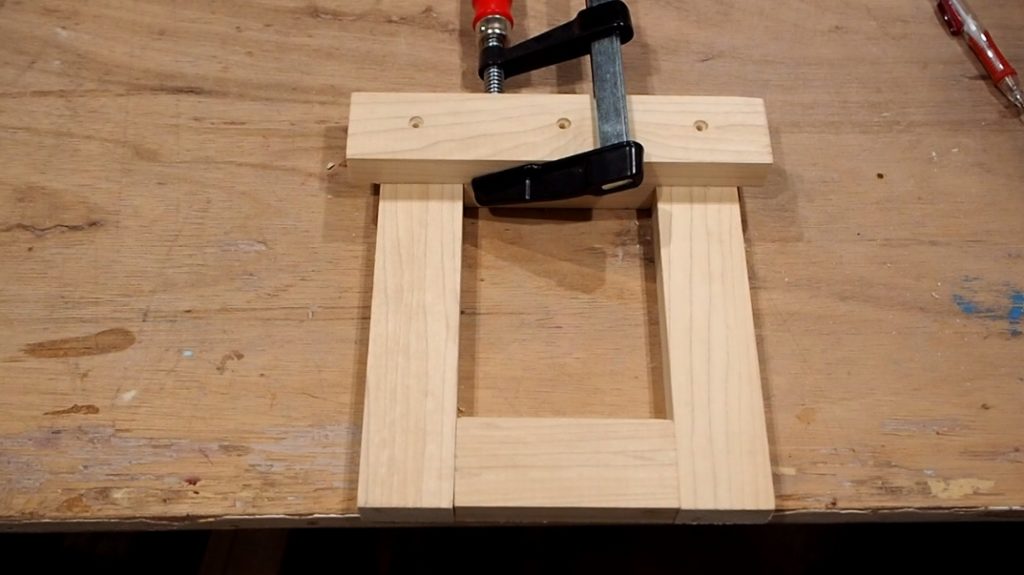
The last step is to add a stop at the back.
I again drilled countersunk pilot holes and applied some glue. I clamped the stop flush with the top of the frame and screwed it in using 1-1/4 flat head wood screws.
How to use the Keyhole Jig
This jig is truly so simple but makes keyholes so easy! Not only does it help guide your router, but more importantly it allows you to make multiple keyholes at the exact same distance from the top of your work piece, which means your frames will hang level every time.
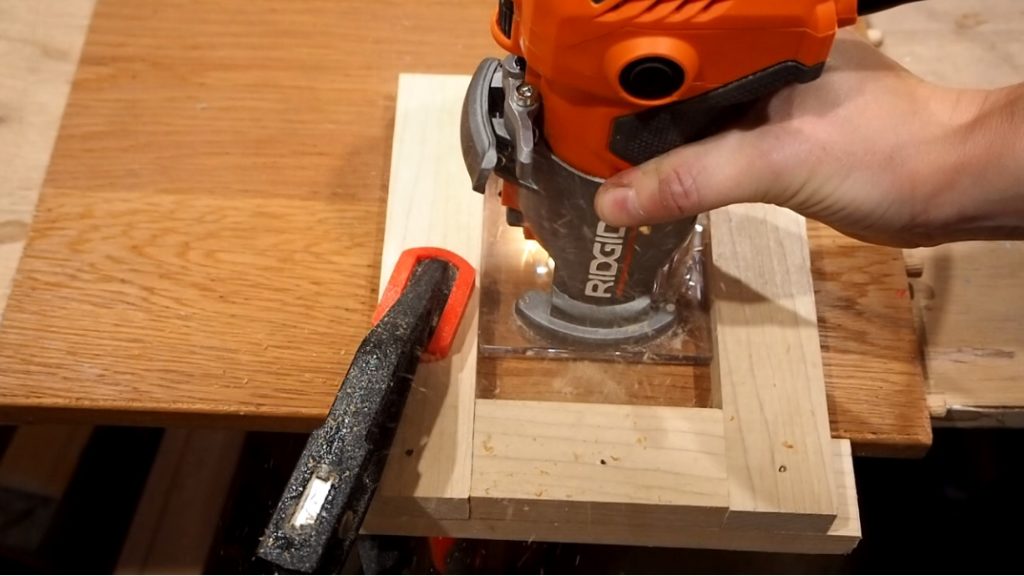
You don’t need a plunge router with this jig. Simply press the router base against the bottom edge of the jig and push the router straight down into the work piece until your base sits flush on the surface. Then slide the router all the way up and back down again before pulling out the bit. Perfect keyholes every time.
