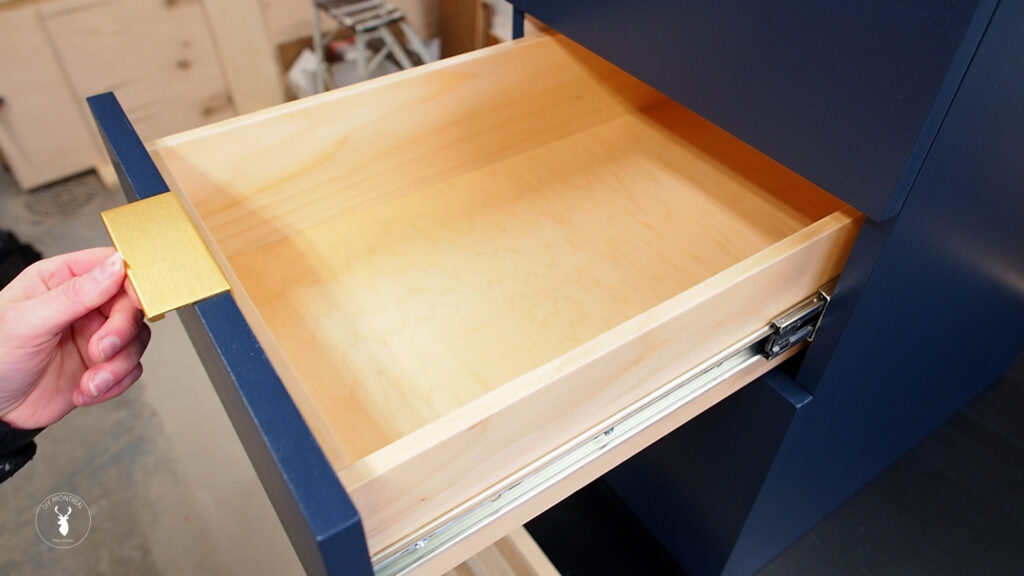
Finishing plywood cabinets on the outside can be as easy as a few coats of paint, but if you want professional looking cabinets, you need to consider finishing the inside of the cabinet too, especially the drawers. In this tutorial, I’ll cover 4 different techniques to finish plywood cabinets inside & out, including sealing plywood, edge banding, filling plywood edge grain and getting a smooth paint finish on plywood.
How to Finish Plywood Cabinets: Inside & Out | Sealing Plywood / Edge Banding / Painting Plywood
Painting Plywood Edges
If you’ve ever tried to paint plywood, you’ll have experienced the disappointment of horrible looking plywood edges. The issue with painting plywood edges is that the unsealed end grain just wants to soak up the paint, and does so unevenly.
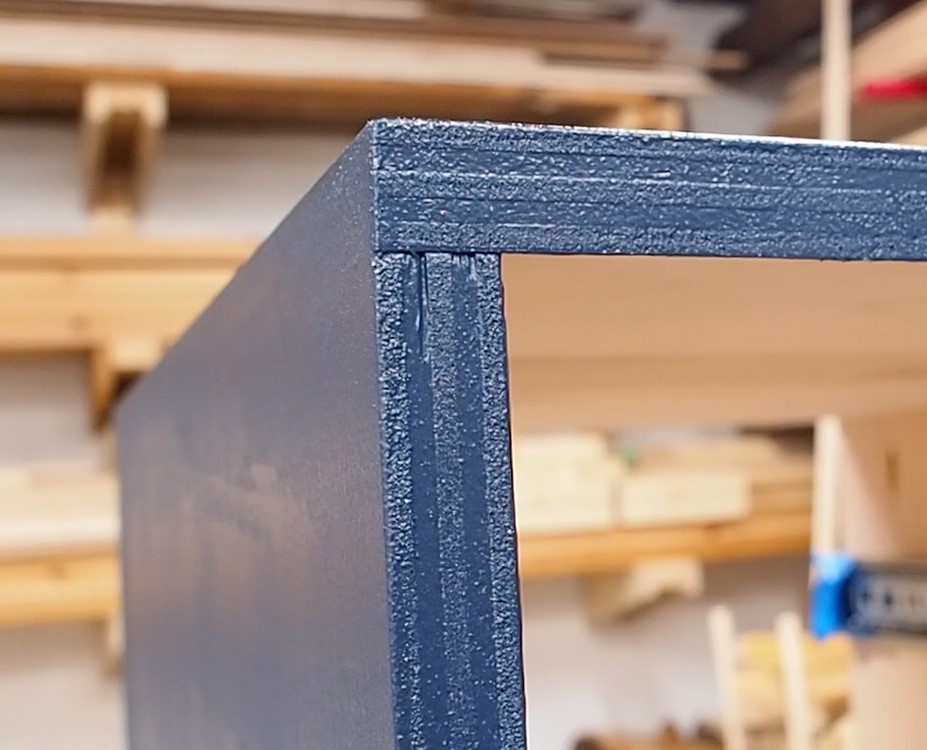
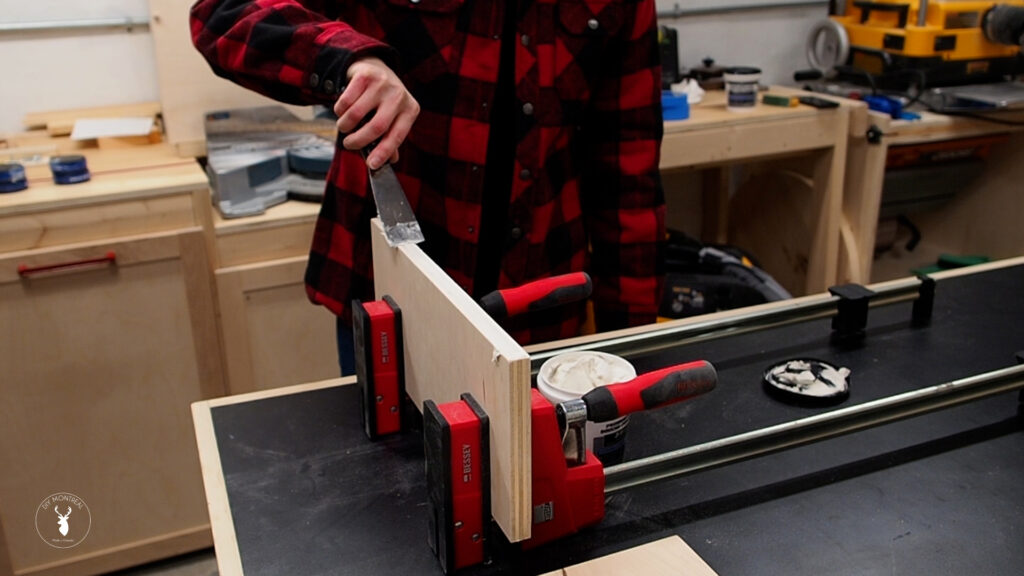
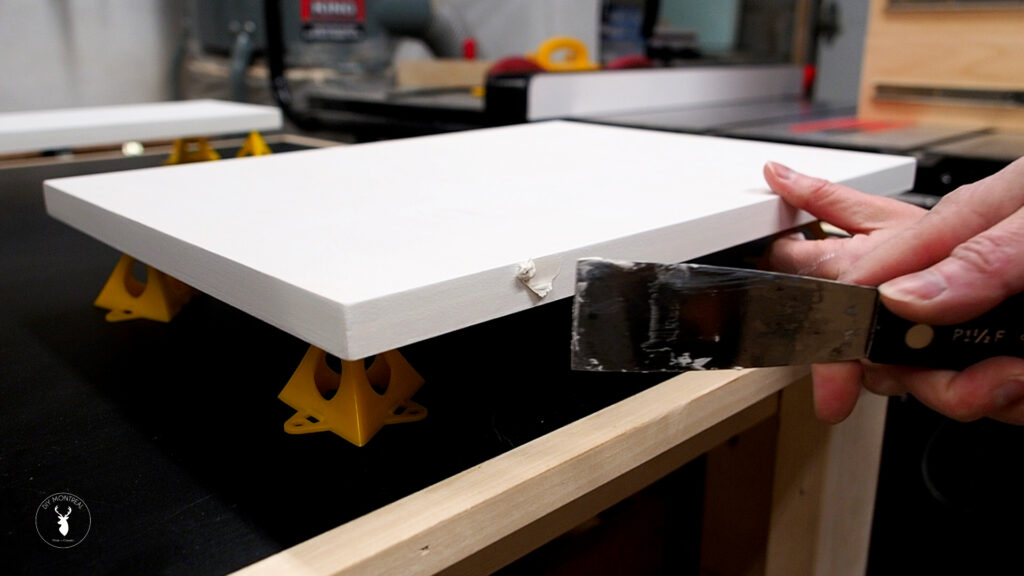
Therefore, to get smooth plywood edges, you have to seal the end grain first. For this, I use DAP Premium Wood Filler. It has a very light texture that’s easy to apply and work into the grain. I then smoothed it out using a putty knife.
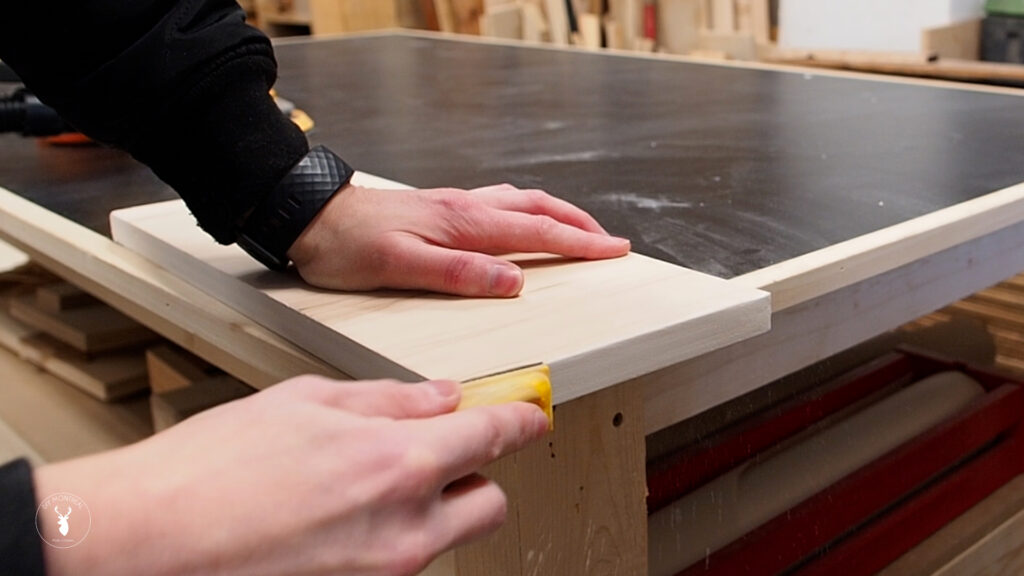
Letting it dry for 2 hours, I began sanding away any excess wood filler using 220-grit sandpaper. I like to use my MicroZip sanding block. It’s easy to just feel the edges with your fingers and to stop sanding when everything feels smooth.
One coat was enough for me, but 2 coats may be required. I like to apply primer to my entire cabinet after the first coat of wood filler, then touch up any visible voids with some more wood filler before moving on.
Painting Plywood Cabinets
I’ll start off by stating the obvious truth that no one wants to hear: getting a smooth paint finish requires sanding between coats. Oh, and it also requires primer.
Primer Coat
After filling all the defects in the previous step and sanding smooth, I wiped down the entire cabinet to remove all traces of sanding dust. You can use a tack cloth for this, or a slightly damp cloth.
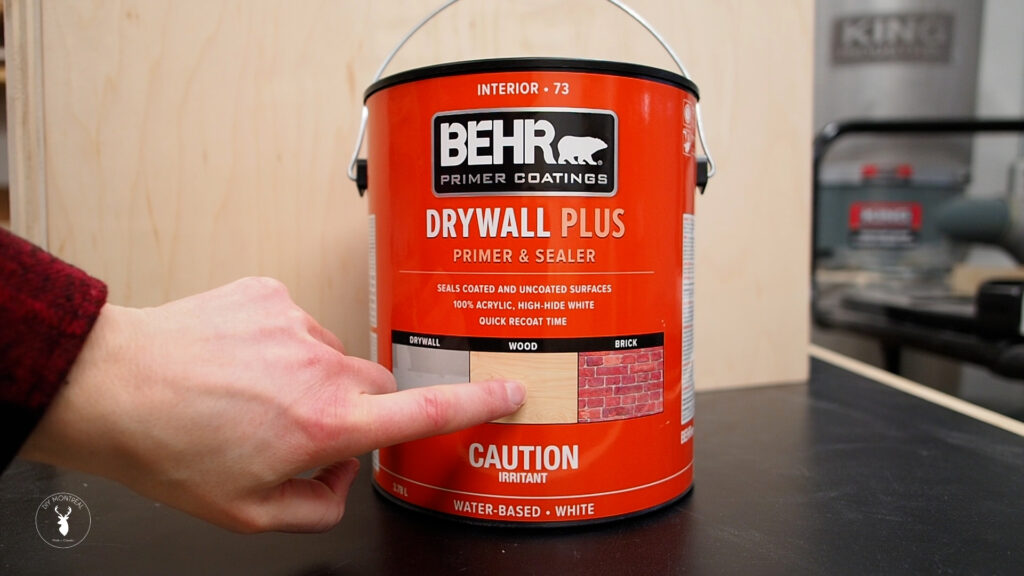
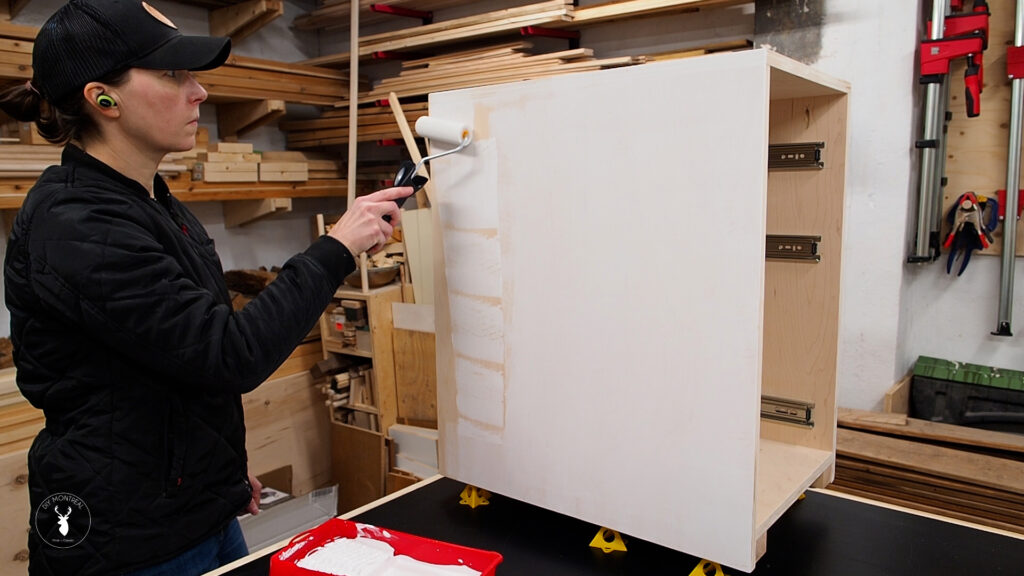
Once dry, I coated the entire cabinet and the drawer fronts with primer using a foam roller. I went with a primer that specified “for use on bare wood surfaces”. After it dried, I lightly sanded all the surfaces to remove any roughness using 220-grit paper. I again wiped down all the surfaces to remove all the dust.
Cabinet Paint
Next it’s time to add the first coat of paint. Now for painting cabinets, if you want a durable finish that won’t easily chip, you’ll want to avoid using a latex paint. Instead, look for alkyd paint. It will also often say cabinet paint or enamel on the label. Two popular paint choices are Sherwin-Williams Pro Classic or Benjamin Moore Advance, both water-based options. For my office drawer cabinet, I went with the color Polo Blue by Benjamin Moore.
I applied 3 coats of paint using a foam roller. After letting each coat dry, I sanded lightly with 320-grit and wiped away all the dust before moving onto the next coat.
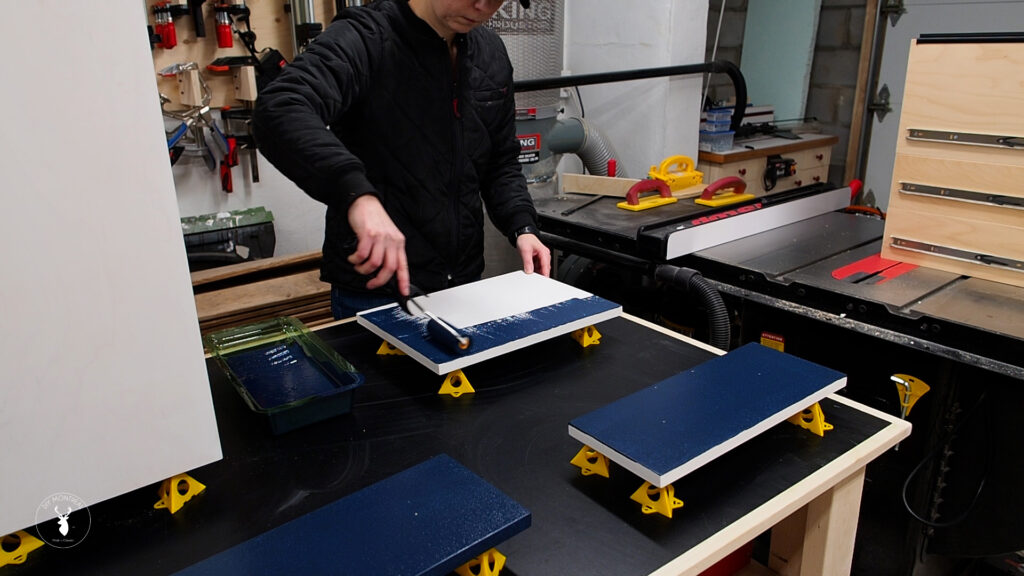
Important tip: Now here’s what I didn’t do (because I didn,t know at the time) but you really should do. It’s the secret to getting a smooth paint finish without using a paint sprayer: it’s called laying off or tipping off. Essentially, after you’ve rolled on the paint, while it’s still went, you want to take a good quality paint brush and run your brush very gently across the surface. This gives it a super smooth finish and helps it level out.
Finishing Inside Drawers
Edge Banding
The one thing that screams DIY furniture to me is seeing the exposed plywood edges on drawer boxes. In some cases, this can be a design feature, especially when using Baltic Birch plywood. If you want your drawers to look a little more professional, edge banding is an easy way to conceal the exposed plywood edges.
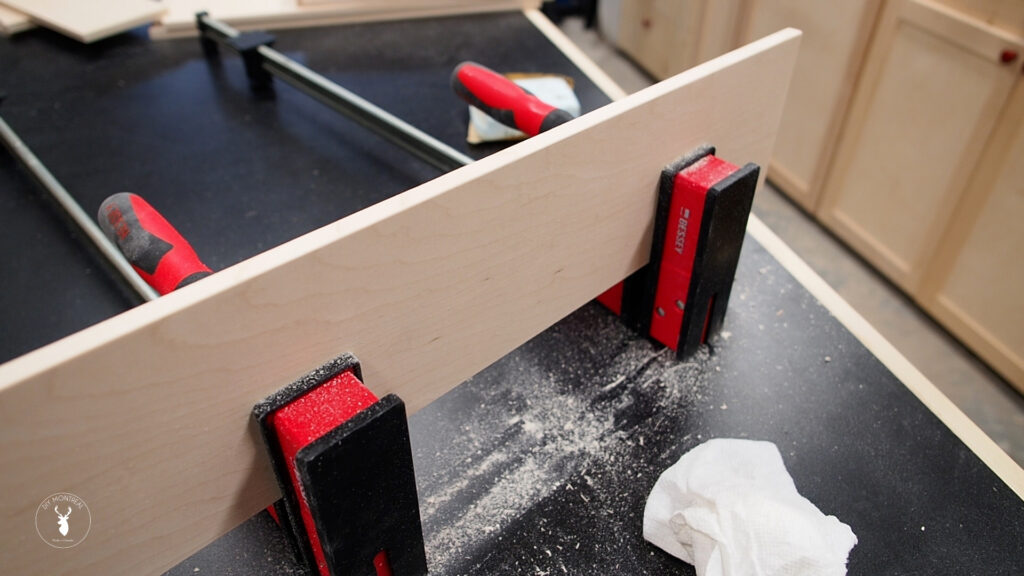
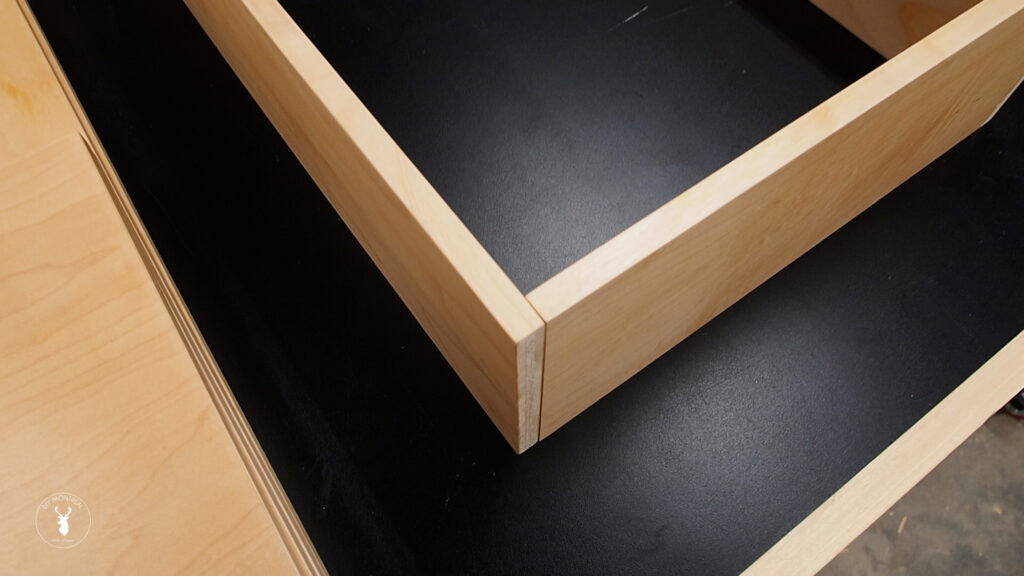
It’s easiest to apply edge banding before you assemble the drawers. In my case, I applied a strip of edge banding to my 4 drawer sides, on the top face only (no one will see the bottom).
You can purchase rolls of iron-on edge banding that are very easy to work with. Select edge banding to match the type of plywood you’re working with, like birch or maple, and make sure it’s slightly wider than the thickness of your plywood.
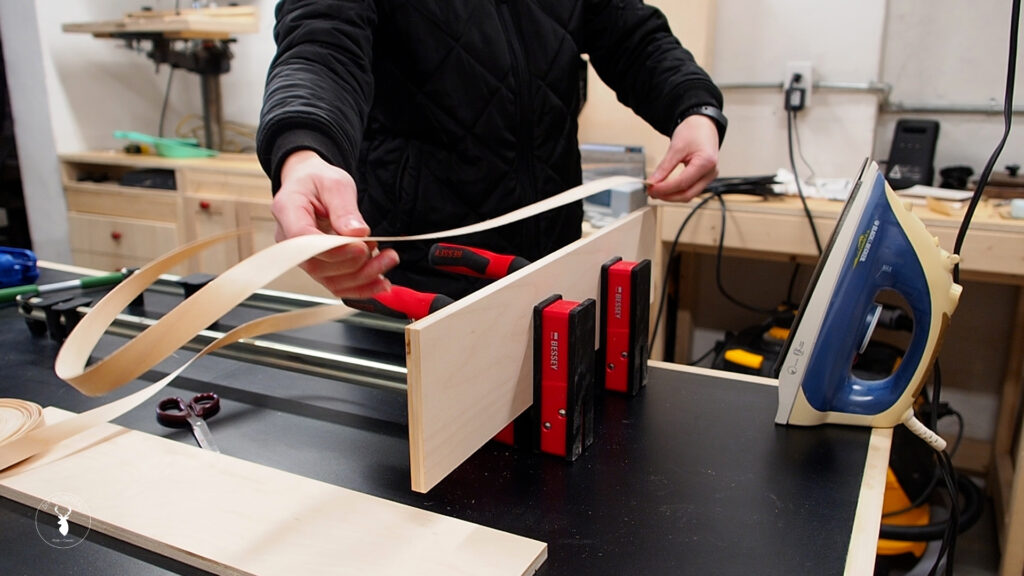
Applying iron-on edge banding is quite easy. This was actually my first time doing it and it turned out great! I cut a piece slightly longer than required and set my iron to high (cotton). It took me a few tries to get a feel for it, but essentially you want to move the iron slowly, keeping it flat, spending maybe 10 seconds per area until the glue melts and sticks it on. Too long and you’ll notice burn marks on your edge banding; too fast and it will tend to peel up.
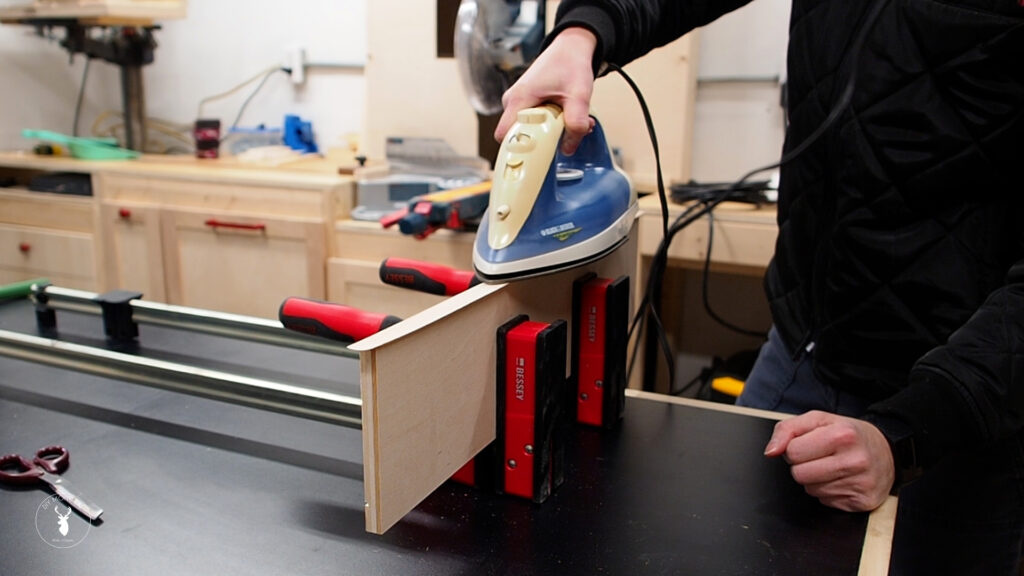
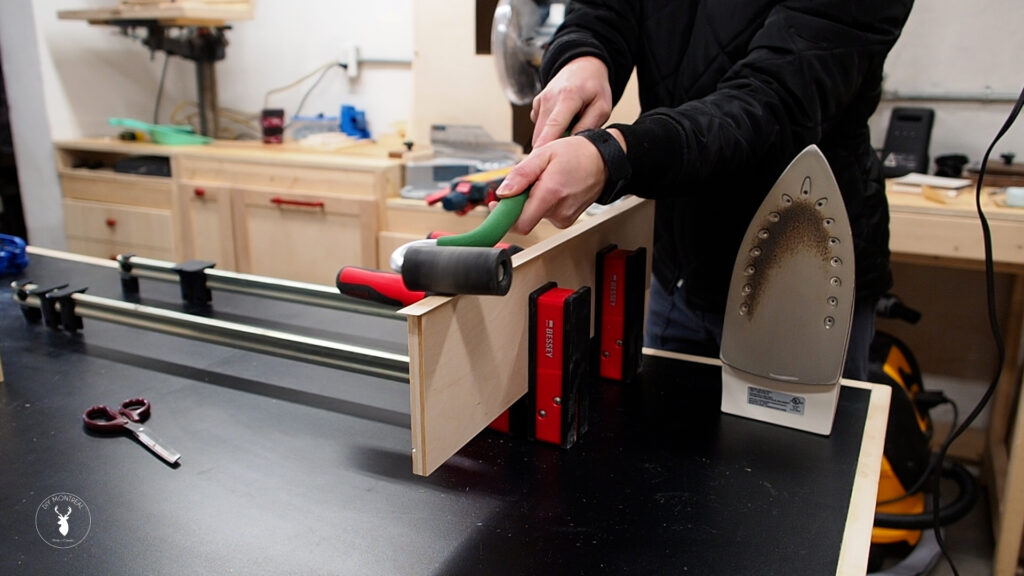
Next, I used a J-roller to ensure the edge banding had good contact all along the edges and then set the piece aside to cool and let the glue dry.
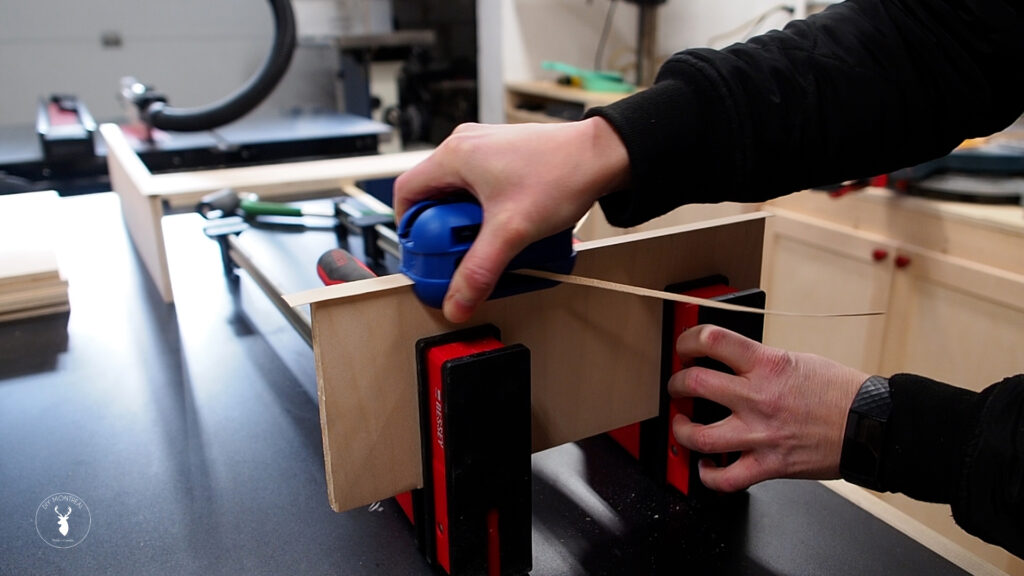
Once all the pieces had cooled, I used an edge band trimmer to trim off the excess. Simply squeeze the sides and drag it along the top. I then simply clipped the ends with scissors. It also helps to use a file to flush up the ends.
I sanded the edges using 220-grit, making sure to remove any visible adhesive or any excess edge banding until everything was flush and smooth. Ultimately when you’re done, your plywood should almost look like a solid piece of wood.
Sealing Plywood
Now, apparently you can buy prefinished plywood that is finished on one side, but I’ve never come across that where I live, so I’m going to make prefinished plywood myself. For this I’ll be using 2 products: Shellac and Polycrylic.
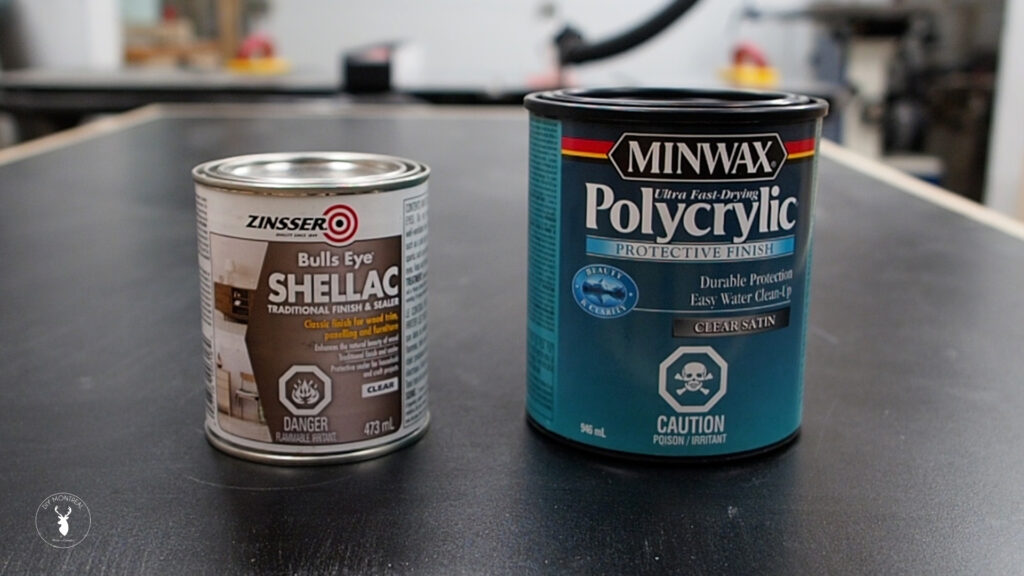
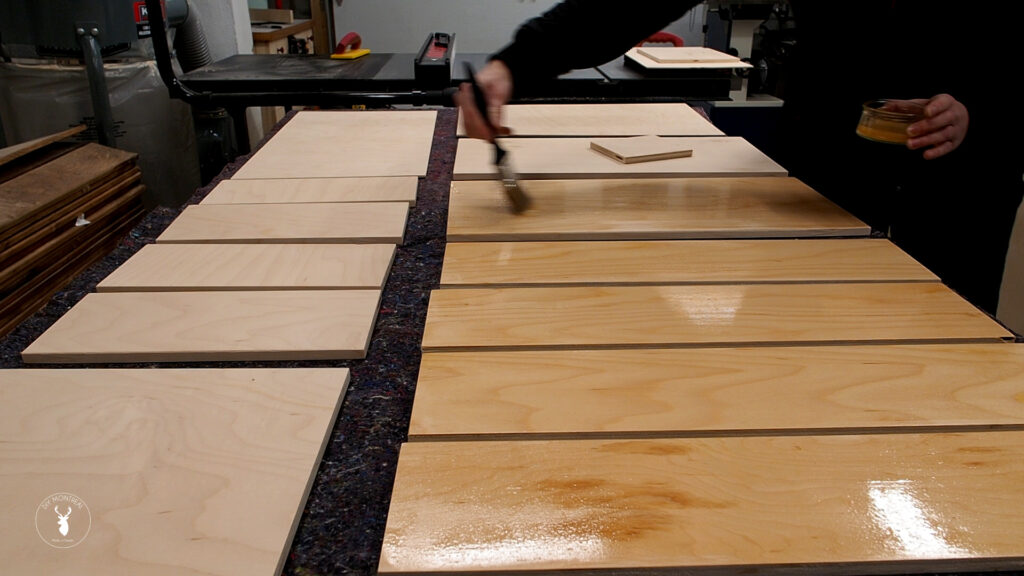
The first step is to seal the plywood using one coat of shellac, ideally using a natural bristle paint brush. This coat really helps to seal the plywood pores so you won’t need multiple coats of poly. After about an hour or two, the shellac can be lightly sanded using 320-grit paper to smooth out any imperfections and make it smooth to the touch.
I wiped down all the pieces to remove any dust left by the sanding, and then applied a single coat of Polycrylic to all the drawer sides and the bottoms too. I personally like to use a foam brush for this to apply a thin even coat.
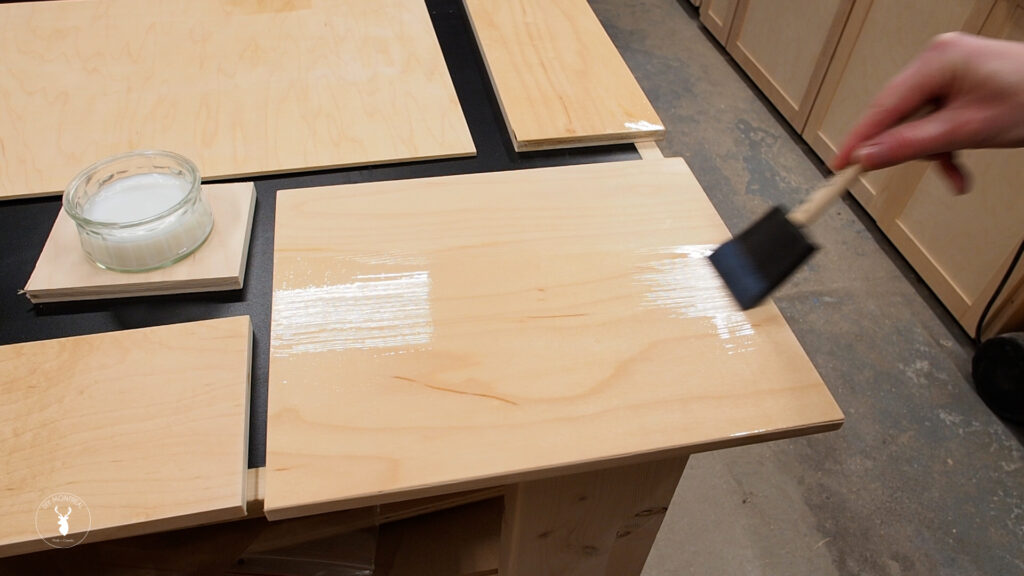
And that’s it. Once dry, you’ll have silky smooth drawer parts that are ready for assembly. The plywood is soft to the touch and looks like solid wood. If you want to see how I made the drawers you can check out my drawer cabinet build.
So there you have it: four different key methods for finishing plywood cabinets, inside and out! Now you can make your drawers look professional, not to mention smooth to the touch, and get a smooth flawless paint finish on plywood cabinets.
