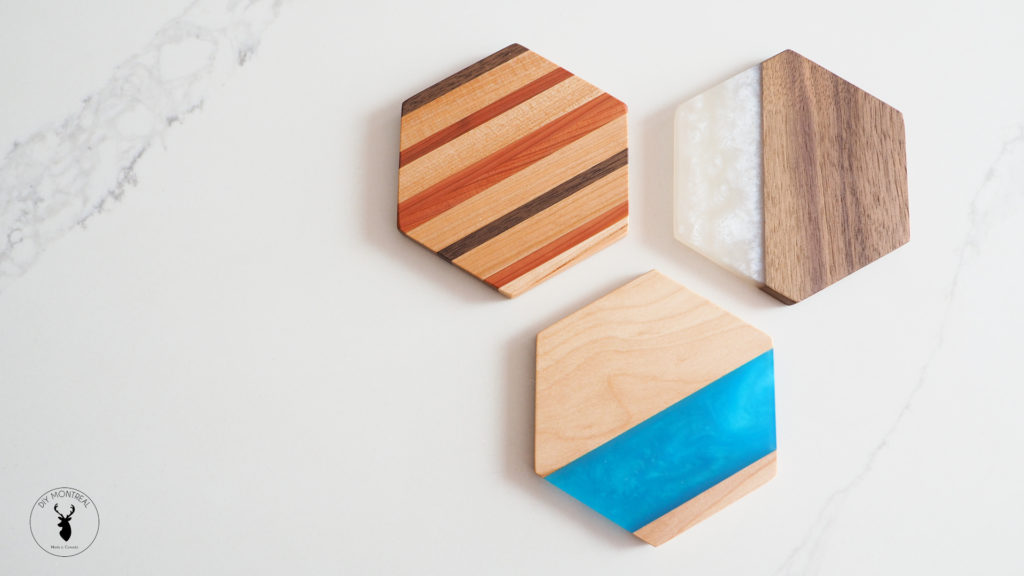
I’ve been wanting to incorporate epoxy resin to a project, so I figured epoxy coasters would be a good place to start. Wanting to add a little flare, I decided to make hexagon coasters, using a hexagon cutting jig I made a while back.
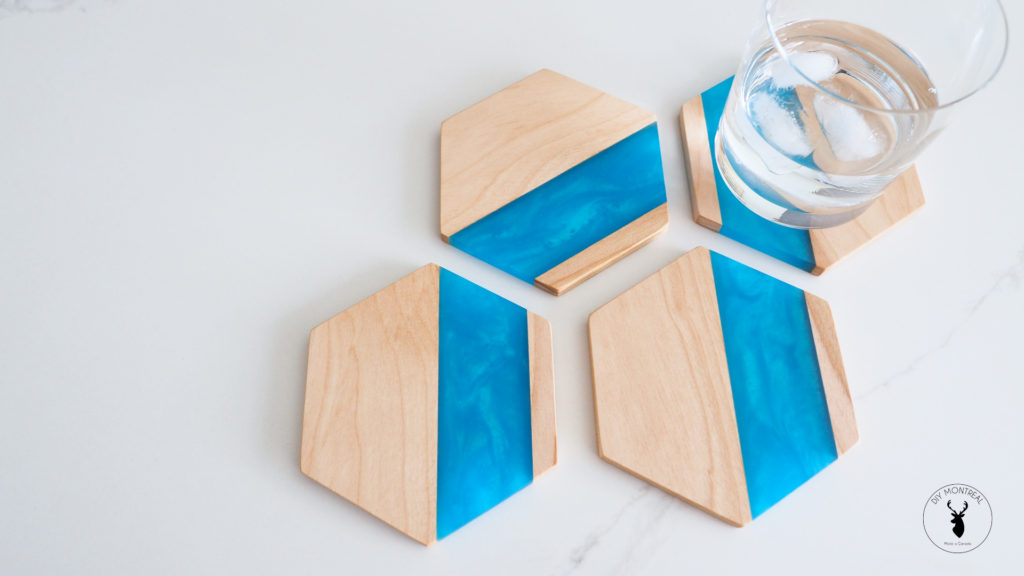
Coasters are always a fun project because I can typically just rummage through my lumber cart and find whatever hardwood scraps I have on hand, like some maple, walnut and cherry. Below are some other materials you’ll need.
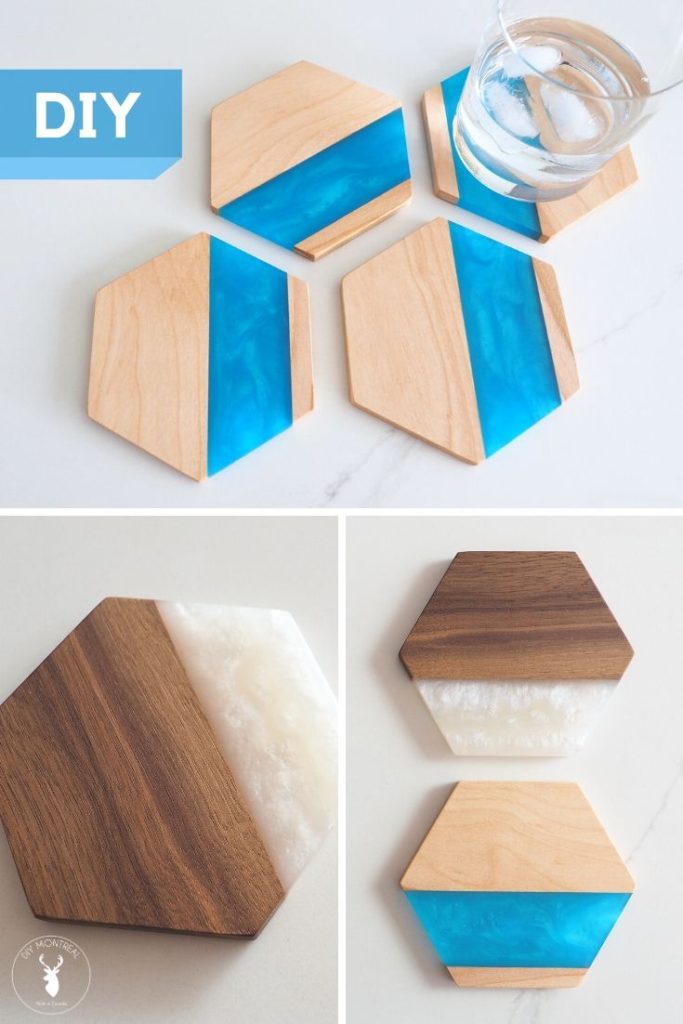
Tools & Materials
â–ºEpoxy resin
- Chill clear epoxy https://amzn.to/2KOSfvf
- White pigment: White Russian https://amzn.to/3354GZW
- Blue pigment: Spring break regrets https://amzn.to/2D4prKG
- Resin Mixing cups https://amzn.to/32ZK45q
- Jumbo popsicle sticks https://amzn.to/2O8lSty
- Nitrile gloves https://amzn.to/33deAJj
â–ºEpoxy molds
- Melamine board https://amzn.to/35of1Ss
- Sheathing tape https://amzn.to/2KFtS2U
- Silicone squeeze tube https://amzn.to/33VboCR
- Mini F-clamps https://amzn.to/33a044G
â–ºWood prep
- Dewalt Planer https://amzn.to/2qE7HmM
- Grr-ripper https://amzn.to/2D4czo5
- Parallel clamps https://amzn.to/2XE3Pyo
- Silicone glue brush https://amzn.to/33ghZH7
â–ºFinish
- Denatured alcohol https://amzn.to/2riCndc
- Osmo Polyx-oil https://amzn.to/37puN1b
How To Make Wood and Epoxy Hexagon Coasters
Click here to Subscribe to my YouTube Channel
Wood Prep
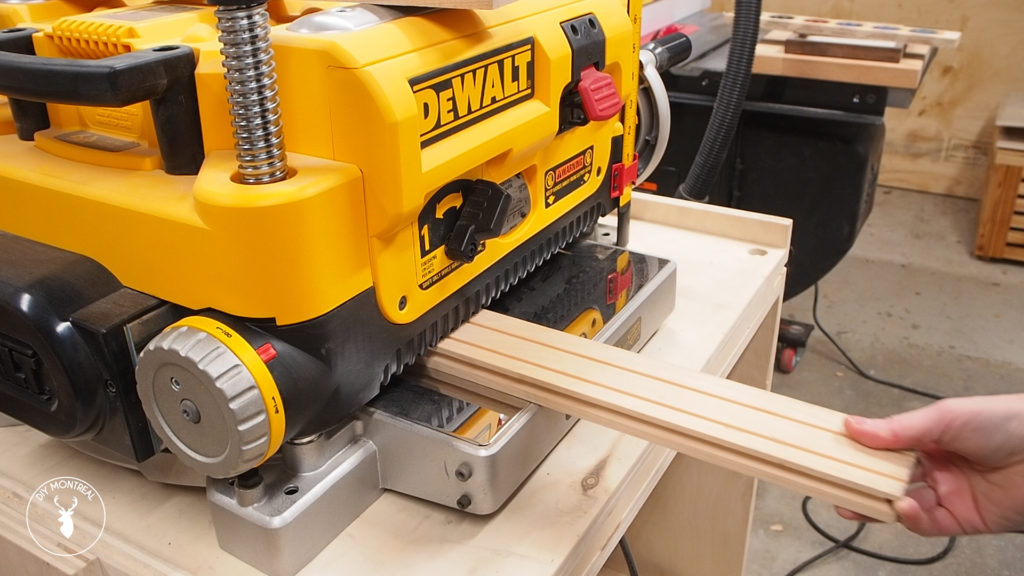
My wood scraps are in pretty good shape, but I need to plane down the back side of the floorboards in order to get rid of the grooves, so I’m just going to run them through the planer a few times to get them flat on both sides. I did this for all of my wood scraps, not concerned with the final thickness at this point. I also removed the tongue and grooves from the floorboards.
Make Molds
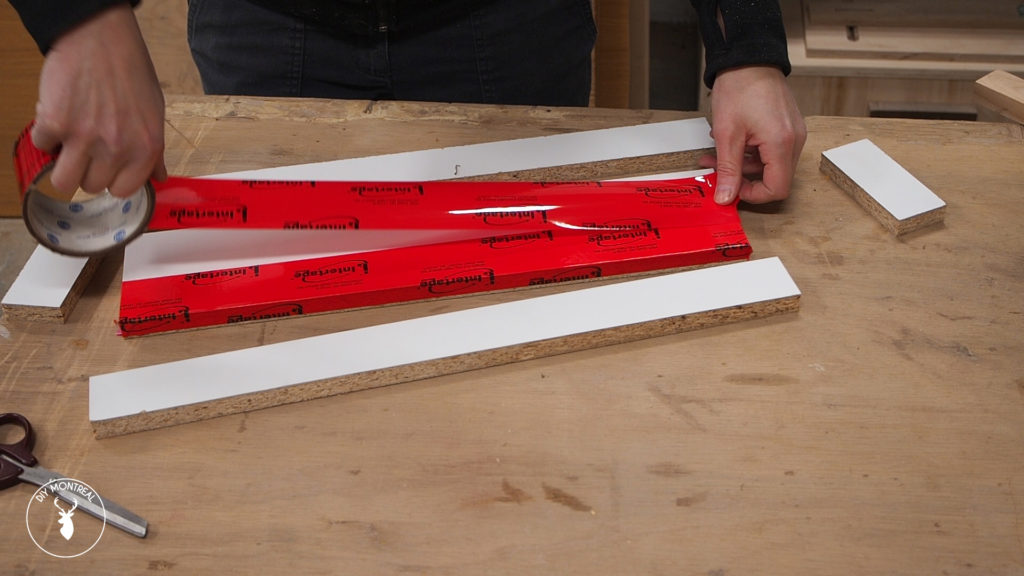
I made 3 molds that are 20 by 4 inches. I chose to use melamine since it has a smooth flat surface. I also covered each piece with sheathing tape so the epoxy won’t stick to the forms.
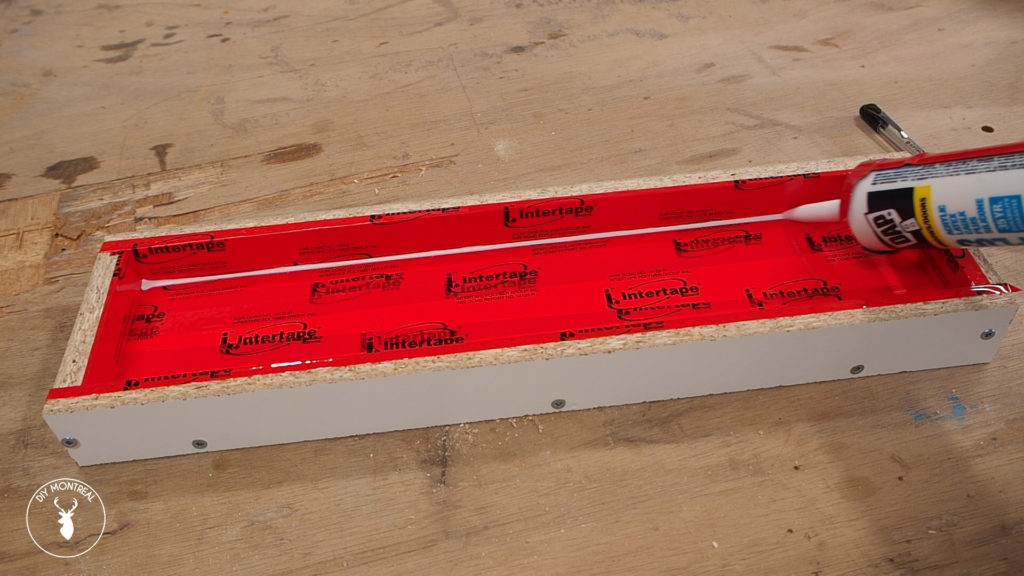
I used clamps to hold the mold together while I assembled it with screws, making sure to keep all the seams as tight as possible. I also applied silicone to all the inside seams to make sure none of the epoxy would seep out.
Pour Epoxy
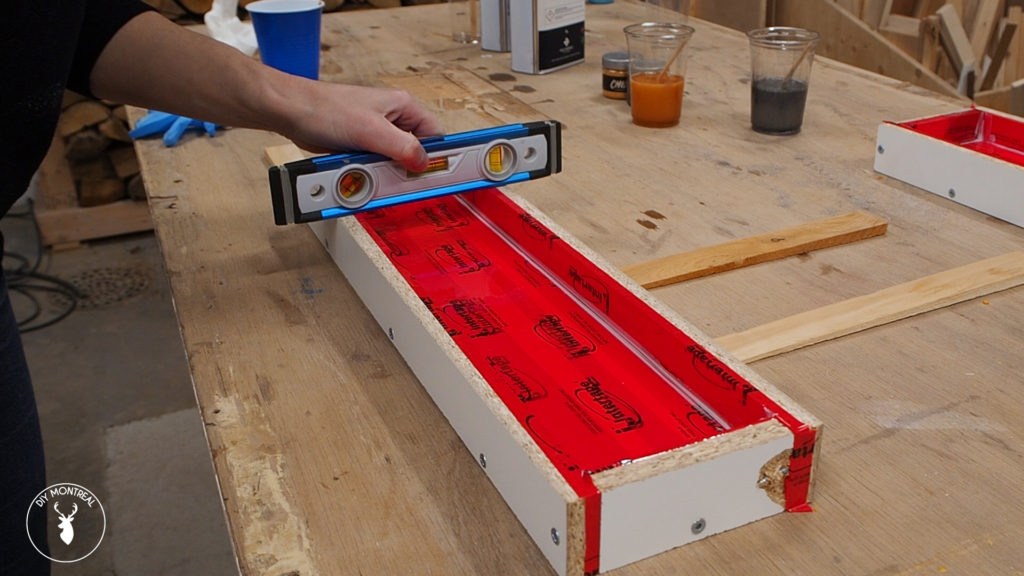
Before you mix up any resin, it’s important to make sure your mold is level so you don’t end up with a thick side and a thin side. I used a few shims to level out my form, and I also made sure to clamp down the wood so it wouldn’t end up floating in the epoxy.
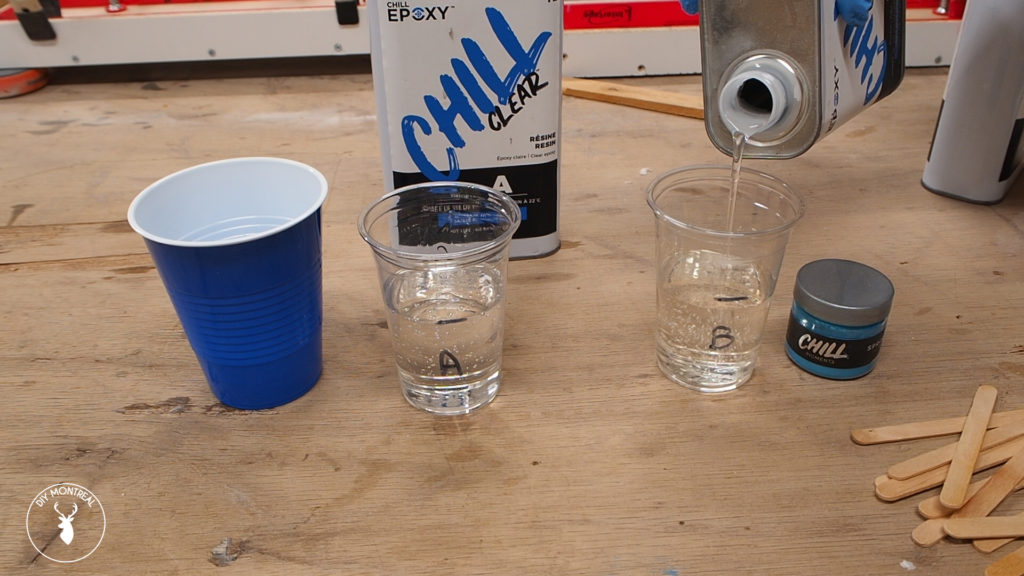
I’m trying out Chill Clear epoxy which is designed for half inch thick pours. It has a 2 to 1 ratio, so I’ll measure out 2 parts A and one part B, making sure to scrape down the sides of the cup each time.
Option 1: Walnut & White Epoxy
After stirring the epoxy mix for about 5 minutes, I added some White Russian metallic pigment and mixed it some more. I wanted the white to be really rich and almost opaque, so I ended up adding a few more scoops of pigment until I was happy with it.
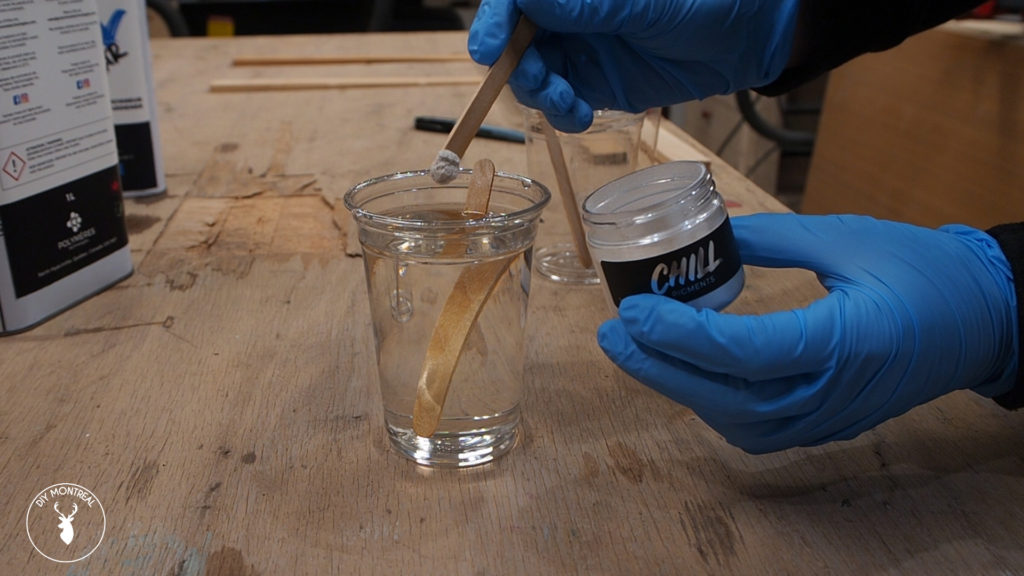
Once it’s well mixed, I gently poured the epoxy into the mold. My wood is just over half an inch thick at this point, aiming for a final coaster thickness of around three eights when all is said and done.
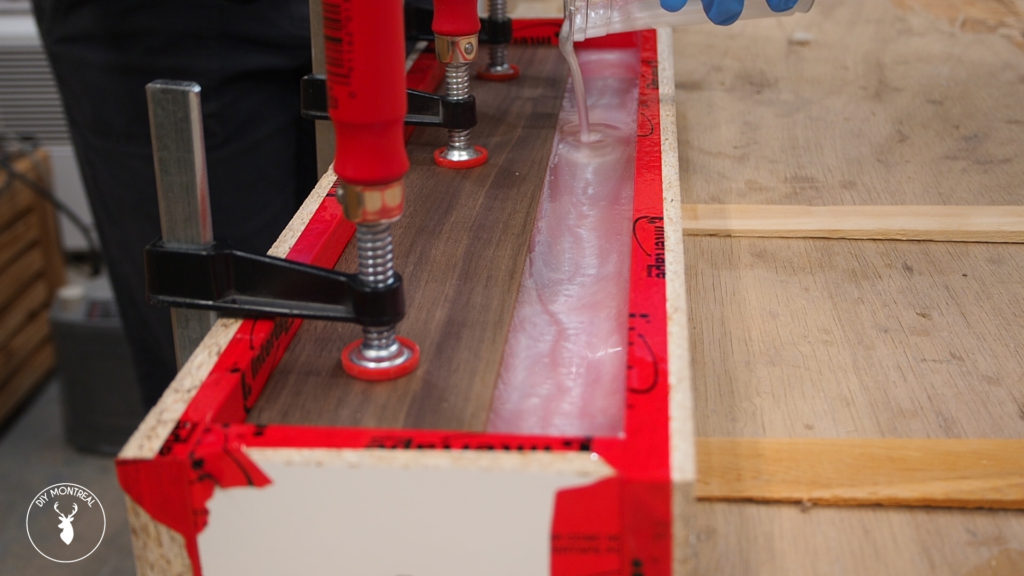
Now if you’ve ever seen someone work with epoxy you’ve probably noticed that they will use a blow torch or heat gun to pop the air bubbles on the surface. The instructions for Chill Epoxy say that’s not necessary and actually say to avoid this, so I’m just going to let air bubbles pop naturally as they recommend.
Option 2: Maple & Blue Epoxy
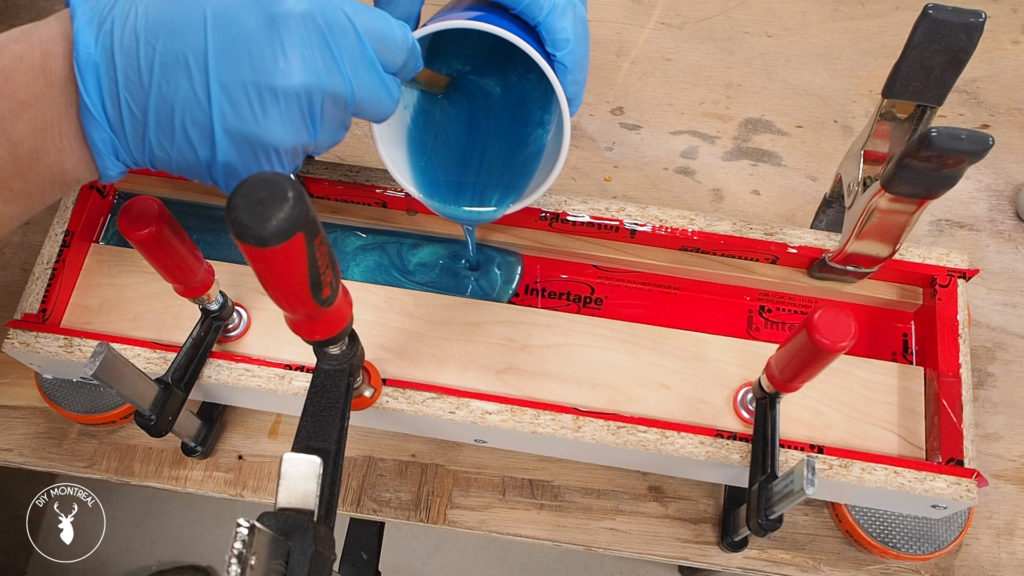
My second coaster set is going to be made up of birch hardwood floor boards with a bright blue epoxy strip off center. Once again I measured out 2 parts A and 1 part B and mixed it up. I then added the blue pigment. This one’s called Spring Break Regrets.
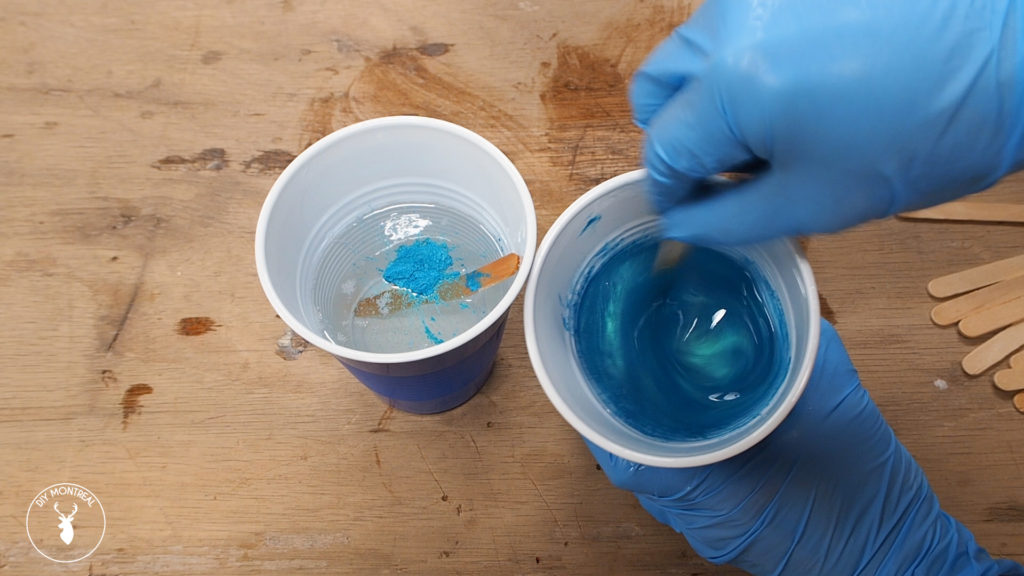
Before pouring, I made sure that my mold was perfectly level and clamped down my wood strips to hold them down in place.
Option 3: All Wood
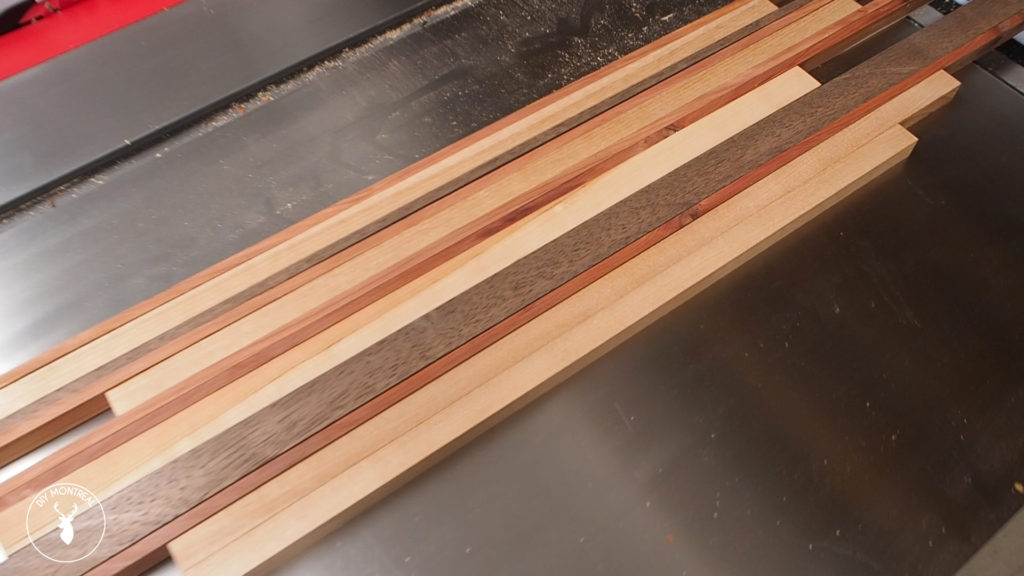
Okay so if you’re not a fan of epoxy, the next one is for you! This one is going to be all wood. I set my table saw fence to 1/2 inch and cut up a bunch of strips from various woods. I then flipped all the pieces 90 degrees so they would all be the same thickness.
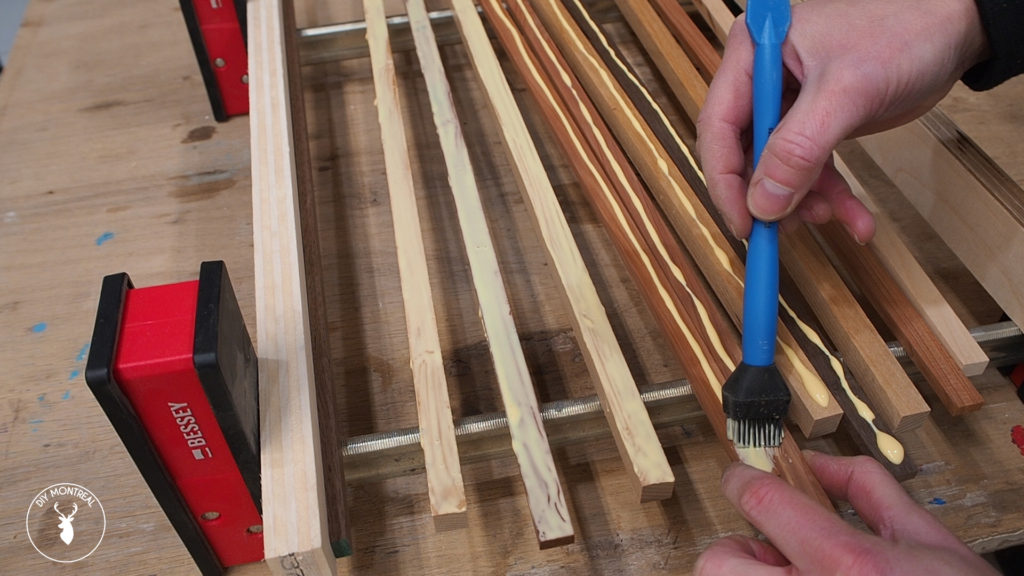
I laid out my clamps and set a caul on each end. I flipped all the pieces onto their sides and added enough glue to fully cover each strip with the help of a glue brush.
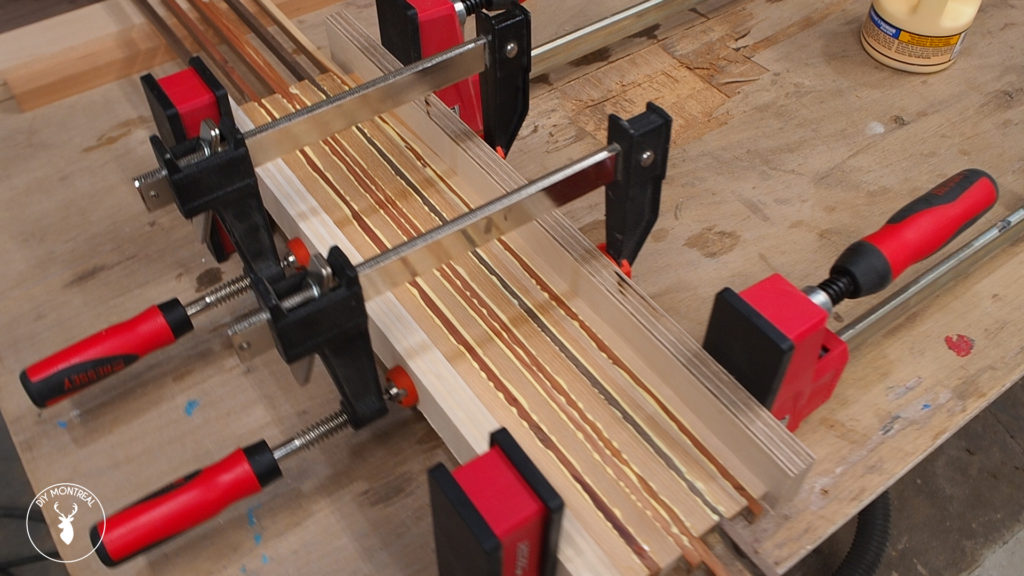
I applied just enough clamping pressure to get a little squeeze out but not too much as to force the thin strips out of alignment. I added a couple more clamps, and let it dry overnight.
Mold Release
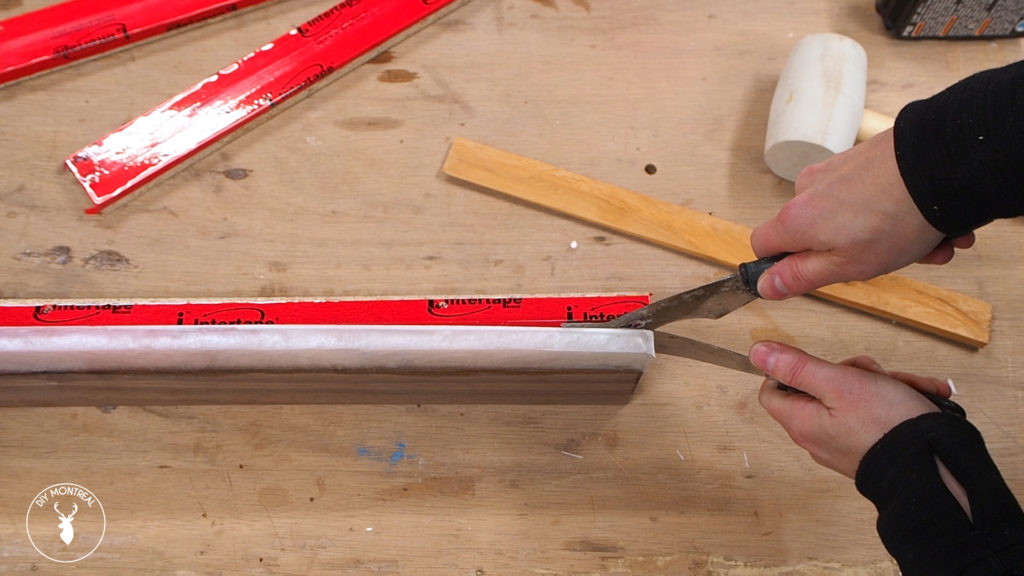
After 2 days, the epoxy has dried enough to come out of the mold. I was afraid I might have issues de-molding the blanks, but the sheathing tape worked really well. The sides easily came off with a light whack of a mallet.
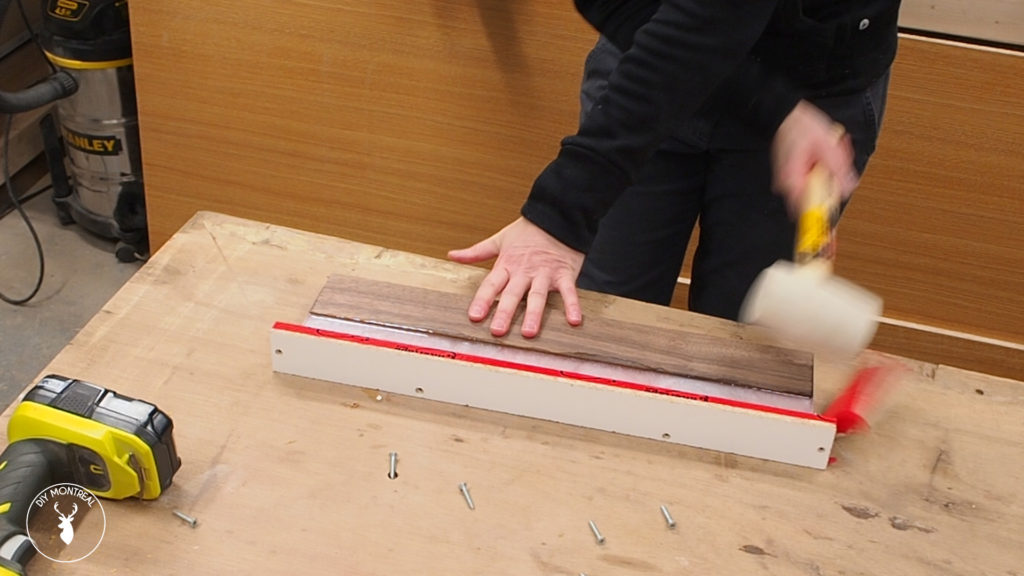
The bottom was a little harder to get off, but after getting the tip of a putty knife in, it was easy to wedge open and pry off.
Clean Up Epoxy Blanks
With all my blanks dried, it’s time to run them through the planer to flatten them on both sides and bring them down to their final thickness, around 3/8 of an inch (or 1 cm). I ran the boards through, one side at a time, slowly lowering the cutterhead as I went, until the boards were smooth and flat on both sides.
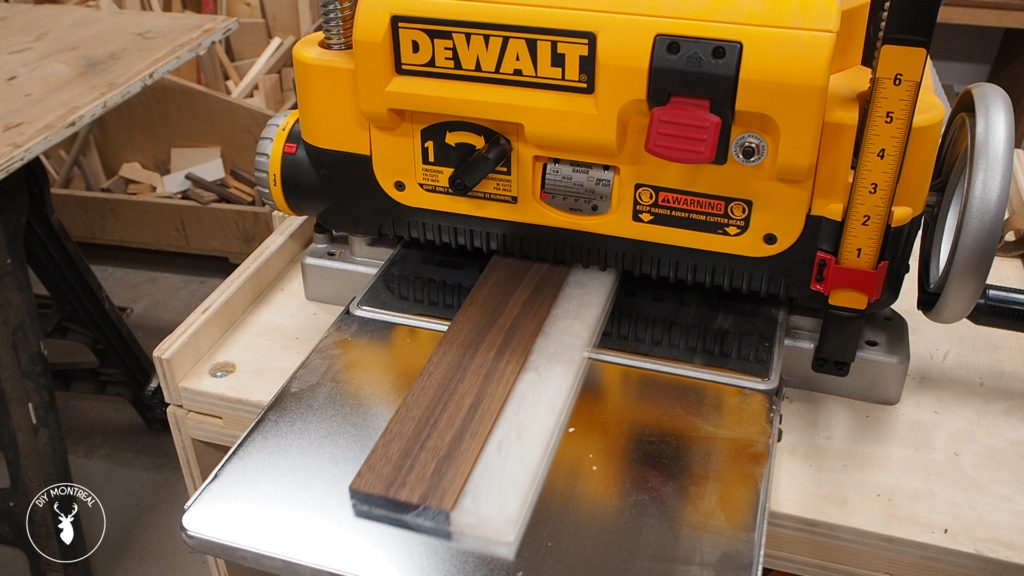
We’re almost ready to cut out the hexagons, but I first want to trim my blanks so the width is close to the width of the template I cut out with my Hexagon cutting sled (more details below). You don’t have to do this, but if your blank is wider than it needs to be, your 4 coasters won’t be perfectly identical.
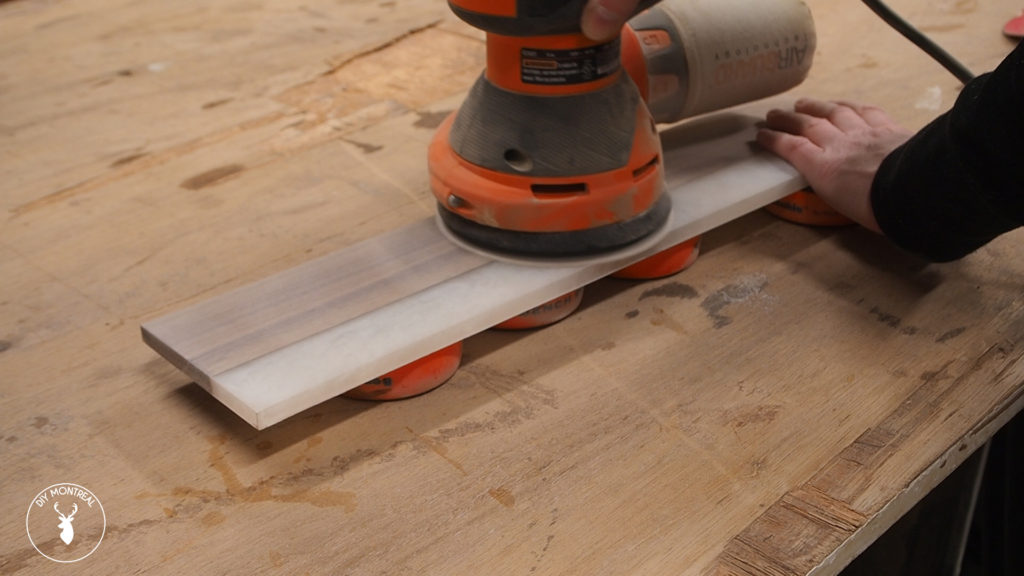
I figured it would be easier to sand now before I cut the hexagons, so I started with 120-grit and worked my way up to 220-grit. I would’ve gone up to 320 but I ran out of paper. You’ll see with the finish, there aren’t any visible scratches, so it looks like 220-grit was enough.
Cut Hexagon Coasters
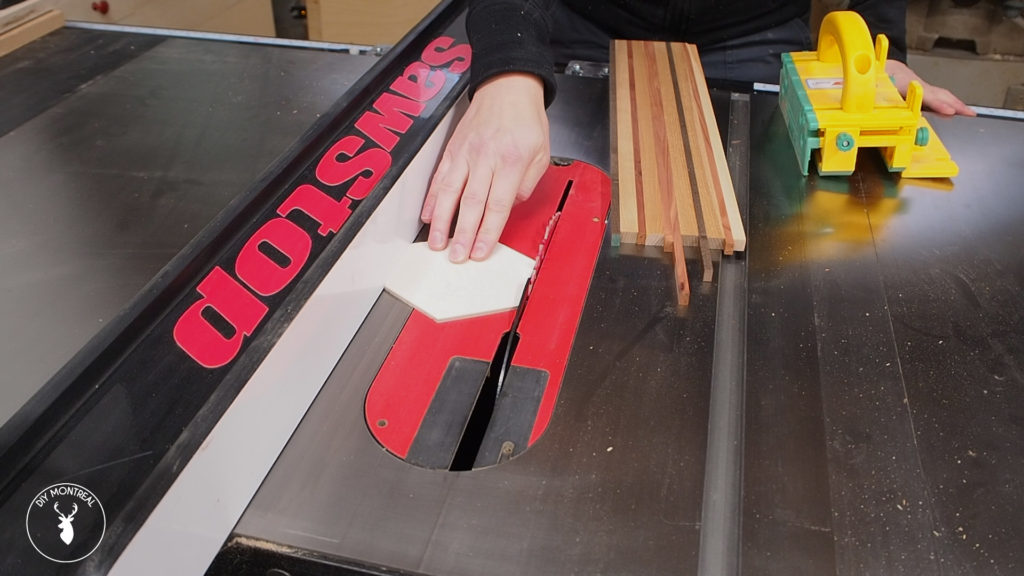
To cut the hexagons, I’m going to use this hexagon cutting sled that I made a while back. I have a separate video for this that you can check out below.
The way it works is that I first remove this stop so I can fit the blank and make the first cut. It helps to first cut a template that you can use to position the blank in order to minimize wastage.
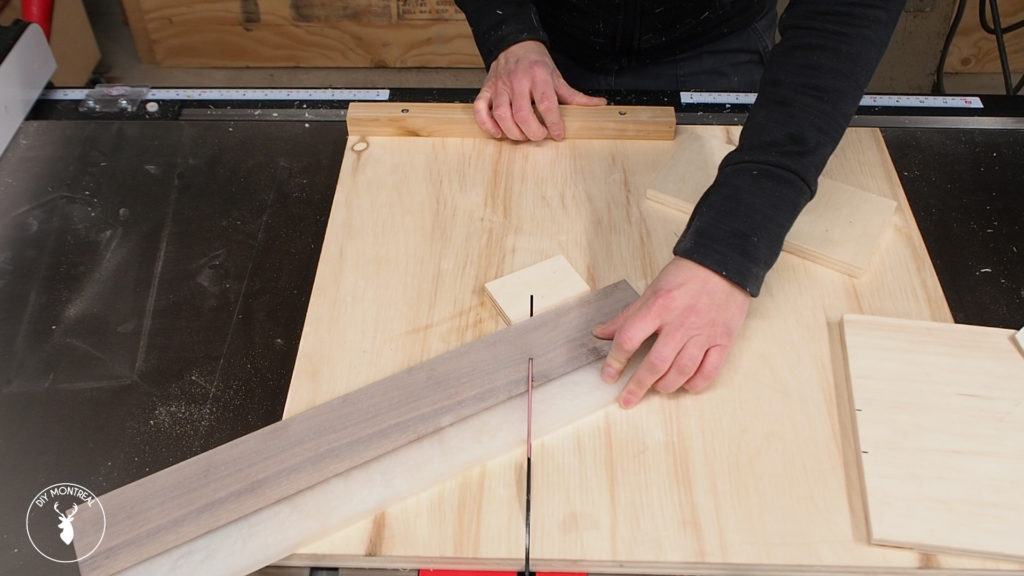
After making the first cut I can put the stop back into place and clamp it down.
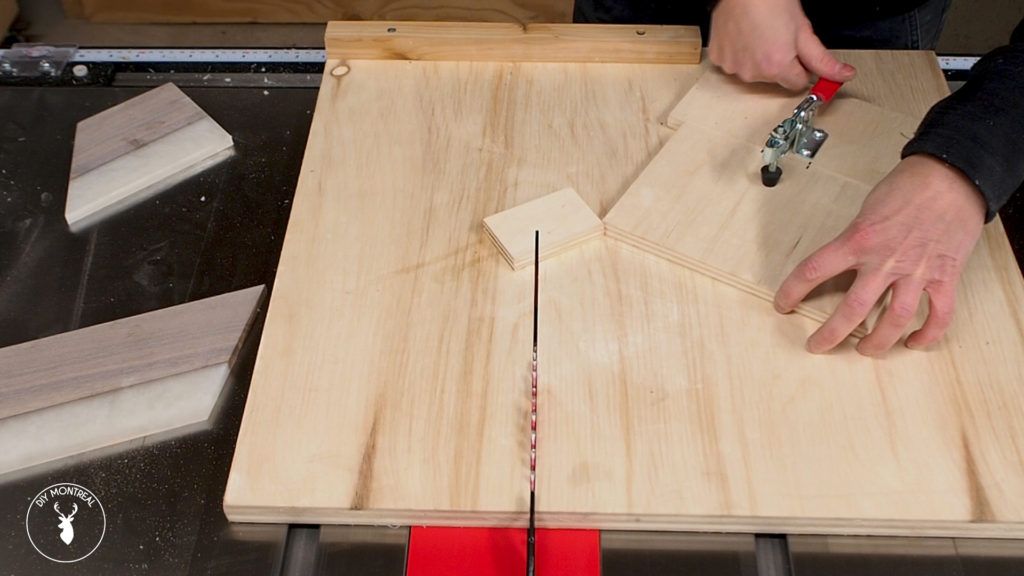
Then it’s just a matter of nesting it up against the stops and cutting one side at a time, rotating the piece as you go. Once the first hexagon is done, grab the offcut and repeat the same process, moving the piece around in a clockwise direction as you go.
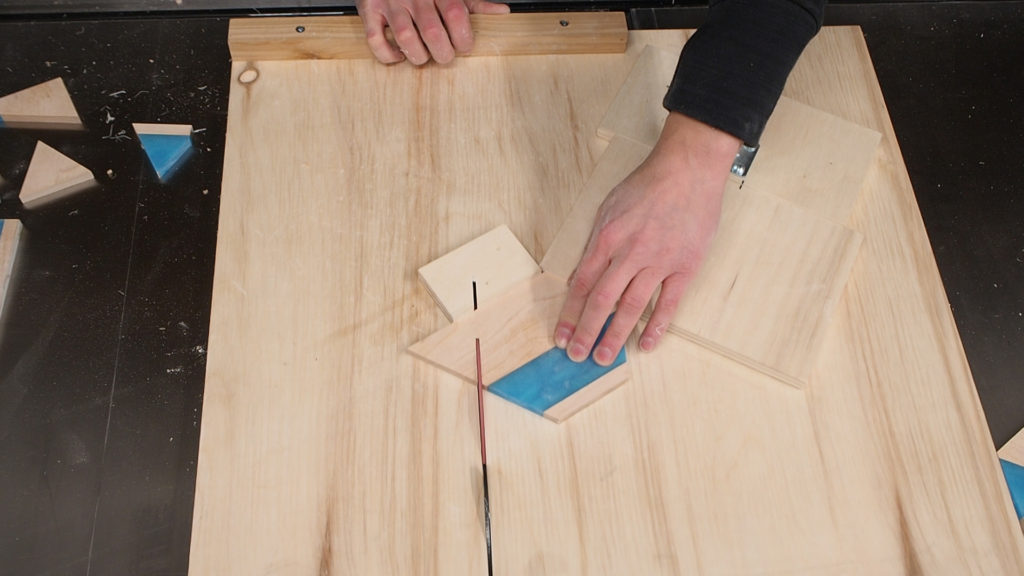
I did the same for the other blanks I had made, making the first cut with the backstop removed, and then putting it back into position for the remaining cuts.
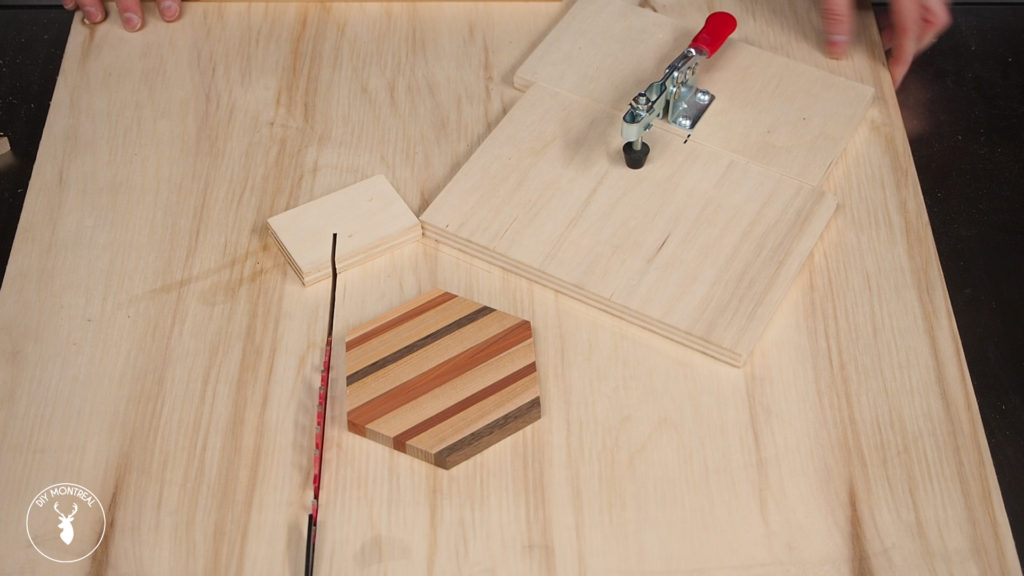
Apply Finish
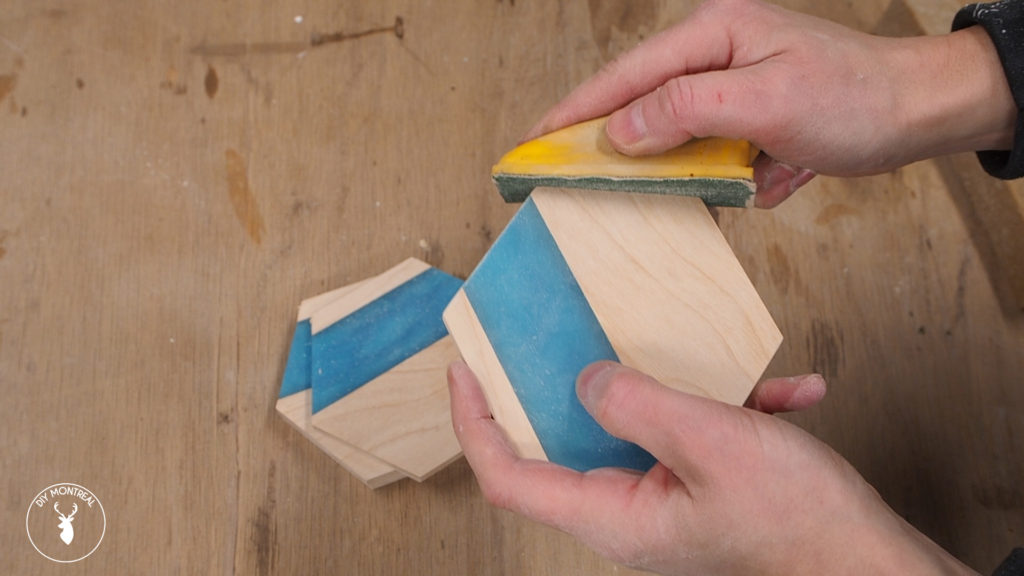
Once all the coasters were cut I sanded all the edges and then cleaned off the sawdust using denatured alcohol. It evaporates really fast so you can almost immediately apply finish afterwards, and it also gives you a nice preview of what they’ll look like.
As a finish, I’m using Osmo Polyx-oil. It’s a Hardwax-Oil mix that’s water resistant, and I like how it gives the wood a really deep rich look, while making the epoxy nice and shiny.
