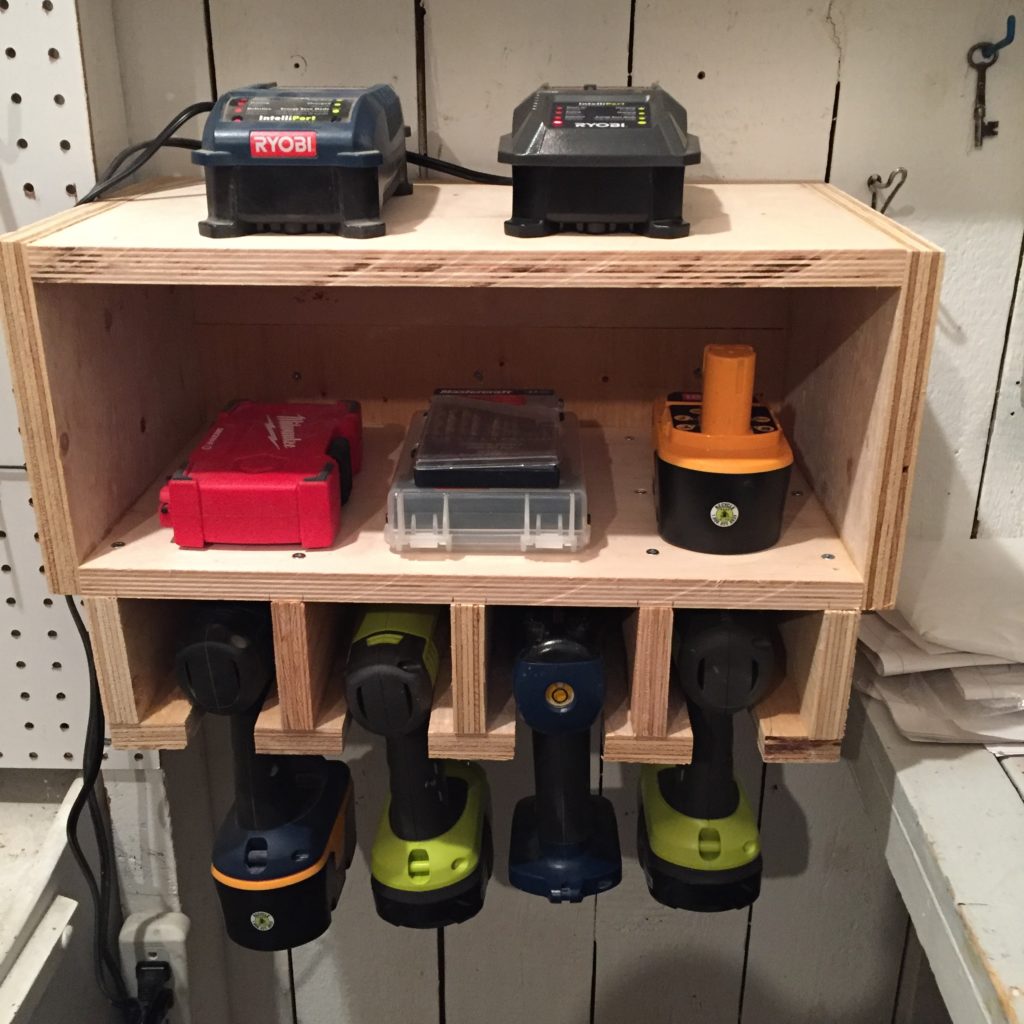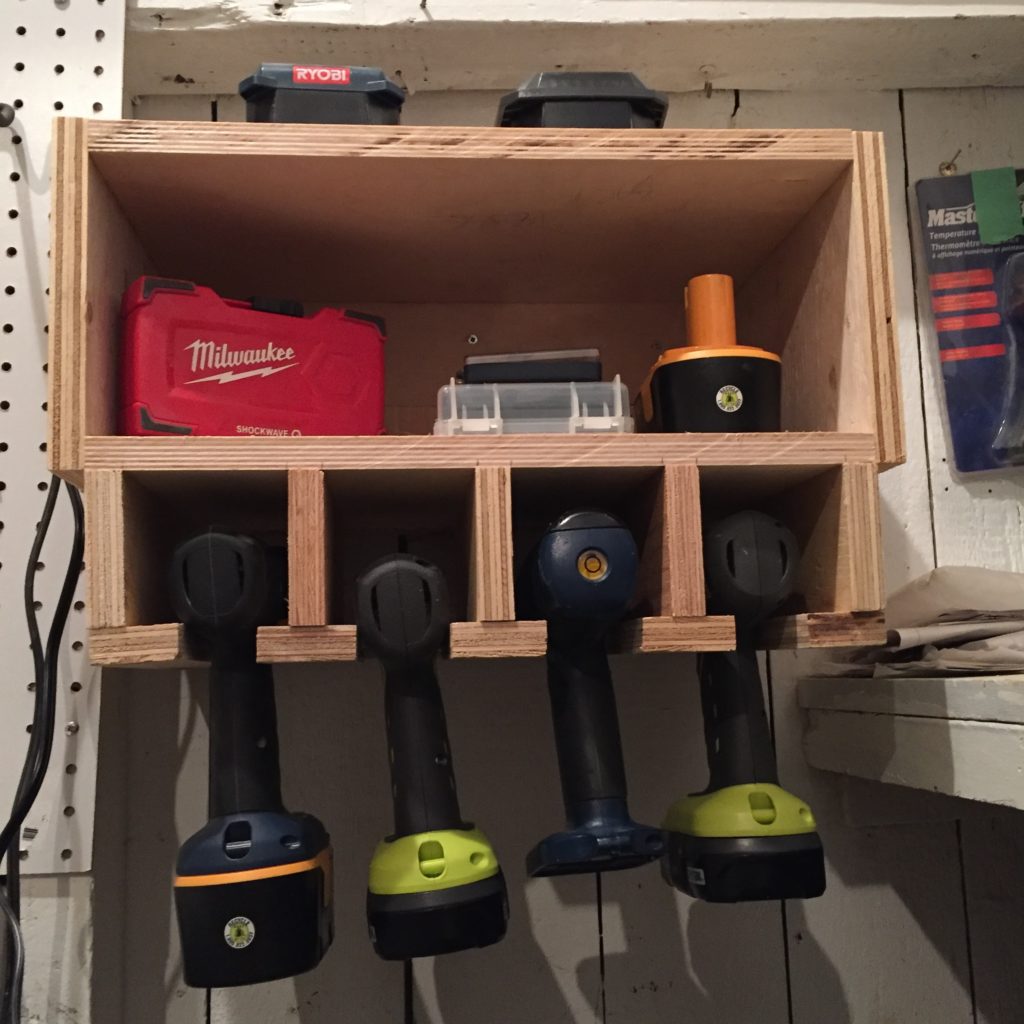
There are many posts out there about how to build your own cordless drill storage rack. It’s a nifty way to store your drills/drivers, chargers and bits on the wall, in a compact way. I had a bunch of spare plywood lying around, so I thought I would put them to good use and build a simple tool storage system to have all my drills and accessories in one place.
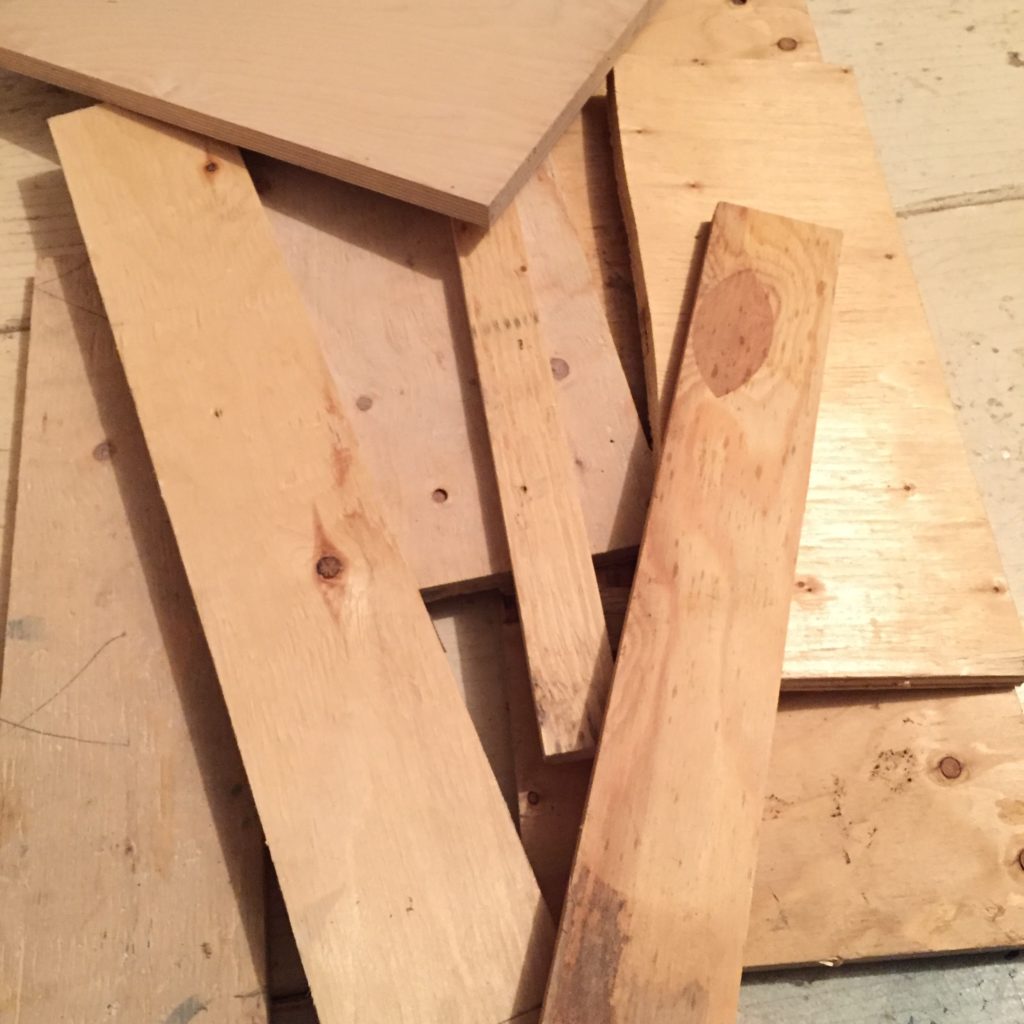
The build is quite simple. All you need is some 3/4″ plywood and some 2″ wood screws, with a bit of glue. This storage rack will hold four drills or impact drivers. The overall dimensions are a compact 18 inches wide by 10 1/2 inches tall by 10 inches deep.
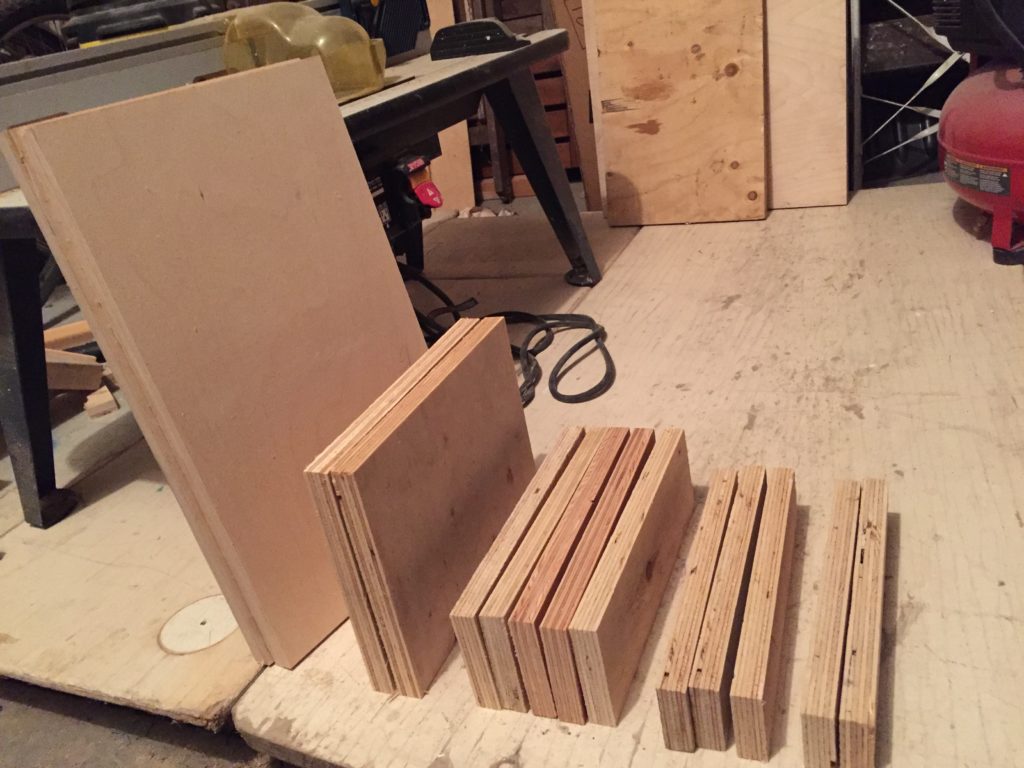
Cut list:
- (3) 2 x 10 (inner bottom stops)
- (2) 1 1/2 x 10 (outer bottom stops)
- (2) 7 1/2 x 10 (sides)
- (2) 16 1/2 x 10 (shelves)
- (5) 3 1/4 x 10 (dividers)
- (1) 7 1/2 x 18 (back)
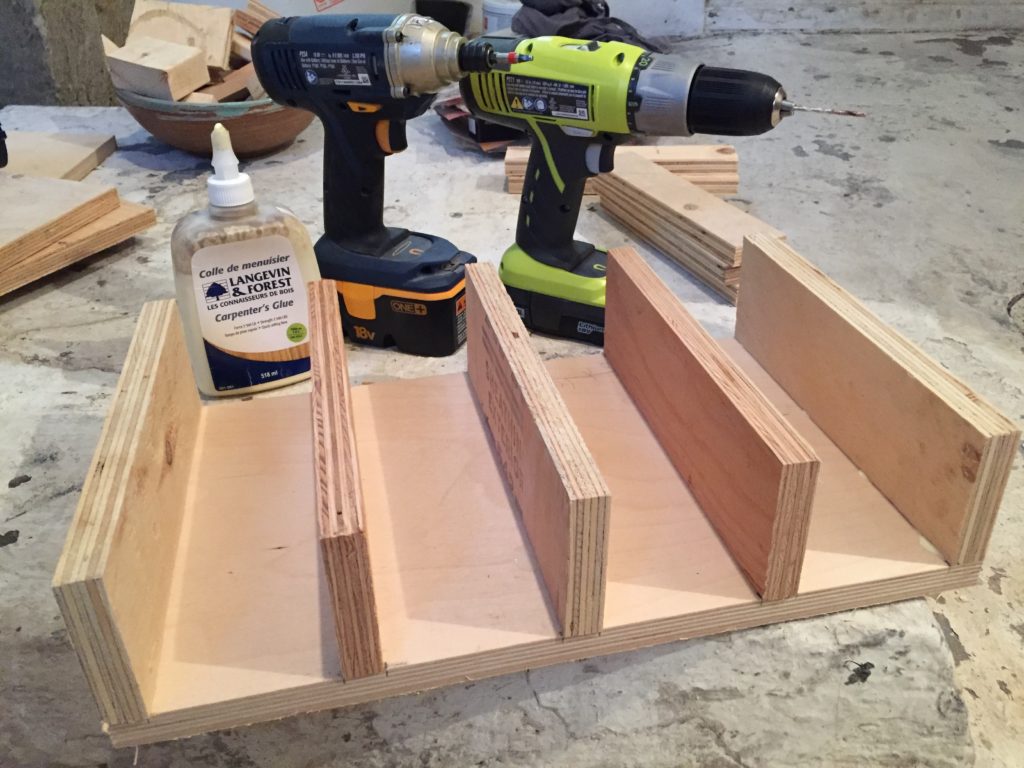
Attach the dividers to the bottom shelf
Start at the edge and then space each divider 3 1/4″ apart. Make sure to check that this is enough space for your drills. It was just perfect for my Ryobi One+ drills/drivers (I have both an old blue set and a new green set). Apply a bead of glue and use three 2″ screws for each divider.
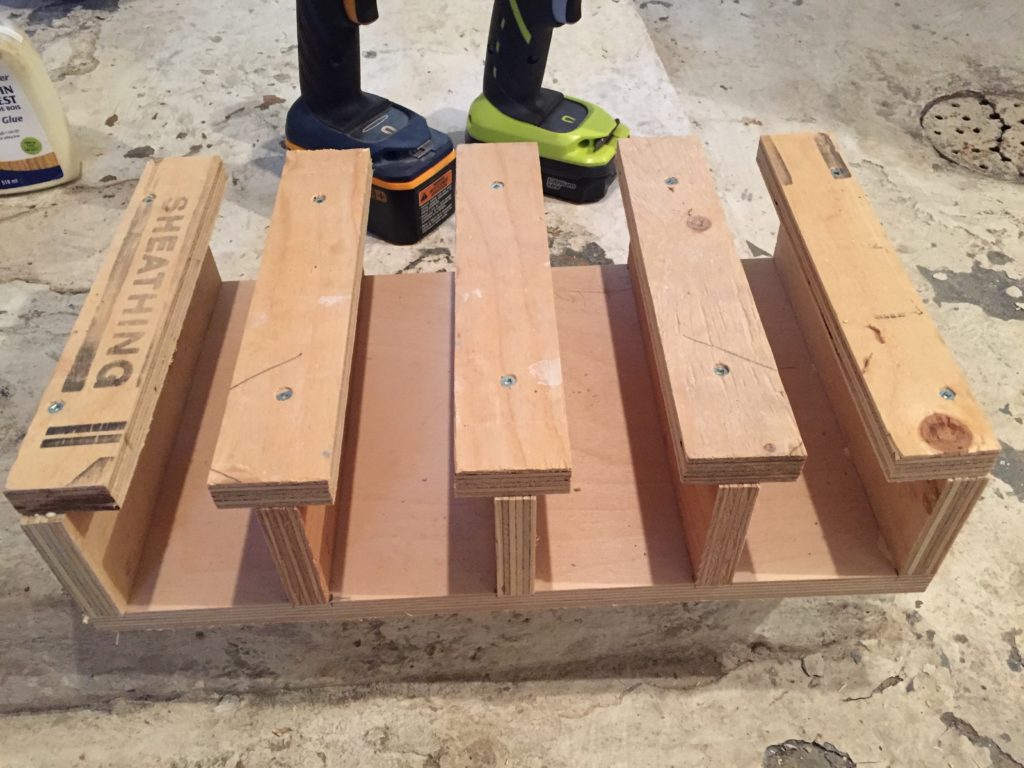
Attach the bottom stops
The smaller 1 1/2″ stops go on the ends and sit flush with the outer edge. The wider 2″ stops are used for the middle dividers and should be centered on the divider, leaving 3/4″ on each side.
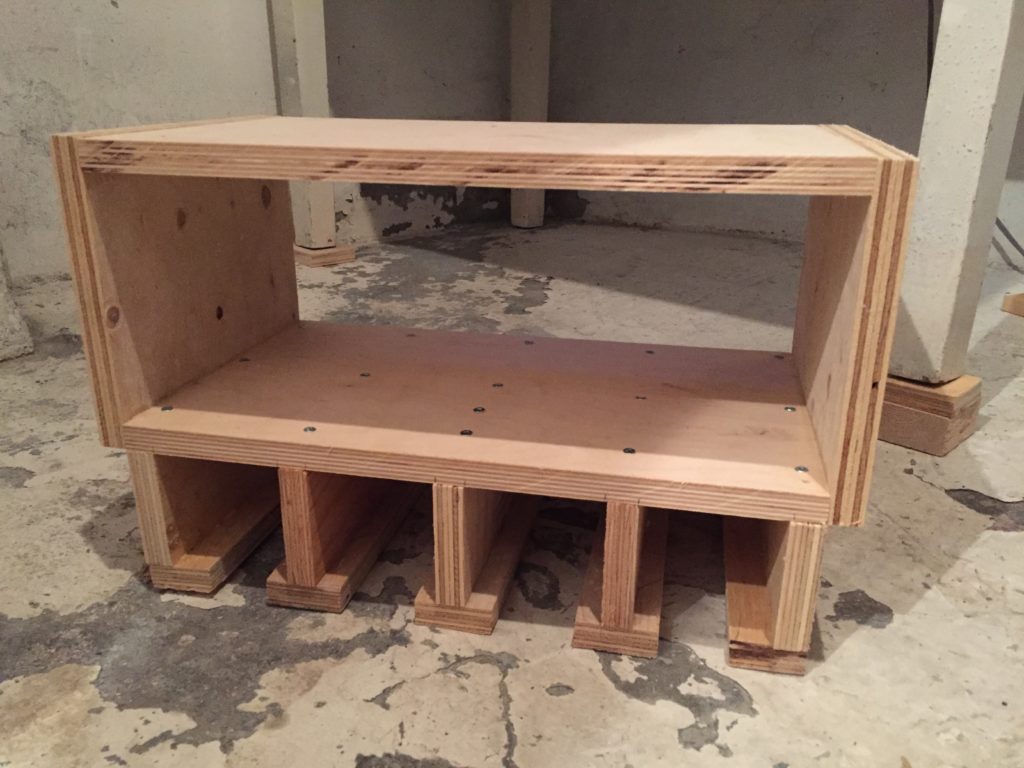
Attach the sides and top shelf
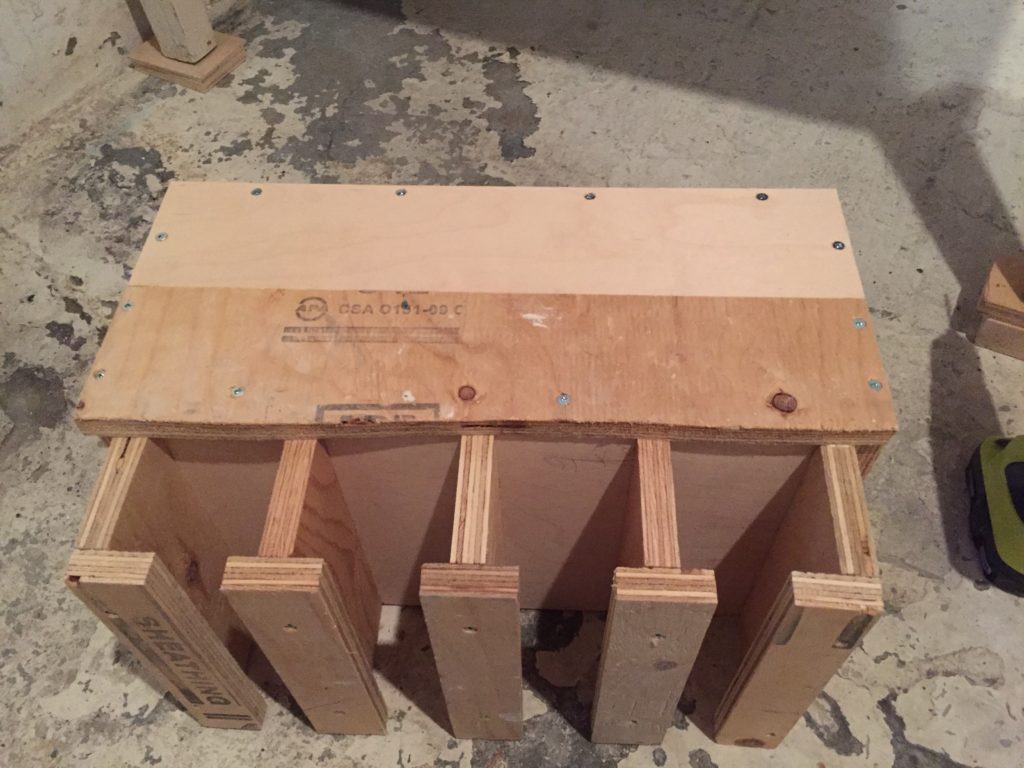
Screw on the back
Attach to wall
I simply drove six 2″ wood screws through the back into the wall since I was hanging the rack on a wood wall. Otherwise use the appropriate wall anchors for your type of wall.
Did you know DIY Montreal has a new YouTube channel? Click here to check it out!
