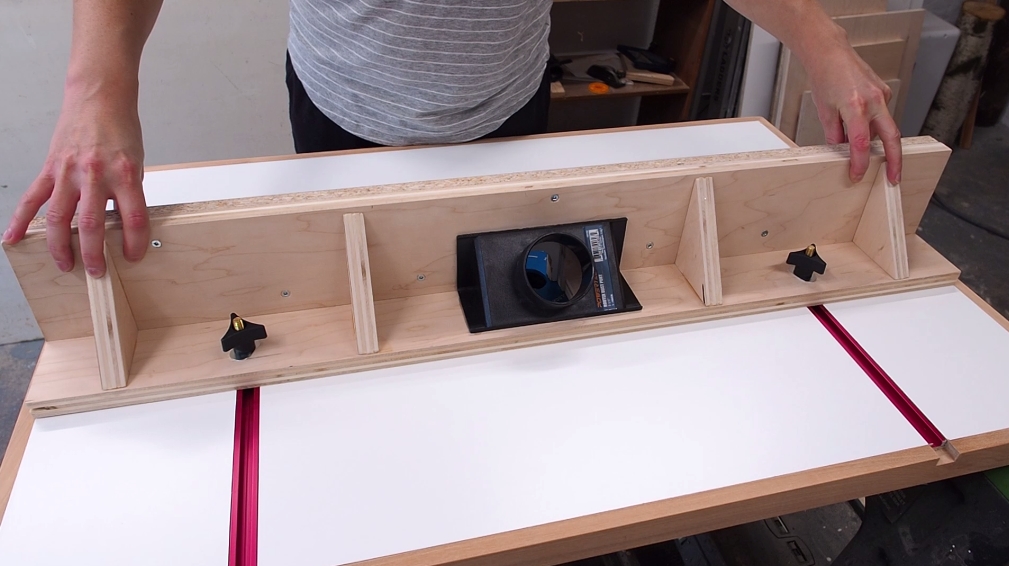
Years ago, I purchased a second hand router table thinking it would make it easier to make rabbets on long edges and faster to bevel those edges. I quickly however abandoned the router table after frustrating attempts to change the bits and poor results due to a router insert that was neither flat nor perfectly flush with the table top.
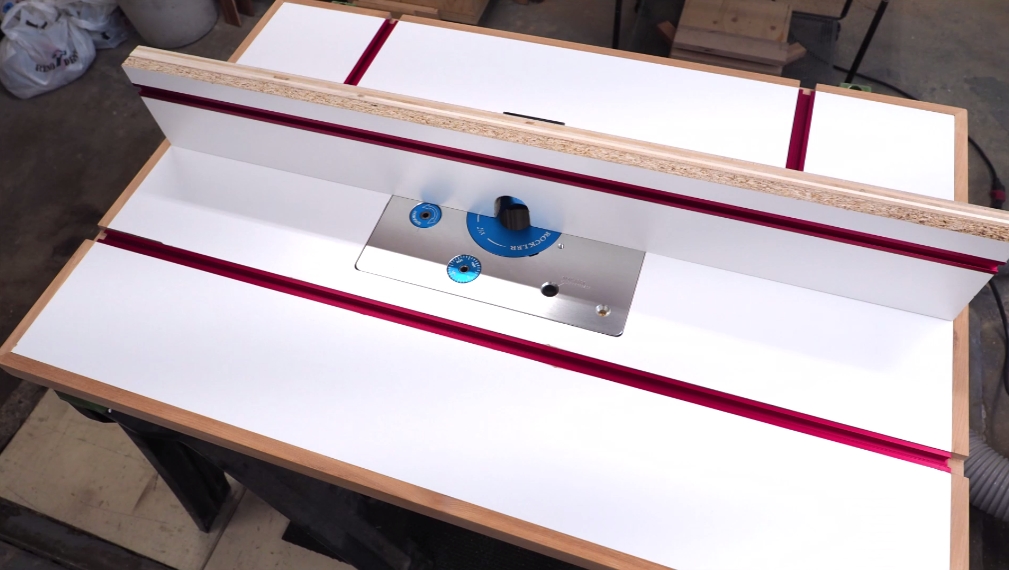
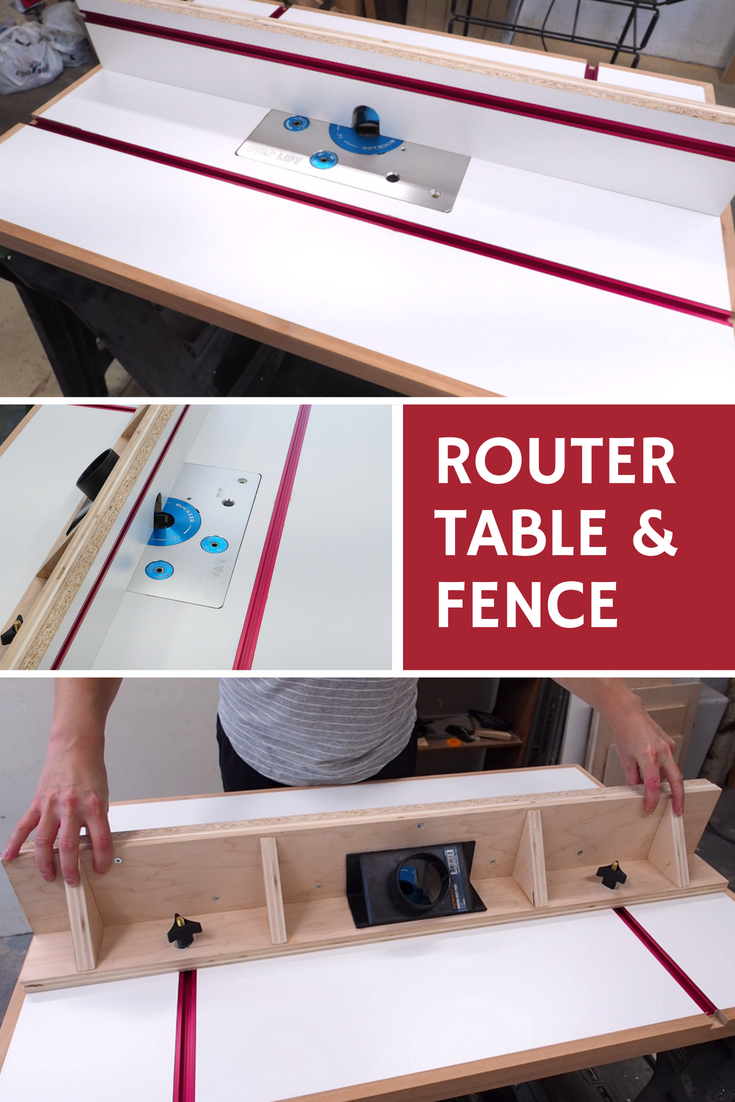
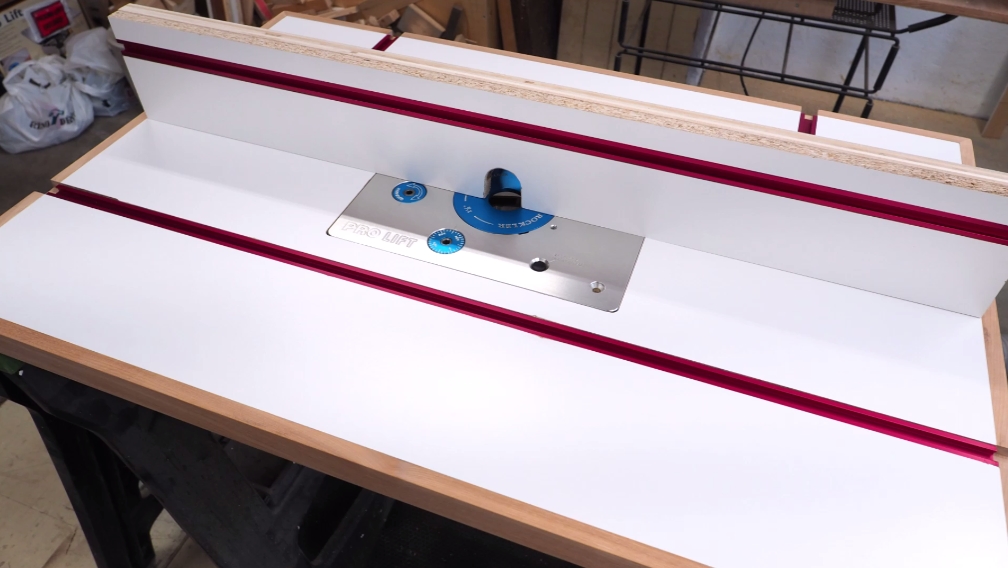
I recently got my hands on the new Rockler Pro Lift router lift, so I decided to make a custom router table and fence, with integrated T-tracks and dust collection.
The router table I made is larger than most commercially available router tables – 36″ x 24″ – which provides a large flat surface for the work piece.
Here are the tools and materials I used to make this router table:
MATERIALS
- 5/8″ Melamine
- 3/4″ Plywood
- Hardwood (trim)
- Dust collection port
- Router lift (Rockler Pro Lift)
- Router
- 36″ aluminum T-track
- 24″ aluminum T-track
- 5/16 T-track knob kit (T-bolts, washers, star knobs)
- 1/4-20 threaded inserts
- 1/4-20 bolts & nuts
- Weldbond glue
- Brad nails
- 1″ F.H wood screws
- 5/8″ pan head screws
TOOLS
- Router
- Flush trim bit with top bearing
- Brad nailer
- T-square
- Jigsaw
- Mini Bessey clamps
- Hole saw
- T-square
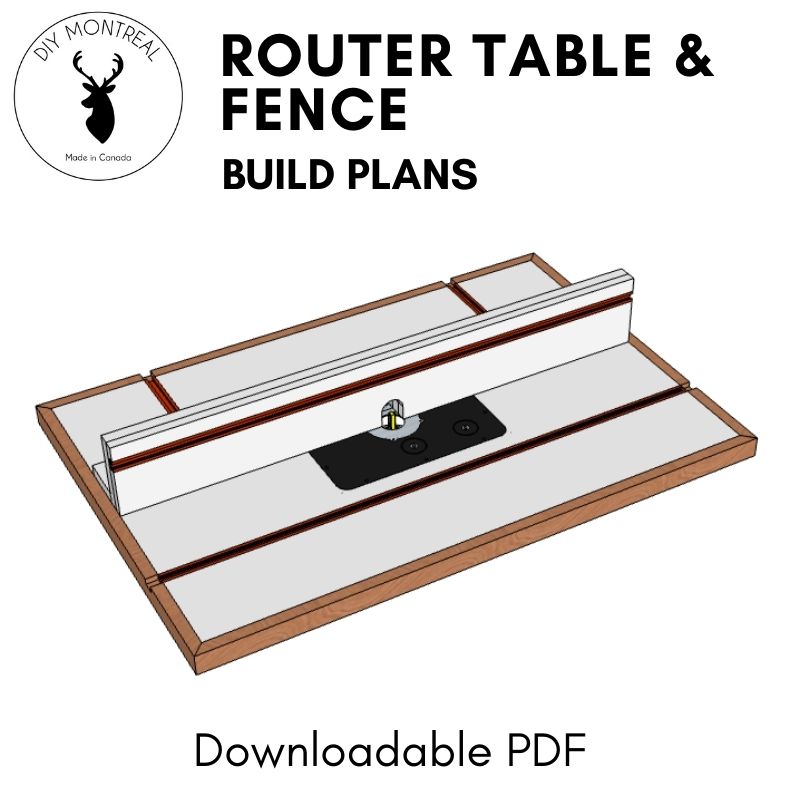
GET THE PLANS
How to Make a Router Table
1- Melamine Tabletop
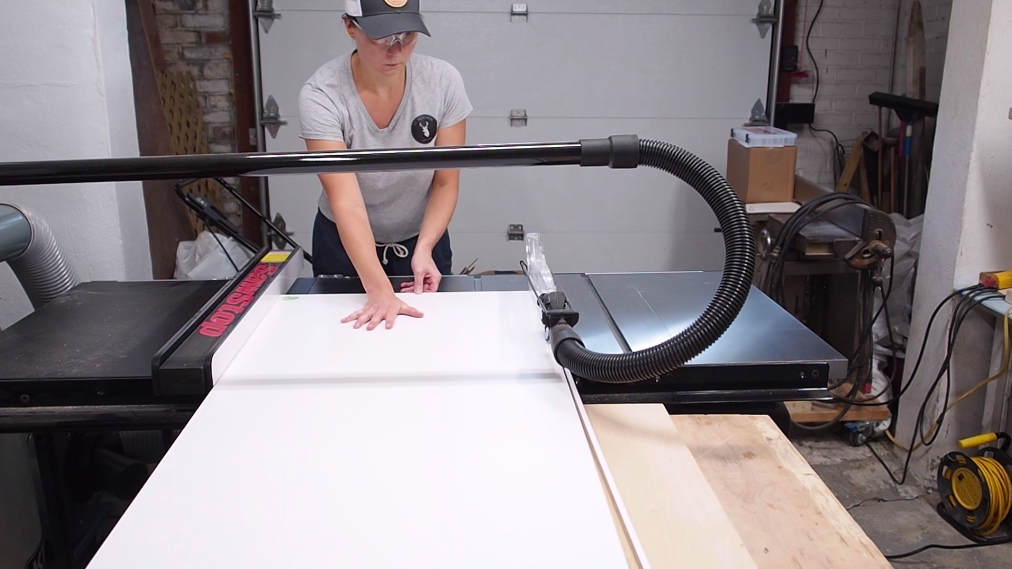
I cut down one piece of 5/8″ melamine that I’ll use for the top and one piece of 3/4″ plywood that I’ll use to reinforce the top. I cut both pieces to 36″ by 24″, cutting the plywood a little proud so I’ll be able to trim the edges flush once both pieces are laminated together.
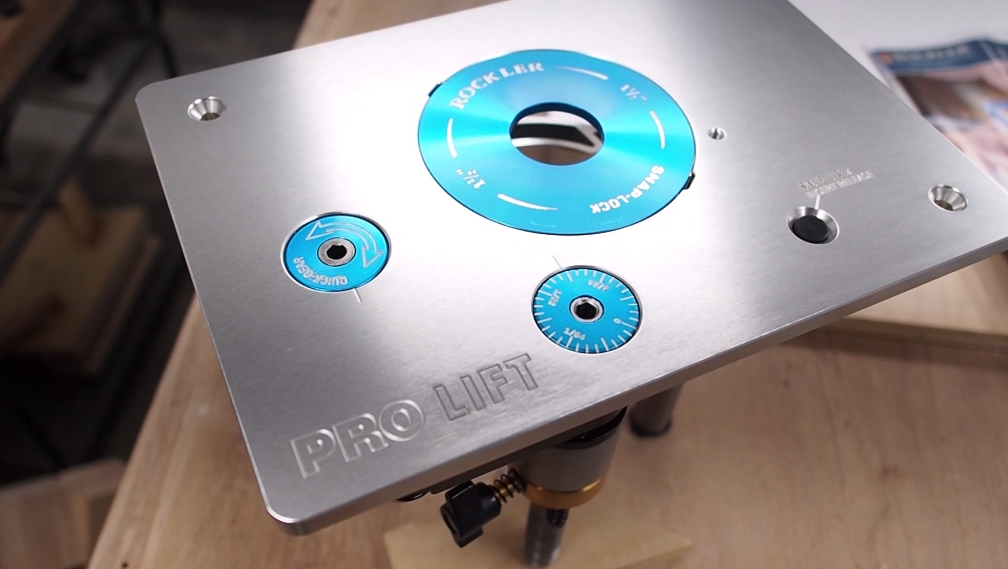
I’m using the Pro Lift router lift from Rockler that has a couple really cool features. It has a button that allows you to eject the throat plate so you can easily access the bits. The other cool feature is the lift itself: one gear allows you to micro adjust the bit height, while the other allows you to fully lift the router so you can easily change the bit.
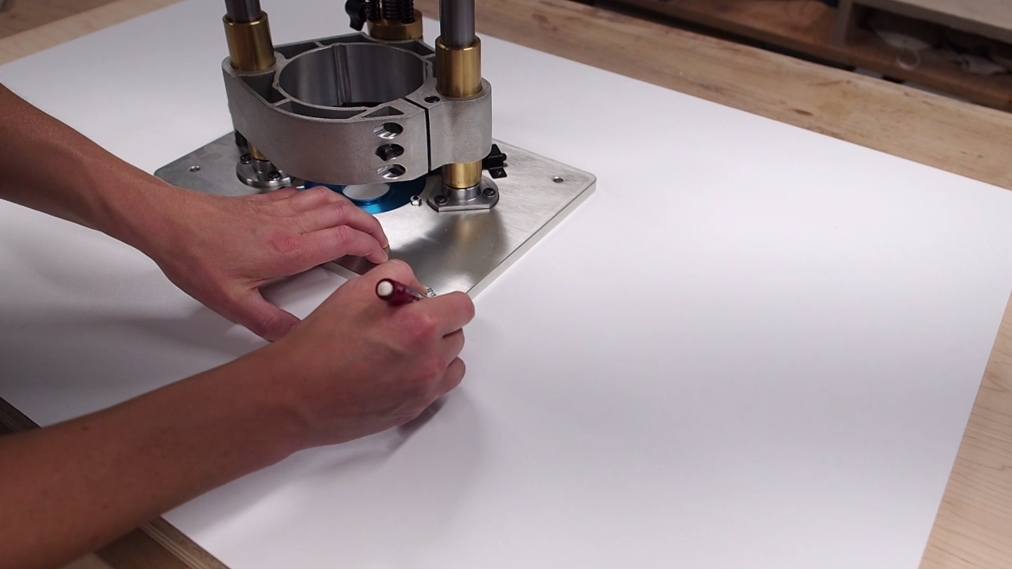
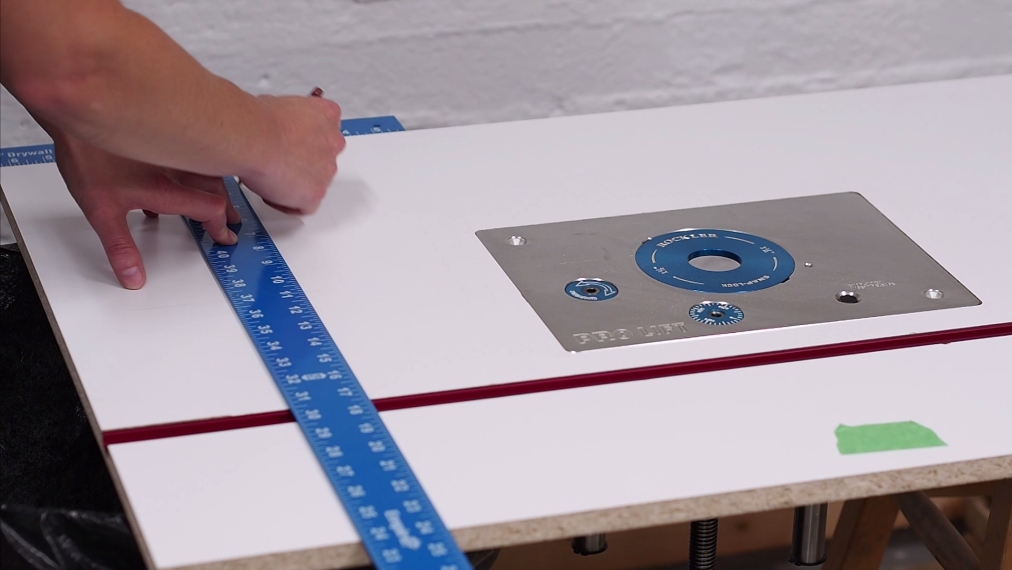
I started by measuring the insert plate, then roughly marking it out in order for it to sit dead center of the top. With the lift positioned upside down on my markings, I traced out the contour.
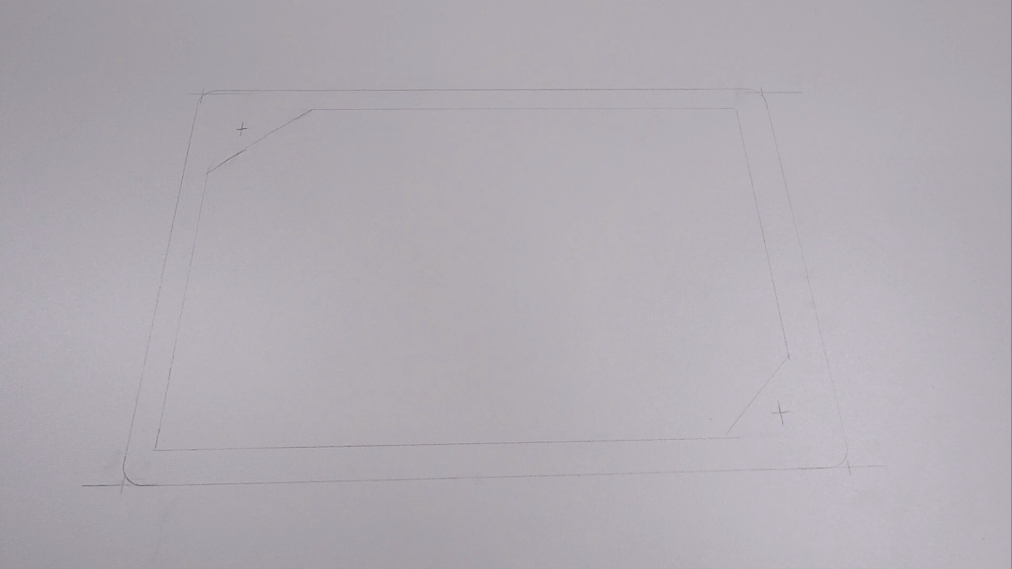
The insert plate needs to be countersunk in a way that it will sit on a lip. After tracing out the router lift’s counter, I traced out a smaller box inside the first one. I made sure to dog-ear the corners and leave some room in the corners where the inset plate will screw down to the table. This will also allow me to add some leveling screws in each corner later on.
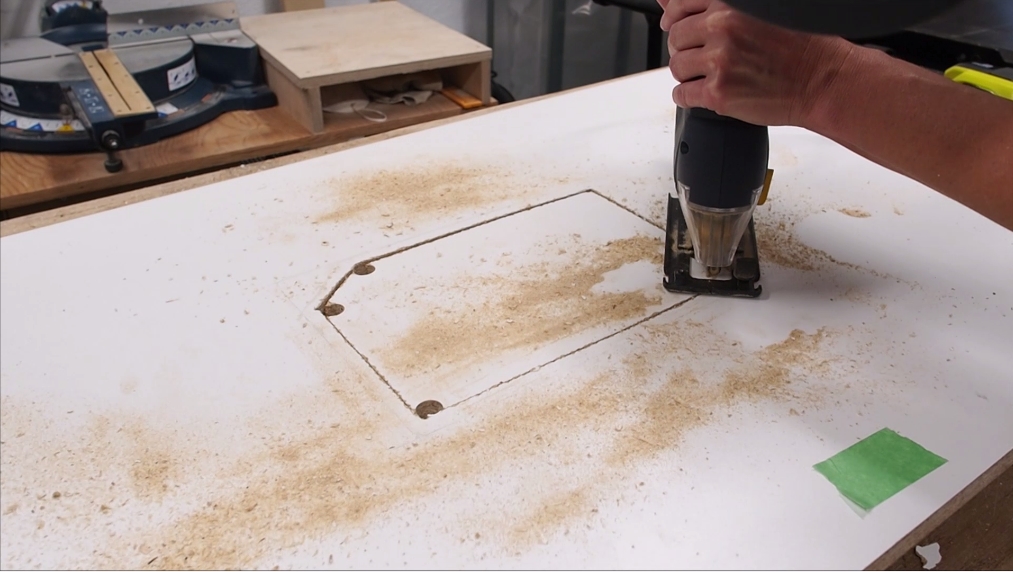
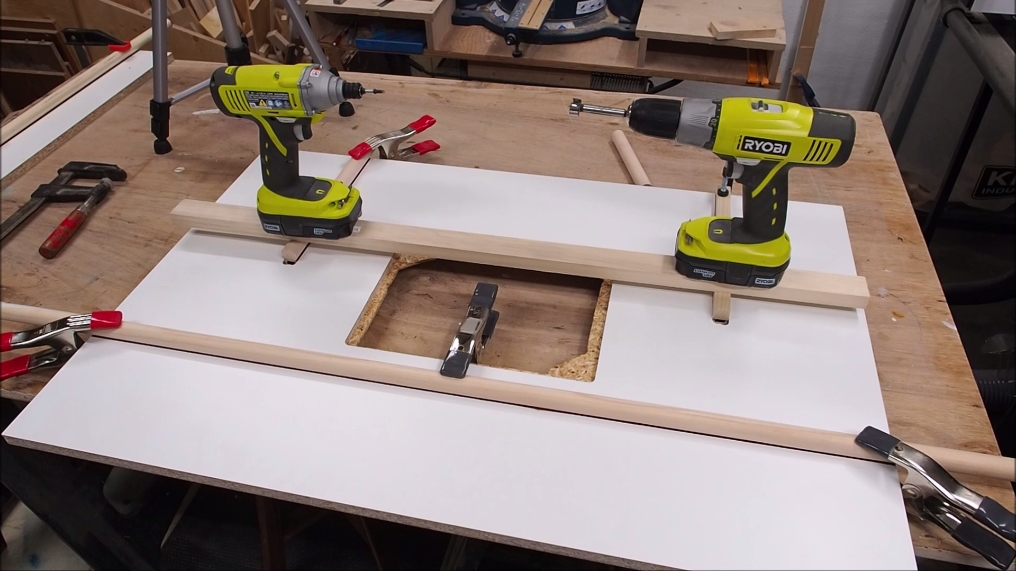
I cut out the inner box using my jigsaw. I fist made relief holes with a drill to make the corners easier to cut.
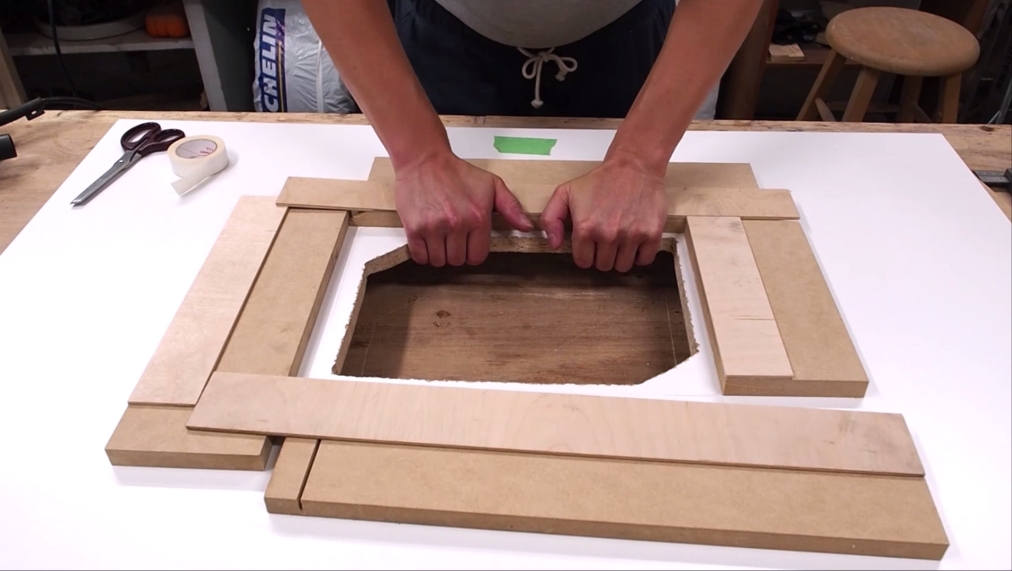
I made some makeshift fences that I stuck down with double-sided tape right up against the contour lines.
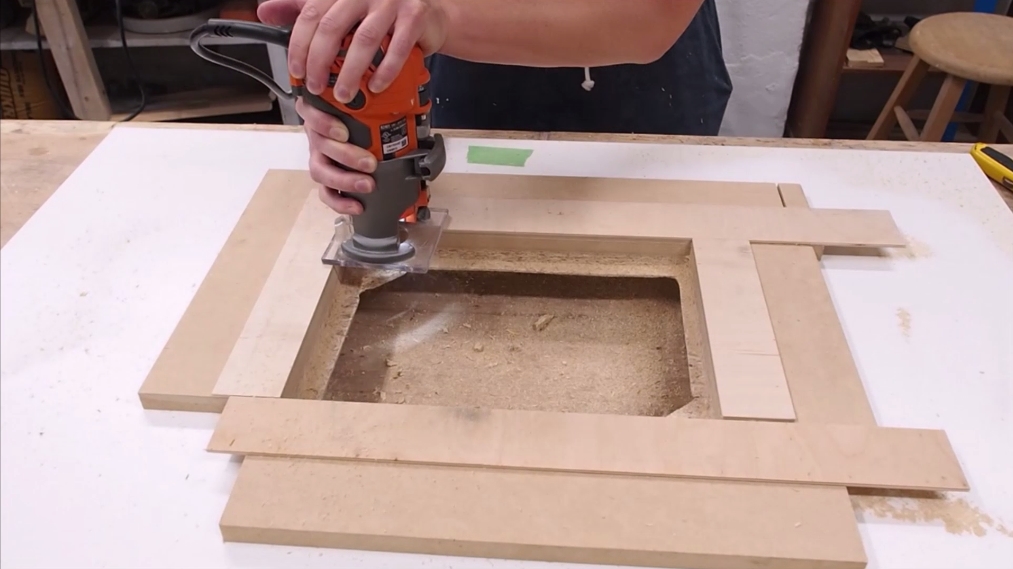
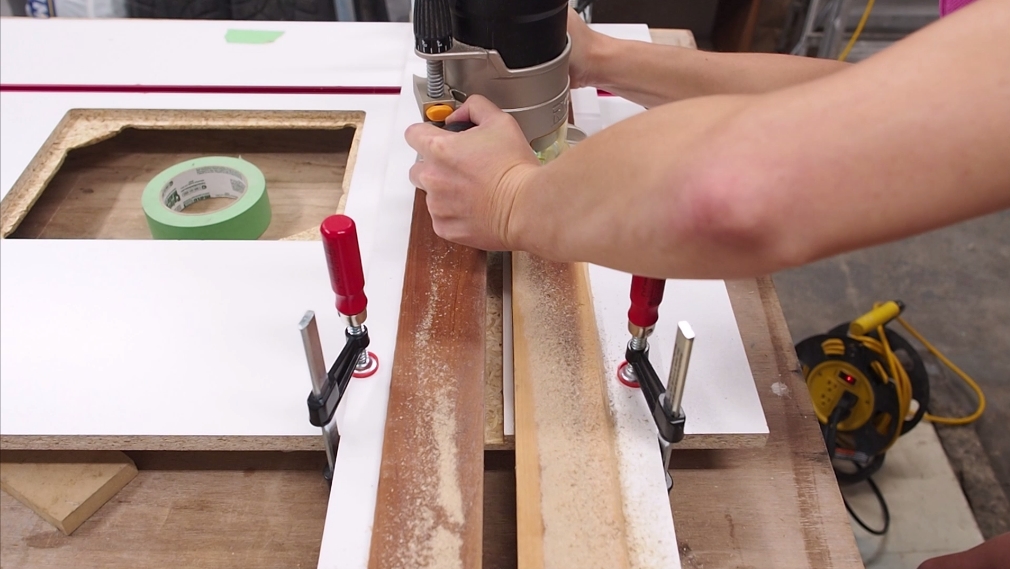
Next, to countersink the router lift I used a flush trim bit with a top bearing that will ride along my fences. I set the bit to the right depth, then went around in a clockwise direction.
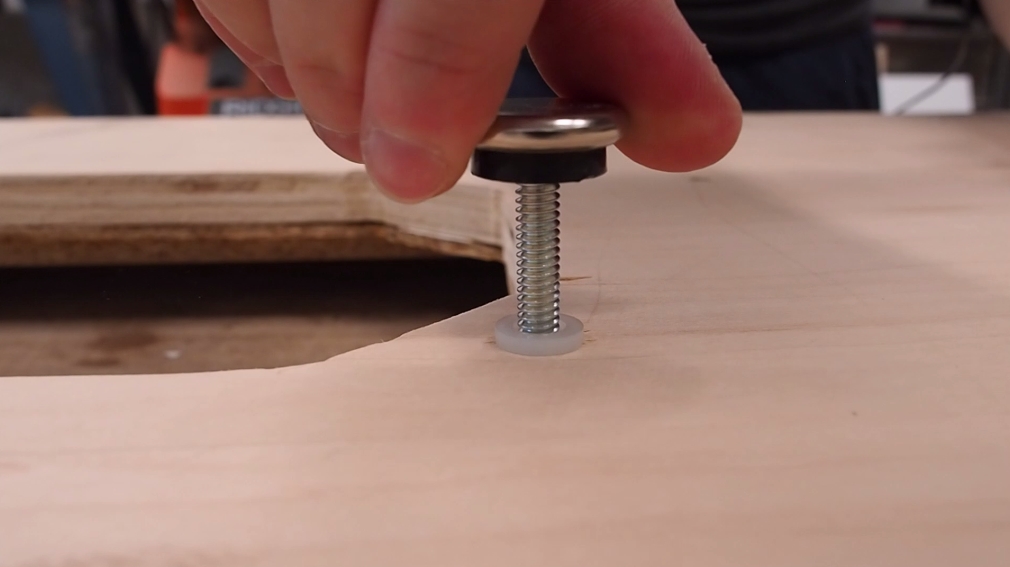
After doing a test fit, I saw that the router insert sits a little below the tabletop, so I’m using these furniture glides as leveling screws so I can get it perfectly flush. It’s pretty simple, just make holes in the corners, tap in the plastic insert and screw in the feet from underneath.
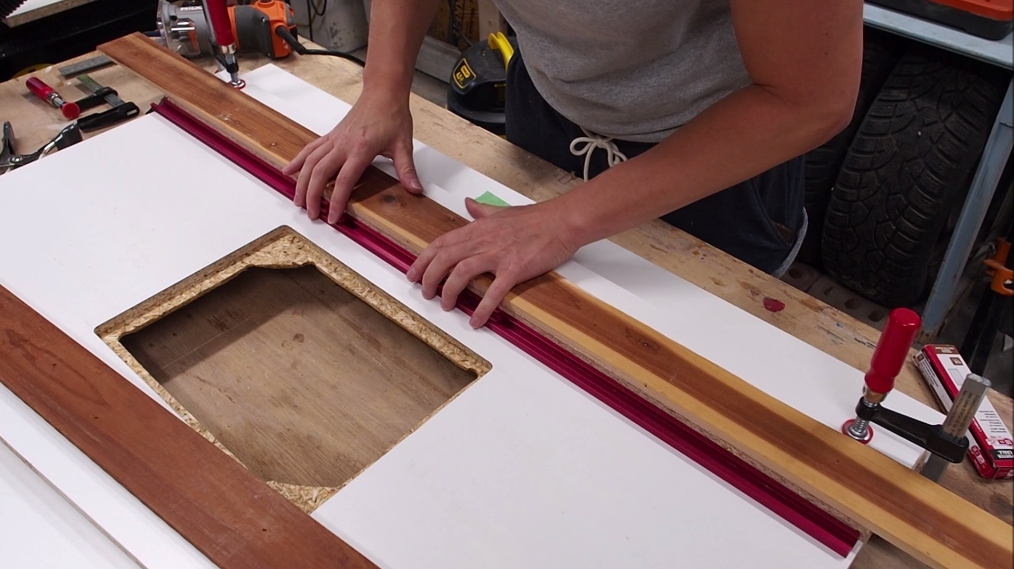
A lot of commercial tables have a miter slot on the front side of the table, but I’ve never used a miter gauge with my table. Besides, I’d rather have a T-slot for featherboards and such. I went ahead and clamped another makeshift fence up against the line, then used the T-track as a spacer, and clamped another fence one the opposite side, making sure not to oversqueeze it, so that the track could still slide freely. With my makeshift fences in place, I set my flush trim bit to the right depth and went to town.
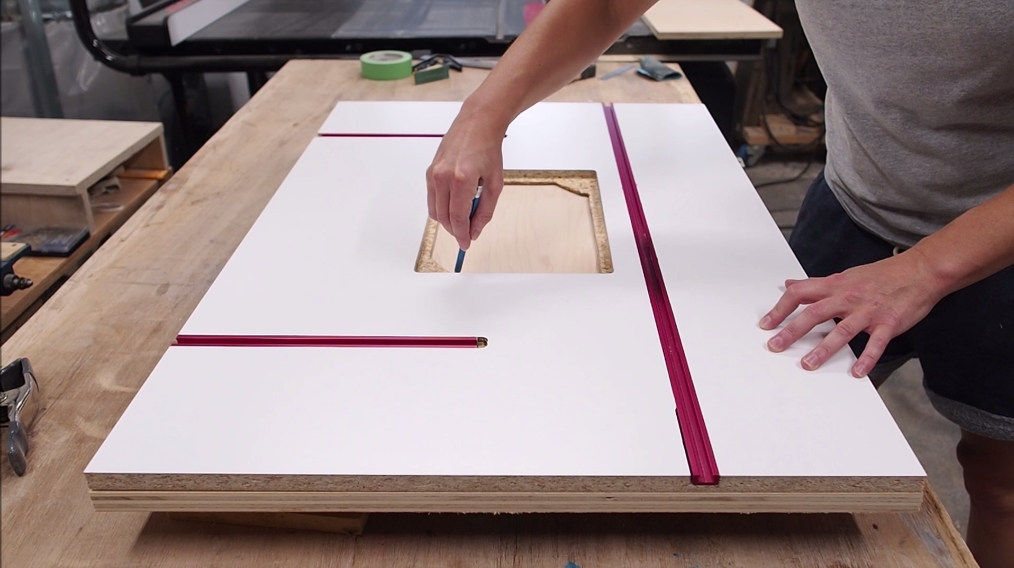
I also added 2 shorter T-tracks on the back of the table, which will hold down the fence and enable it to slide back & forth. I marked out the T-tracks equally from each side, and cut two pieces of aluminum T-track carefully using my miter saw.
I repeated the same process as before to cut the dadoes, but used a piece of tape to mark a stop so I wouldn’t go too far.
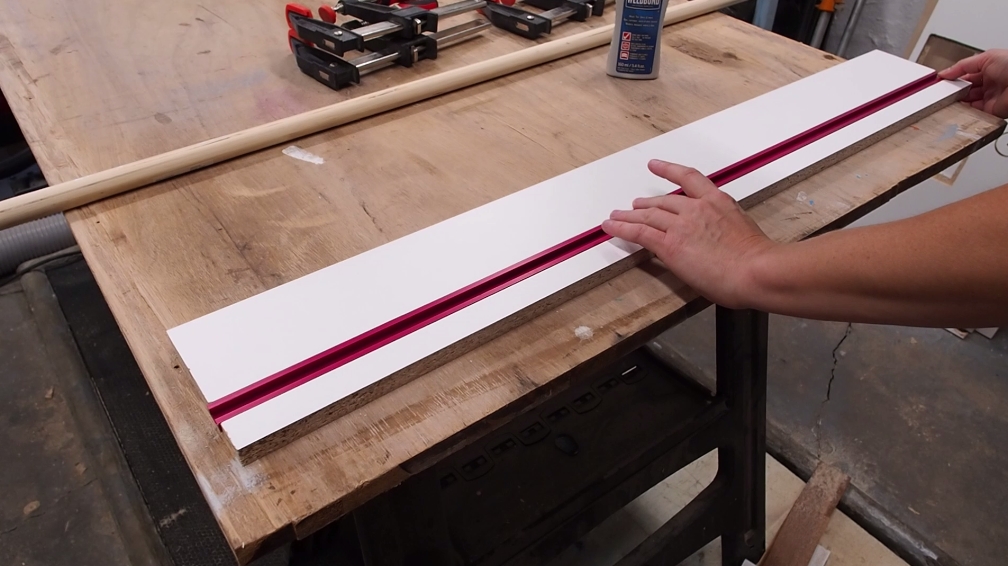
I used some Weldbond glue to glue down the tracks. This is a glue that’s supposed to stick to both particle board and metal. I used some dowels to help clamp down the tracks and let it dry for 24 hours.
2- Plywood Top Reinforcement
My idea was to laminate the melamine top with plywood to make it more solid and dead flat. This will also help beef up the thin lip that will be supporting the weight of the router lift and router itself. In order to transfer the cutout, I piled up both pieces flush, and traced the opening onto the plywood. I could then use my jigsaw to cut out the hole.
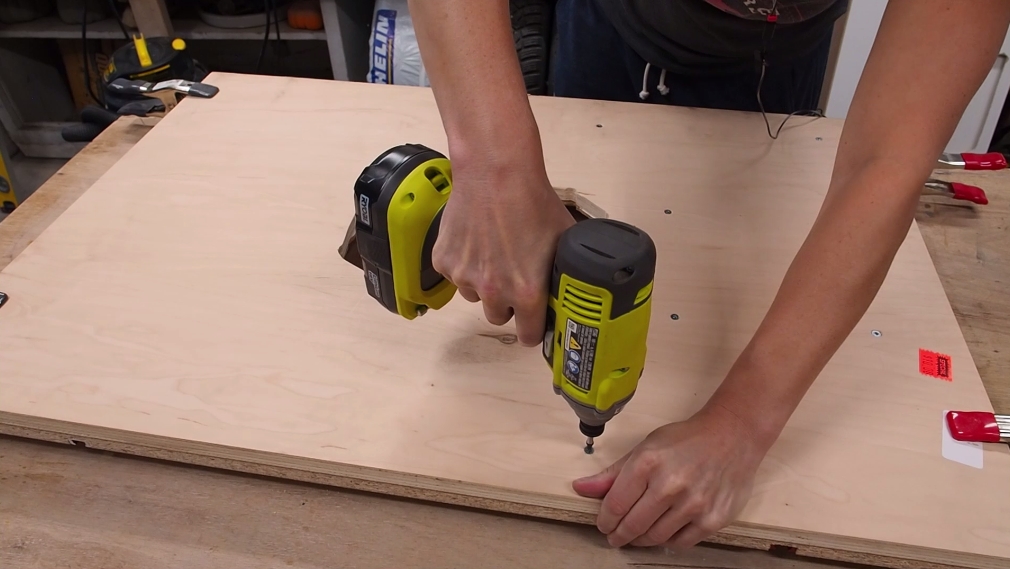
I then screwed the plywood to the melamine from underneath.
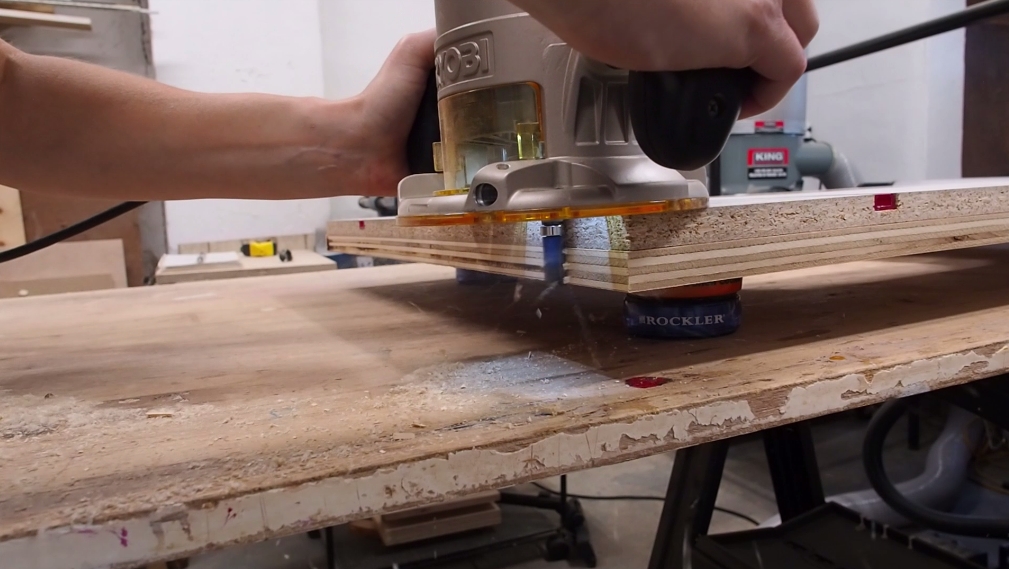
I finished off by squaring off the edges nice and flush using my router and a flush trim bit.
3- Add Trim
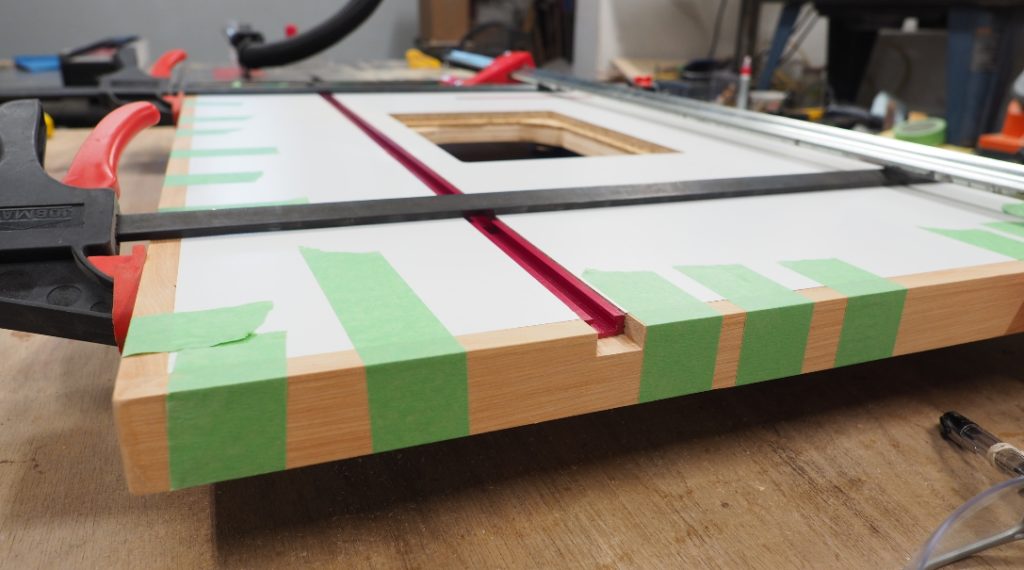
To finish off, I decided to add some hardwood trim around the sides of the table to protect the fragile edges and simply to to give the table a more polished look. I marked off where the tracks hit the edges of the table and cut a dado into the trim to make sure I could still slide in my T-bolts once the trim was in place. I didn’t want any visible nails, so I used only glue and mostly painter’s tape to hold the trim in place.
4- Build the Fence
With the tabletop complete, I moved onto the fence. For the fence you’ll need two strips of plywood and one strip of melamine, all 36 inches long like the table.
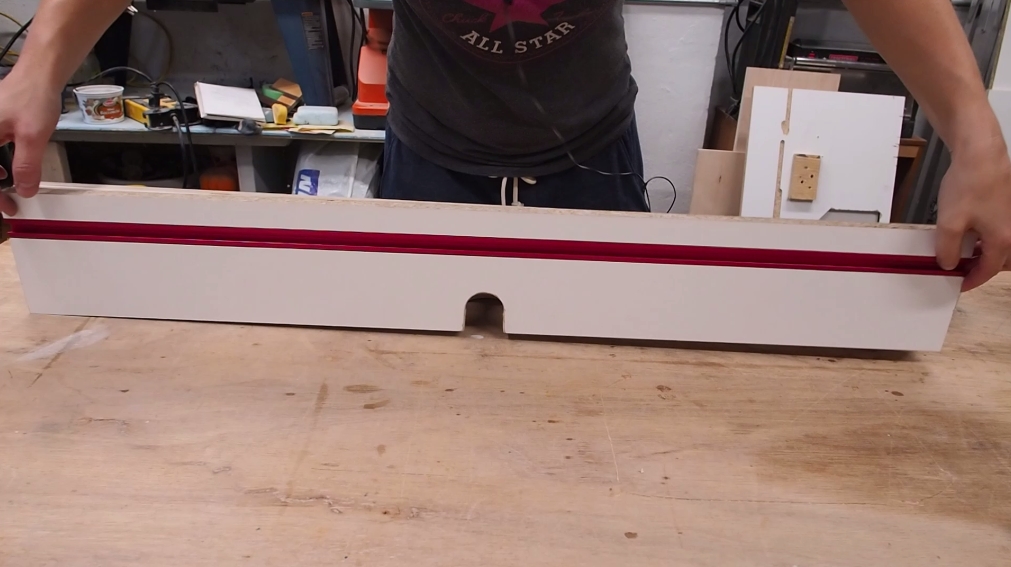
Just as I did for the table I’m inserting a T-track into the fence so I can easily use feather boards. Just as before, I clamped down one fence and used the track as a spacer to clamp down the second fence. This time around I used my more powerful router which made the job much easier and I didn’t get any tearout like with my trim router.
After a dry fit and checking that the track was below the surface, I used some Weldbond glue to secure the track. You could also use epoxy or screws which would probably be faster since you don’t need as much drying time. In any case, I used my dowel trick to help clamp down the track and let it dry for 24 hours.
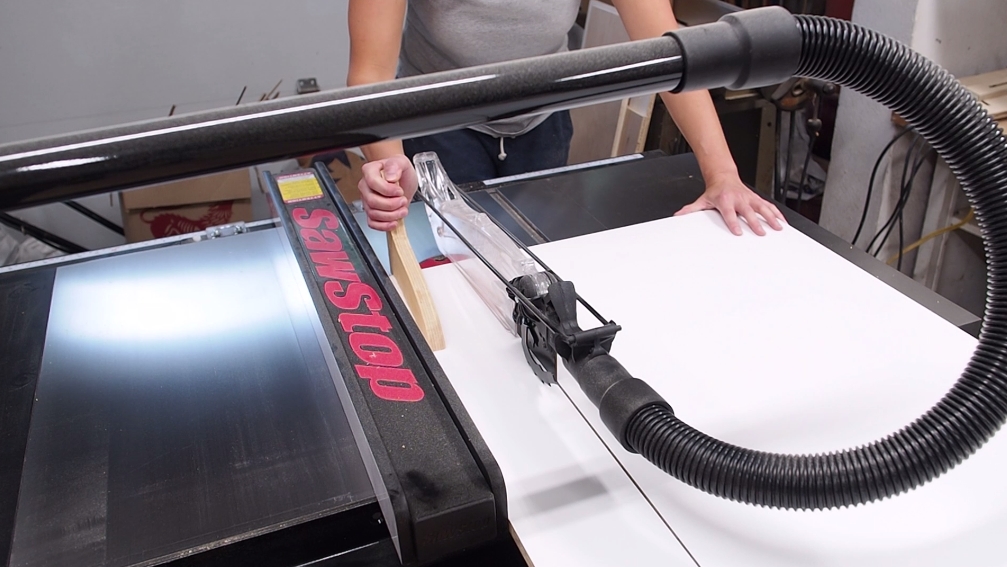
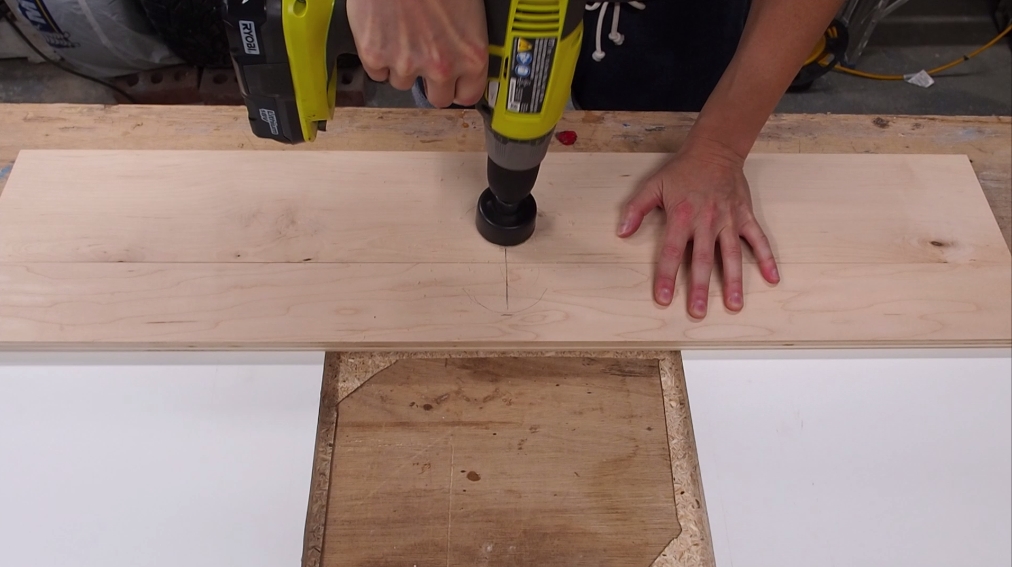
For the fence, I’m using a dust port made specifically for router table fences so I need to make a hole in the fence to allow the dust to pass through both the upright fence, and the piece that’s flat against the table. I just used a hole saw for this, and then finished off the cut with my table saw.
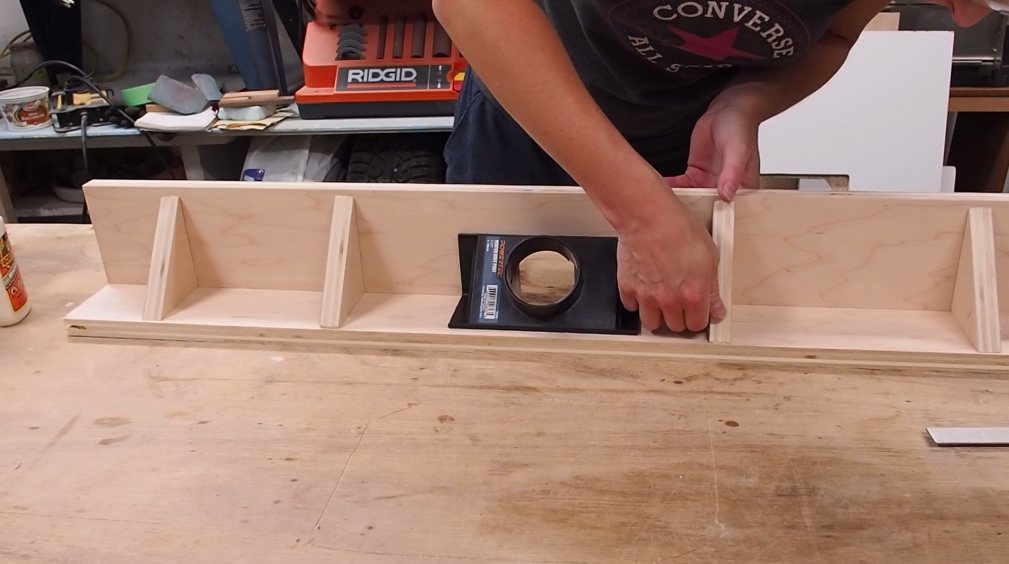
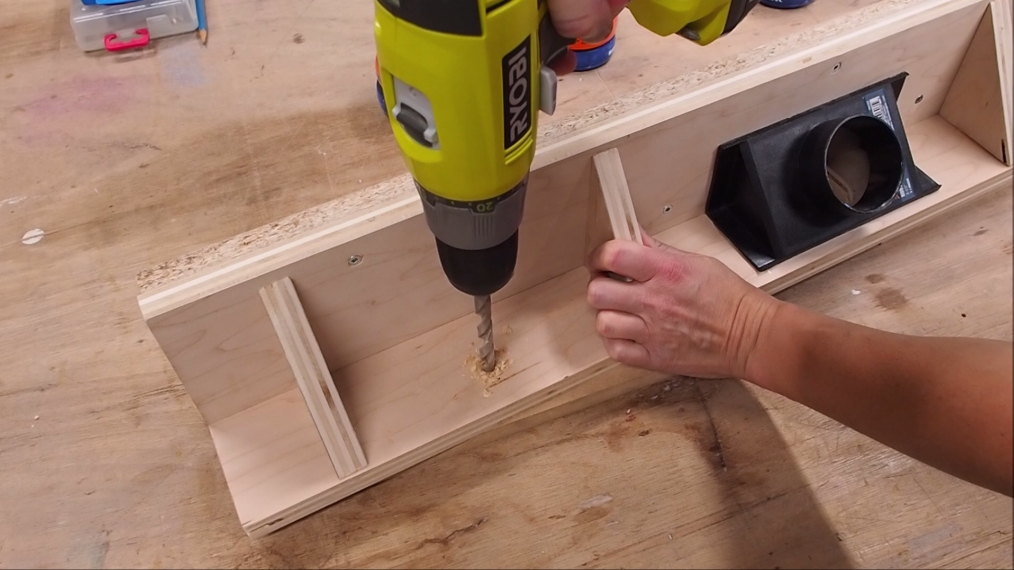
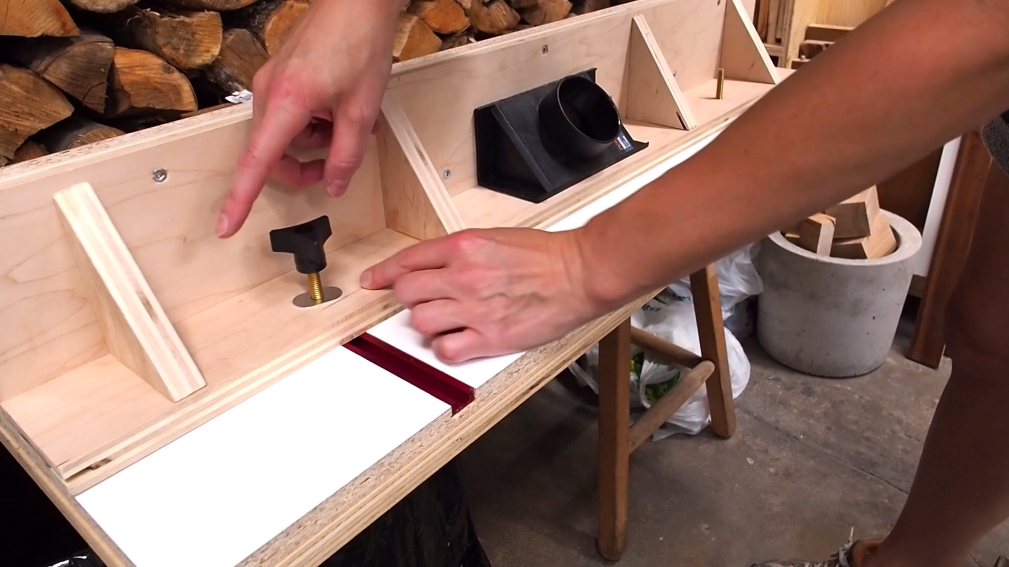
I’m assembling the fence with glue and some brad nails. My main goal here is to make the front of the fence perfectly flat and square. For that reason, I added in these little triangles, and checked for square as I went.
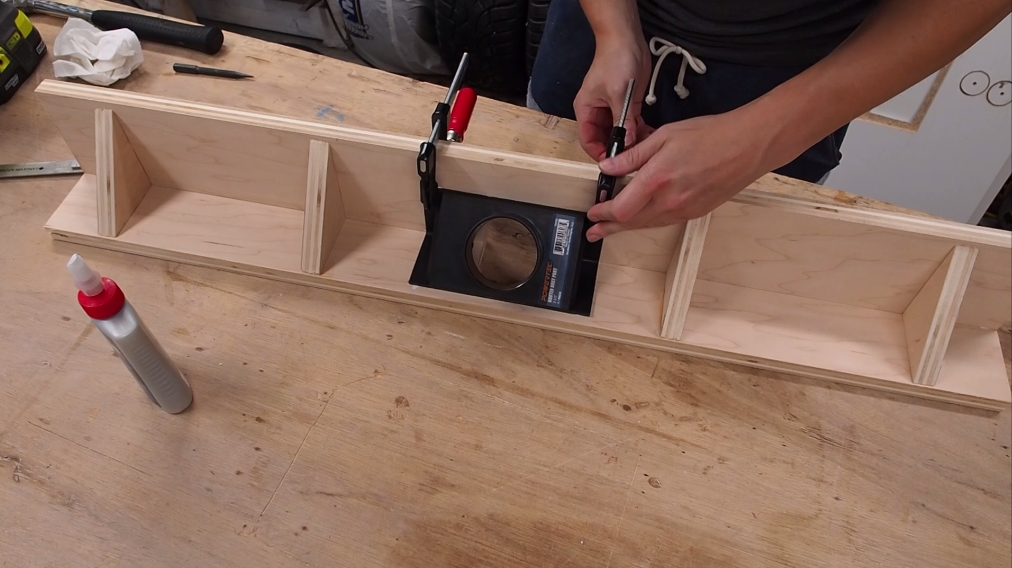
I secured the dust port using Weldbond glue which is supposed to adhere to both plastic and wood, and so far that seems to be true. You could always make this dust port using wood, but I found this one for only a few dollars on Amazon, so I skipped that step.
I carried over the hole to the melamine face, then took it all over to my table saw and used the saw’s fence to make sure my fence was both flat and square to the table. I added some screws from the back, careful not to hit the T-track with any screws.
Alright, the last step is to mount the fence onto the table. With the fence in position, I made a mark in line with the tracks so I could drill the holes. I made the holes slightly larger than the bolts I’m using so it could have a little wiggle room.
I’m actually using toilet bolts just because you can pick up a pack at any hardware store. You can use the washer they come with along with a star knob. Just make sure they have the same threading, in my case 5/16.
That completes part 1 of this build. Be sure to check out for part 2 in which I built the base cabinet, address dust collection, and we’ll get to see this router table in action.

