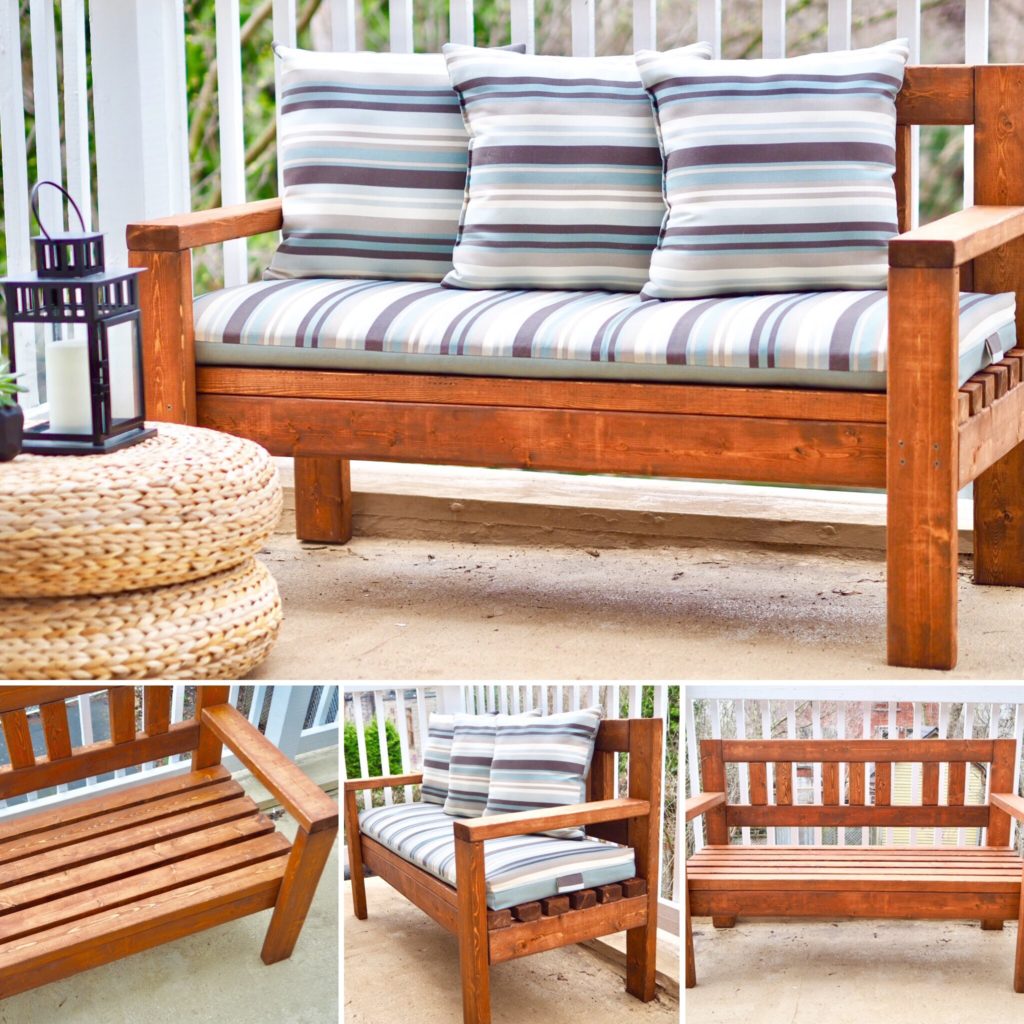
DIY Patio Loveseat
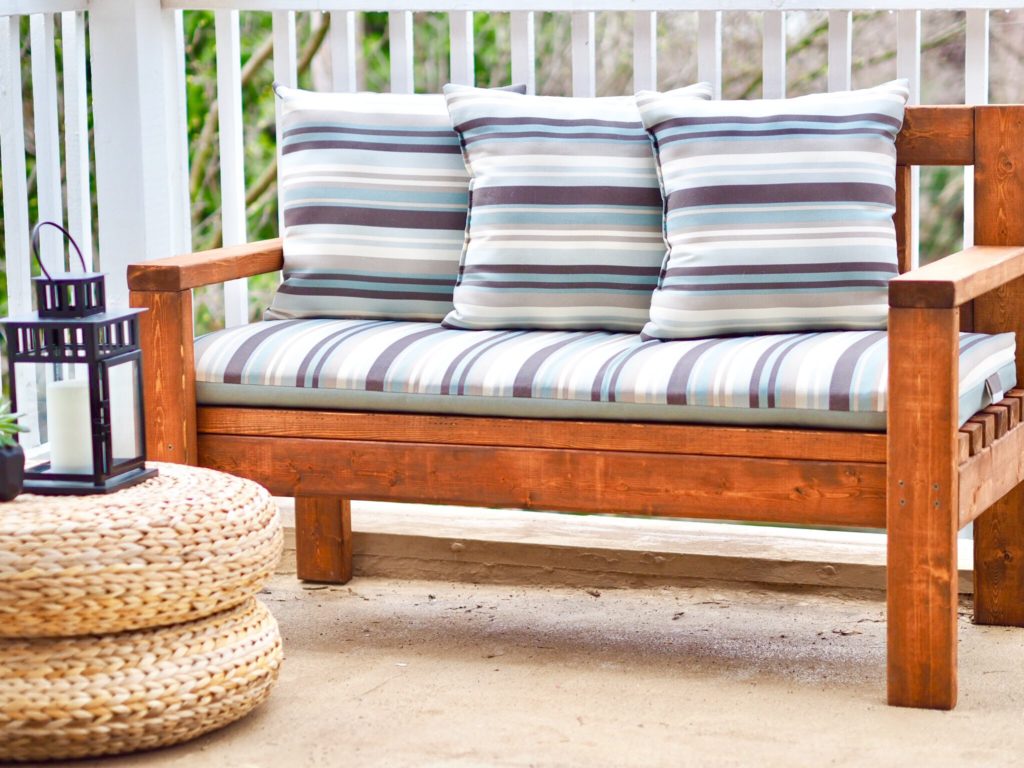
With summer just around the corner, most of us can’t wait to get outside. What better way to enjoy your patio than lounging on some outdoor furniture in the shade. Making your own outdoor seating is easy and will cost you a fraction of the cost. Here’s how to make a beautiful wood bench just in time for your next barbecue.
Materials needed:
- 5 – 2x4x8
- 4 – 2x3x8
- 2-1/2″ deck screws (brown)
- 2-1/2″ pocket hole screws
- Outdoor furniture stain
Cut list:
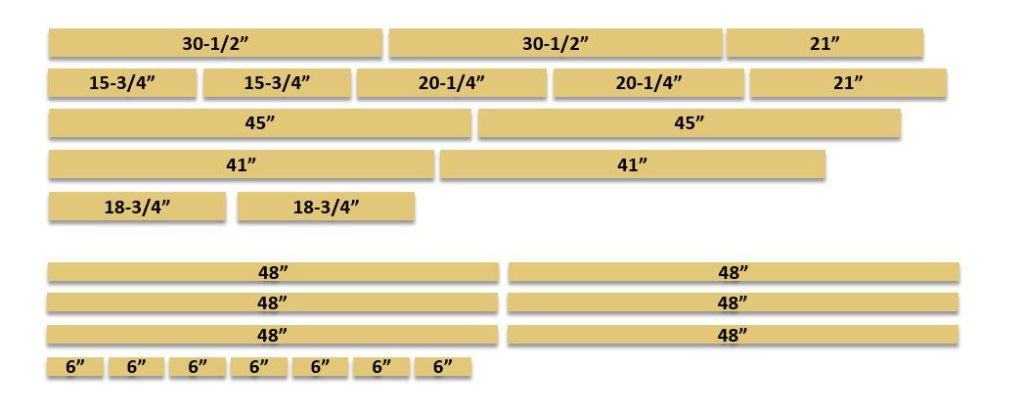
- 2 – 2×4 @ 30-1/2″ (back legs)
- 2 – 2×4 @ 21″ (front legs)
- 2 – 2×4 @ 45″ (seat framing box front and back)
- 2 – 2×4 @ 18-3/4″ (seat framing box sides)
- 2 – 2×4 @ 15-3/4″ (seat framing box under supports)
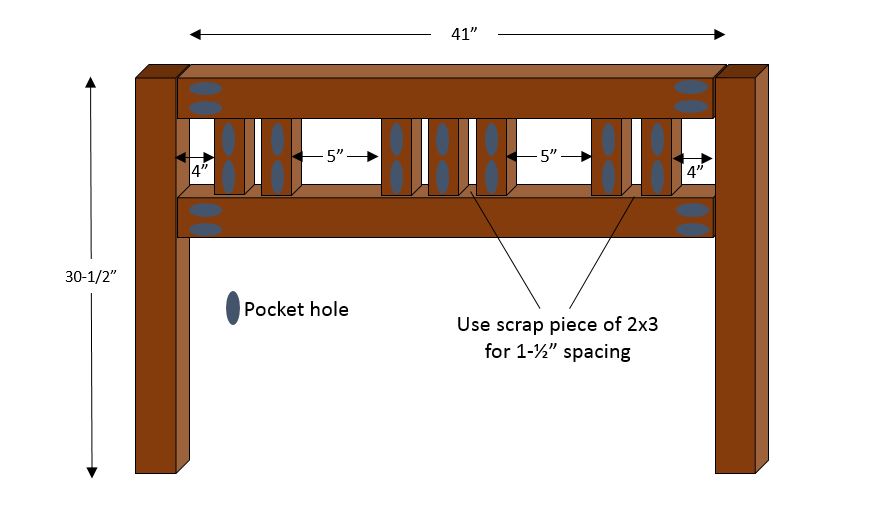
- 2 – 2×4 @ 41″ (back horizontal supports)
- 2 – 2×4 @ 20/1/4″ (arms)
- 6 – 2×3 @ 48″ (seat lats)
- 7 – 2×3 @ 6-1/2″ (back vertical supports)
Make your cuts
Start by cutting all the pieces to length using a mitre saw. To save you the headache, I’ve mapped out which lengths to cut from which pieces to make sure they all fit. You’re welcome 😉
Pre-drill pocket holes
Using pocket hole screws is optional. You can easily use deck screws for this entire project. But if you want to limit the number of visible screws, use a Kreg jig to pre-drill pocket holes in each end of the following pieces:
- 41″ back horizontal supports
- 6-1/2″ back vertical supports
- 15-3/4″ seat framing box under supports
Sand
Use an orbital sander with 120 grit paper to sand all surfaces until smooth. I made sure to make multiple passes on the end edges to round them out for a softer look.
Stain
I find it easier to pre-stain all the pieces before assembly. That way you make sure to get the stain into every nook & cranny giving every surface full weather protection. It’s also just easier than trying to squeeze the stain into small crevices once the bench is assembled and trying to get into the hard to reach spots.
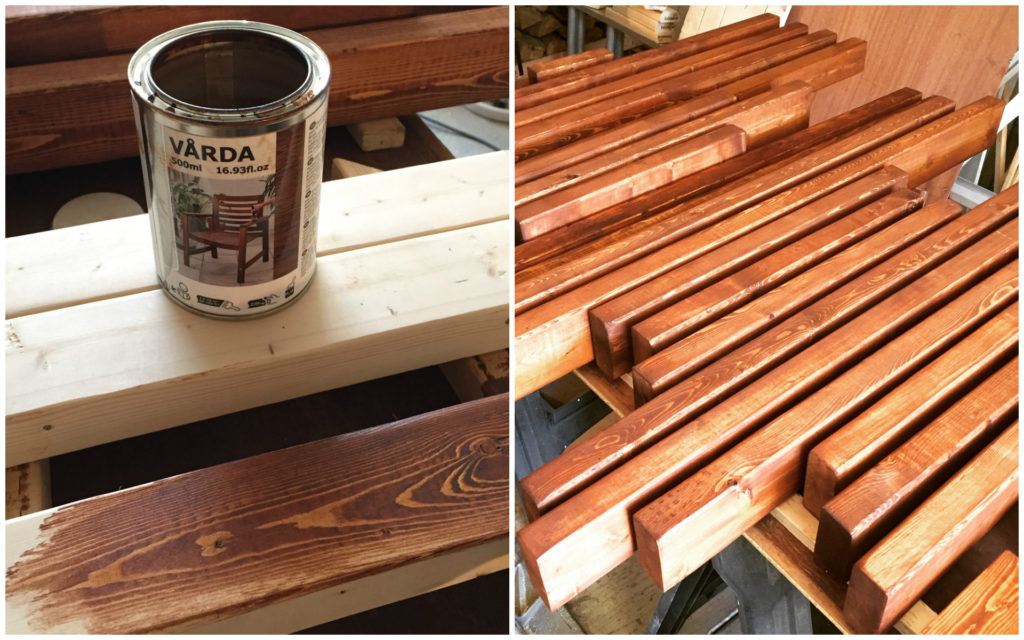
I used Varda outdoor furniture stain from IKEA. It protects the wood from rain and UV rays while adding a rich golden brown color and bringing out the wood grain.
Assemble the back
Use 2-1/2″ pocket hole screws to assemble the back from the back side. Start by attaching the top horizontal board to the back legs, flush with the top. Then place the vertical supports and lower horizontal board and hold in place with clamps before securing.
Build the seat box frame
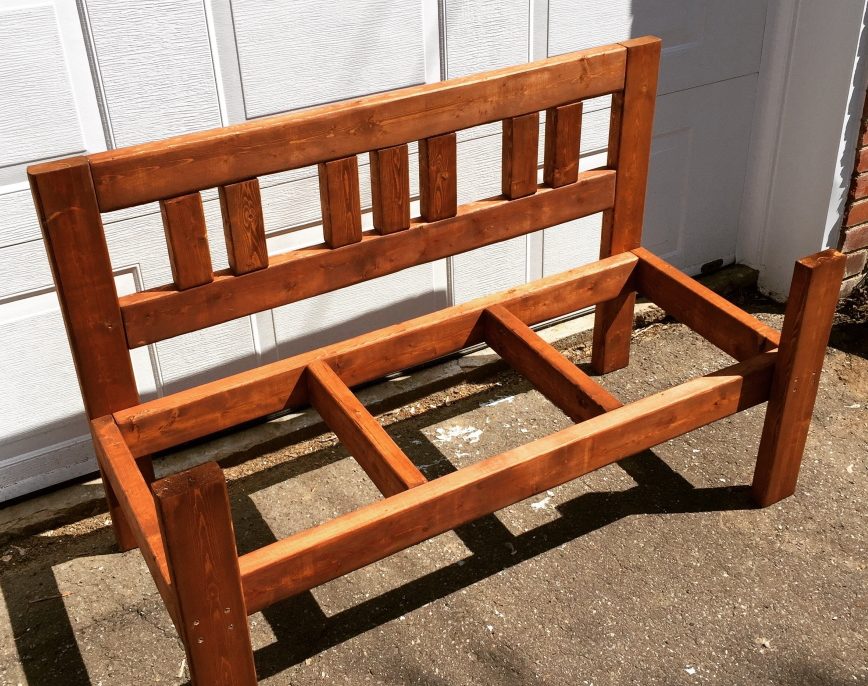
Assemble the seat box frame using 2-1/2″ deck screws to secure the box sides and 2-1/2″ pocket hole screws to secure the under supports.
Tip: always pre-drill pilot holes when using deck screws to avoid splitting. I also recommend counter-sinking the pilot hole for a cleaner look.

Attach back & front legs to box frame
Attach the box seat frame to the back and front legs using 2-1/2″ deck screws so that the top of the box sits 12-1/2″ from the floor.
Seat lats
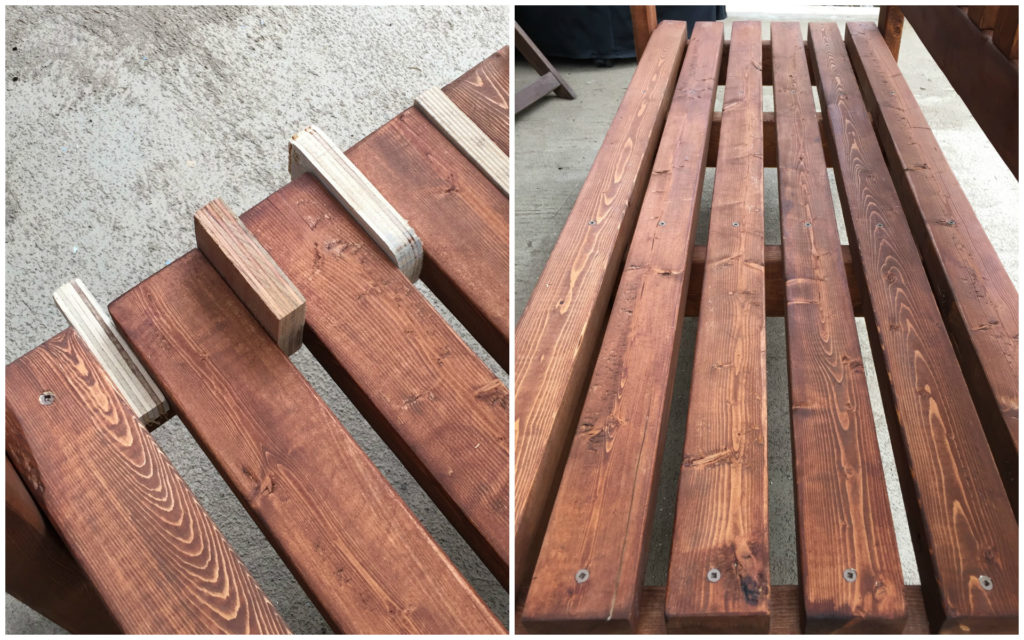
Attach the seat lats to the frame using 2-1/2″ deck screws. Space the boards evenly 3/4″ apart. Tip: use scrap pieces of 3/4 plywood as spacers.
Attach the arms
The final step is to attach the arms. Attach using deck screws from the the rear an the top. Use a level to make sure they are flat and parallel.
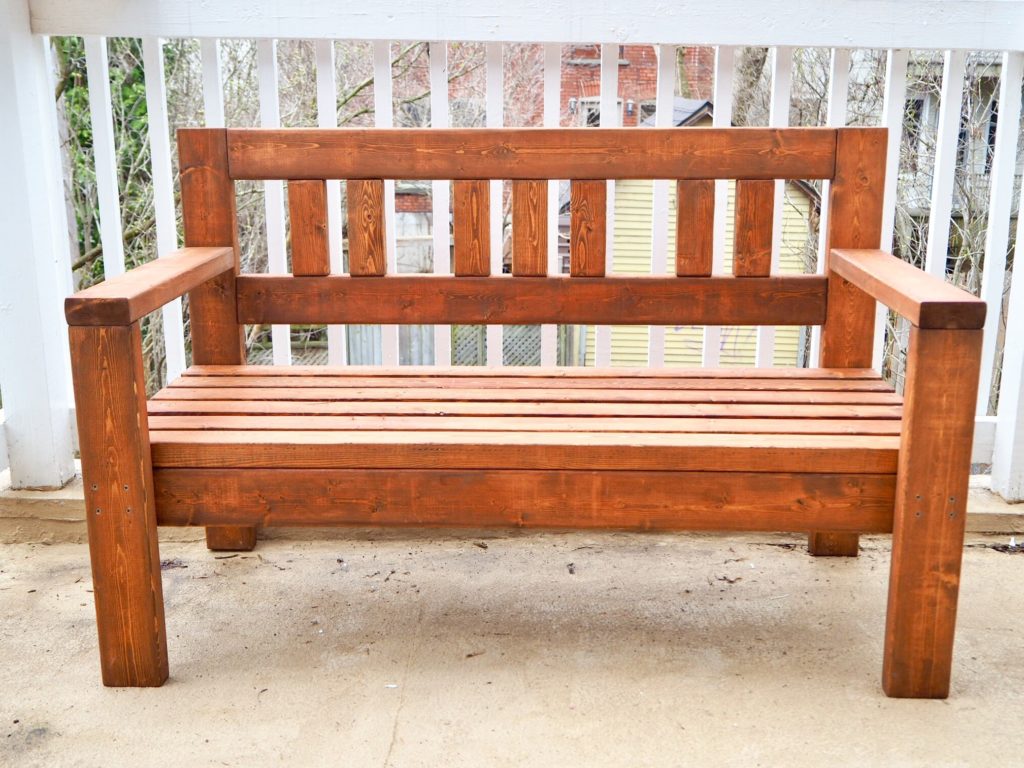
Now have fun with it! Dress up your new outdoor bench with your favorite cushions or a throw. Relax and enjoy the summer!
Did you know DIY Montreal has a new YouTube channel? Click here to check it out!
