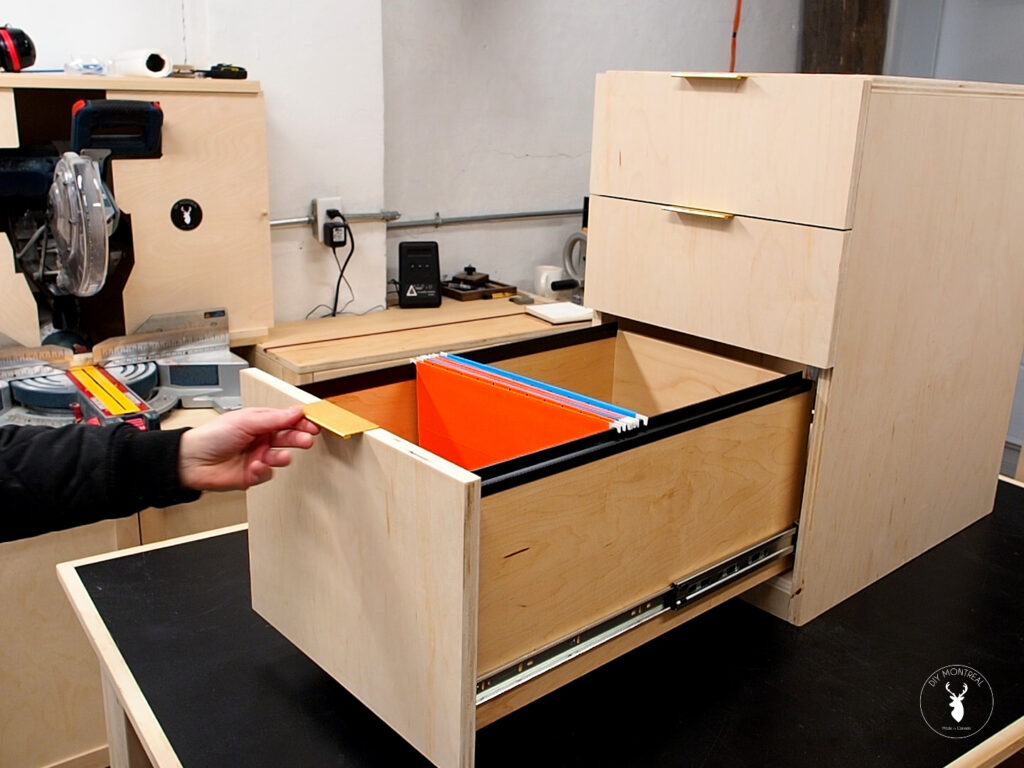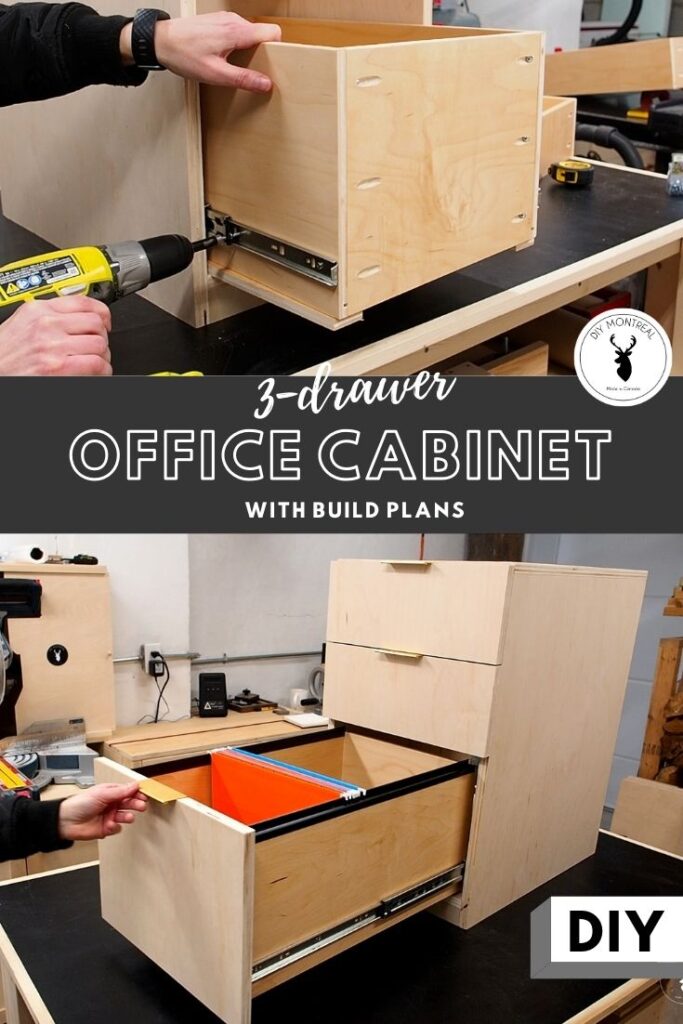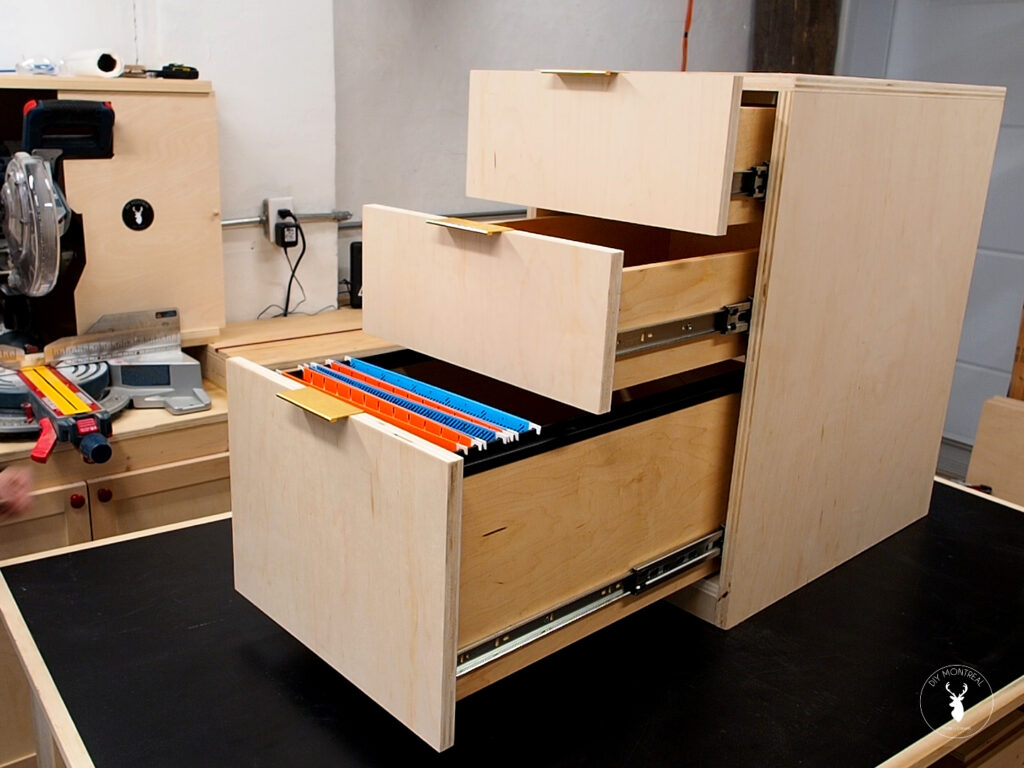
After almost a year working from home now, I decided it’s finally time to build a desk for my home office. The most challenging part will be the base cabinets and the drawers, so I’m starting with that first. Drawers can be scary and intimidating, but they don’t have to be. In this tutorial, I’ll show you how to make this simple DIY office drawer cabinet, and how to easily build and install drawers.
Materials used (affiliate links)
- 3/4″ maple plywood
- 1/2″ maple plywood
- 1/4″ maple plywood
- 22″ inch drawer slides
- 1-1/4″ pocket screws
- 1″ pocket screws
- 1″ F.H. wood screws
- 2″ F.H. wood screws
- #6 5/8 screws
- Drawer edge pulls
- 1″ Felt furniture glides
- File hanger rails
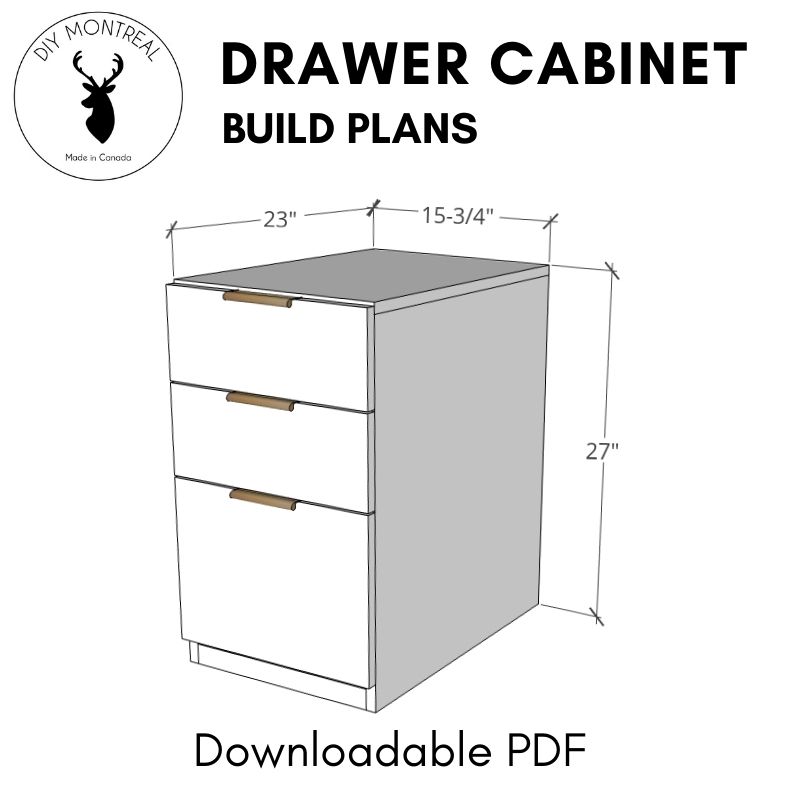
If you’re interested in specific measurements, I have plans available for this drawer cabinet build. Click on the image below.
GET THE PLANS
DIY Office Drawer Cabinet
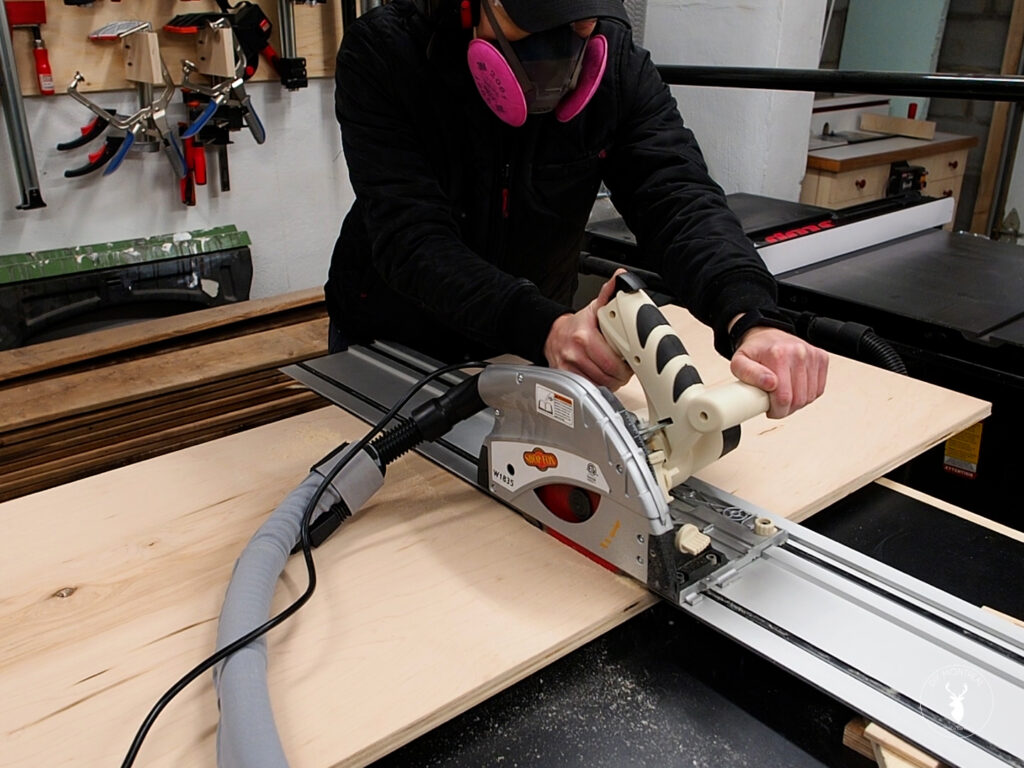
When working with plywood sheets, I typically like to have my plywood cut into manageable sizes at the store, then use my track saw to break down my parts, leaving just a little extra material so I can make my final cut on the table saw. This helps ensure I get a nice clean square cut.
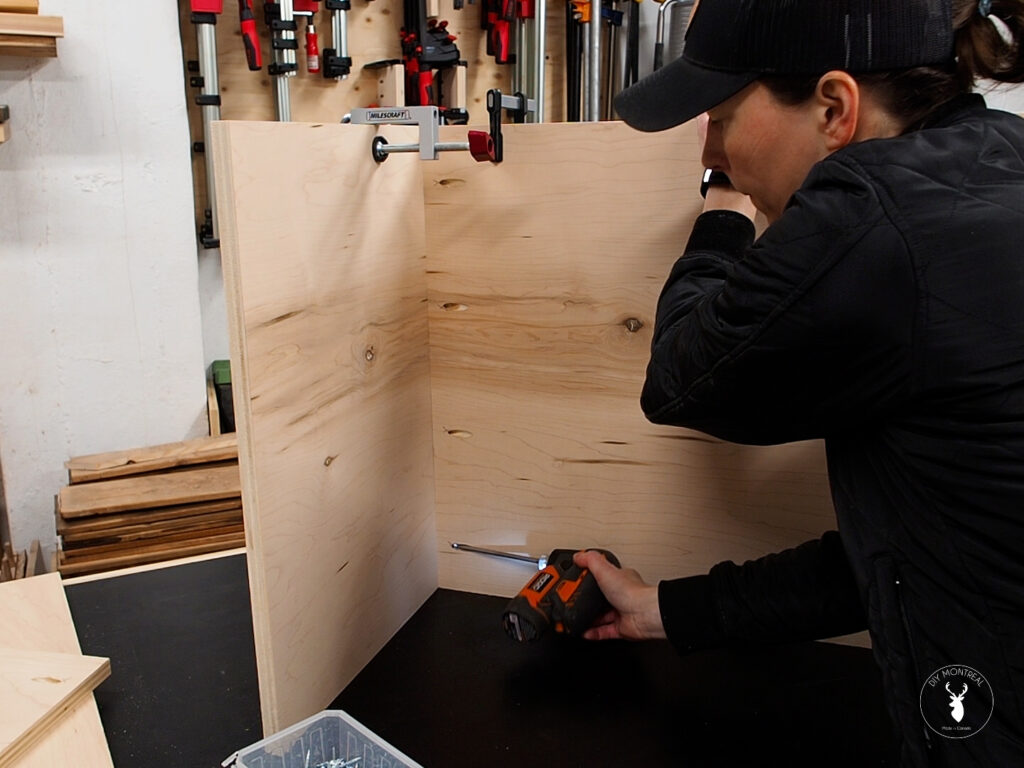
Once all my carcass pieces were cut – 2 sides, top bottom and toe kick cut from 3/4 inch plywood – I used my pocket hole jig to make pocket holes and assembled the cabinet with 1-1/4″ pocket screws.
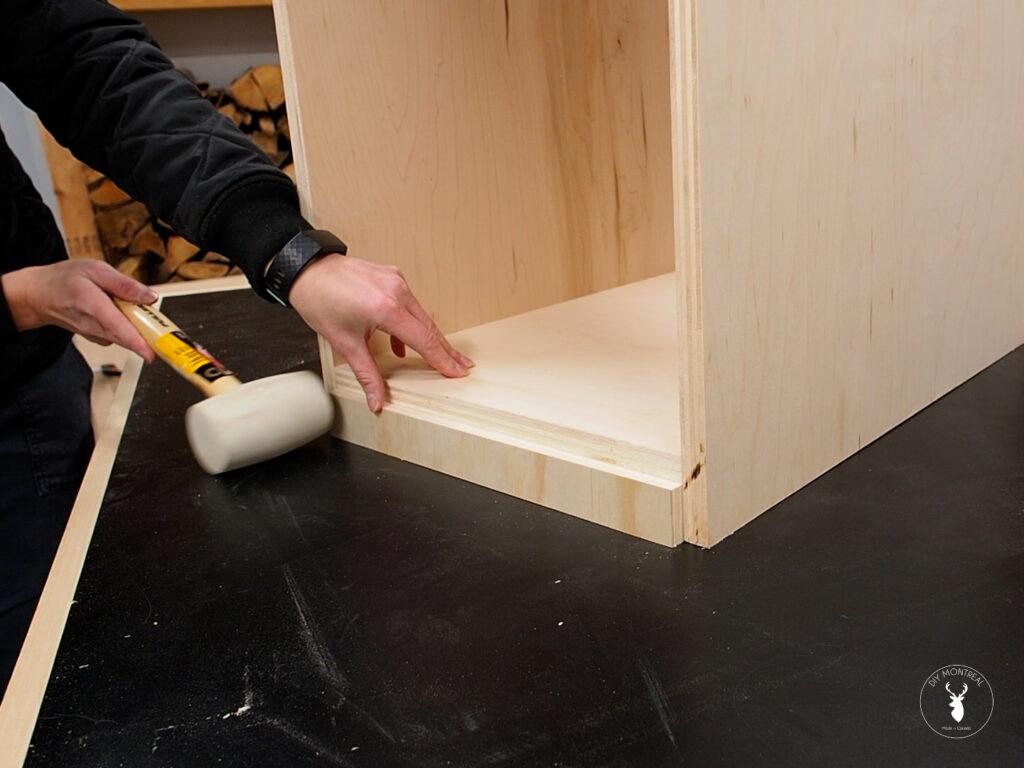
After the 4 sides were assembled, all that was missing was the toe kick that I tapped into place, then secured it with more pocket screws.
Build Drawer Boxes
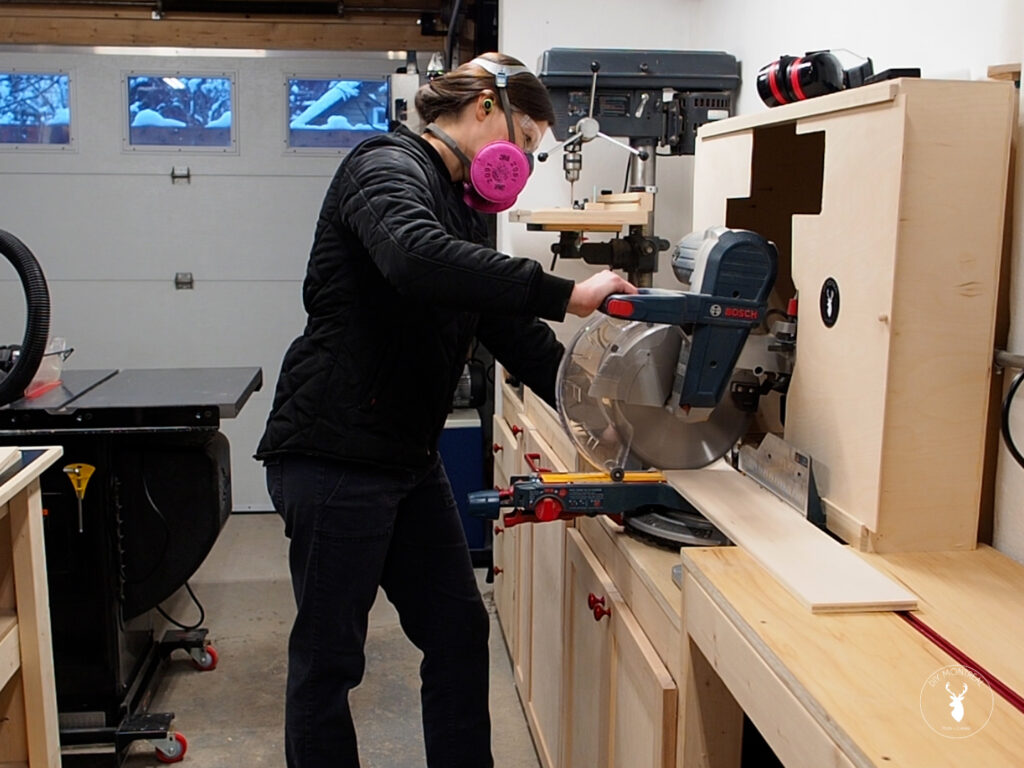
Next I got to work on the drawer boxes. For the drawers I used 1/2 inch plywood and cut all my pieces to size on the miter saw. For insights on how to determine the length of your drawers slides and the dimensions of your drawer box, be sure to watch the YouTube video.
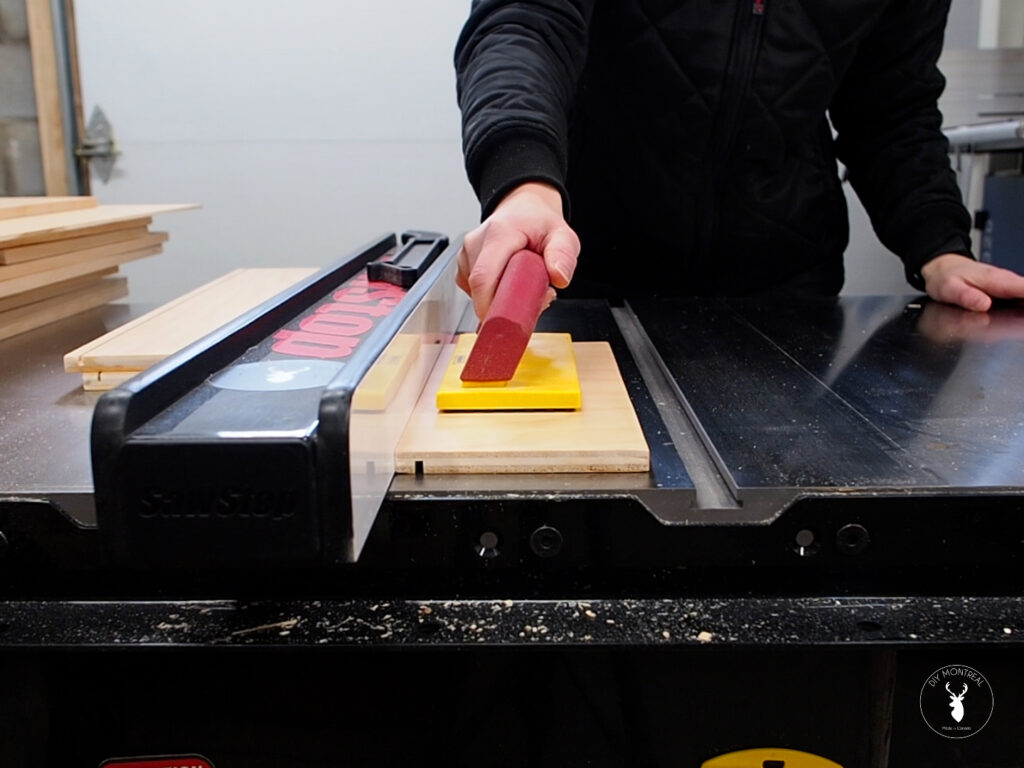
Before I can assemble the drawers, I need to make a small groove to fit the bottom panel (I’ll be using 1/4 inch plywood for the bottoms). I set my blade height to half the thickness of my drawer stock – so a quarter inch – and set my fence to 3/8ths. I made a first pass at this setting, then moved the fence over slightly to widen the groove so my bottom panel would fit into the groove.
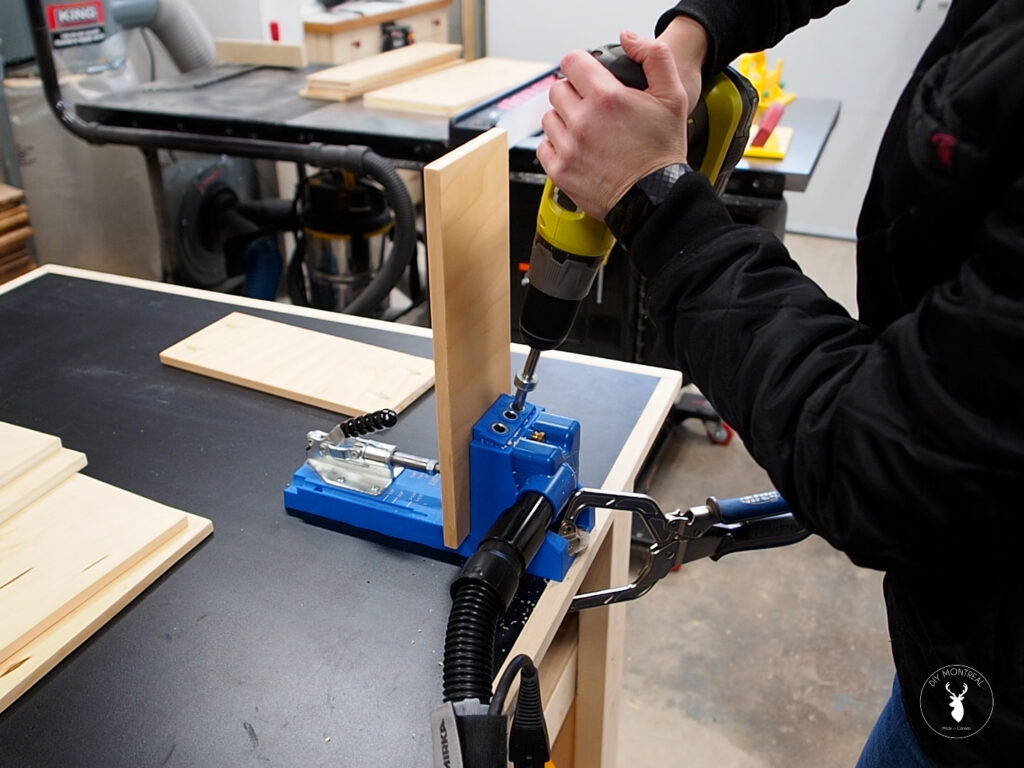
I grabbed my pocket hole jig once again, and changed the settings to the 1/2 inch thickness setting. I then drilled pocket holes in all my front and back drawer pieces, making sure to drill the holes on the opposite side to the groove. The pocket holes will therefore be on the outside of the box, and will be hidden by the time the drawers are completed.
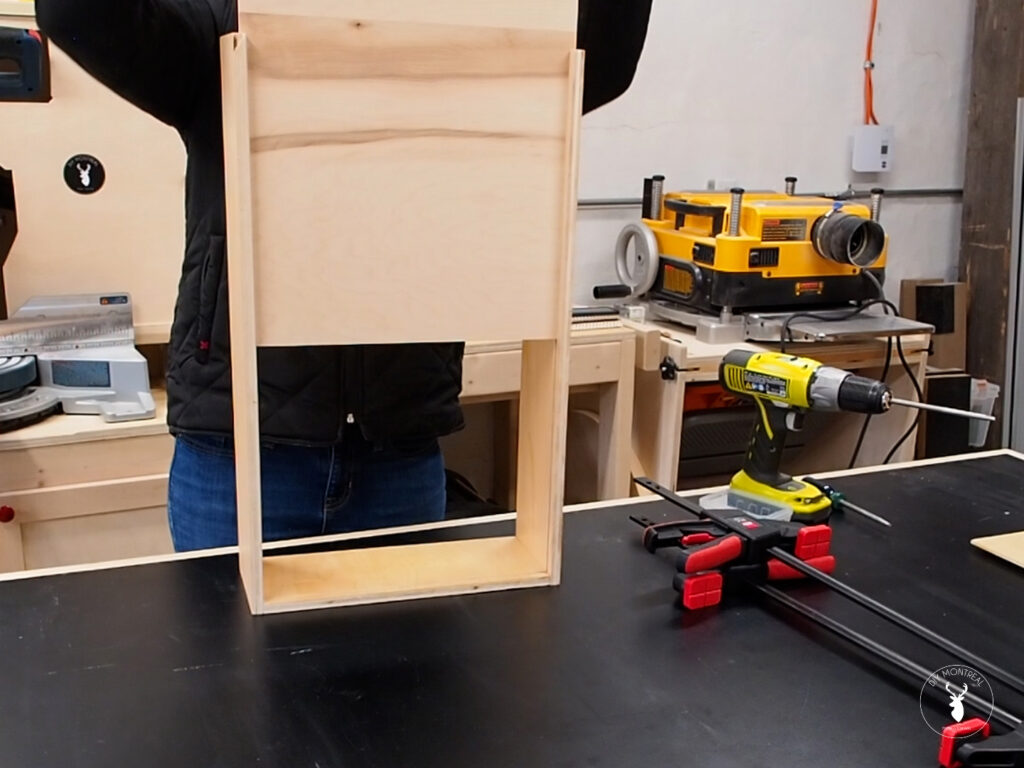
I began assembling the drawers with pocket screws, starting by the front. I could then flip up the drawer and slide in the drawer bottom until it was seated within the grove. I then added the back piece and secured it with more pocket screws.
Install Drawer Slides
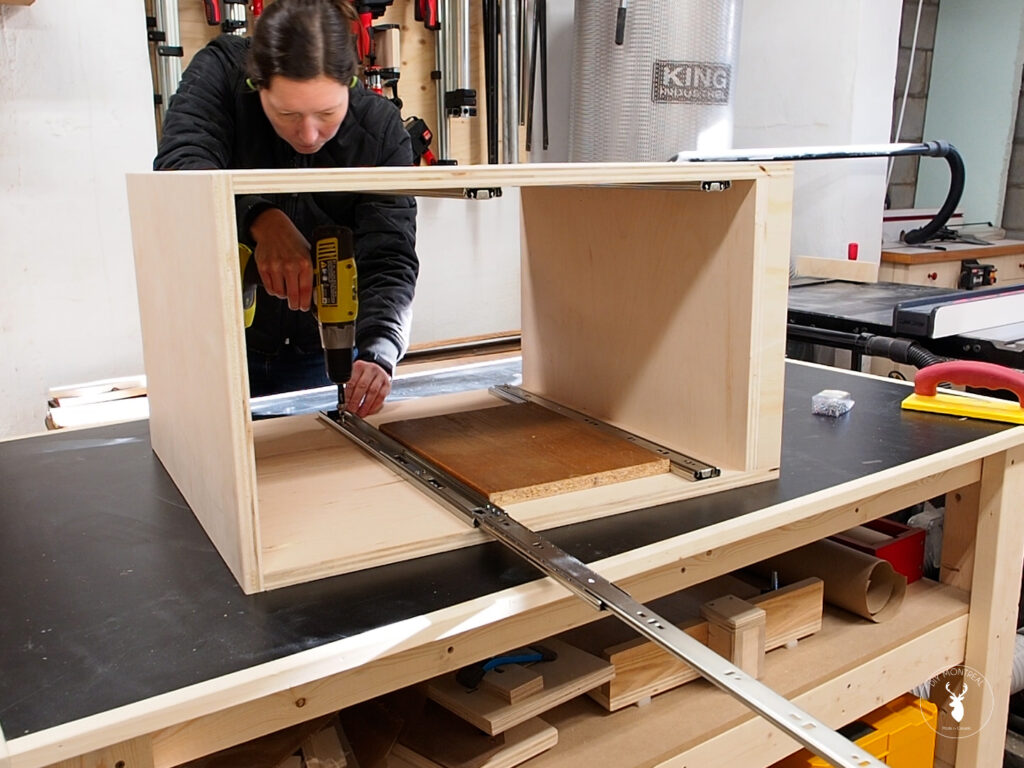
Next up is installing the drawer slides. I used a spacer to prop up the bottom slide, lined it up flush with the edge of the cabinet, then gently pulled the slide open to expose the screw holes and added the screws. I repeated the same thing on the other side, and with that my first pair of slides was installed.
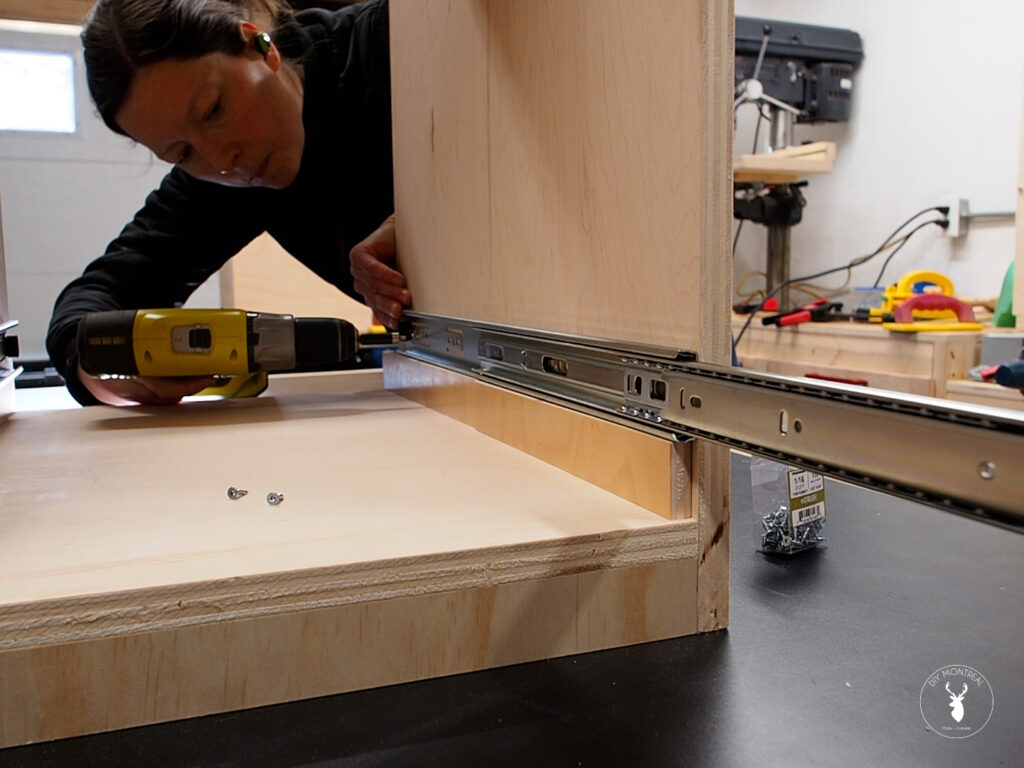
To install the next slides, you can either trace reference lines on the inside of your cabinet, or cut spacer blocks like I did to help support the slide. And why fight gravity, when you can just flip the cabinet on its side?
Install Drawers in Cabinet
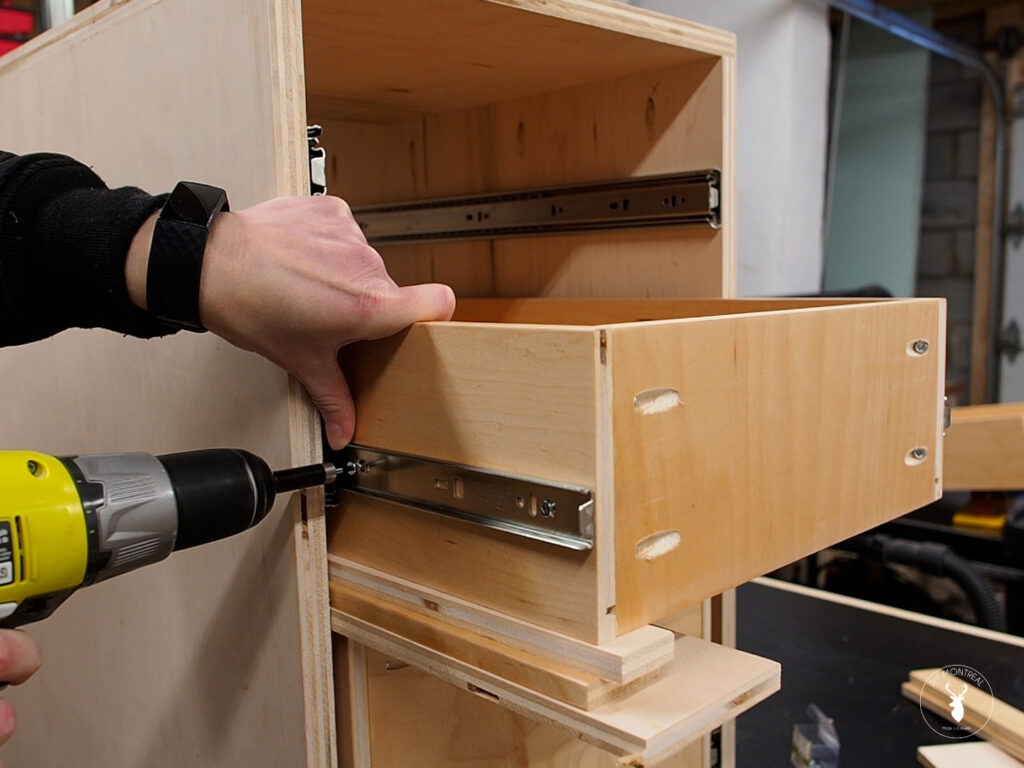
Now it’s time to install the drawer boxes. I used a few offcuts to raise up the drawer slightly so it won’t rub against the bottom then dropped the box in. I pulled out the slides and flushed them up with the front of the box, pulling the box out just far enough to expose the first screw holes.
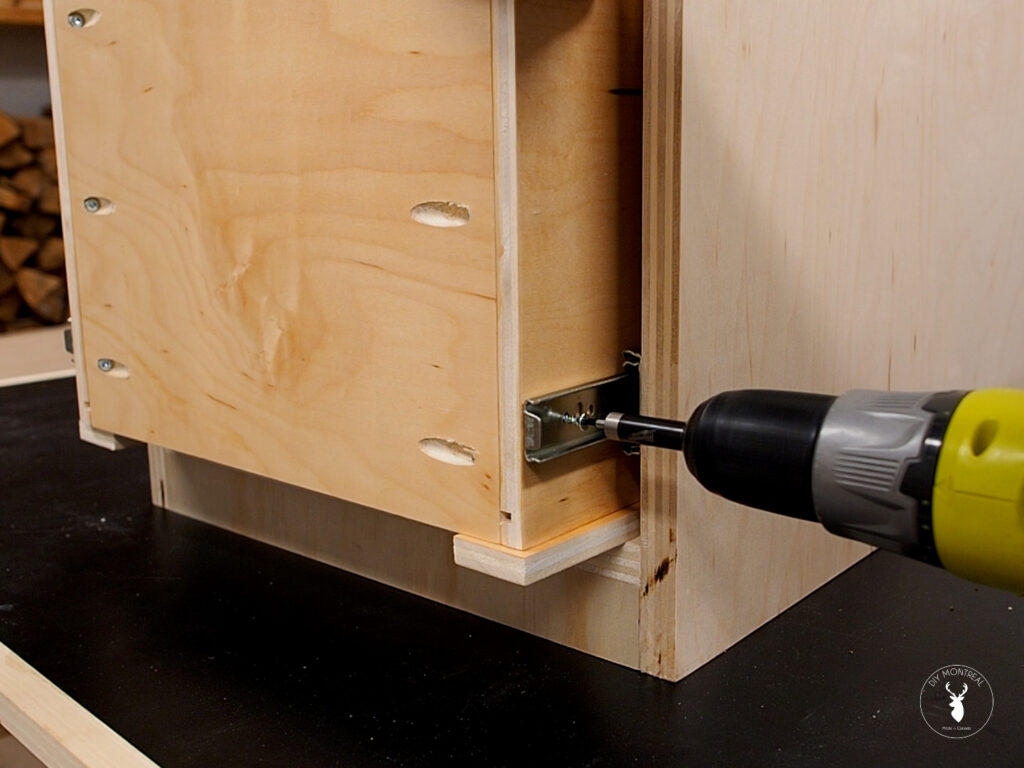
I could progressively insert the screws and pull the box out progressively exposing the next screw holes until eventually I had to remove the drawer (using the plastic tabs) so I could insert the back screws. I could then push the drawer back in, a little forcefully to get it in at first, but then it slides smoothly after that.
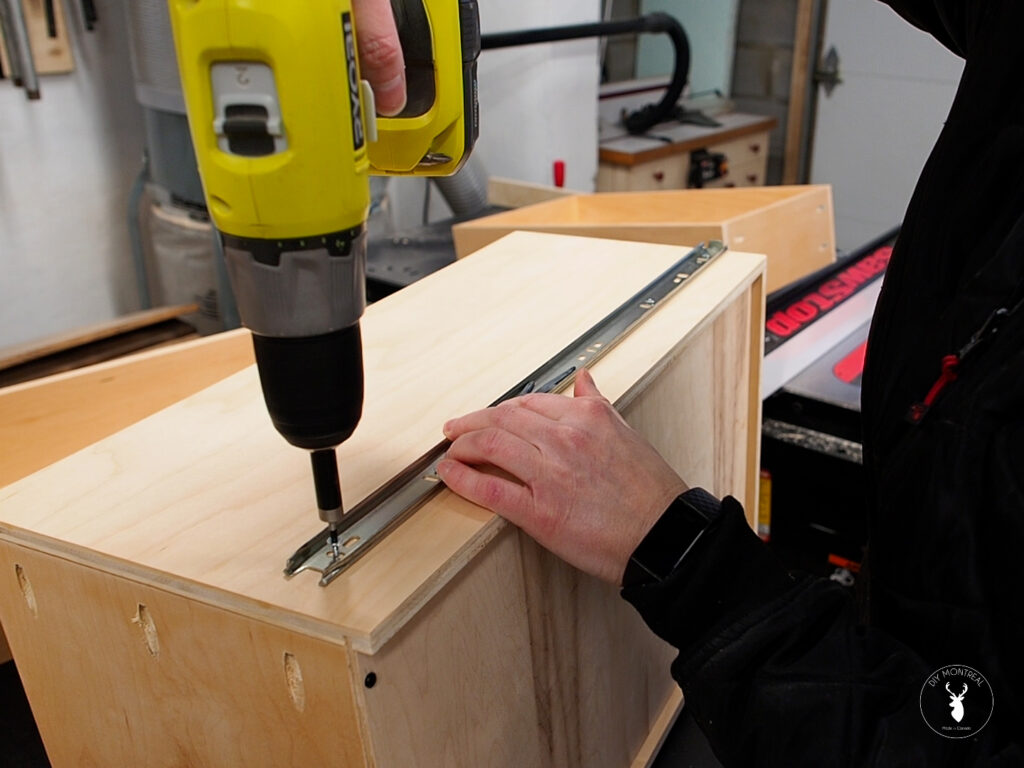
Installing the next drawer was the same process, this time using larger spacers – which ultimately depends on how much space you want between your boxes. I’m leaving a little more space than usual here because I’ll be using the bottom drawer as a file cabinet, so I want to leave enough clearance for the file hangers and rails.
Attach Drawer Fronts
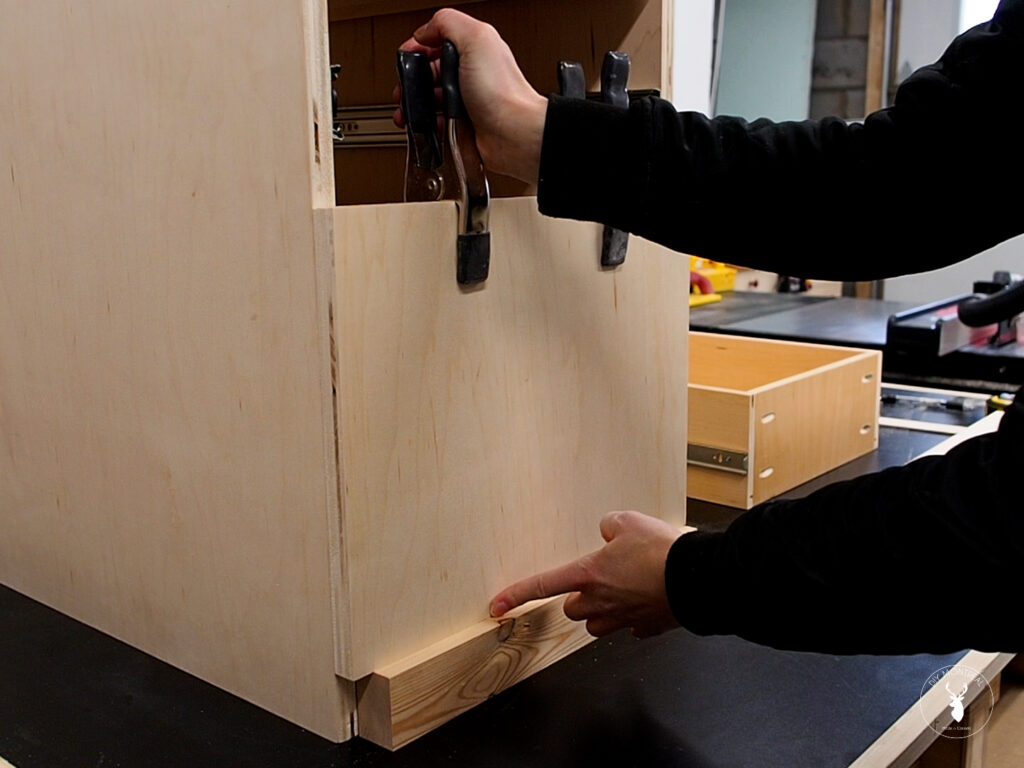
I grabbed some 3/4 inch plywood to cut the drawer fronts according to the plans. I’ll start by installing the bottom face and work my way up. I used a spacer block to help prop up the bottom front and then clamped the drawer face to the box. I could then pull out the drawer so I could secure it from the inside of the drawer with a few screws. Using one eighth plywood as a spacer, I worked my way upwards and finished installing the drawer fronts.
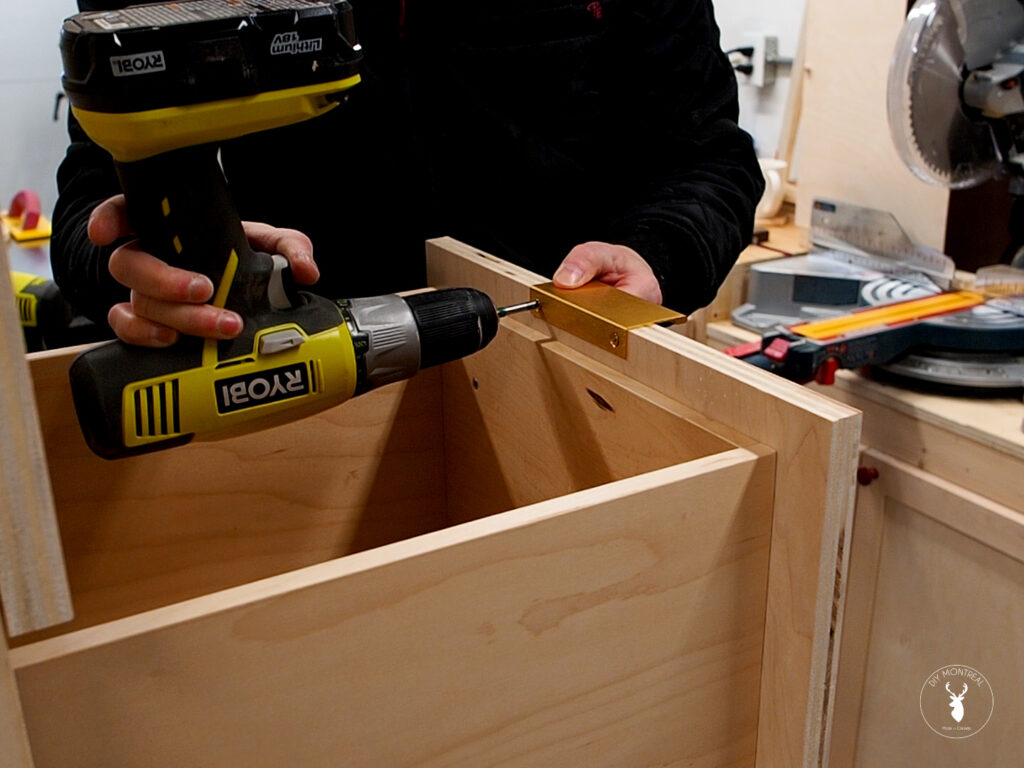
I decided to go with these very contemporary edge pulls which are really easy to install. Just center them and screw them in from the back. Super easy and they look great.
Convert Drawer to Filing Cabinet
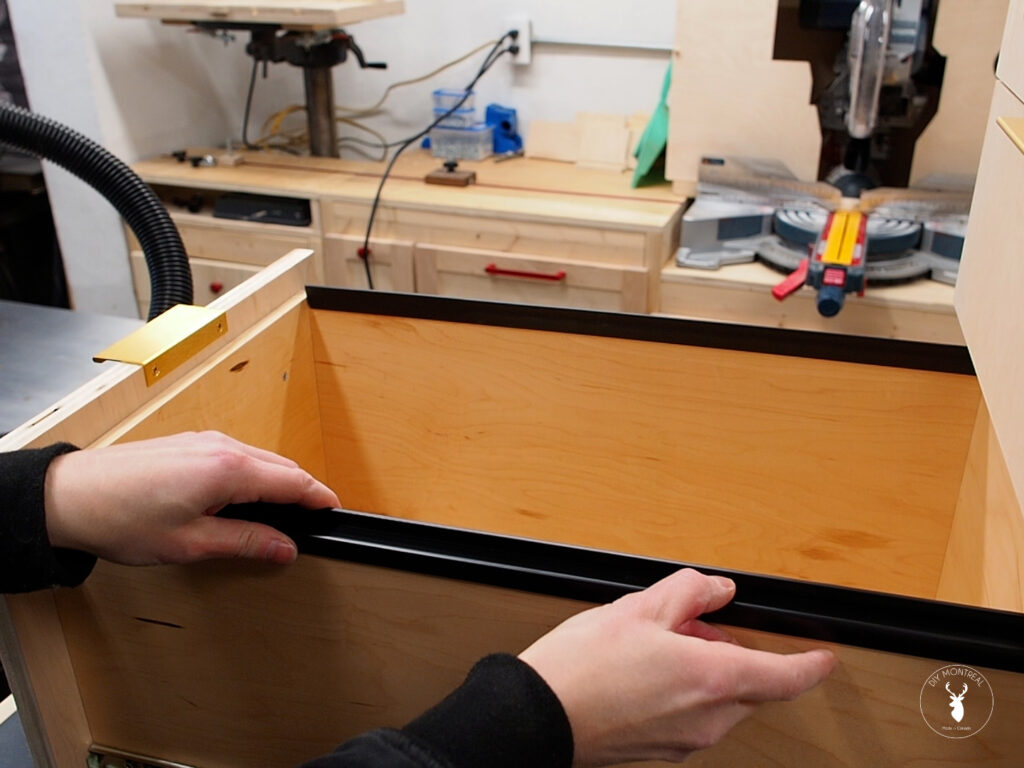
As I mentioned before, I’m going to use the bottom drawer as a file cabinet. And now this is totally optional, but you can get these plastic file hanger rails and just cut them to size, and snap them in. Add your hanging file folders and that’s it!
Hey, I hope you enjoyed this cabinet tutorial, and be sure to check out my upcoming follow-up videos where I’ll finish the outside of the cabinet with a super smooth paint finish and go through the process I used to finish the inside of the drawers. This cabinet will be part of a desk build I’ll be working on soon, so be sure to subscribe if you want to follow along!
