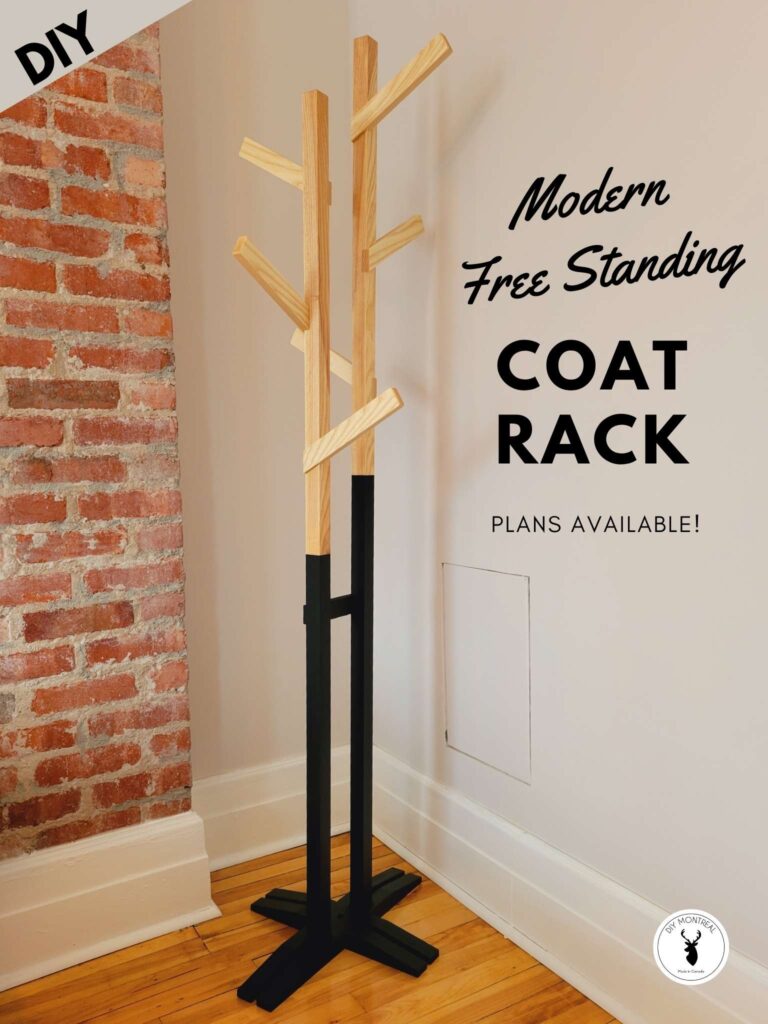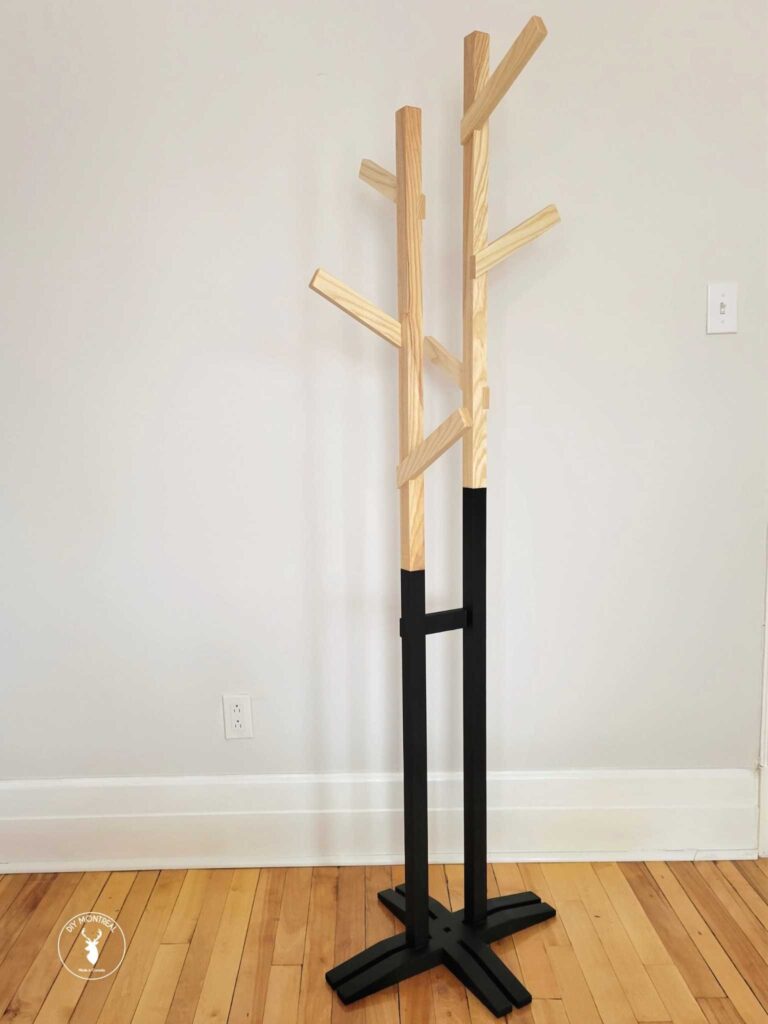
I live in an old house with a tiny entryway closet. Inevitably, every winter it ends up overflowing with coats, jackets, scarves and hats. To help remedy this, I decided to build this modern free standing coat rack. It’s made entirely of wood, but I finished the base to make it look metal.
DIY Modern Free Standing Coat Rack
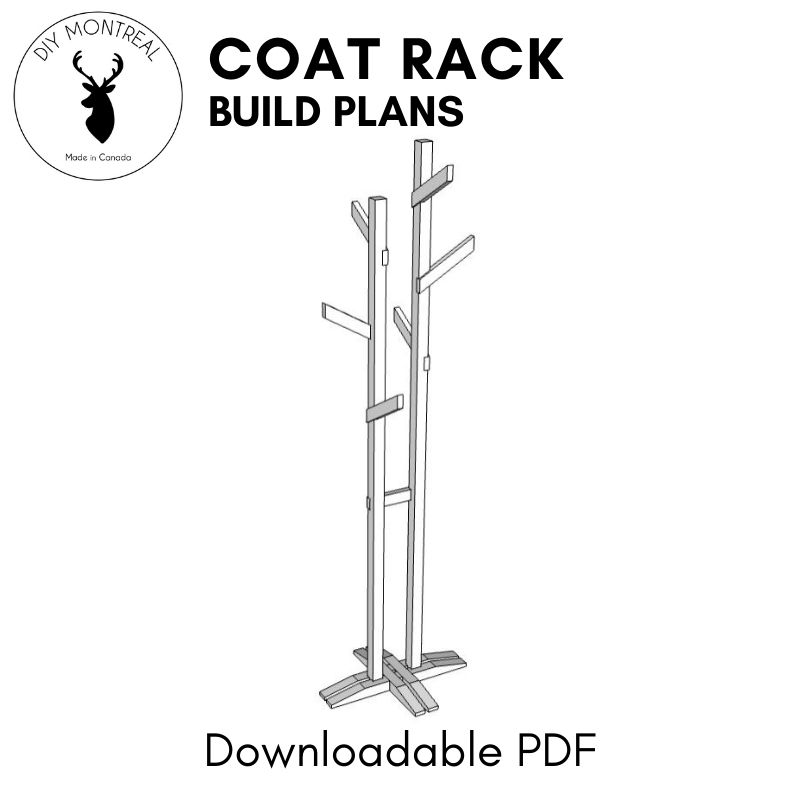
Coat Rack Plans
If you’re interested in building this free standing coat rack for yourself, I’ve got builds plans available. Click on the image below for more info.
Tools & Materials
- Hardwood 2x2s and 1x2s
- Wood glue
- Wood Filler
- Spray primer
- Spray Paint
- Osmo
How to Build a Modern Coat Rack
To build this coat rack, you’ll need very minimal materials. A few 2 by 2s and some 1 by 2s. I had some leftover ash wood that I milled up, but any hardwood can be used.
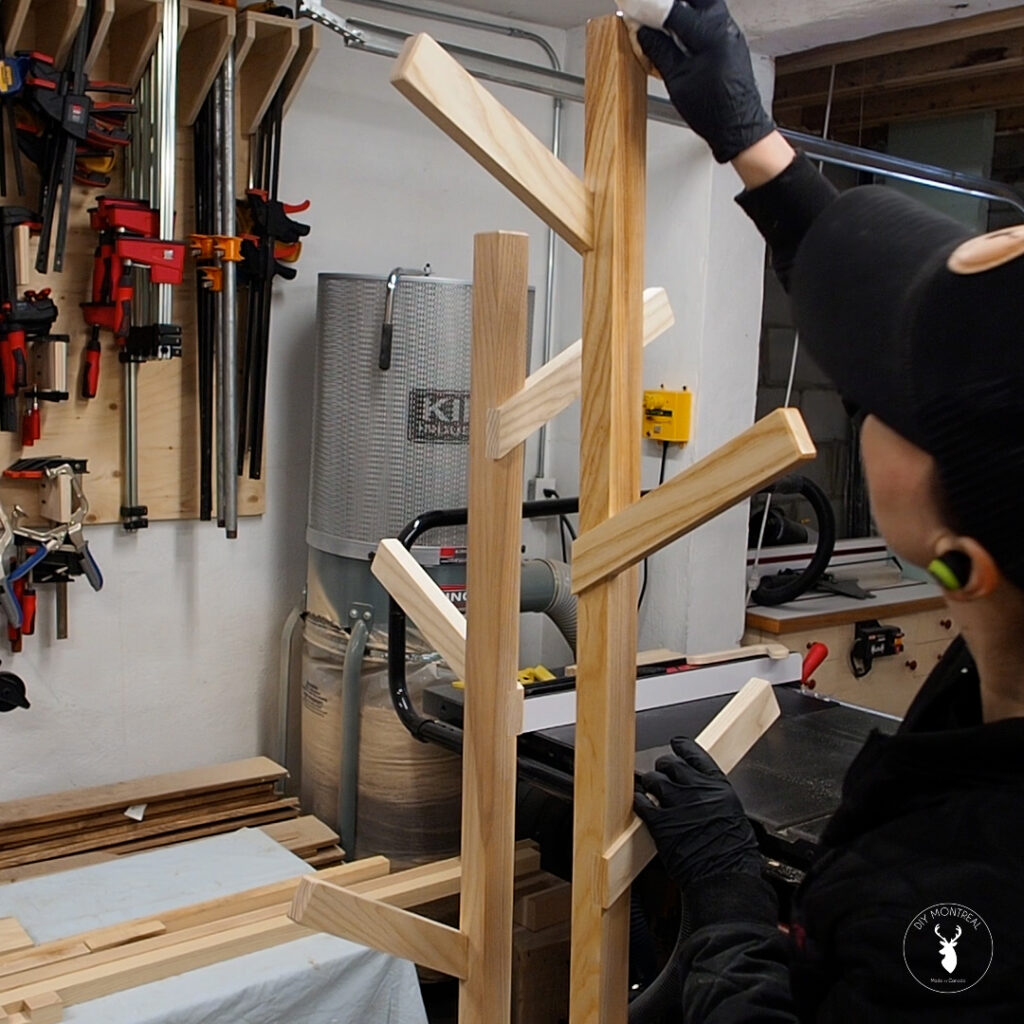
The design is modern and made to maximize coat storage. It’s a double-tree with 2 posts. Each post having 3 arms set on an angle.
Tree Top
I’ll start by cutting the dados for the arms in each post. These are essentially angled lap joints. You can cut these on the table saw, but I decided to try cutting these joints on the miter saw. For this you’ll need a sliding miter saw equipped with a depth stop. You’ll want to add a sacrificial board at the rear so the blade can bottom out all the way through the cut.
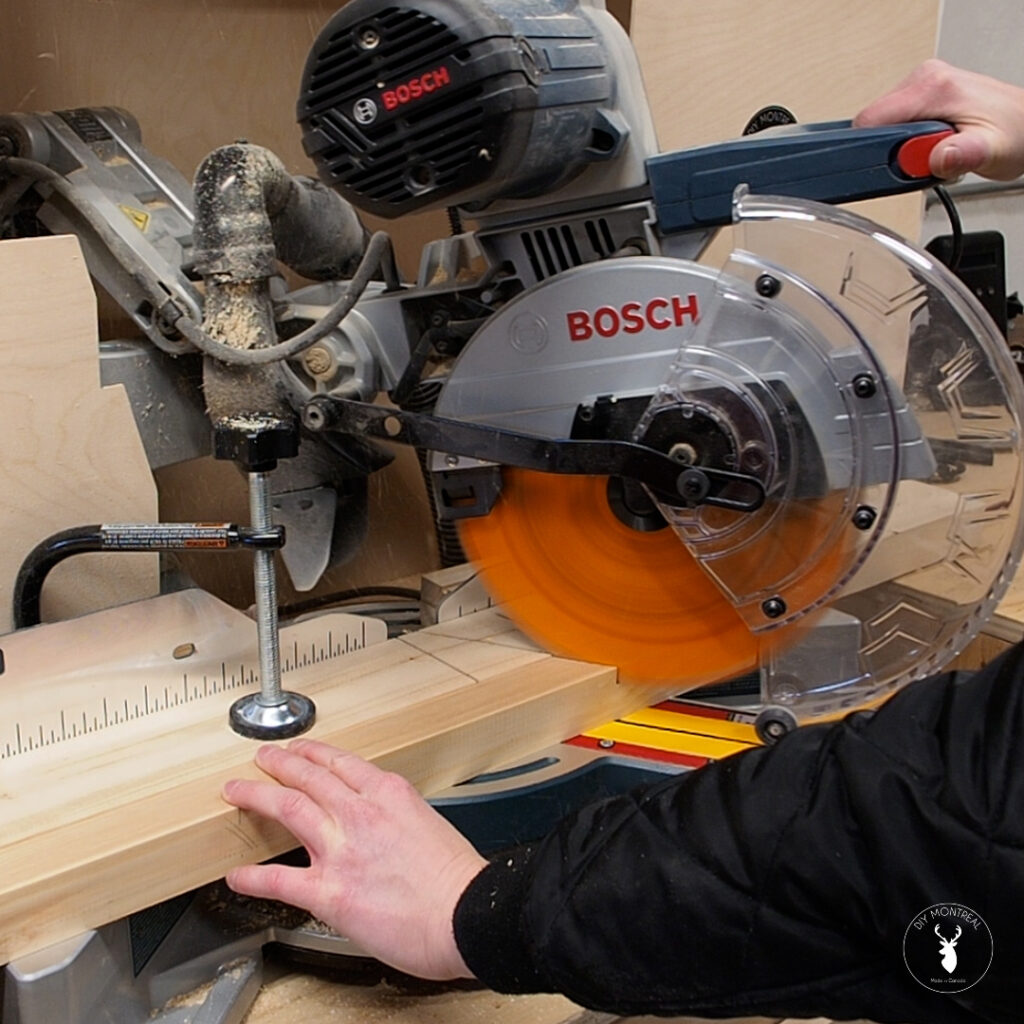
I’ll set the depth stop on the miter saw and set the angle to 30 degrees. After making the initial cut, I’ll use the 1×2 arm to mark the other side of the joint. I can then make the second reference cut on that side and finish by hogging away the material in the middle.
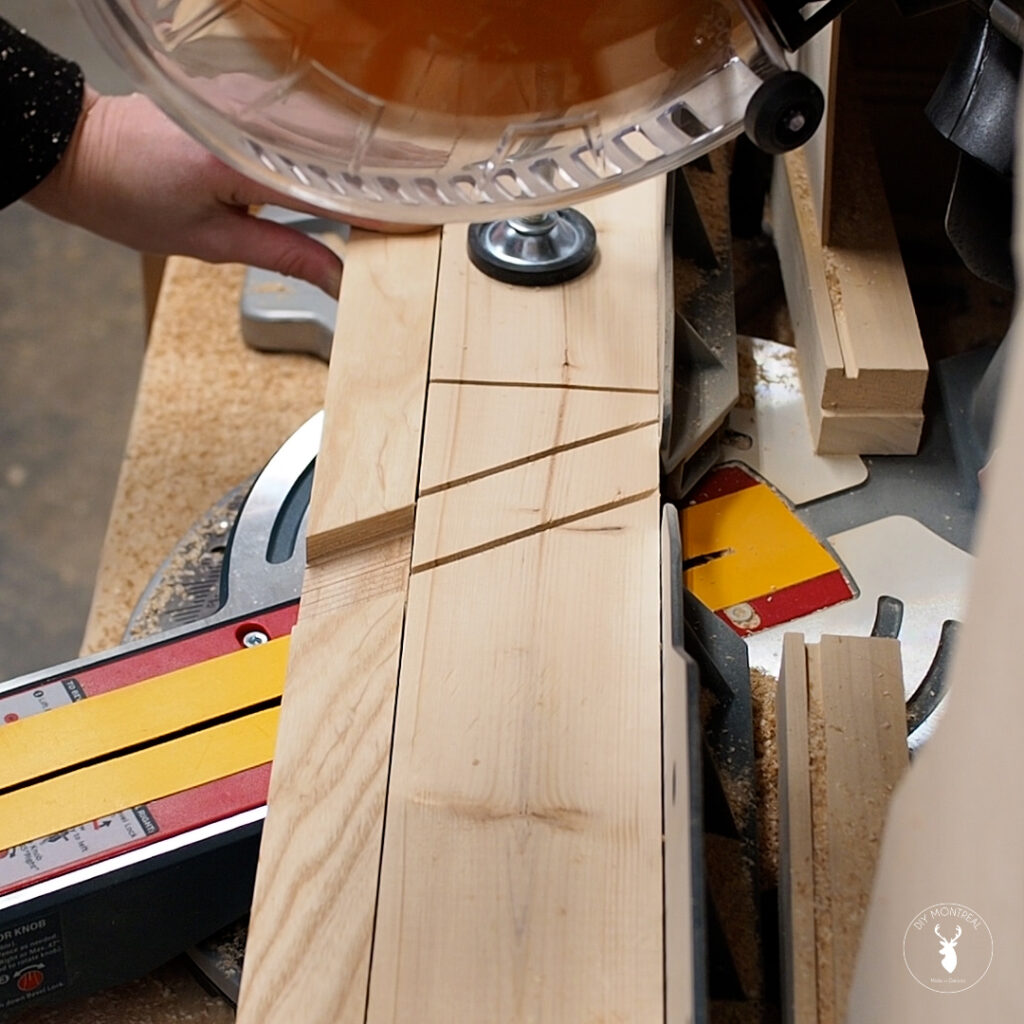
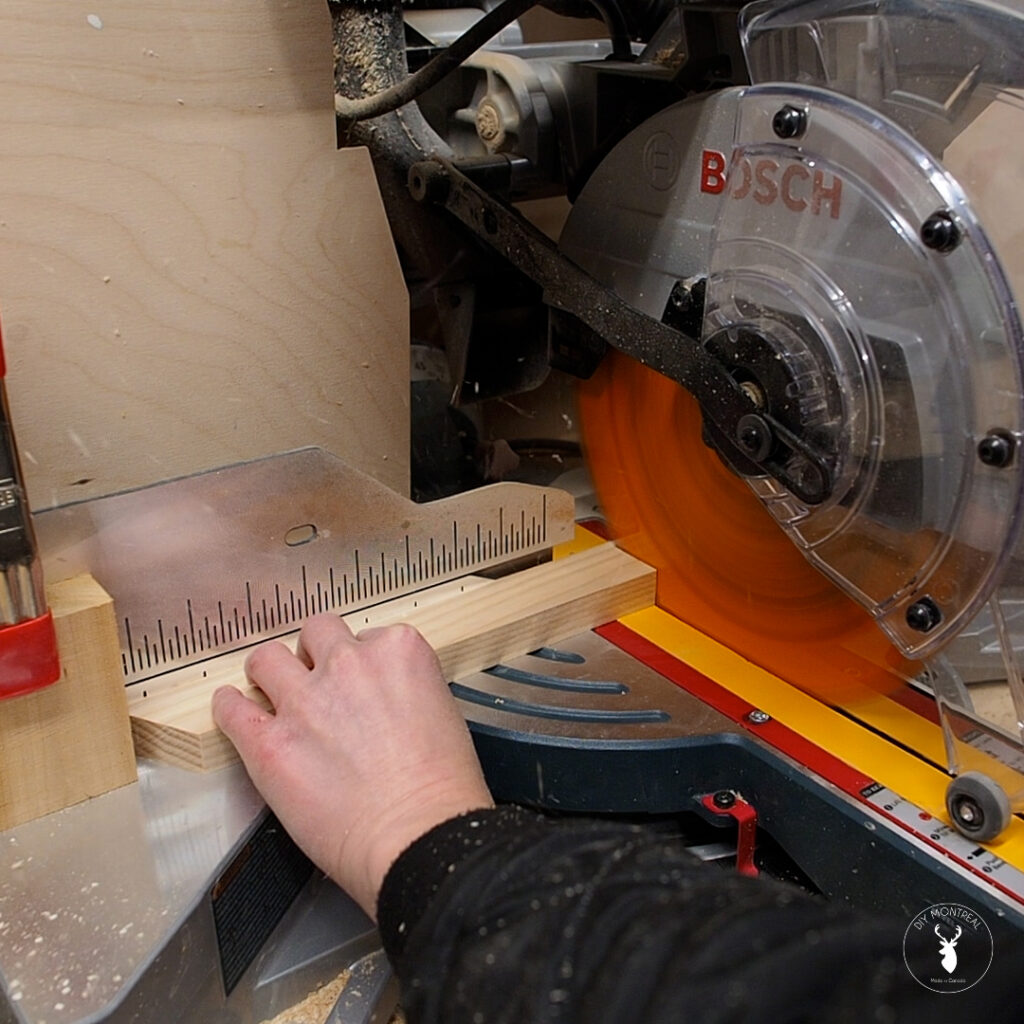
With the dados cut in the posts, I’ll cut the arms to size. Keeping the same 30 degree setting on the miter saw, I’ll first trim one end of the arms. Then use a stop block to cut them all to length.
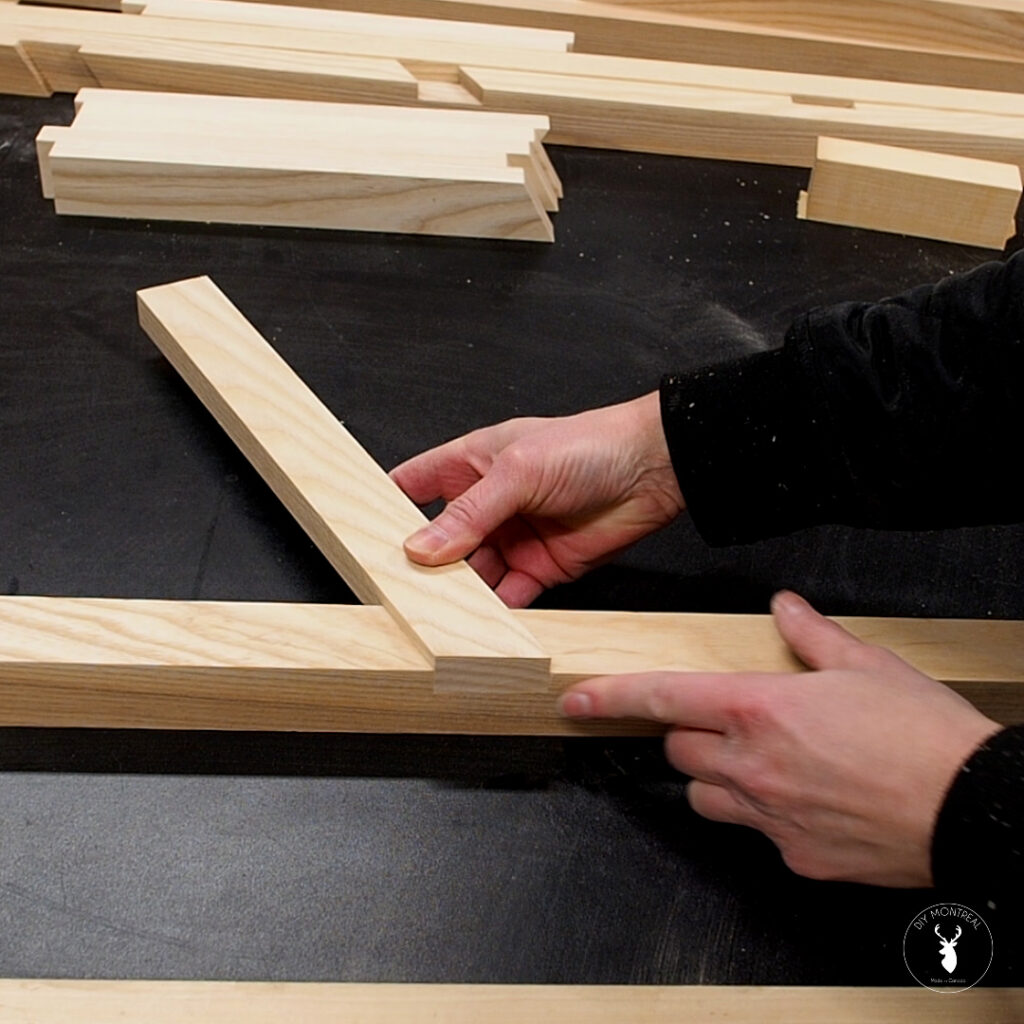
Before going any further, I’ll do a quick test fit to make sure the arms fit snugly into the angled lap joint.
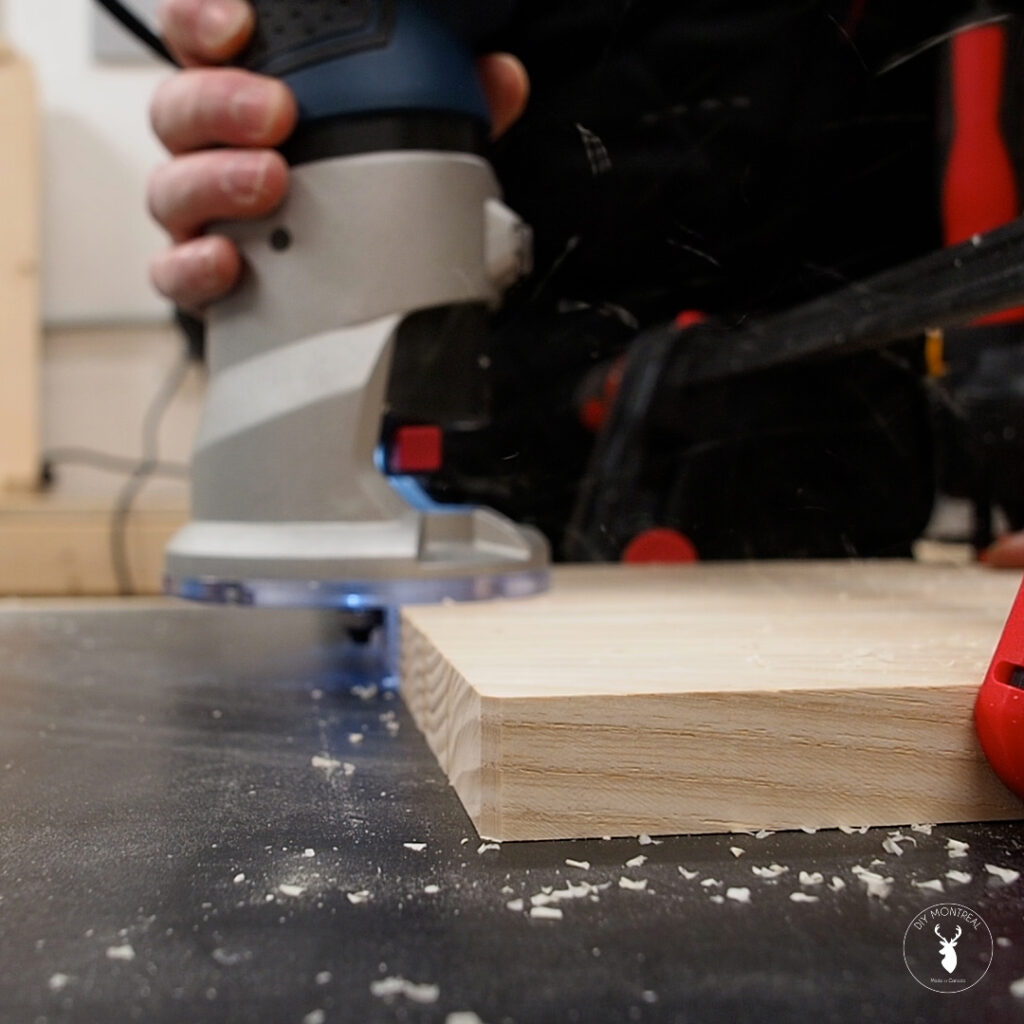
There’s one more thing I want to do here and that’s chamfer the top edges so they won’t catch or damage the stuff that will hang off this rack. To make this easier and help prevent tearout from my router, I’ll clamp them together and add a sacrificial board on the end. I’ll then run my router along the edge using a chamfer bit and repeat this on all four sides. I also decided to do the same thing to the top of the posts for a cleaner and consistent look.
Base
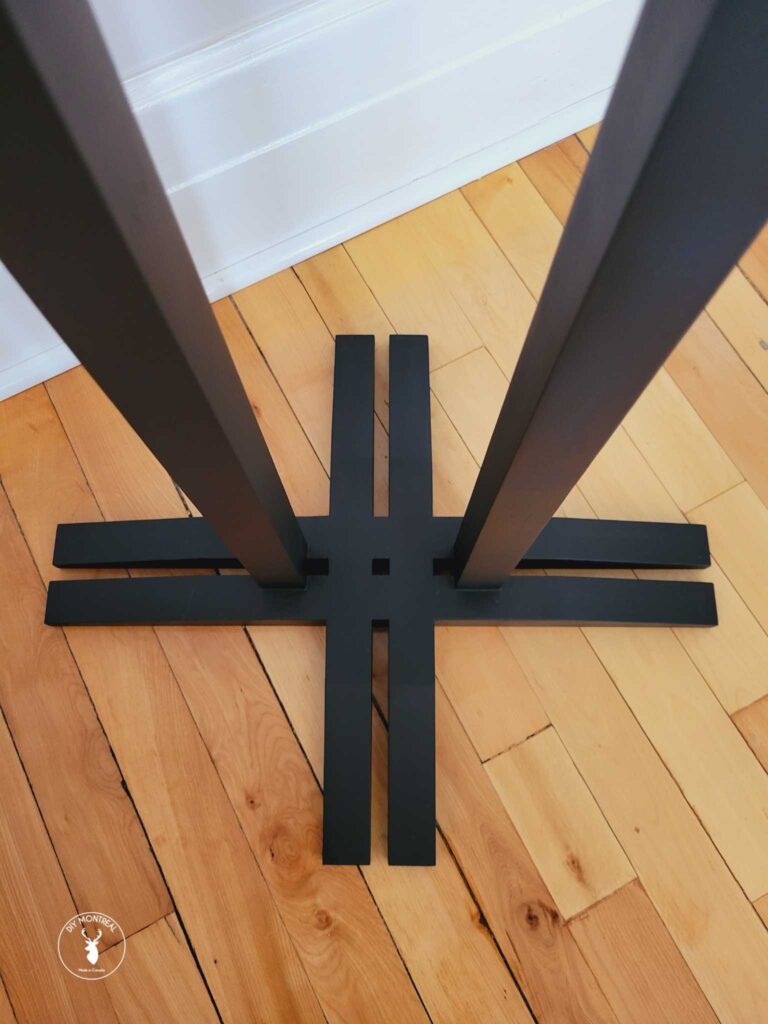
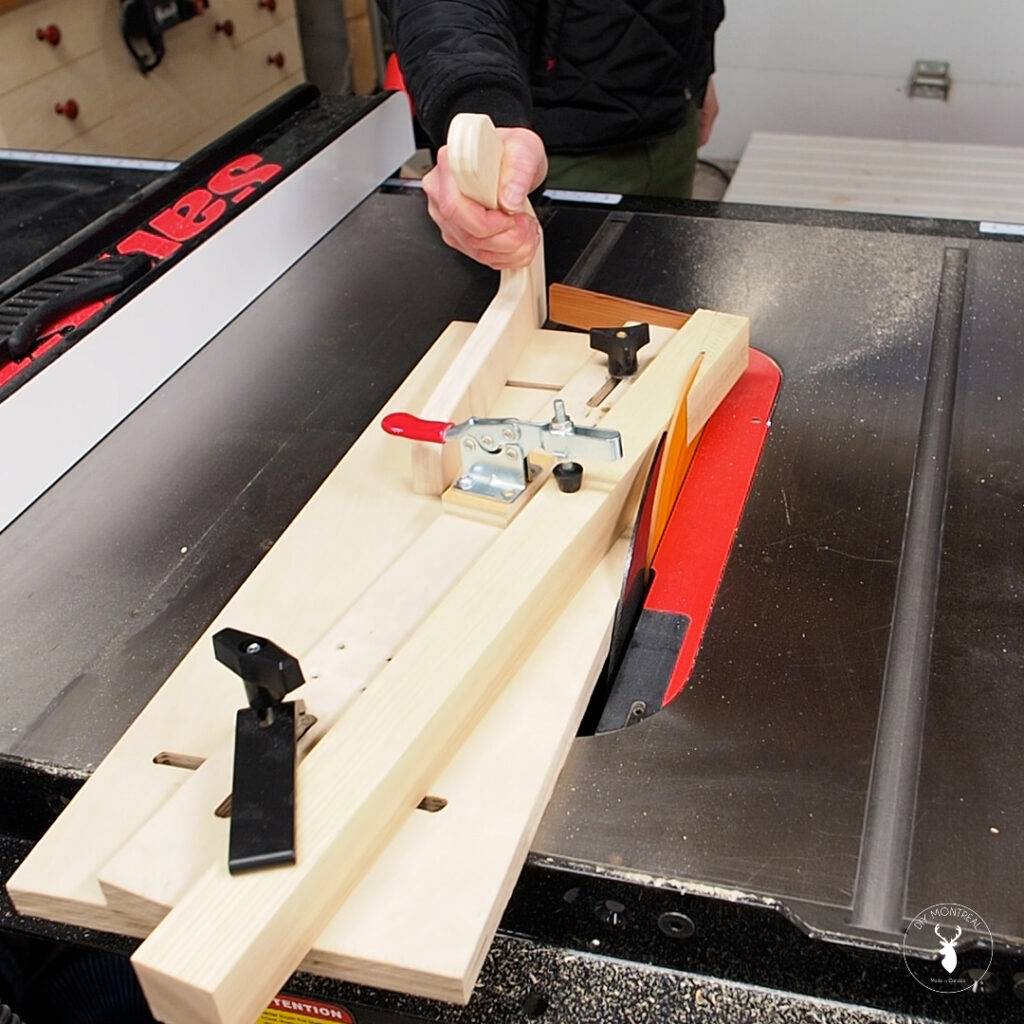
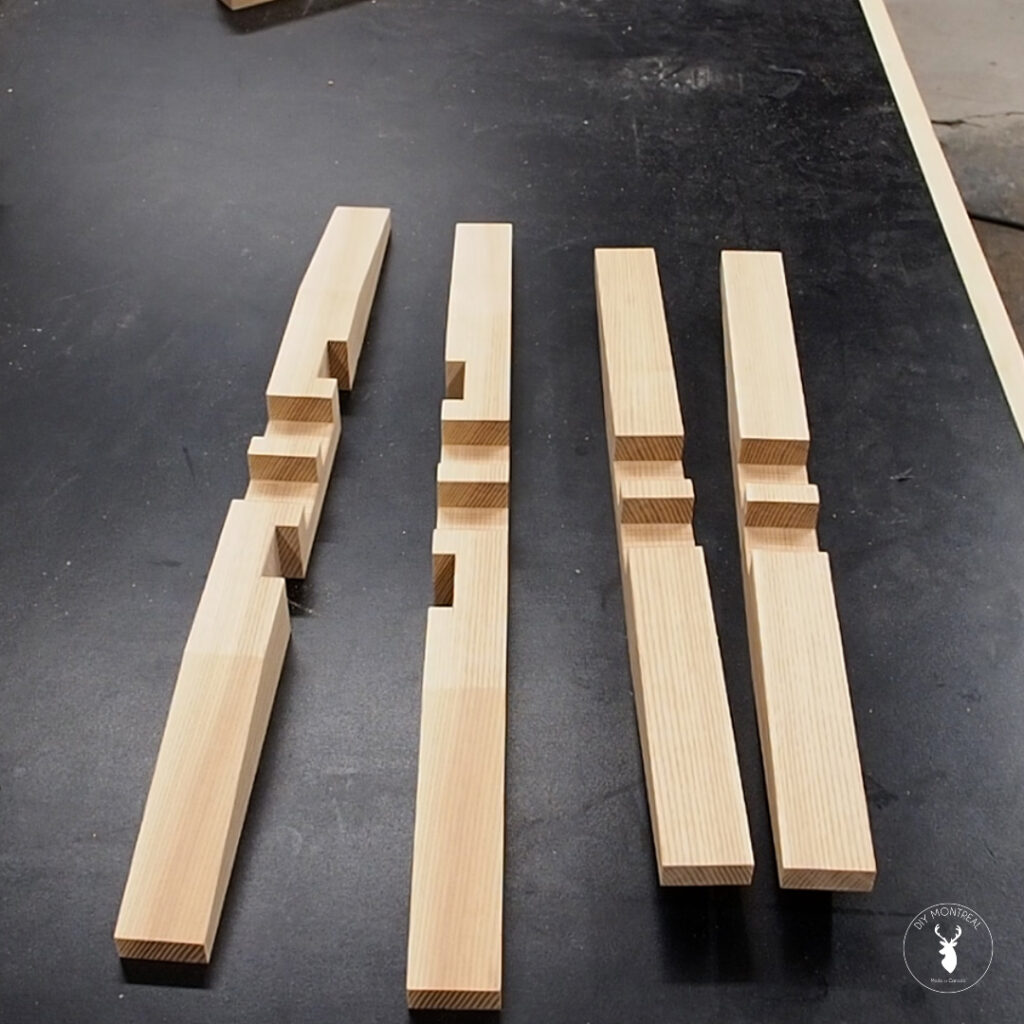
With the top part done it’s time to move on to the base which is made up of four interlocking pieces. Taking this step by step, I’ll start by tapering each piece using my homemade tapering jig.
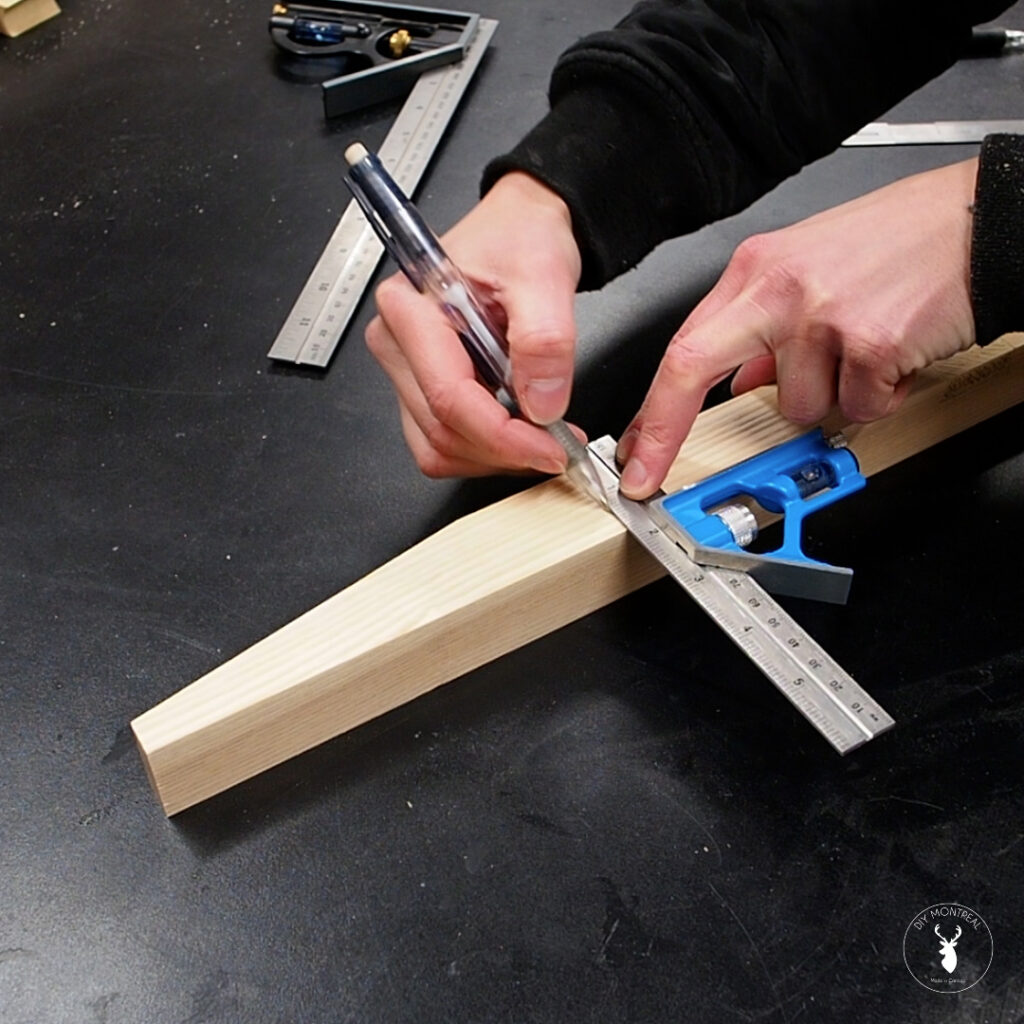
With the tapers cut, I can move on to cutting the notches for the posts. Similarly to before, I’ll measure one side and mark it with a combination square, then use one of the workpieces to mark the other side of the joint.
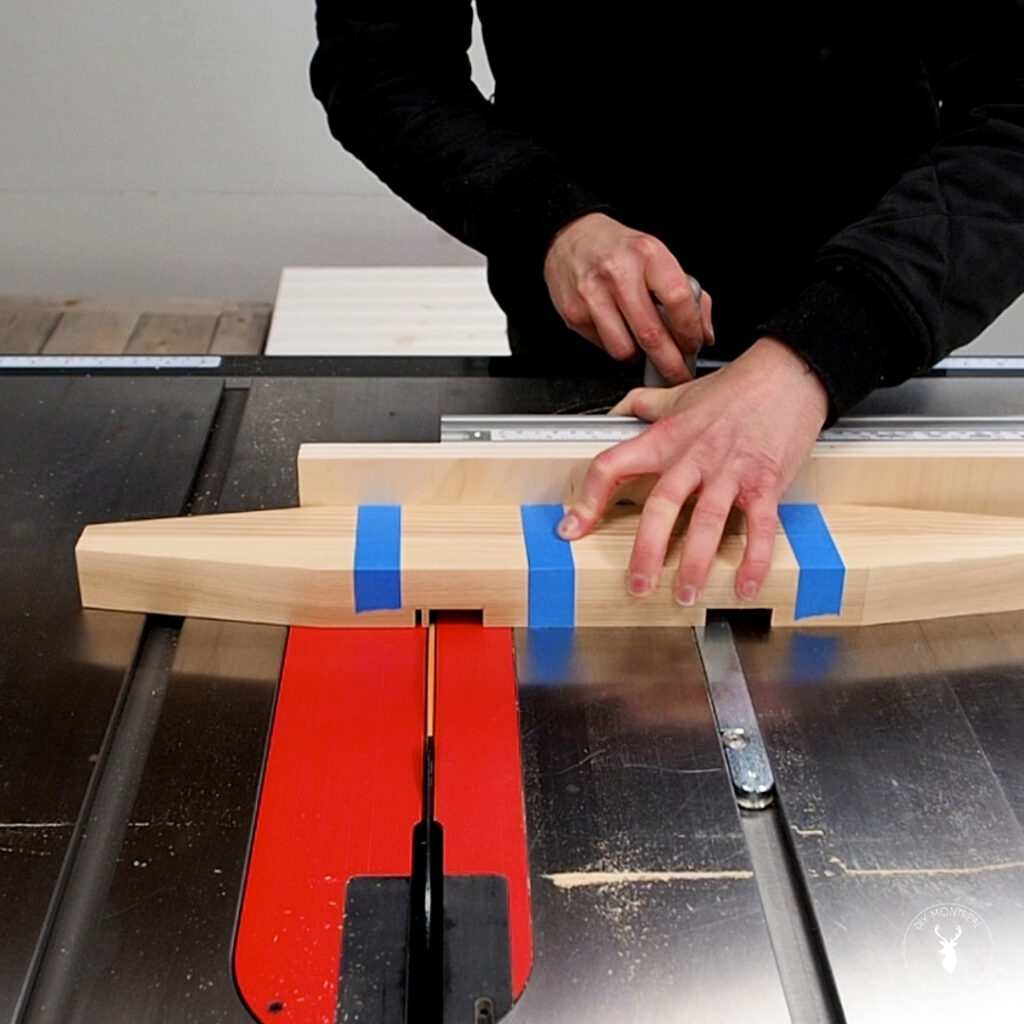
This time I’ll use my table saw to cut the lap joints. I’ll first set my blade height and lock it in. These notches go on the inside of each piece and need to be perfectly aligned. The easiest way to achieve this is to tape the pieces together and cut them both at once. It helps to use a miter gauge with a sacrificial fence attached for extra support.
After that, I’ll use the same method to cut the half lap joints each of the base pieces to create an interlocking joint. It’s important that the blade depth be exactly half the thickness of the stock. I show a way to easily dial this in in the YouTube video.
Assembly
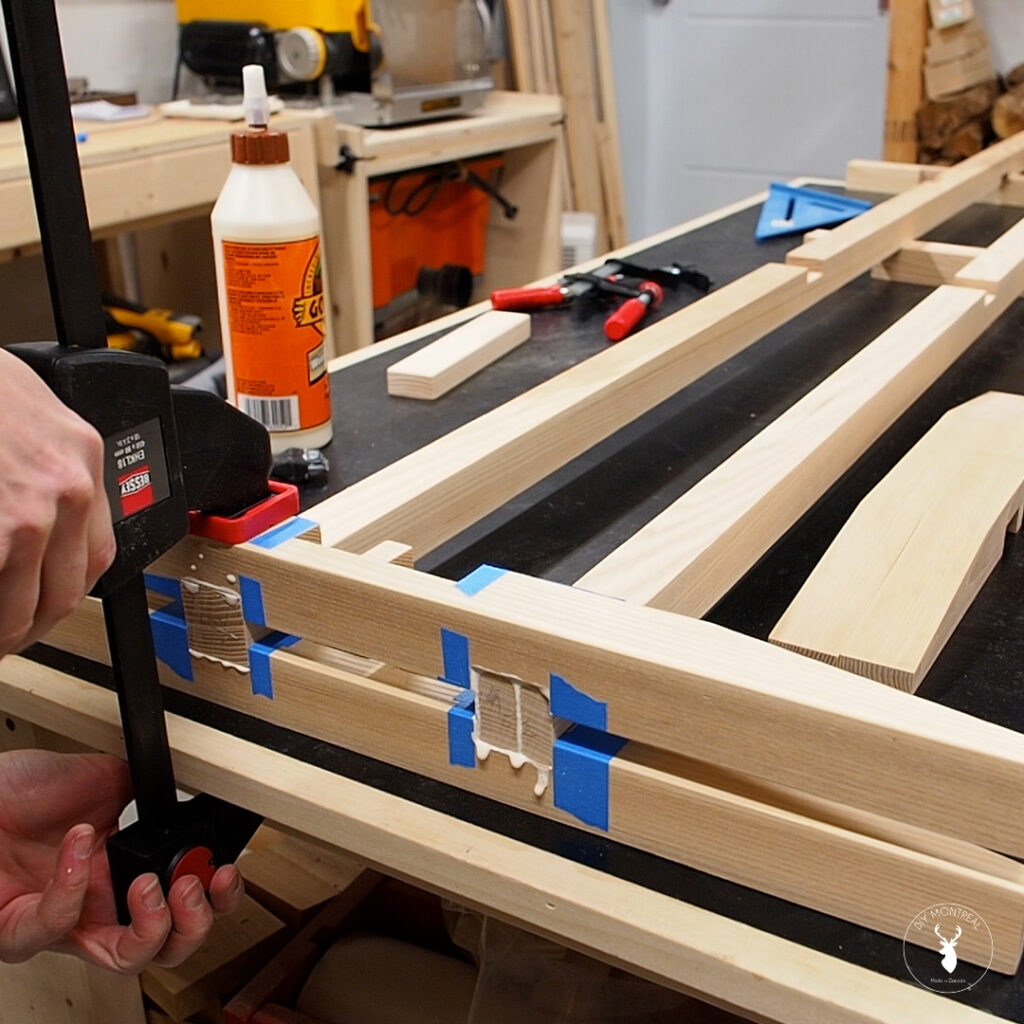
To assemble the coat rack, I decided to do the glue up in stages. I’ll start by gluing the posts to the base. As you can see, I used some painter’s tape to help manage squeeze out. Once that was dry, could glue and clamp the interlocking base. Finally, I’ll finish by securing each of the arms to the tree.
Finish
I’m going to give this coat rack a two-toned finish like this mid-century nightstand I made: Natural wood at the top combined with a black industrial look on the bottom. After sanding everything down, I’ll apply 2 coats of OSMO Polyx-oil to the top half. I love how easy this is to apply, just rub it on, then wipe it off. That’s it.
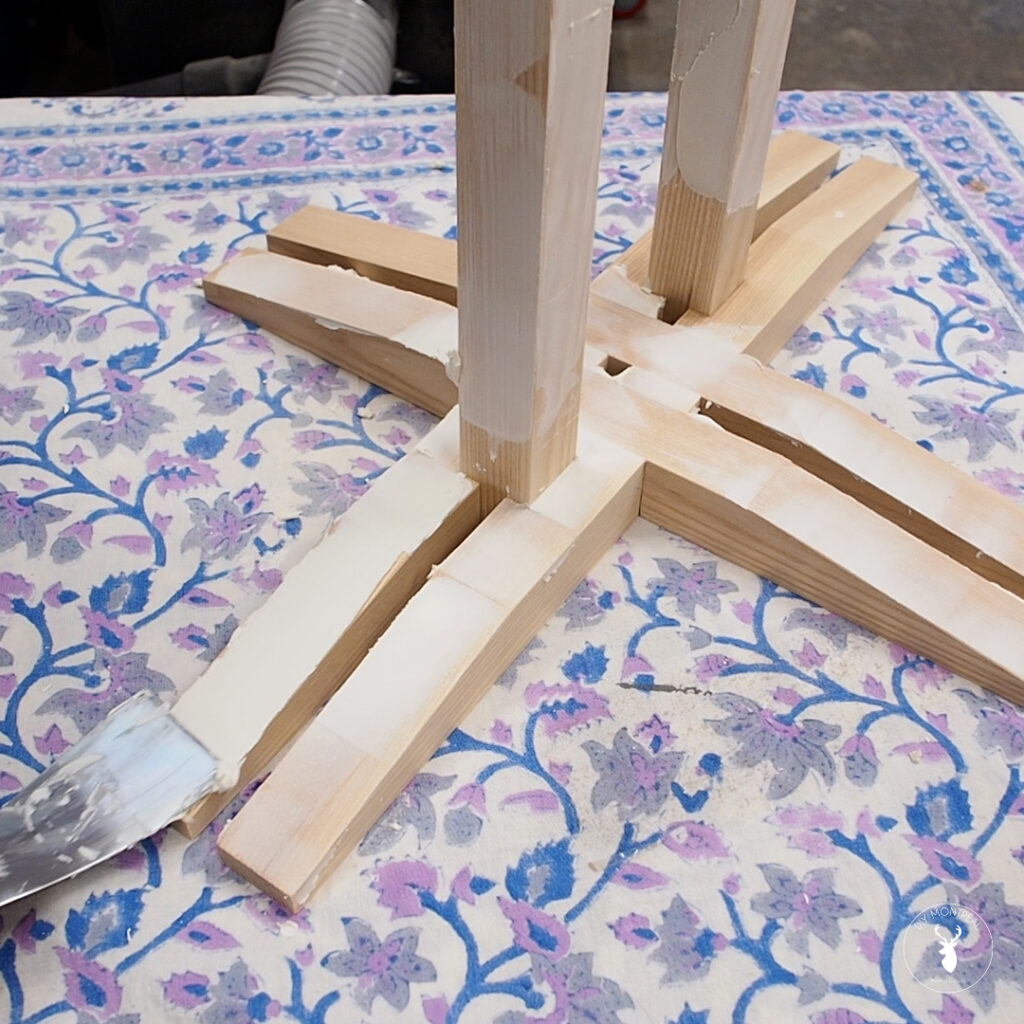
As for the bottom half, I want to paint it black, but more than that. I want it to look almost like metal without any visible joints or even visible wood grain. That’s why I’ll use DAP’s premium wood filler. It’s thin light texture is amazing as a grain filler. I’ll smooth it over the entire base and fill in any cracks. After it dries, I can sand it all down using 220-grit until everything is smooth and flat. I’ll then remove all the dust.
I can then apply a couple coats of spray primer. Once dry, I’ll give it a light sanding with 220-grit, and finish with 2 or 3 coats of flat black spray paint.
