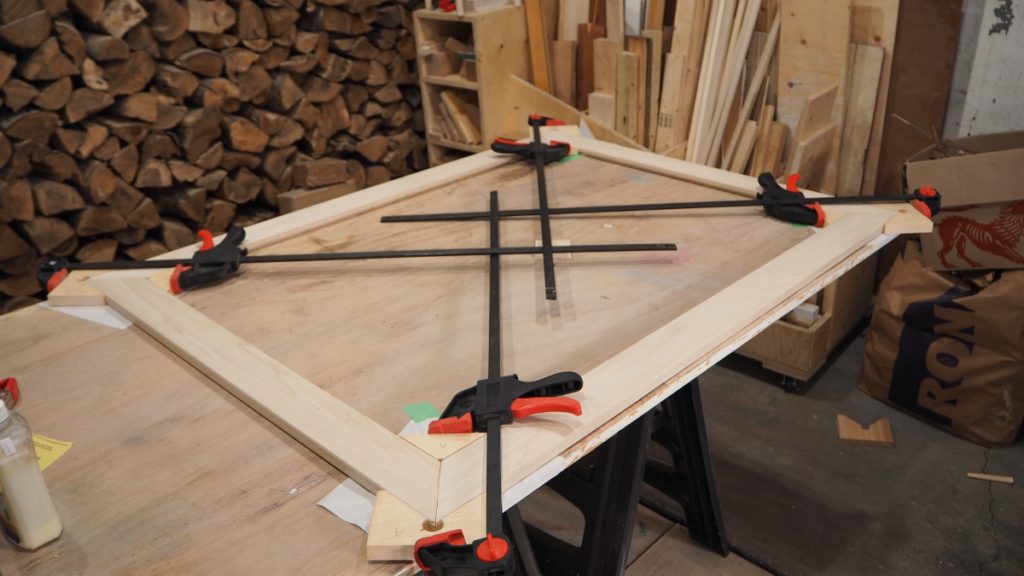
In my last build, I made a really large wood picture frame with splines and I thought I’d share how I made a super simple corner clamping jig to clamp and align the corners during the glue up process.
Watch the 2 minute video or read on!
Click here to SUBSCRIBE to my YouTube channel for more DIY videos!
Mark Your Cuts
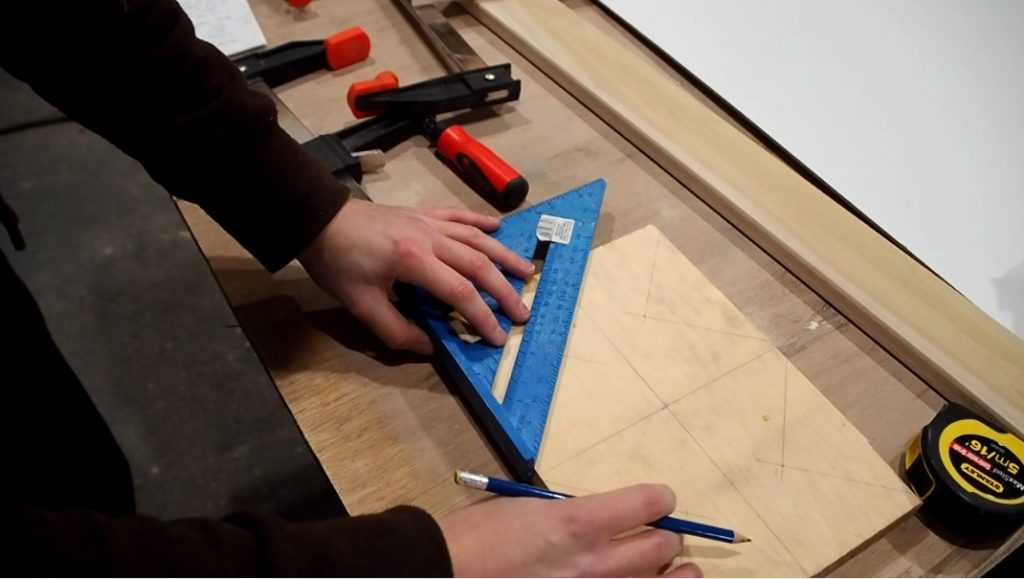
These corner clamps or extremely simple to make and even more easy to use. Start with a scrap piece of 3/4 inch thick wood (mine was about 10 x 7).
Mark the piece of wood so you have 4 equal squares.
Then within each square use your speed square to draw a triangle on the outside edge of the square.
Drill Relief Holes
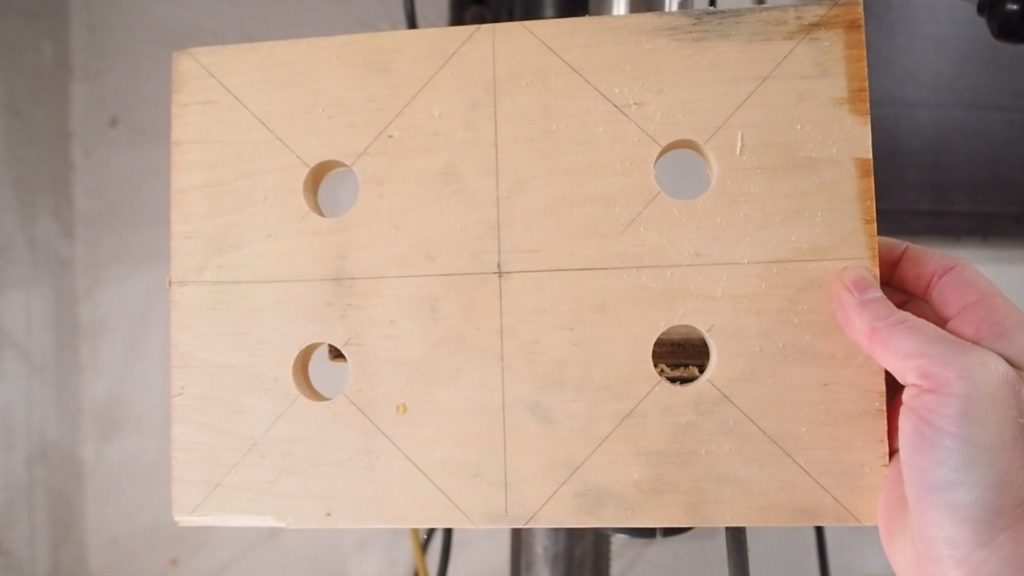
Where the triangles intersect, drill all the way through using either a Forstner bit or spade roughly 3/4 in diameter (it can be a bit bigger or smaller. The important thing is to make a hole all the way through.
These holes will serve as relief pockets and prevent the jig from interfering with the corners of the frame.
These holes will serve as relief pockets and prevent the jig from interfering with the corners of the frame.
Make the Cuts
Head over to your miter saw and set the blade to 45 degrees. It is very important that your 45 degree angle be accurate, otherwise the inaccuracy will carry over to your frame when clamping, and the whole frame will be out of alignment!
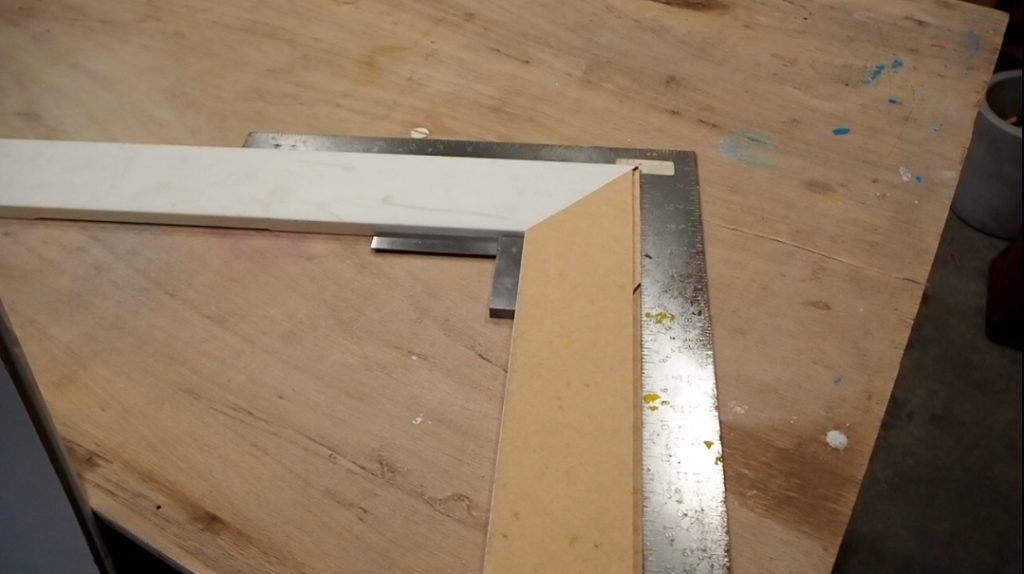
Tip: Use a scrap piece of wood and cut a miter. Butt the 2 ends of the cut together to form a 90 degree corner, and check it for accuracy using a carpenter square.
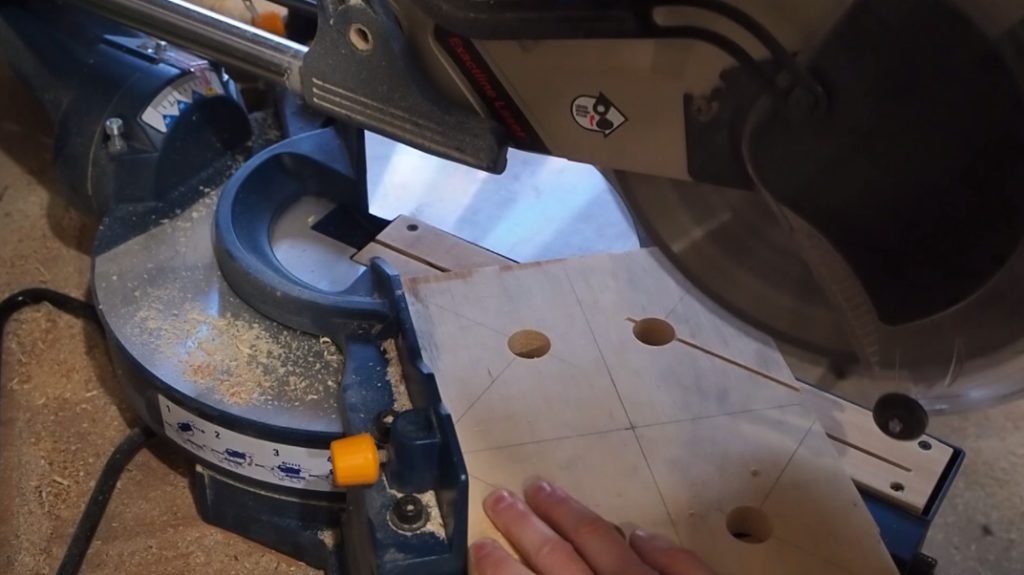
Cut along all the lines you traced, starting with the 45 degree cuts, then set your miter saw back to 90 degrees and make the remaining cuts.
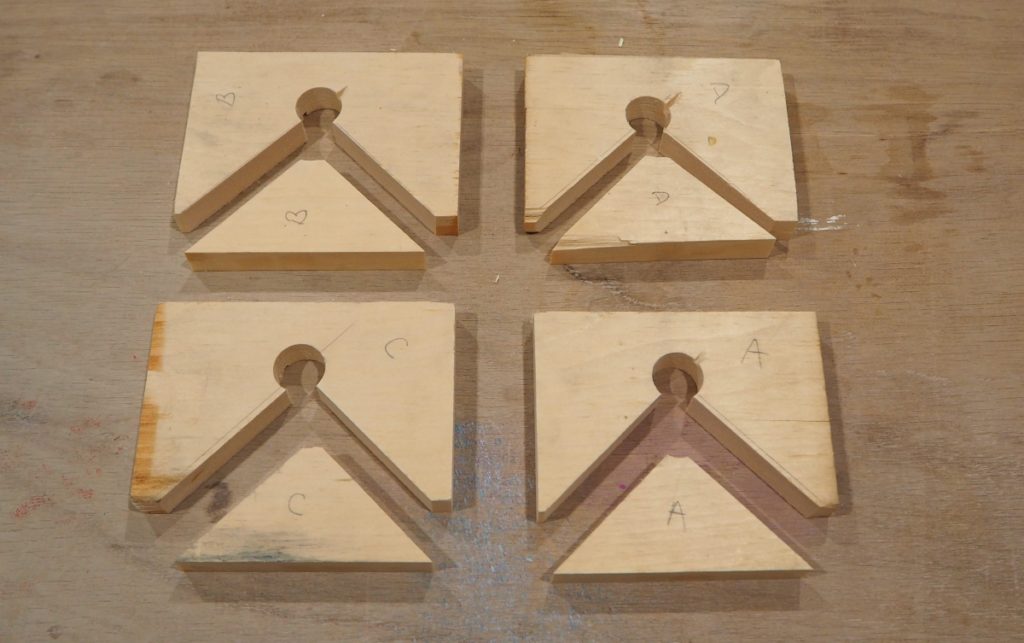
Using the Corner Clamping Jig
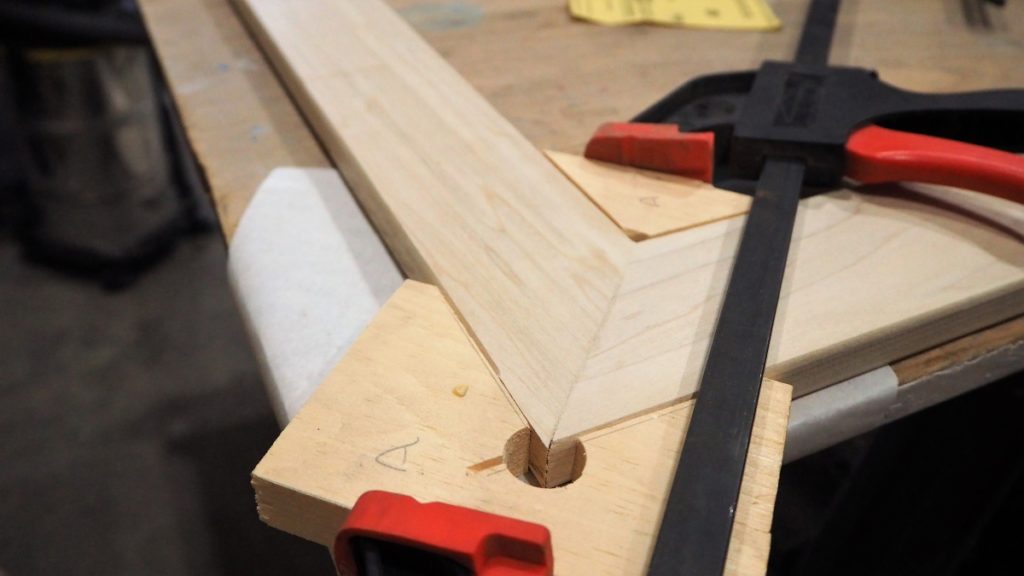
The corner clamp jigs are ready to use! Lay your frame on a flat surface and line up the corners. Gentle press the corner clamp jig into place and use a quick clamp to apply pressure. Don’t overdo it- excess force will force the frame out of alignment. Moderate pressure should be sufficient. Oh, did I mention you should add glue before clamping? 😉

