It’s official. I’m a dabbler. I do a bit of this and then a bit of that. It seems like one project idea just leads to another. I contemplated learning how to weld for a short while but somehow ended up learning how to use a sewing machine instead (thanks mom!). Go figure. But in the end, these awesome cutlery pouches made it all worthwhile. And now that I know how to sew, the possibilities are endless! That is, until I find a new trade to take on.
Burlap cutlery pouches
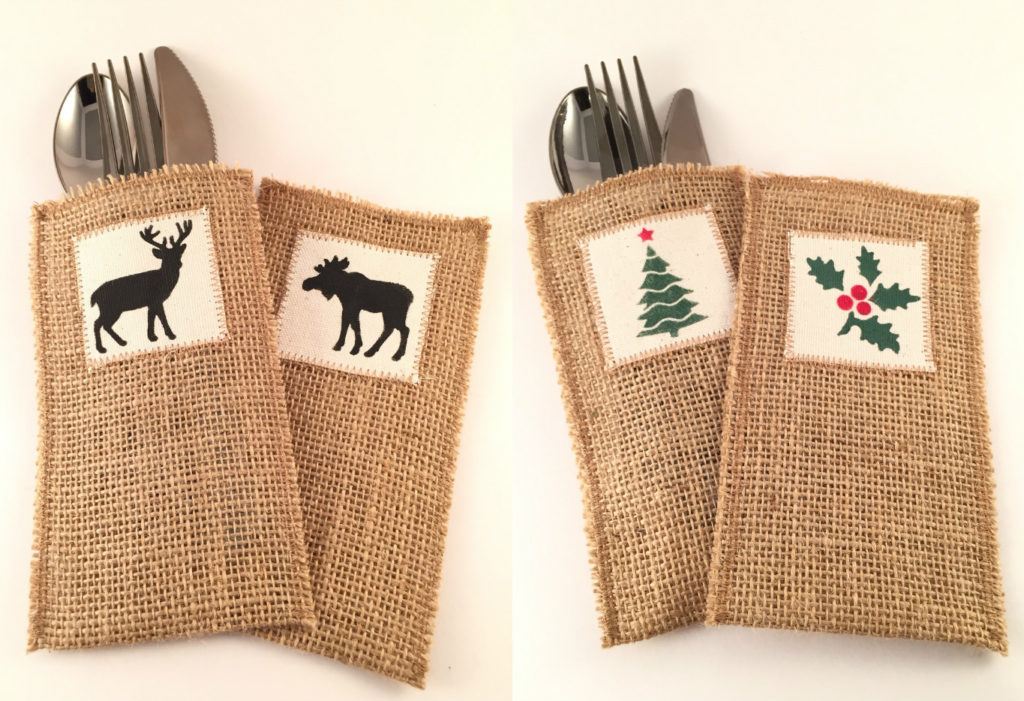
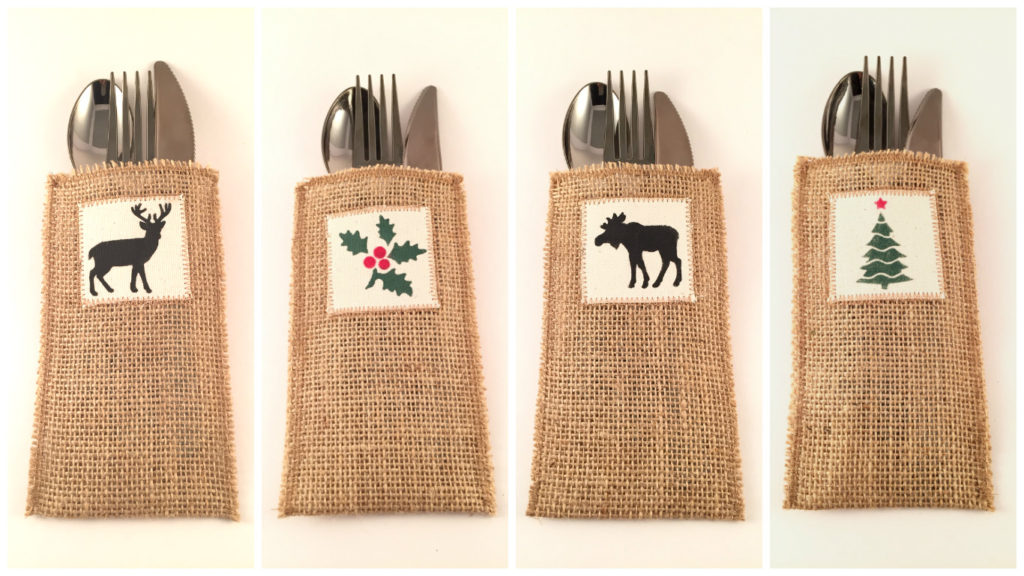
These cutlery pouches are perfect to add a touch of warmth to any dining occasion. They’re made from natural woven jute with a cotton canvas patch. Their rustic charm truly encompasses the authentic Canadian chalet experience. Whether it be a Deer or Moose for Thanksgiving or Trees and Holly for Christmas, there’s a pattern for every holiday and every other day of the year.
While they may look simple to make, the fabrication process has become a quite intricate! It involves painting, stenciling, ironing, sewing, hemming, and being really creative!
Gather your materials
- Burlap
- Cotton canvas
- Acrylic paint
- Stencils
Tools you’ll need
- Sewing machine
- Thread
- Scissors
- Stencil brushes or sponges
- Fabric adhesive
Start by cutting your materials to length. Cut the burlap to roughly 12 inches by 3.25 inches and the cotton canvas to 2 x 2 inches.

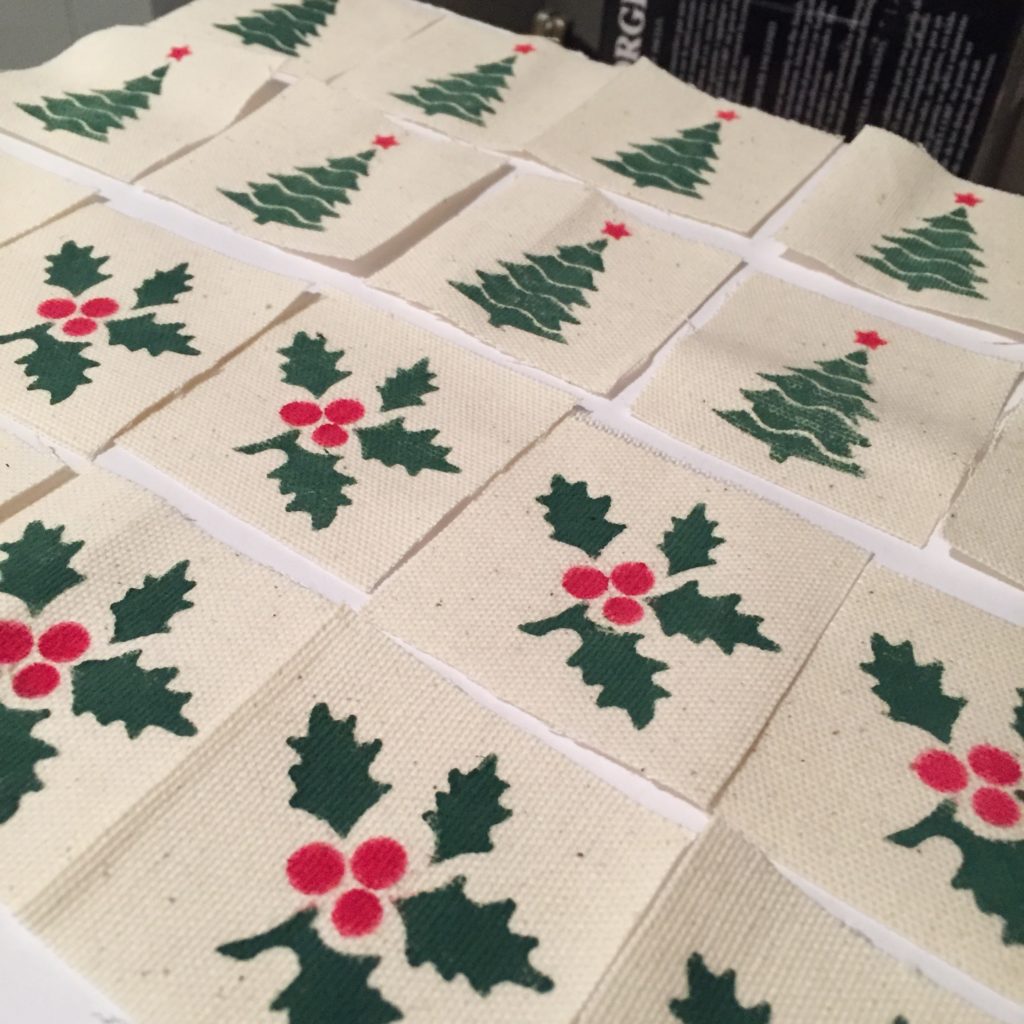
Next, apply your print to the canvas patch using your stencil, stencil brushes or sponges and acrylic paint. Let it dry.
Use a light amount of fabric adhesive to stick the canvas patch where you want it on the burlap.
Now head over to your sewing machine and thread it with some regular polyester thread. Sew on the canvas patch using a zig zag stitch. Fold the burlap in half and then sew the edges together to form the pouch, again using a zig zag stitch.
Finish off by cutting away any excess fabric and thread ends. You can create a set of 8 identical pouches or mix up the patterns to add some variety. Check out some of my collections for some inspiration!

