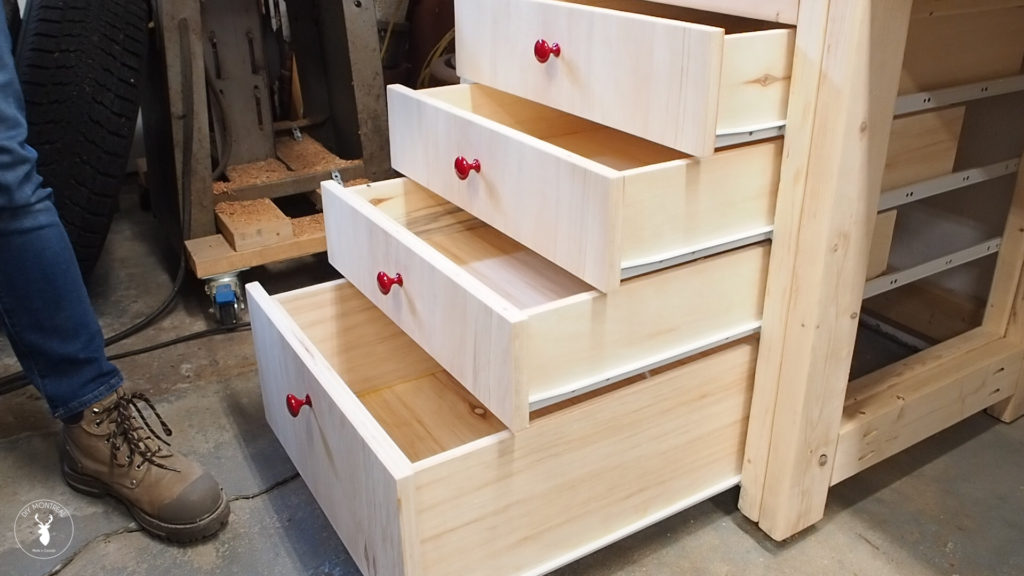
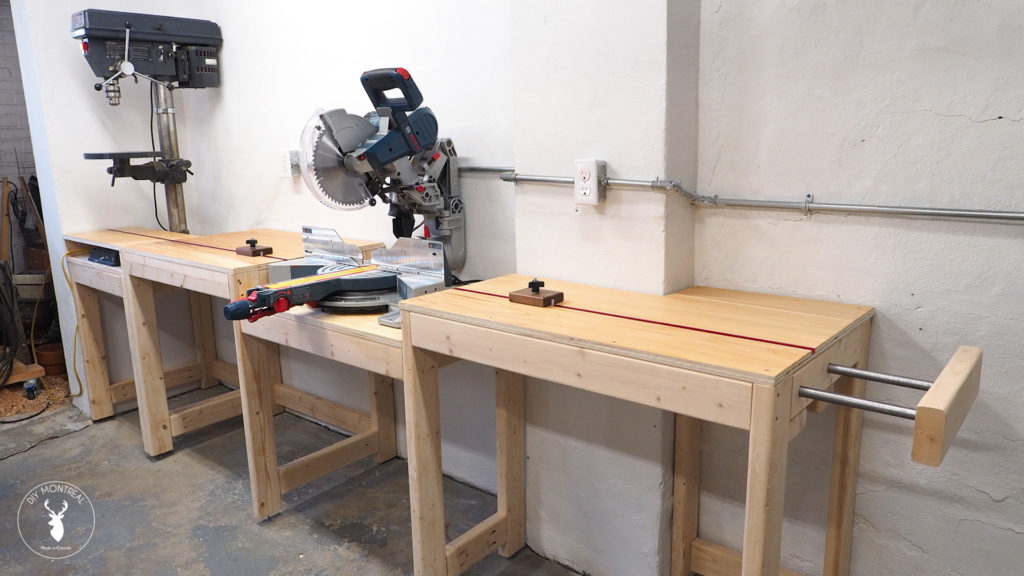
In one of my recent tutorials, I built this miter saw station out of 2x4s. I left the bottoms open with the intention of adding different storage options underneath and today I’m going to build a set of drawers under the drill press module so I can store all my bits and various accessories.
Tools and Materials
- 1/2 inch plywood
- Euro slides
- Drawer knobs
- Pocket screws
- Glue
- Brad nails
- Spray paint
Build drawer box
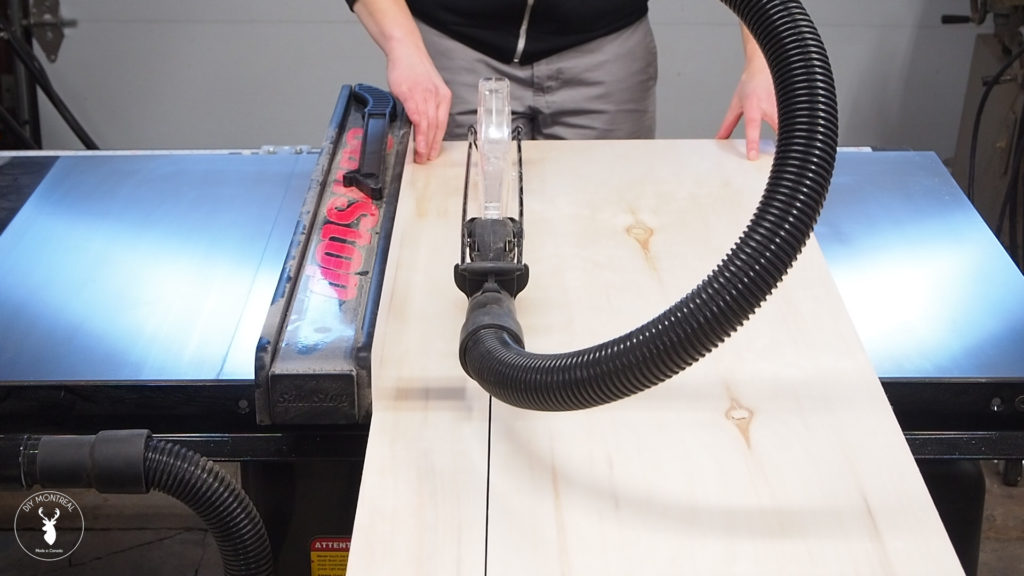
For this I’m using one full sheet of half inch plywood. As usual I had it cut down into manageable sizes at the store, and then made the final cuts in the shop. I’m going to make 3 shallow drawers (4 inch) and one deeper drawer (8 inch). So after ripping all my pieces to width, I moved over to my miter saw to cut them to length.
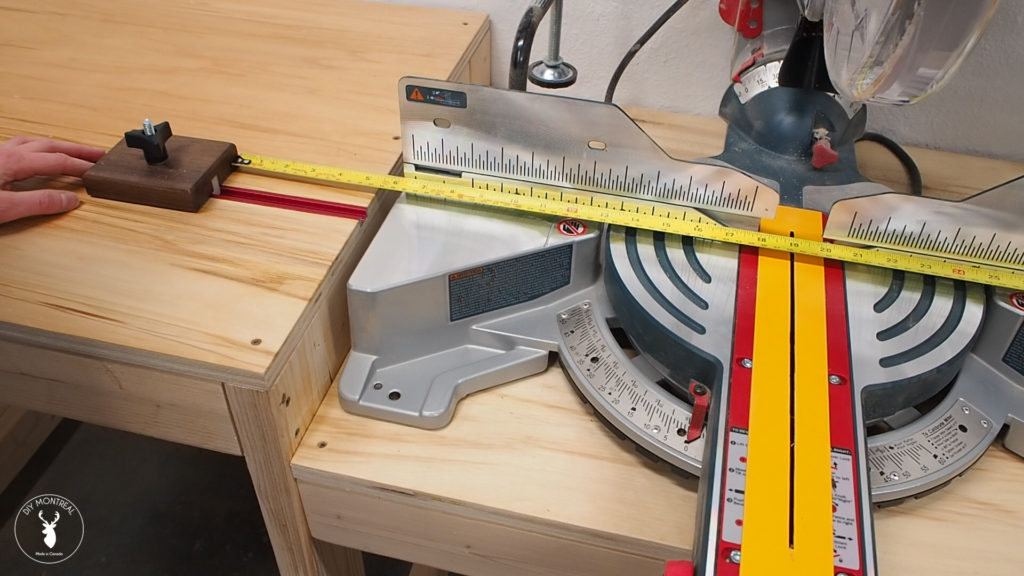
Now my miter station is 24 inches deep so I bought some 24 inch drawer slides. BUT, before going any further, let me point something out. Euro slides are metric. So the 600 mm slide is actually 23 5/8 inches. To avoid any confusion or errors, I’m going to use the metric system to build the drawers. For once! 🙂
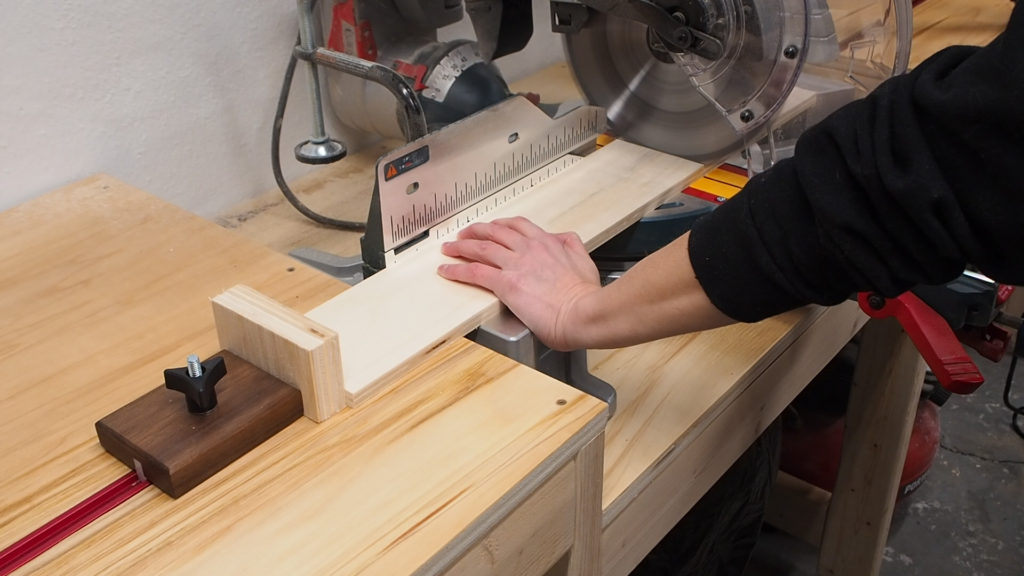
So since my slide a are 60 cm, I set my stop block to 60 cm and cut all the sides for my 4 drawer boxes without moving the stop block.
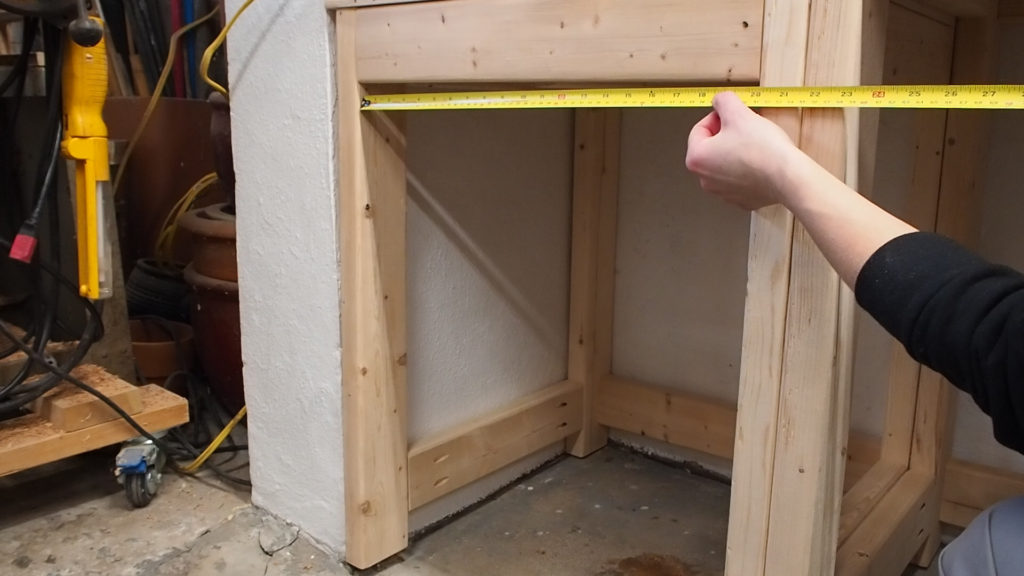
With all of the sides cut to length, I could move on the the front and back pieces. I started by measuring the width of the opening and used this method to figure out the exact length I would need to cut. Basically you take the width of your opening (50.8 cm in my case), minus the thickness of both slides (2 x 1.25 cm), minus twice the thickness of your plywood.
I set my stop block to 48.3 cm, (50.8 – 2.5 cm). Then to account for twice the width of the plywood, I simply used 2 offcuts that I placed up against my stop block. Because plywood thickness can vary, I find this method easier than doing the math and less prone to making errors.
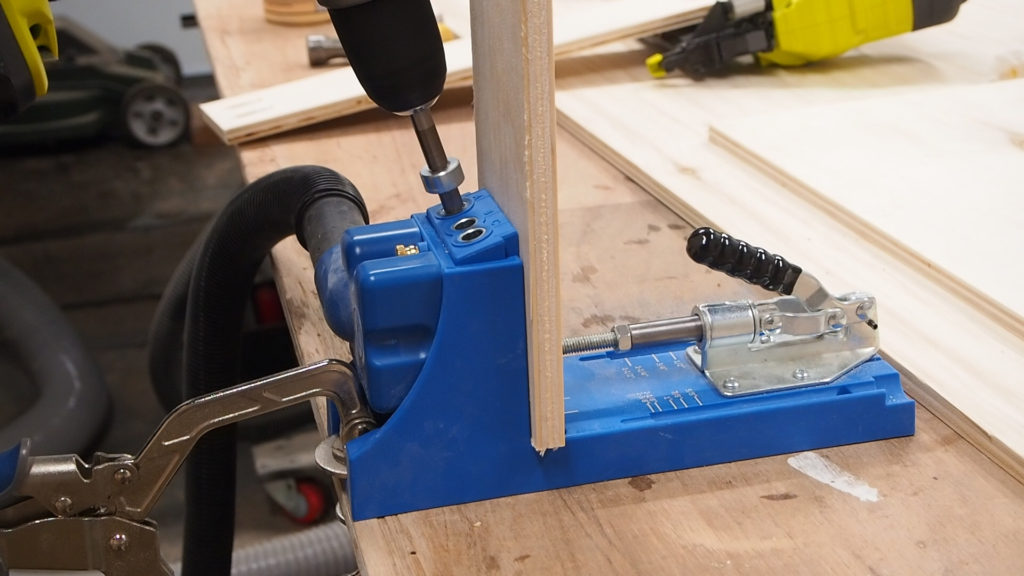
Oof okay, the hard part is out of the way and I can now move onto to making pocket holes to prep for assembly. I made pocket holes in all the front and back pieces using the half inch setting since I’m using half inch plywood.
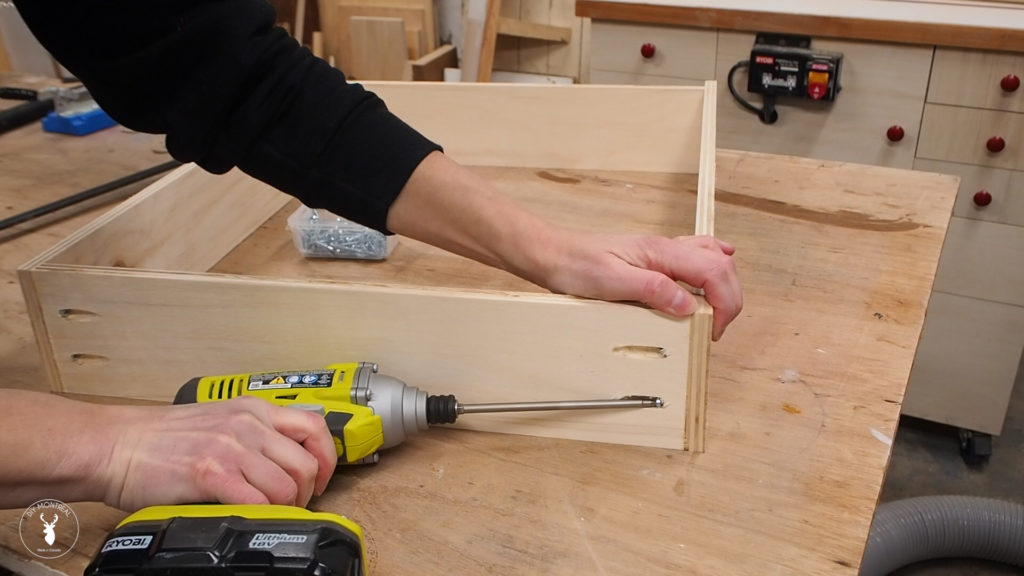
To assemble the drawer boxes I used some wood glue and 1 inch pocket screws. It helps to use a clamp to hold the boards in alignment during assembly, at least for the first screws.
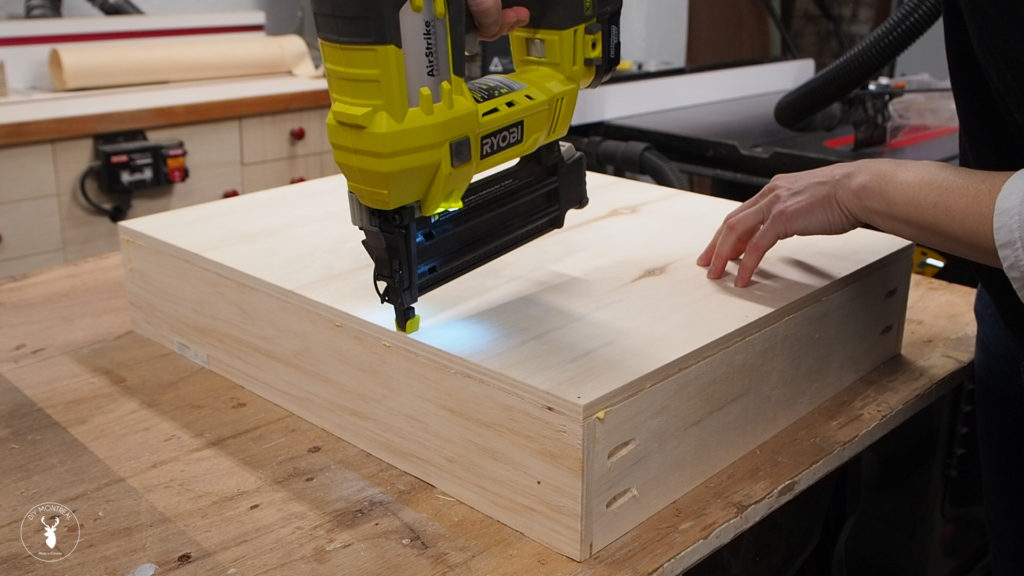
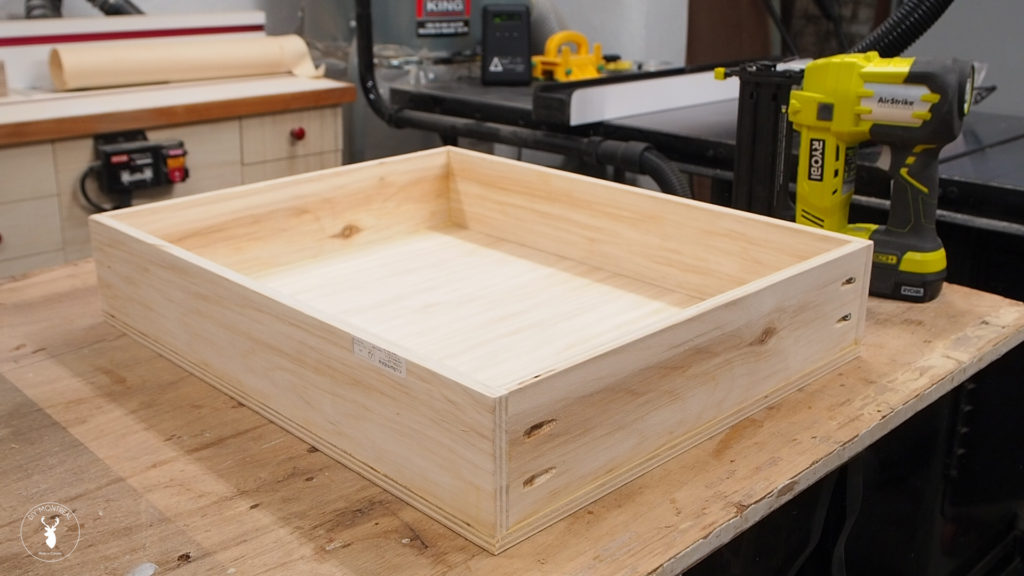
I repeated the very same process and the other side of the box, and was then ready to move onto the drawer bottom. I measured and cut a bottom panel to size, again using half inch plywood. I then secured the drawer bottom using glue and brad nails.
Install Euro slides
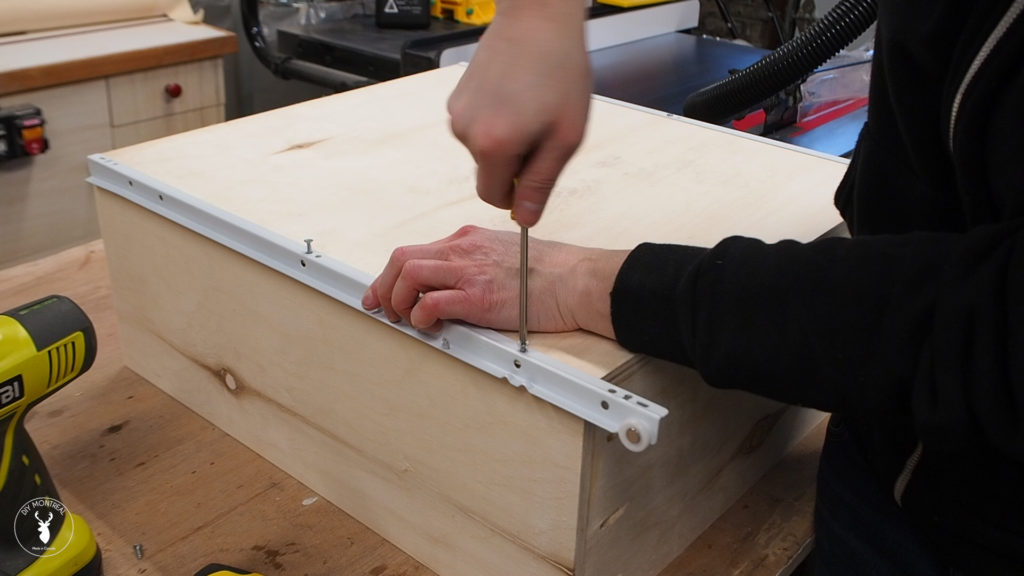
After wiping off the excess glue, it was time to move onto the drawer slides. I’m using Euro slides for the first time. I’ve used ball bearing slides for bigger drawers in the past, but I decided to try these out to save on costs a little, and really just to try them out.
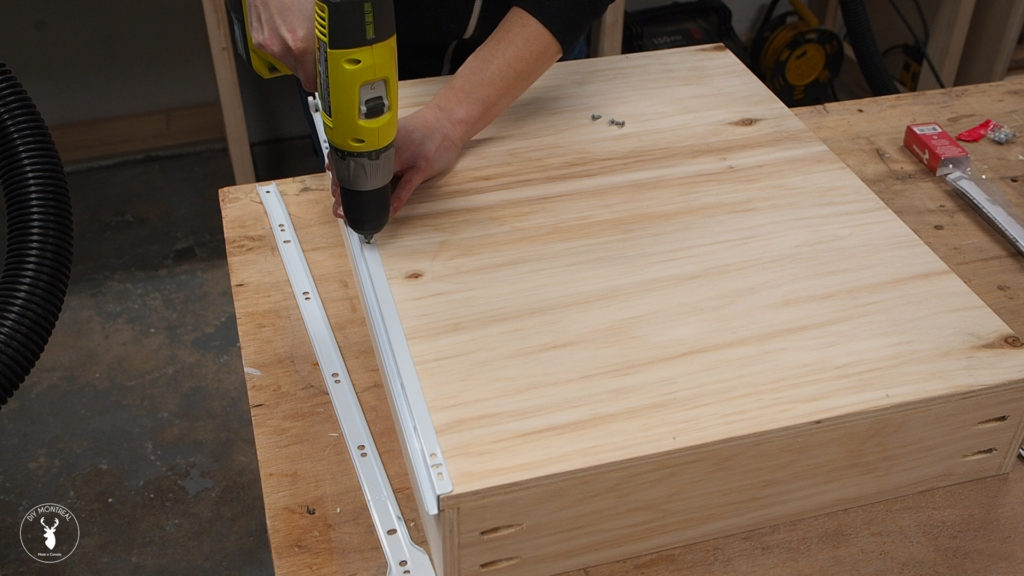
Installation on the drawer boxes is pretty simple. You just place the slide on the bottom edge of the drawer and attach it with the provided screws. Installation on the cabinet was not as easy, but we’ll get to that next.
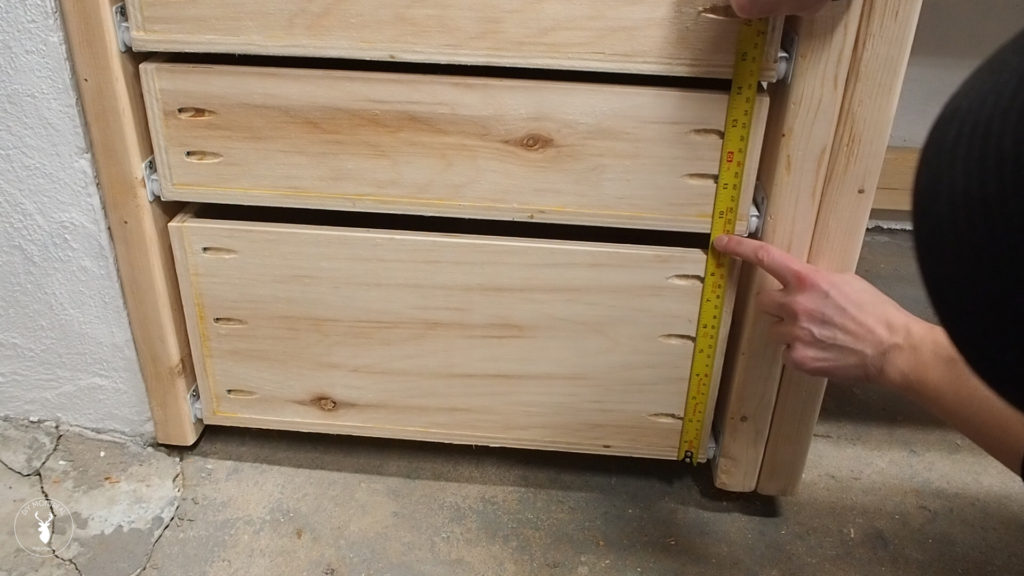
I’ve already attached top slides as you can see. Now since my total drawer height is 4 -½ inches including the bottom, I measured down 5 inches to allow for enough clearance with the drawer above.
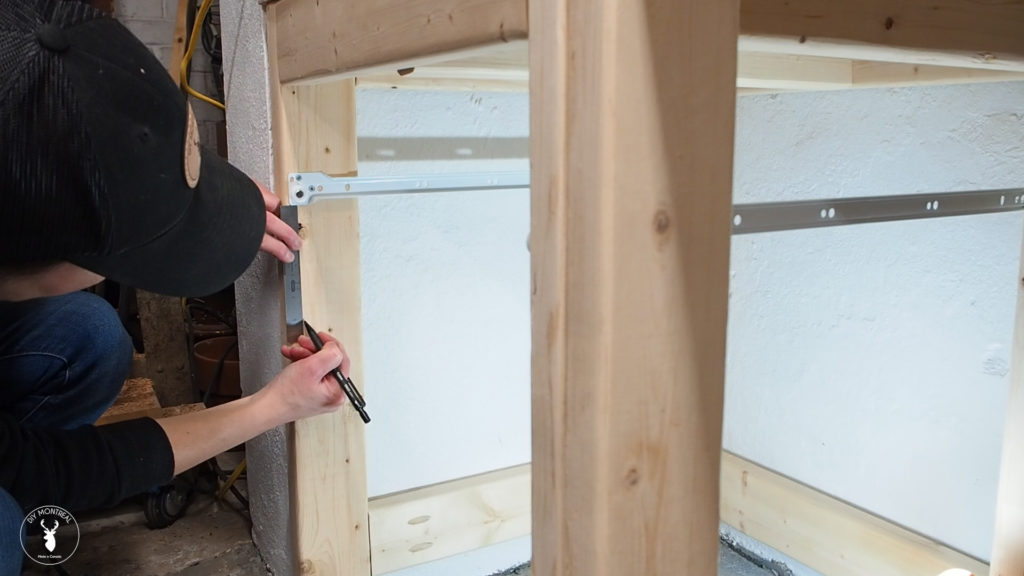
After making a mark, I simply lined up the bottom of the slide with the marking and used a sharpie to mark out the pilot holes I’ll need to make. For the back end, I used a magnetic level to make sure the slide was level and marked out the pilot hole.
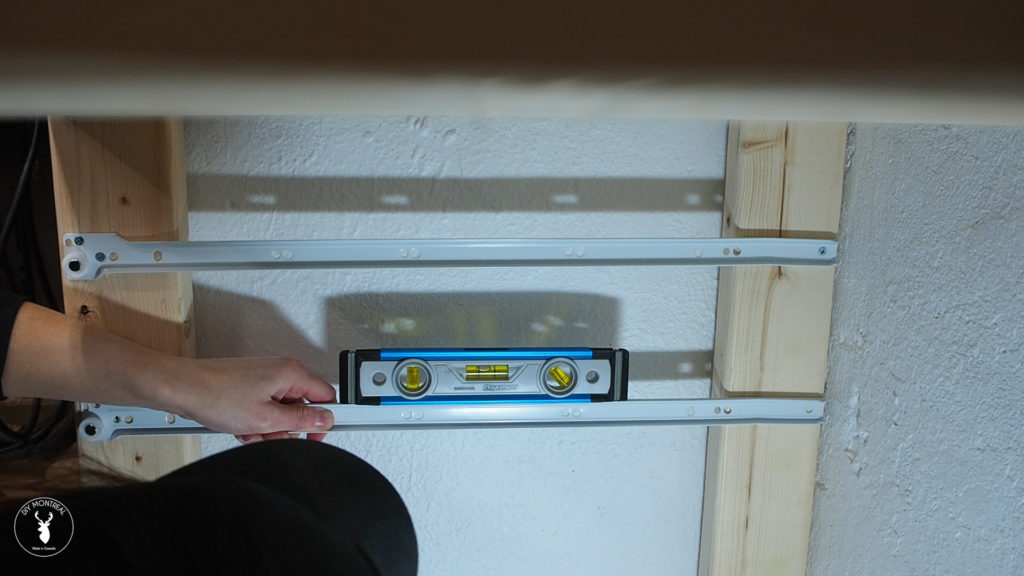
I made the pilot holes and then loosely attached the front screw and the back one, then checked for level again before fully tightening the screws. I repeated the same process on the other side and was then finally ready to install the drawer. And I was happy to see that everything fit just as planned.
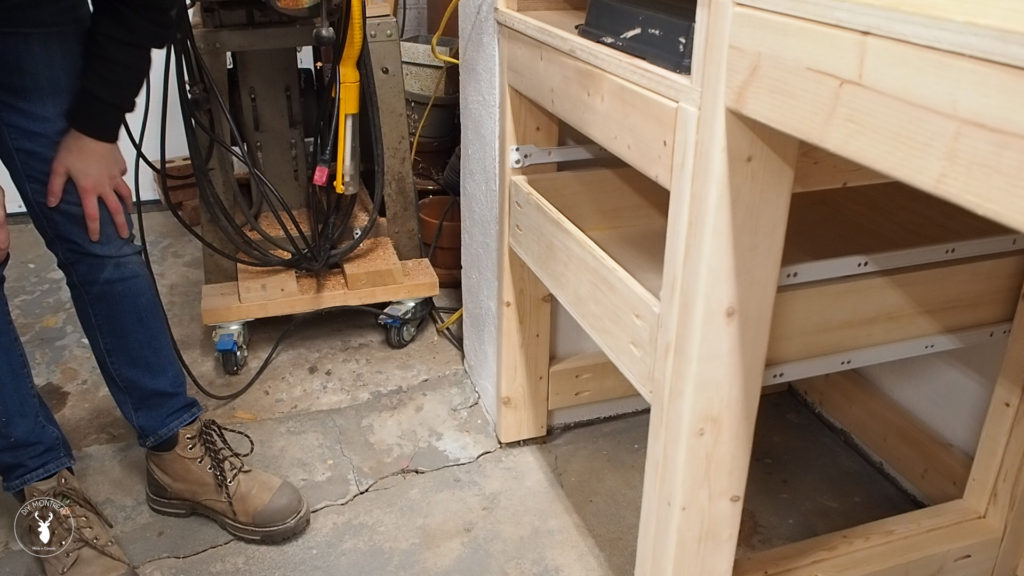
When I reached the bottom drawer, I noticed I would have an issue with that rear 2×4 cross support being in the way. It won’t be a problem for the slide itself, since I can install it just below the 2×4, but I’ll need to make the drawer box shallower. After a quick measure, I trimmed down the side pieces I had previously cut and assembled the box just as before.
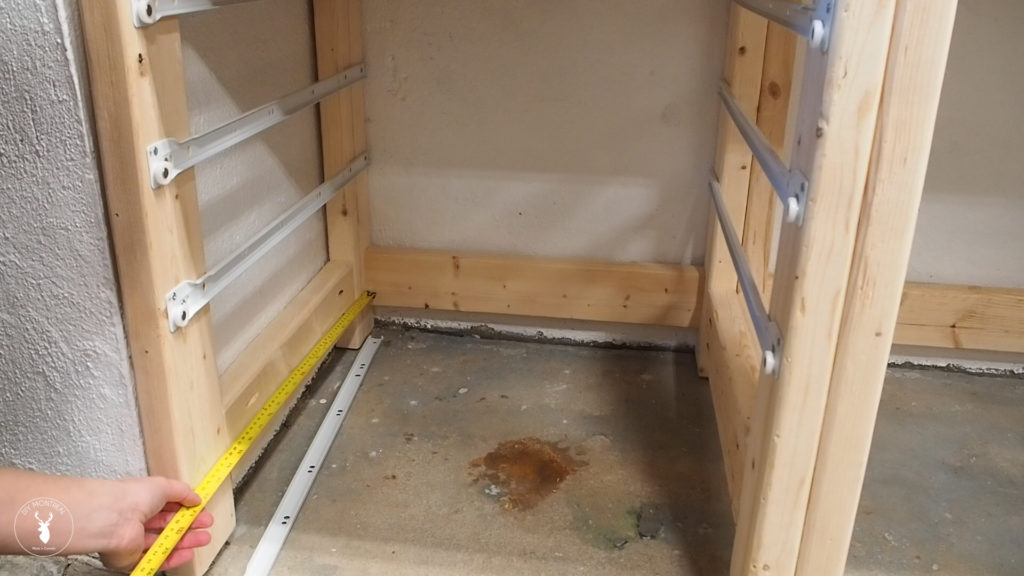
When installing the slides, just remember that the part with the wheel needs to stick out since this will be the back side of the drawer. After installing the slides, I could do a test fit to make sure everything fit nicely.
Add drawer fronts
Alright, with all my drawer boxes made I can move onto to making the drawer fronts. My opening is 20 inches, so I’m going to allow for a half inch overhang on each side and make the fronts 21 inches. I started with the bottom drawer and measured the height so it would sit just below the drawer above without interfering.
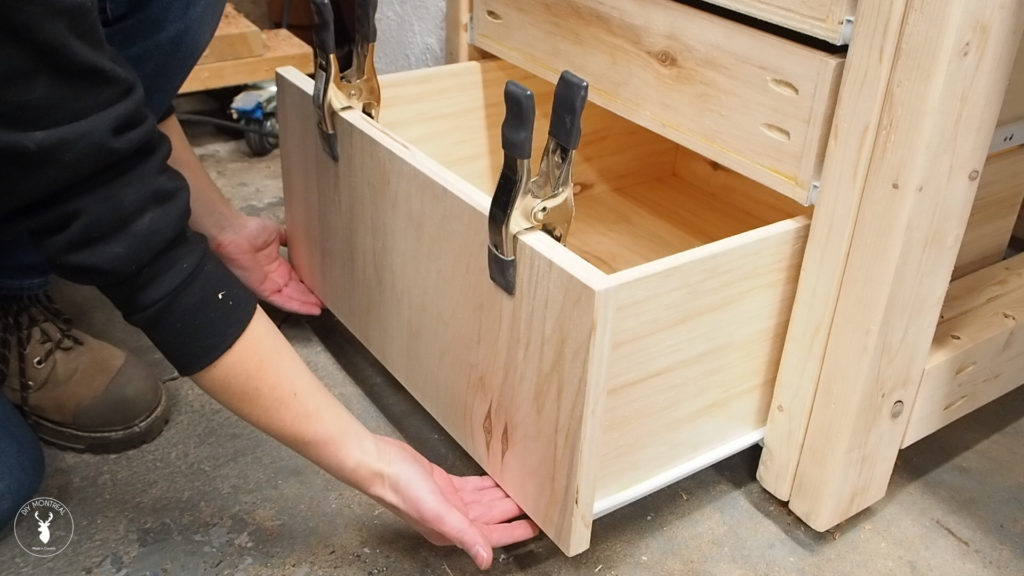
I cut the fronts out of ¾ inch plywood and used some spring clamps to hold the front in place and adjusted it until it was centered and the bottom was flush with the drawer box, and finally, I checked for level just to be sure.
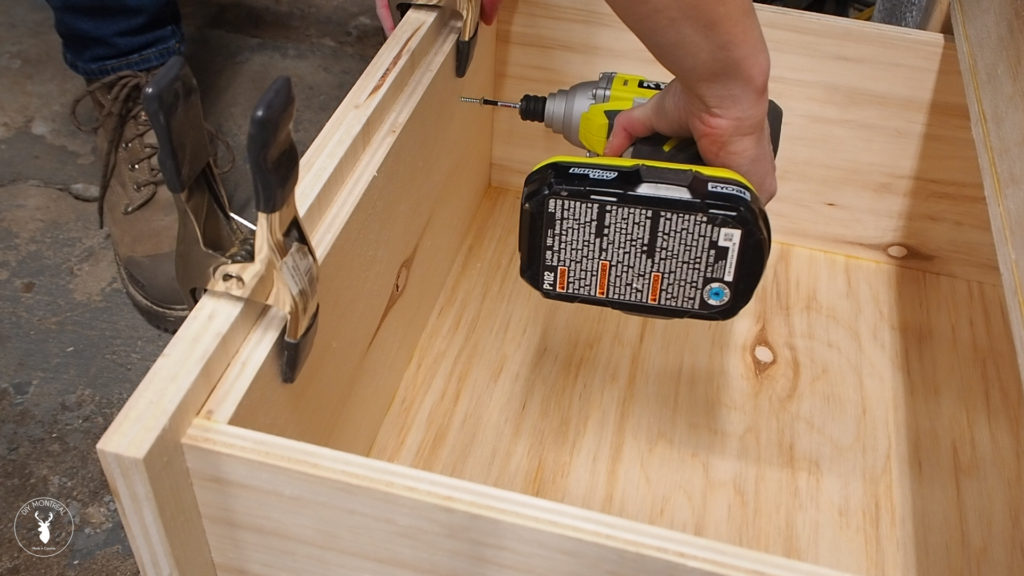
Once I was happy with it, I drilled some shallow pilot holes making sure not to go all the way through and secured the drawer front with some screws from inside.
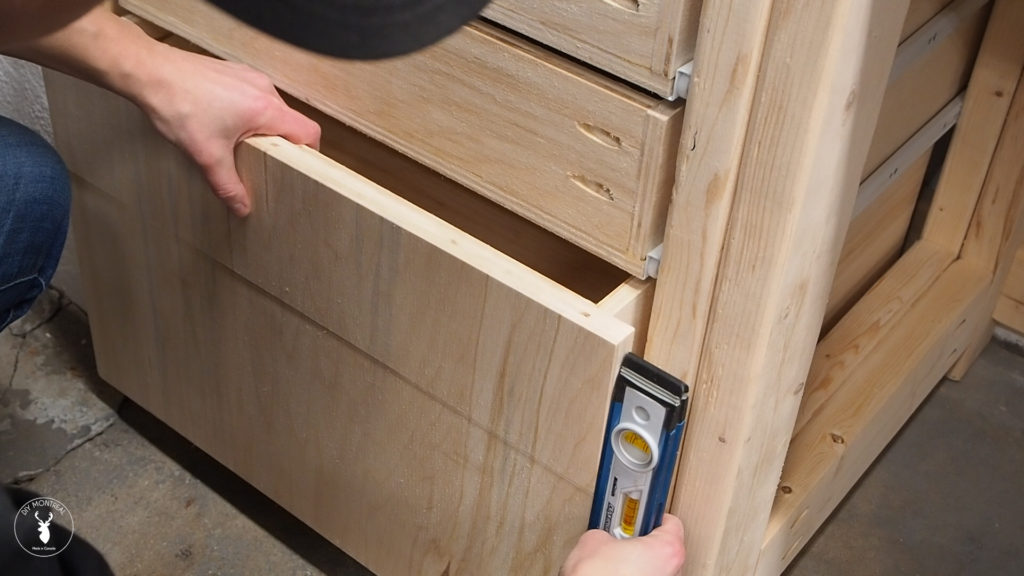
Then I essentially repeated the same process working my way up through the drawers using washers as spacers between the drawer fronts. It helps to pull out the drawer slightly so you can hold it in position and check the alignment with the bottom drawer. Again, once I was confident, I used spring clamps to hold the front in place then secured it with some screws after making pilot holes.
Install drawer knobs
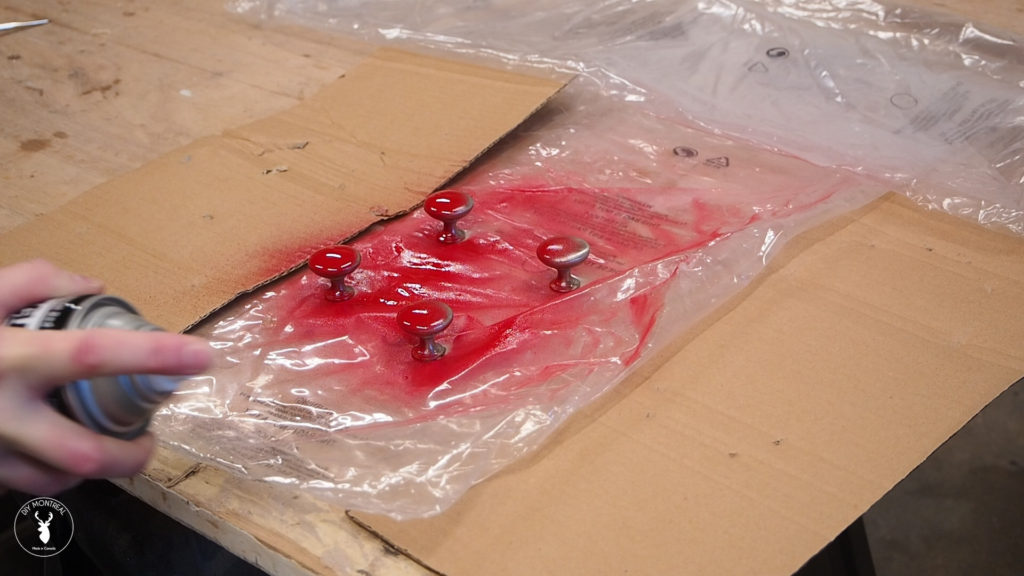
I’m using some left over drawer knobs I had lying around, but as you may have seen me do in my router table video, I first applied a couple coats of red spray paint. For some reason I’m really digging red as an accent colour around the shop.
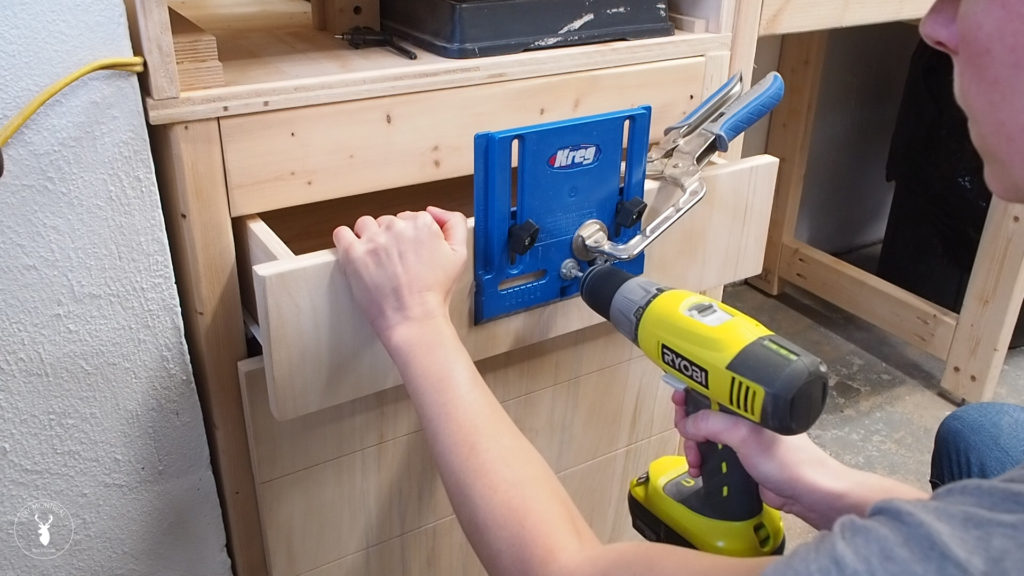
To install the knobs, I first marked a center line and used this cabinet hardware jig to make the screw holes. It’s not necessary, but certainly helps making the positioning of the knobs consistent.
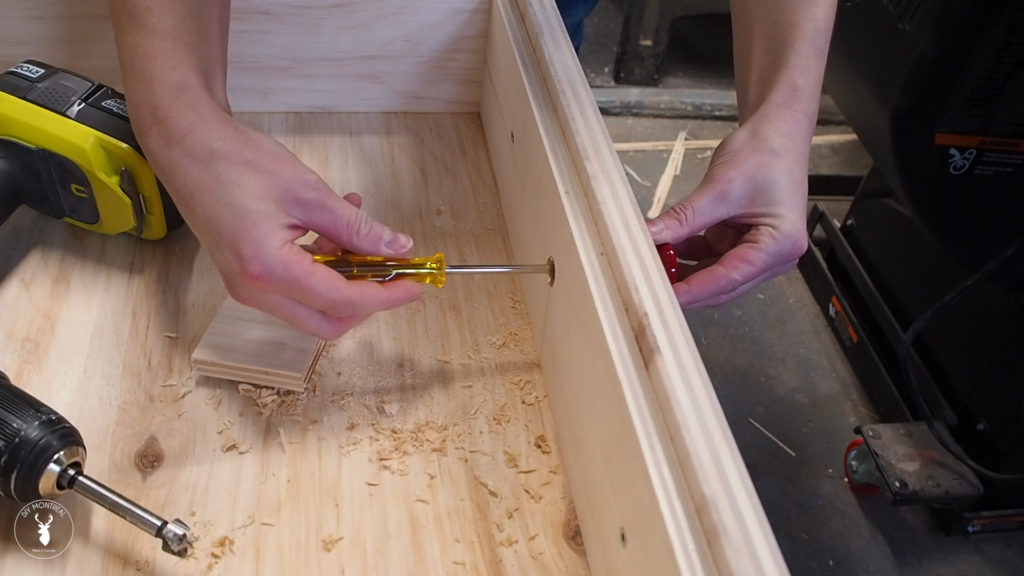
I noticed that my screws would be too short to fit all the way through so I’m going to countersink them using a Forstner bit. I find it easiest to clamp a template made from a scrap piece of wood so it’s easier to make the hole by guiding your Forstner bit so it won’t bounce around. Then I just screwed the knob into place.
I love having this extra storage in the shop for all the stuff I never know where to put. For now I’m just going to store my Forstner bits and drill bits so they’re close to my drill press. In the bottom I’ve got some of my table saw accessories and I’m sure the rest of the drawers will be full in no time. What would you put in them?
