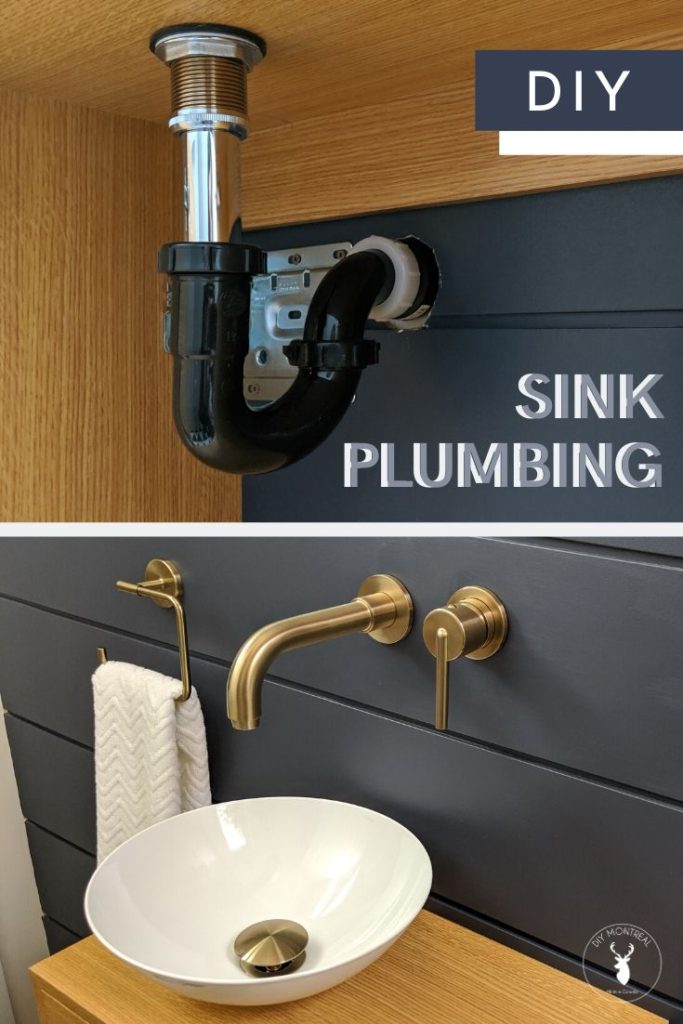
In my most recent post, I showed you how I built a floating wall mounted vanity for my powder room. In this DIY plumbing tutorial, I’ll show you how to install the sink drain, namely the P trap. I’ll also go through how I installed my wall faucet and vessel sink.
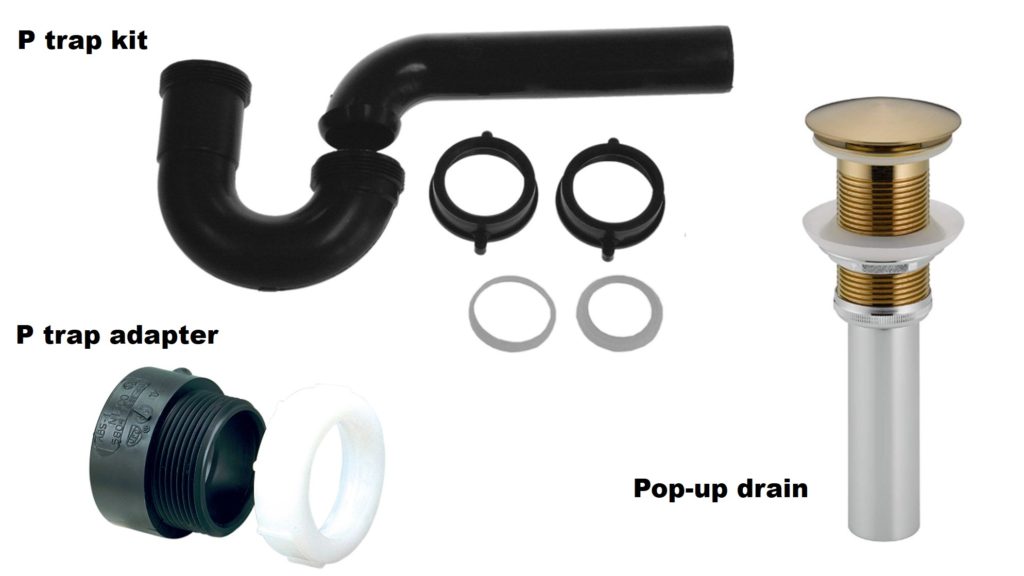
3 parts you’ll need when installing a new sink drain:
- First, you’ll need a P trap kit
- Some kits come with a P trap adapter, otherwise you’ll need to purchase one separately
- Lastly, you’ll need a pop-up drain assembly for your sink. It will either come with your sink or can be purchased separately.
If you have a brand new vanity like me, the first step is to make a hole in the vanity top. To mark the hole placement I lined up my laser level with the faucet rough-in and used a speed square to make sure I was square with the vanity.
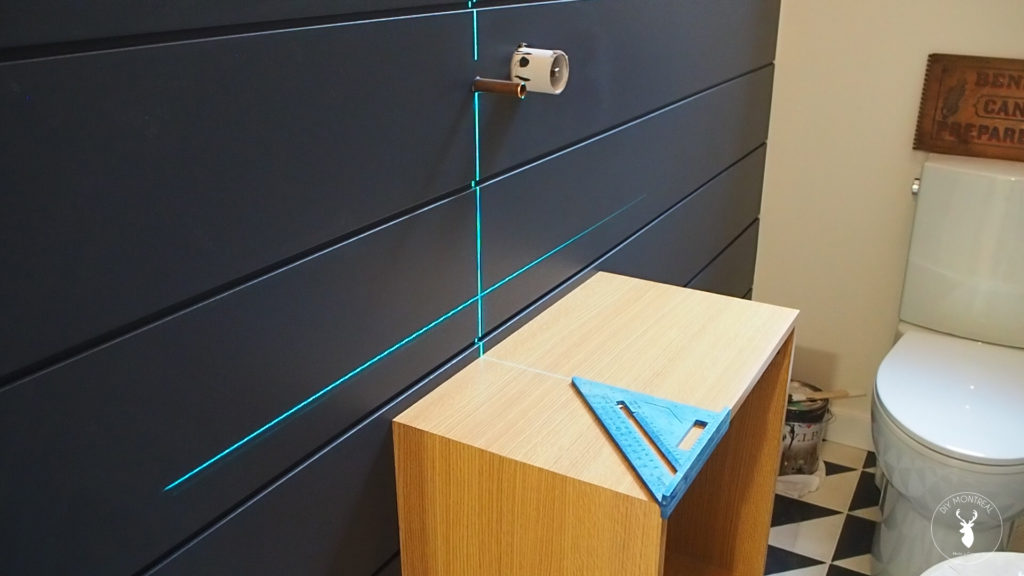
Ideally you want the center of the faucet aligned with the drain hole as shown in the picture below, so to figure out the distance I referred to my faucet’s spec sheet and found the distance from the center of the spout to the wall.
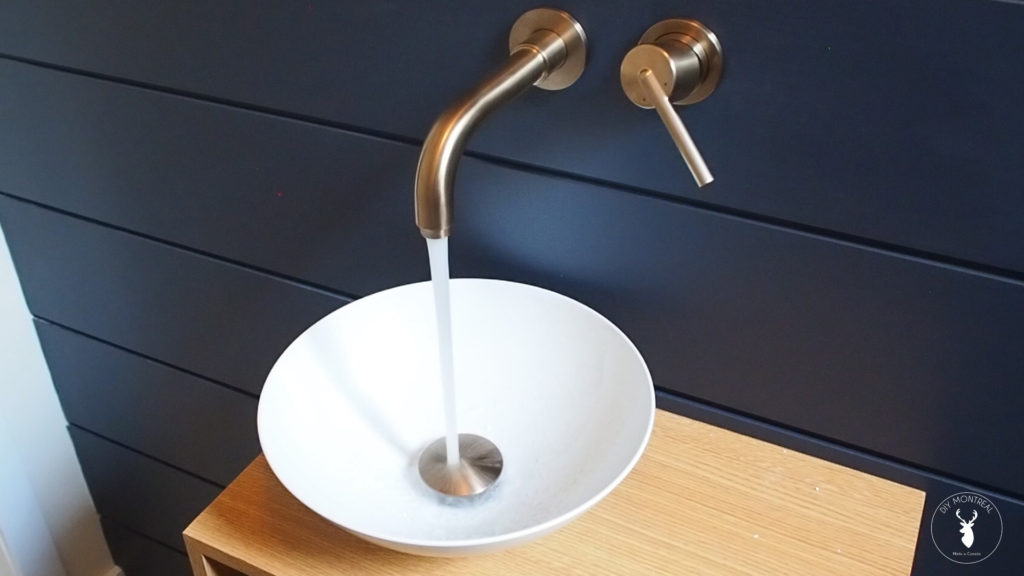
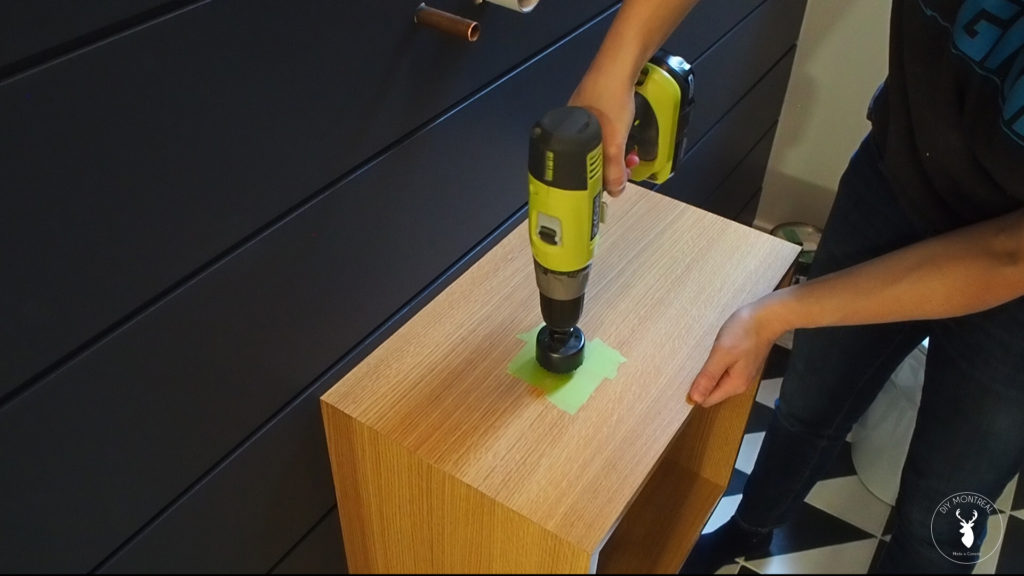
I could then mark the location for the drain hole measuring from the wall. To make the hole I used a hole saw slightly larger than the diameter of my sink’s drain hole, and slowly drilled my may all the way through the vanity top.
How to Install a Pop-up Sink Drain
I placed the sink onto the vanity and tested out the drain to make sure everything fit. To ensure a watertight seal, I’m applying a bead of silicone all around the drain pipe. Make sure to use 100% silicone and apply a generous bead before dropping the drain into the sink hole.
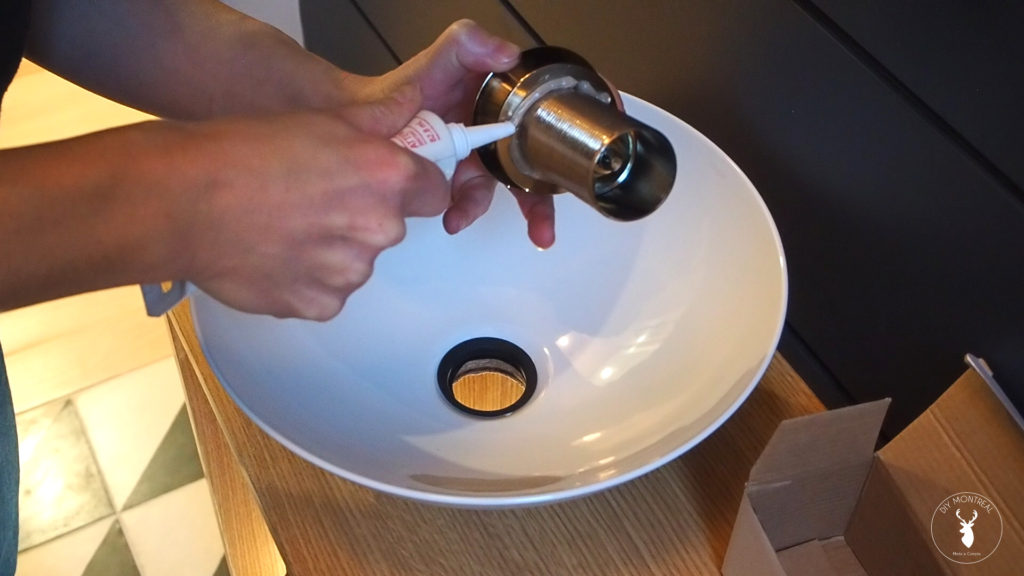
From underneath the sink, I’ll add the rubber ring, by first adding a dab of silicone to the threads to help it twist on smoothly. Note that all the pieces that I’m connecting to the drain here come with the pop-up assembly that either comes with your sink or is purchased separately as a kit. Next, just as per the assembly diagram, I’m adding this plastic ring and a nut that I’ll first hand tighten and then give it another quarter turn using some slip joint pliers to tighten it up.
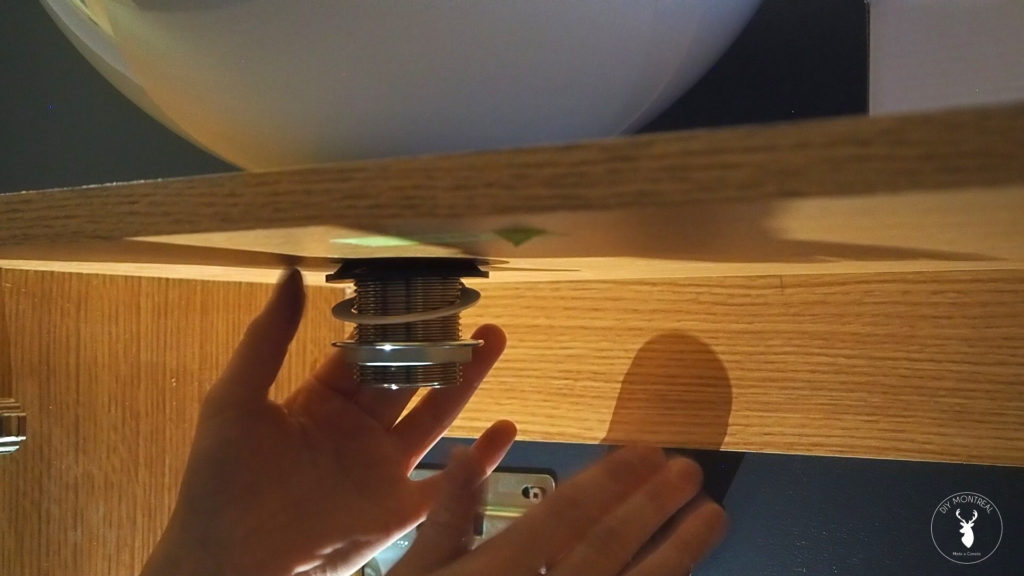
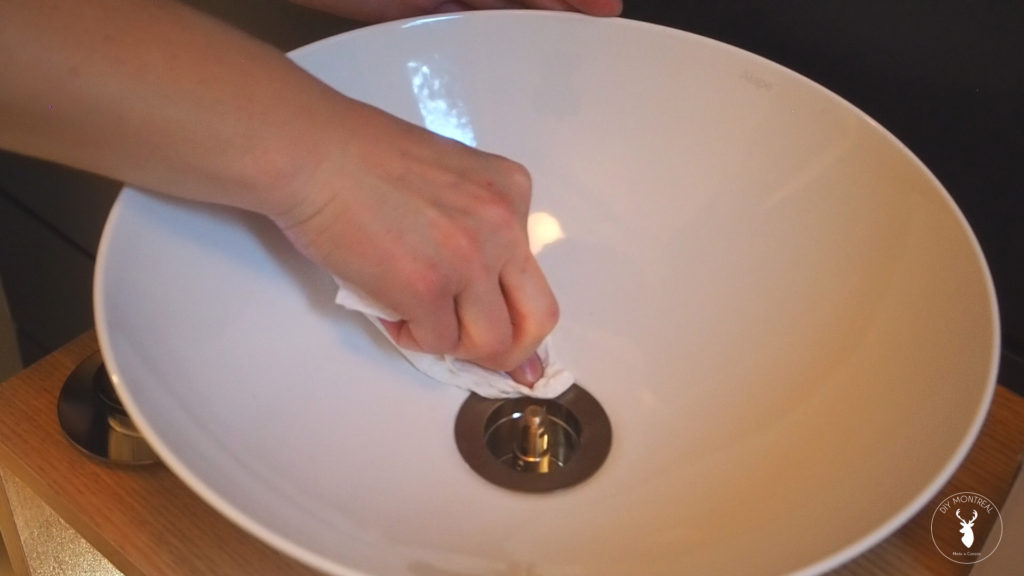
Once everything is fully tightened underneath, you’ll want to make sure to wipe off any silicone squeeze out from the drain and the sink using a clean damp rag.
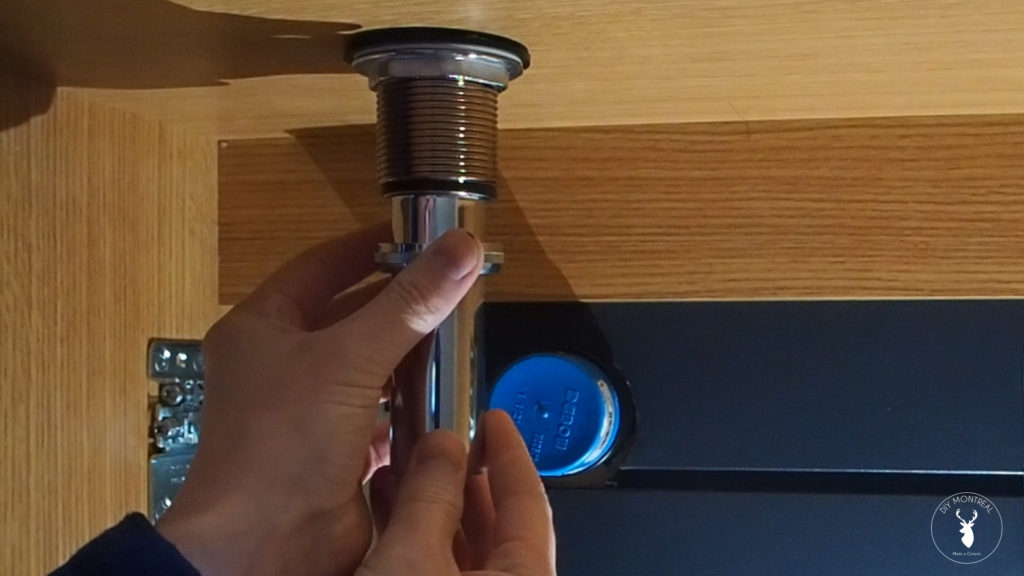
I can now attached the last part of the pop-up drain assembly which includes a rubber ring that will create a seal with this smooth metal pipe. For now I’ll only hand tighten it but I’ll come back later with some pliers to tighten everything up.
How to Install a P Trap
For a new sink installation you’ll typically have a piece of pipe sticking out of the wall. In order to connect the P trap you’ll need a trap adapter that needs to be glued onto the pipe in the wall. Since my pipes are ABS I’m using ABS cement. I simply swab the inside of the trap adapter with some cement and do the same for the outside of the drain, making sure to fully coat both surfaces, then push on the adapter, all the way in, giving it a slight twisting motion, roughly a quarter turn.
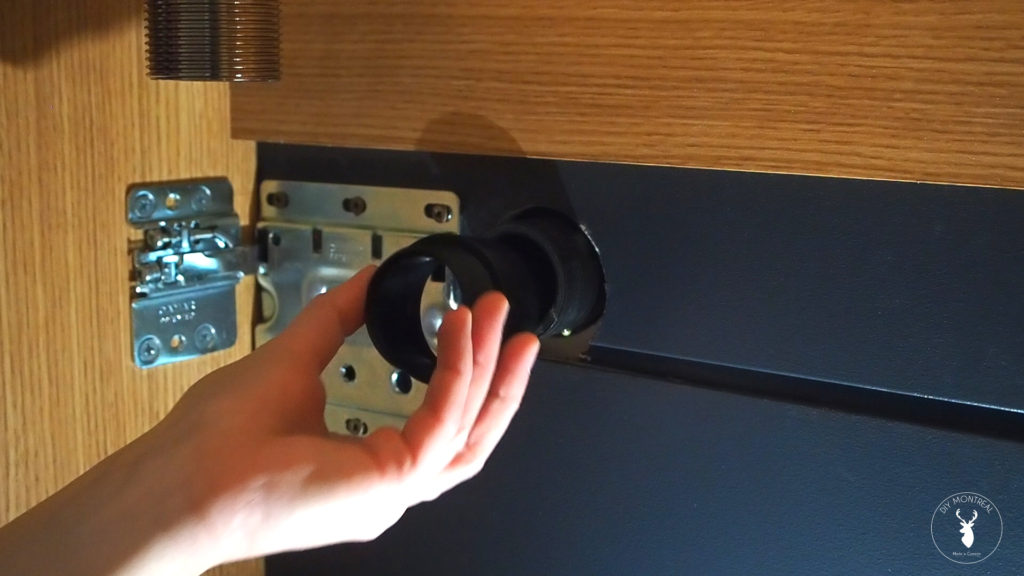
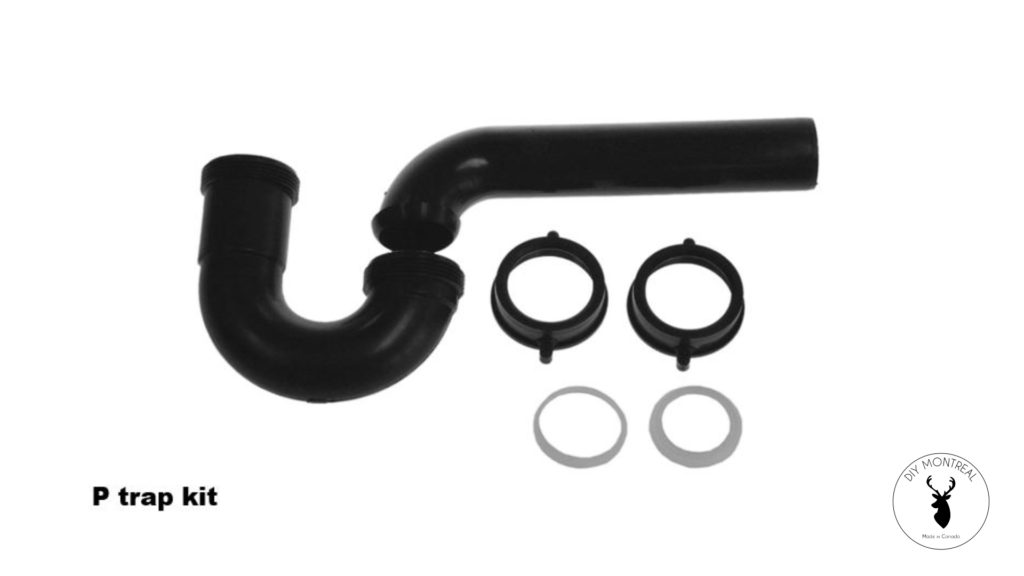
While that dries let’s take a look at the P trap kit. All of these parts typically come in the kit: the waste drain, two plastic or rubber washers, and two slip joint nuts.
I’ll first show you how to connect the 2 pipes. You simply slip a nut onto the waste drain and slip it into the other pipe, then hand tighten the nut. No washers are required here.
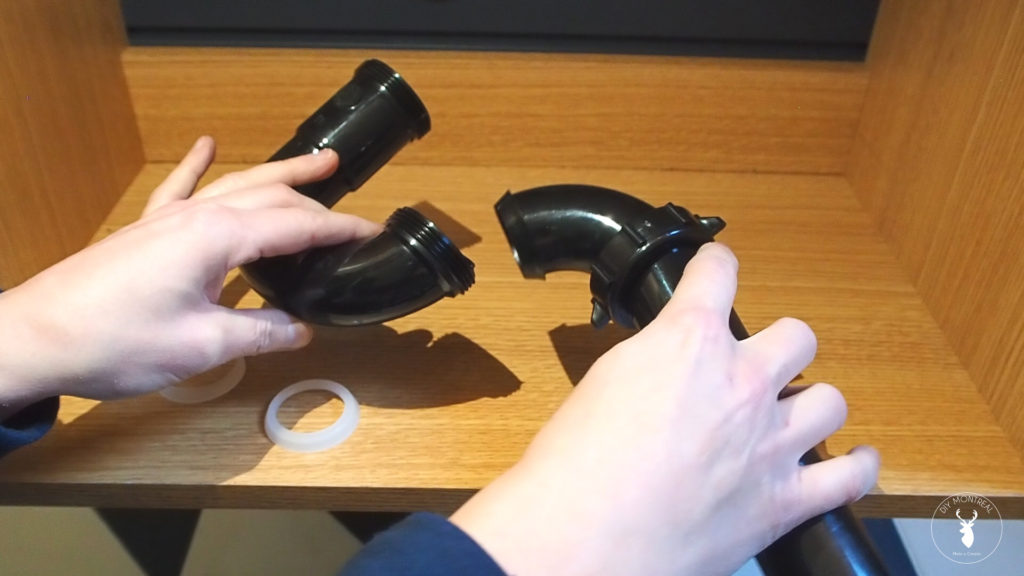
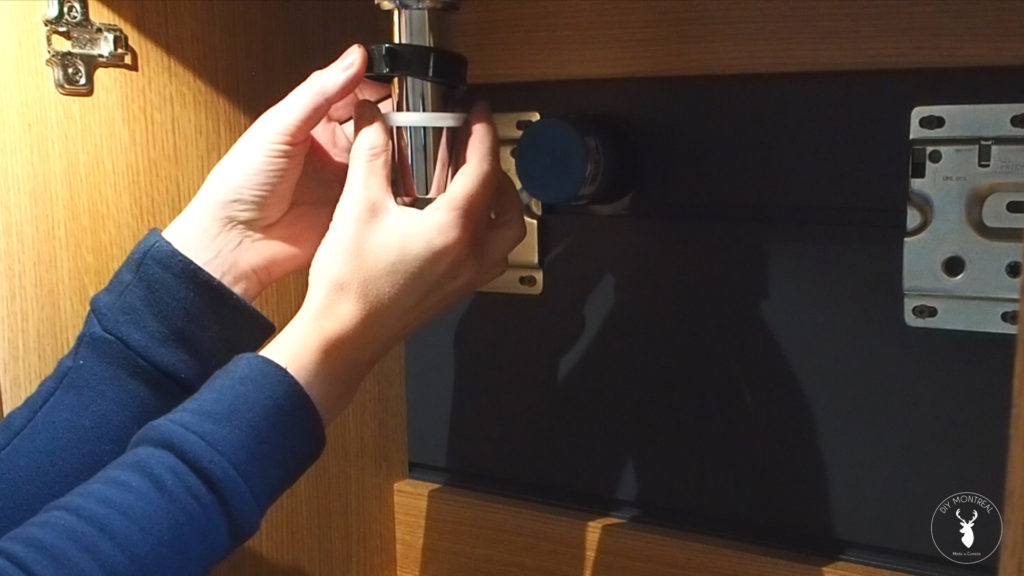
Next, the idea is to slip the waste drain onto the sink drain but as you can see both drains aren’t the same size. That’s why the kit comes with 2 different sized washers. You’ll note one of them is much too loose, but the other one fits just right. It’s also important to note the orientation of the washer when using slip joints: make sure the tapered side is facing whatever you’re trying to connect to. With that in mind, I can go ahead and slip on a nut followed by the washer.
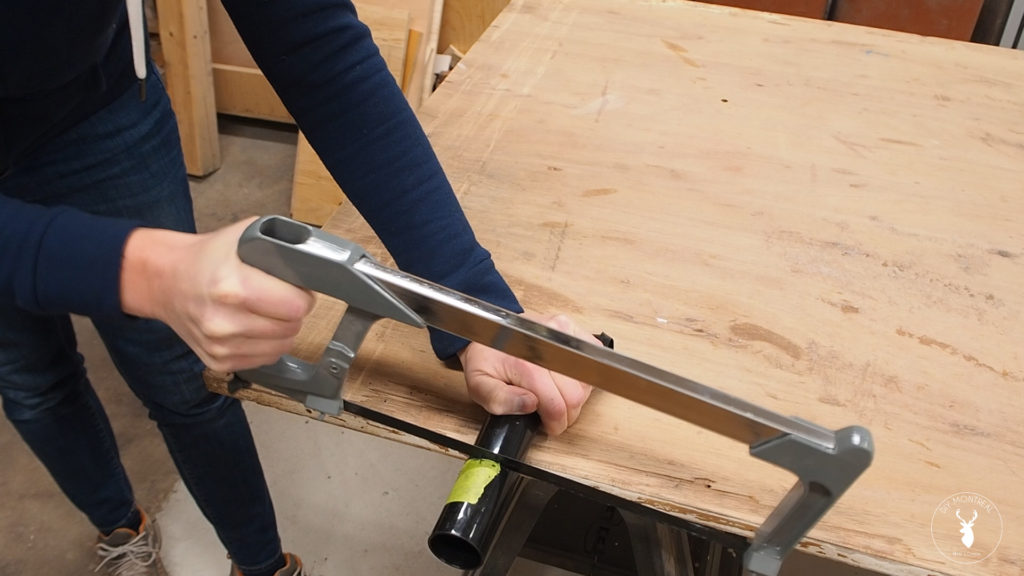
Now I can put on the P trap but the waste drain is too long for my set up, so I’m going to need to cut it using a hacksaw to cut the pipe to the right length.
With the pipe cut to size, I can attach the waste drain to the trap adapter, but first I need to slip on a few parts starting with a slip joint nut facing towards me, then another nut facing the wall and lastly the remaining washer, tapered side towards the wall.
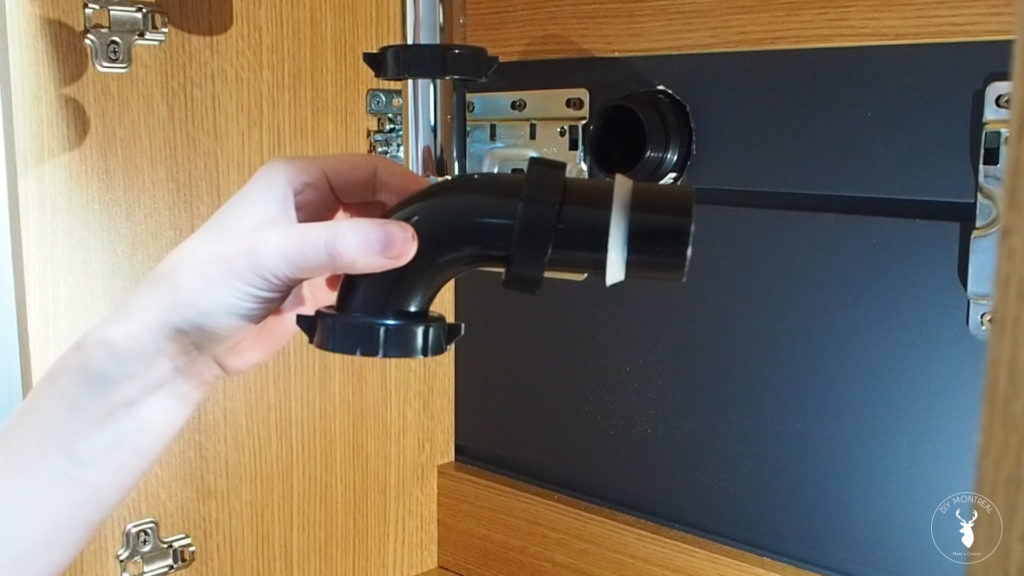
But WAIT. My P trap adapter, came with it’s own slip joint nut that eliminates the need for a washer, so I’m going to replace the parts that came with the P trap kit with this one. I can now go ahead and slip that in and loosely tighten it so it can be repositioned later if needed.
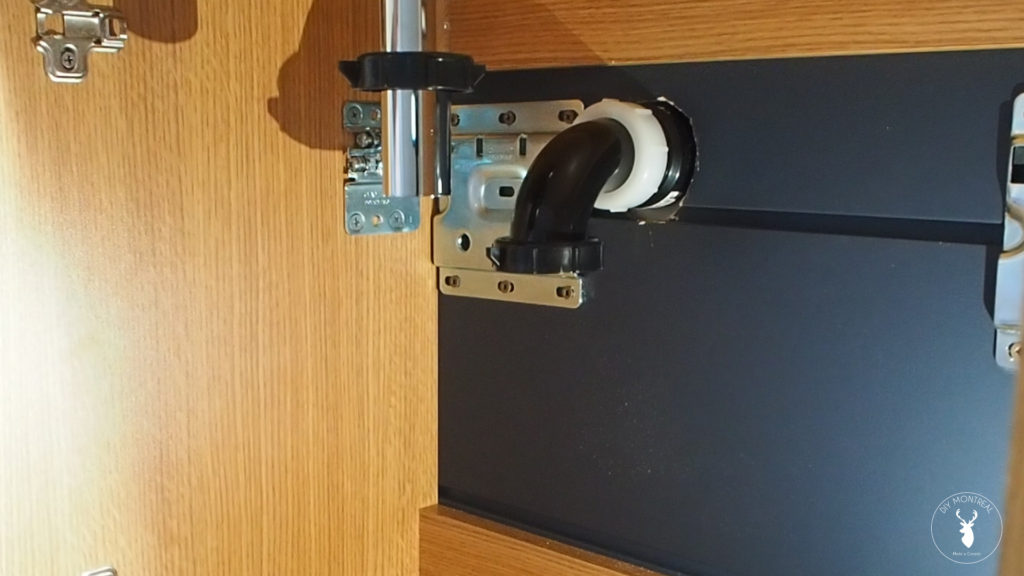
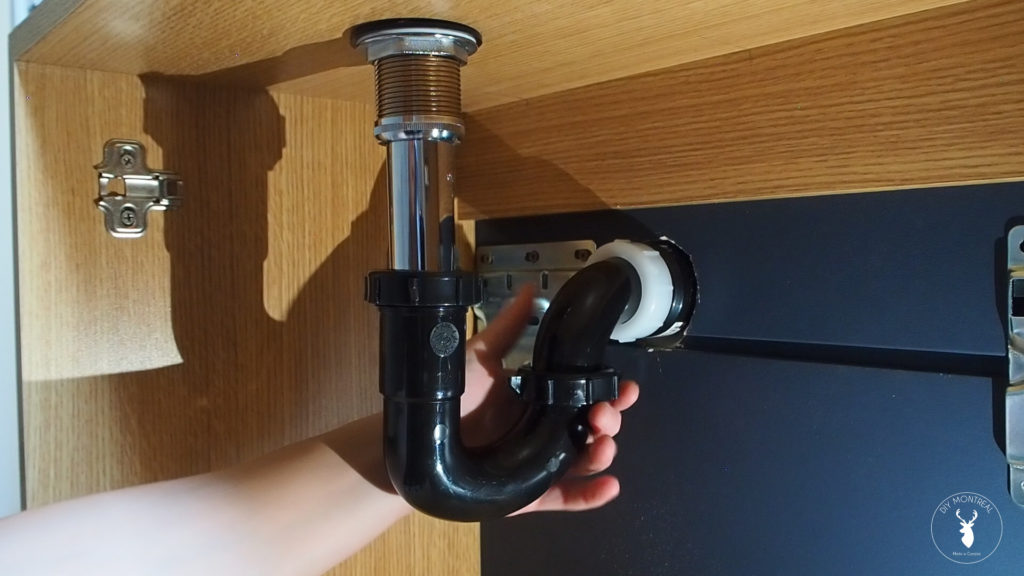
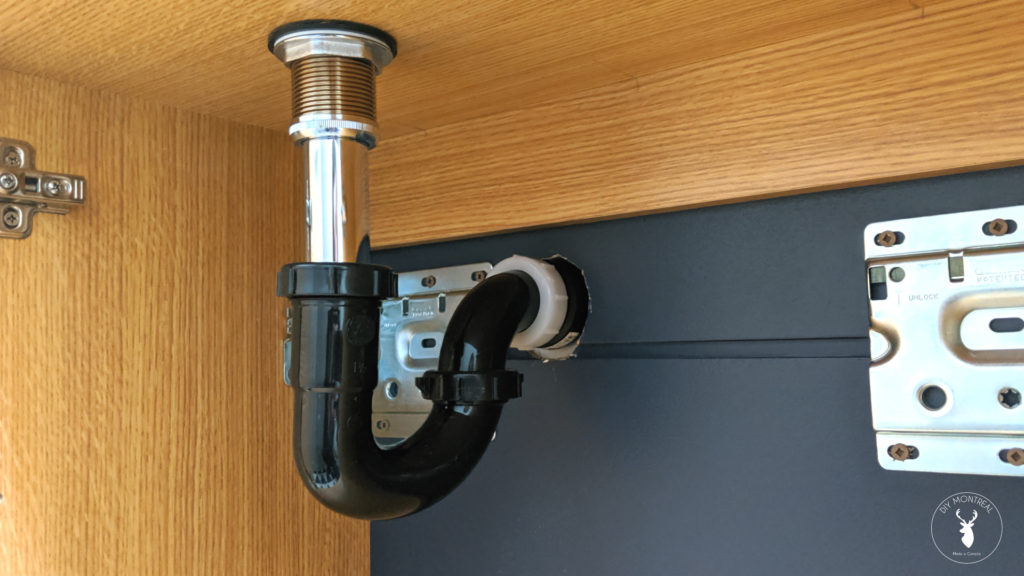
I can now position the trap and connect the slip joint nuts on each end, again loosely tightening and adjusting the parts as needed to make sure everything lines up without stressing any of the joints. If your parts don’t line up and you find yourself forcing a connection, you’ll likely end up with a leak.
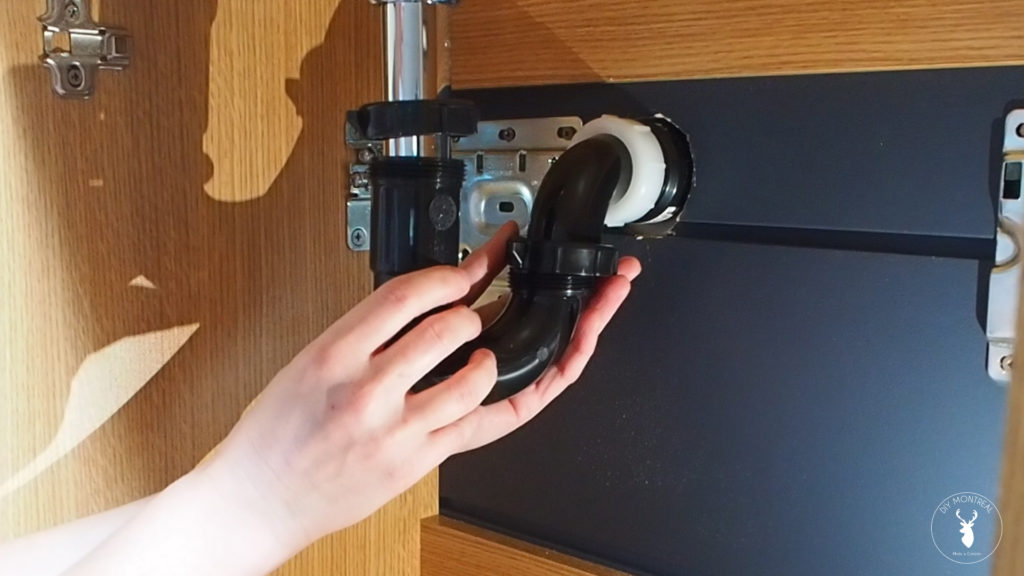
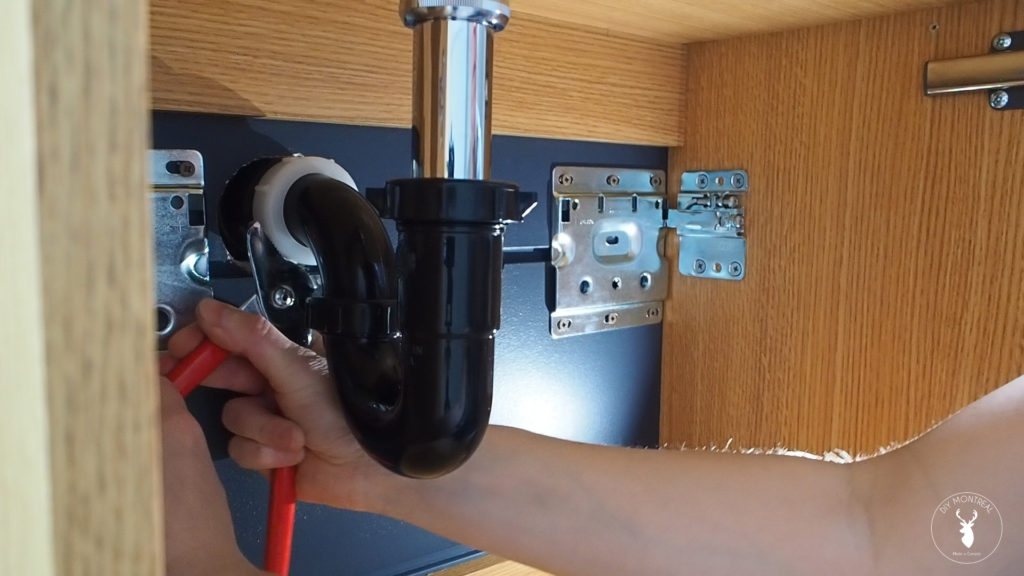
Once everything is aligned, I can hand tighten all of the nuts. After that I’ll use some slip joint pliers to tighten them up a little more so that they are nice and snug, making sure not to overtighten.
How to Install a Wall Mount Faucet
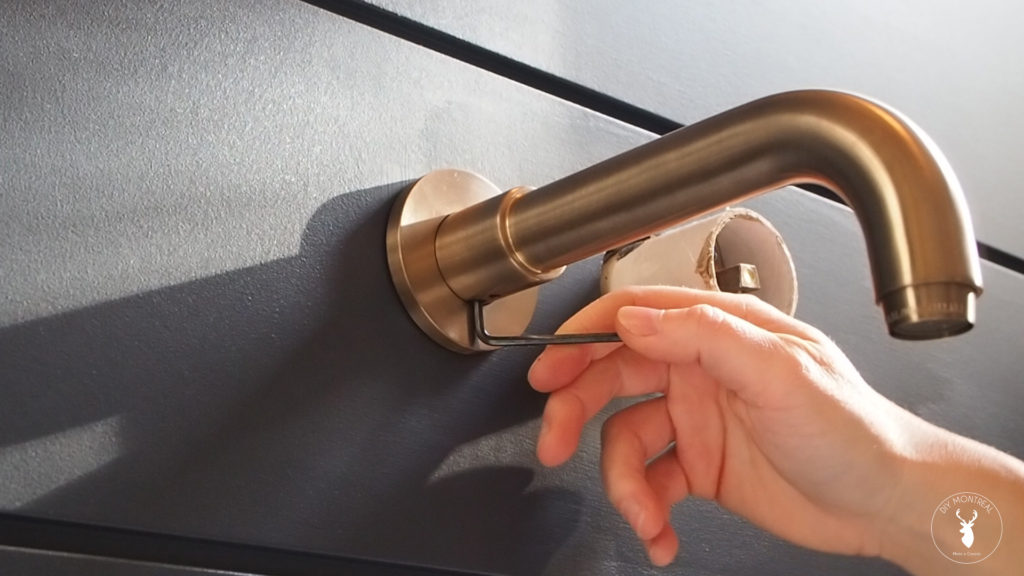
Before I can test the P trap for leaks I need to install my wall faucet. The process is pretty simple, but the only thing I’ll point out here is to make sure to file the end of the copper pipe to eliminate any sharp edges that might damage the o-rings inside the faucet. Then it’s just a matter of pushing the faucet into place, and using the Allen key to tighten it up from underneath.
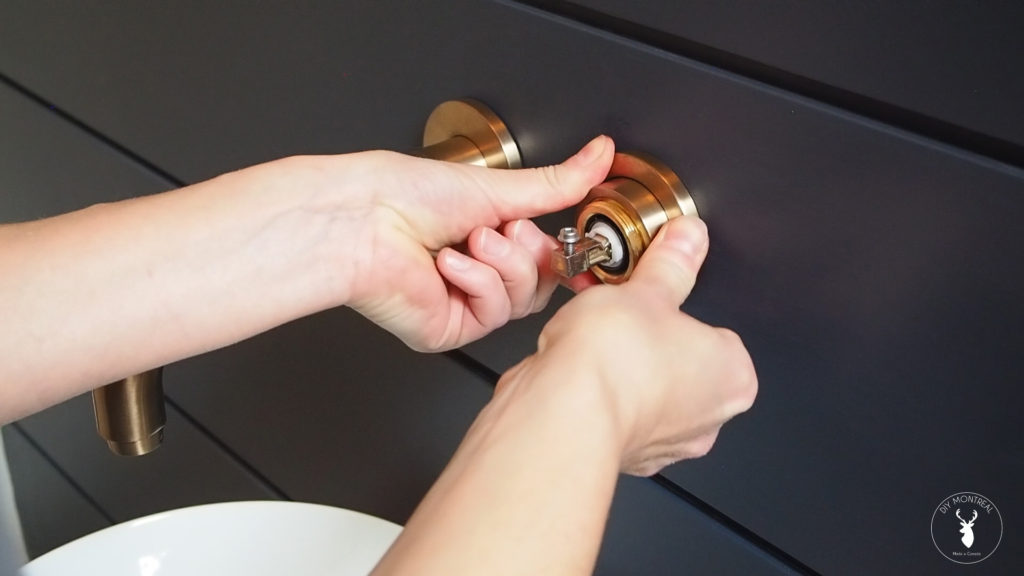
The handle goes on very similarly, simply pushing on the sleeves first. The fit can be really tight so it helps to use a synthetic lubricant on the O-rings to help slide the sleeves into place. I again used the provided Allen key to tighten down the handle before covering the hole with the cap.
With the faucet now working, I can test the drain for leaks. I first let the faucet run and check the pipes for leaks. Everything looks good so far so I’m going to put it to the ultimate test by filling up the sink all the way and then draining it out.
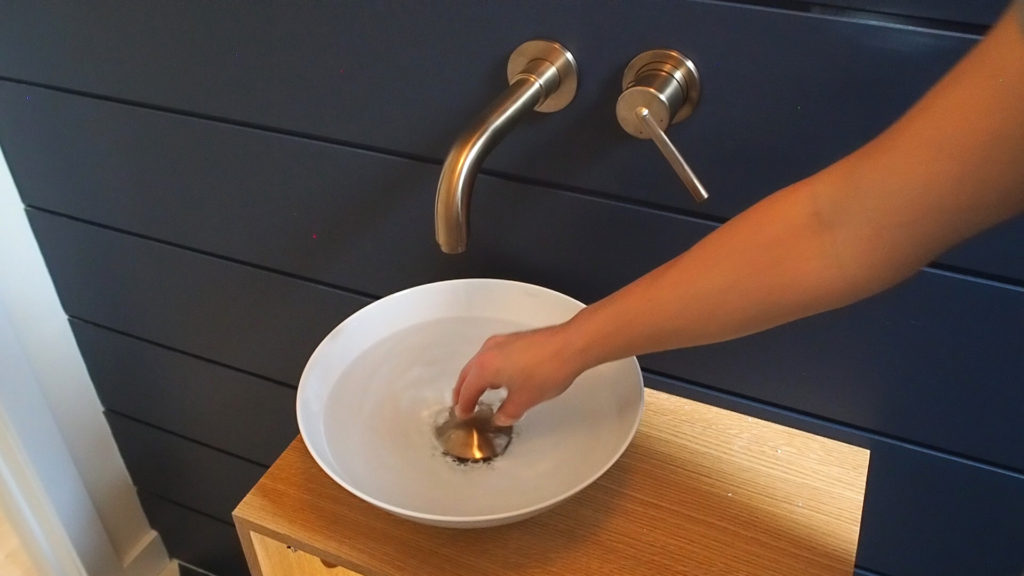
I don’t see any leaks here which is really great, but if you did have a leak, try tightening the leaky joint a little before testing it out again.
