Cutting large panels on the table saw can be awkward, and sometimes downright dangerous if crosscutting against the fence. That’s where the crosscut sled comes in. Today I’m making a dedicated 45 degree table saw sled for bevel cuts, but the process is exactly the same as for a regular table saw sled.
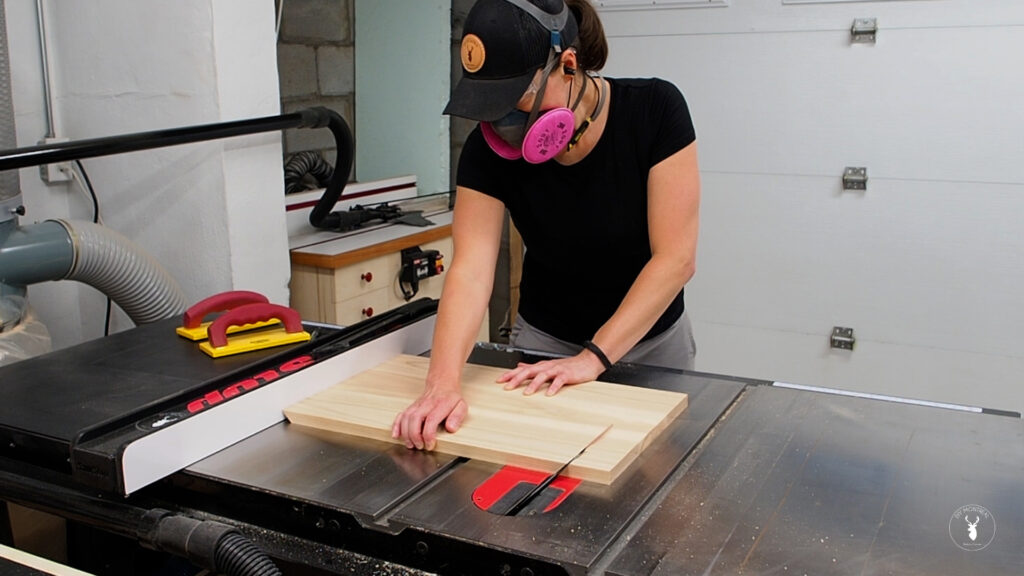
Woodworkers typically recommend using 3/4 inch plywood as a table saw sled base because it’s flat and sturdy. I don’t have any 3/4 plywood on hand, but I do have some leftover laminated particle board… Would that be crazy?
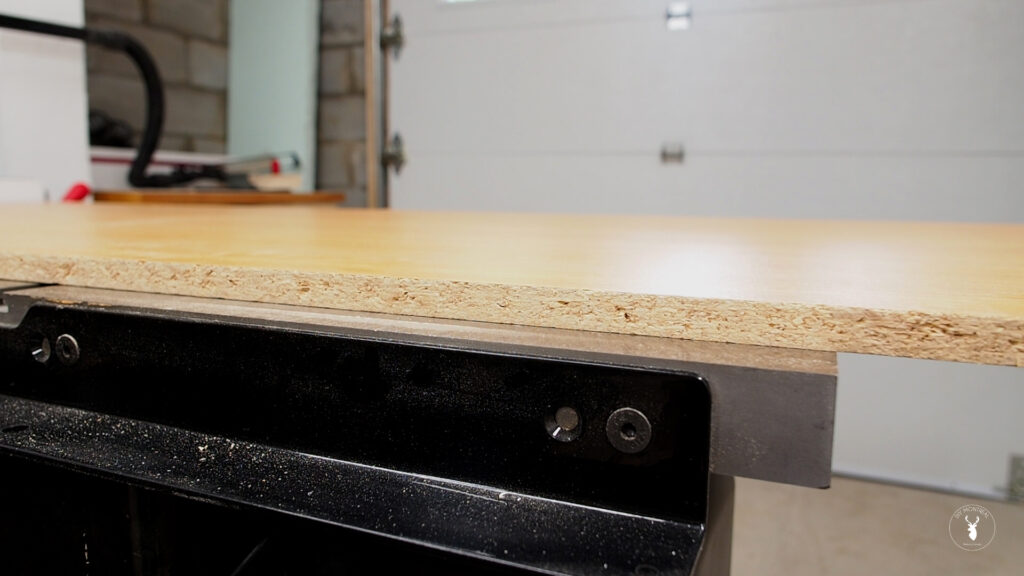
Laminate is dead flat and has the advantage of being lighter than plywood. My only hesitation is that the surface is super slick, and I wonder if this might cause the panel to move while I’m cutting. There’s no adherence, unlike plywood which kind of “sticks” to wood. On the other hand, the laminate’s slick surface will definitely be an advantage when it comes to moving this heavy sled, as there is very little resistance against the table. Well, I guess we’ll just have to build it and see!
Watch the YouTube video // Subscribe to my channel
How to Build a 45 Degree Crosscut Table Saw Sled
The first step is to cut the base to size. I decided to make the sled 36 inches wide which should be long enough to support the types of panels I expect to cut. I also want to avoid making it too big to keep the weight down. I used my track saw to make the cut, then took it over to the table saw to cut it to width.
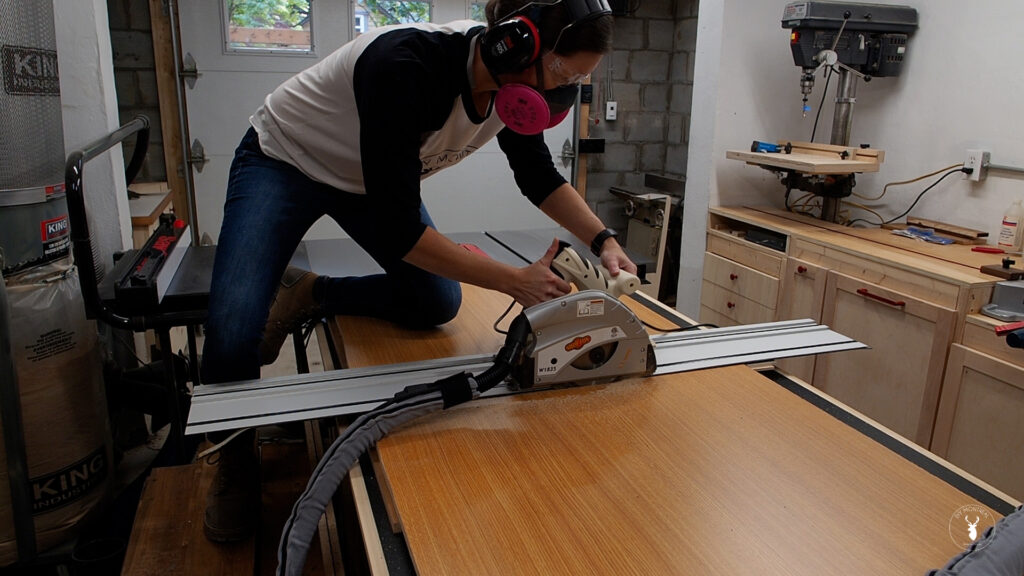
For the depth, I decided to make it no bigger than the depth of my saw, which is 27 inches.
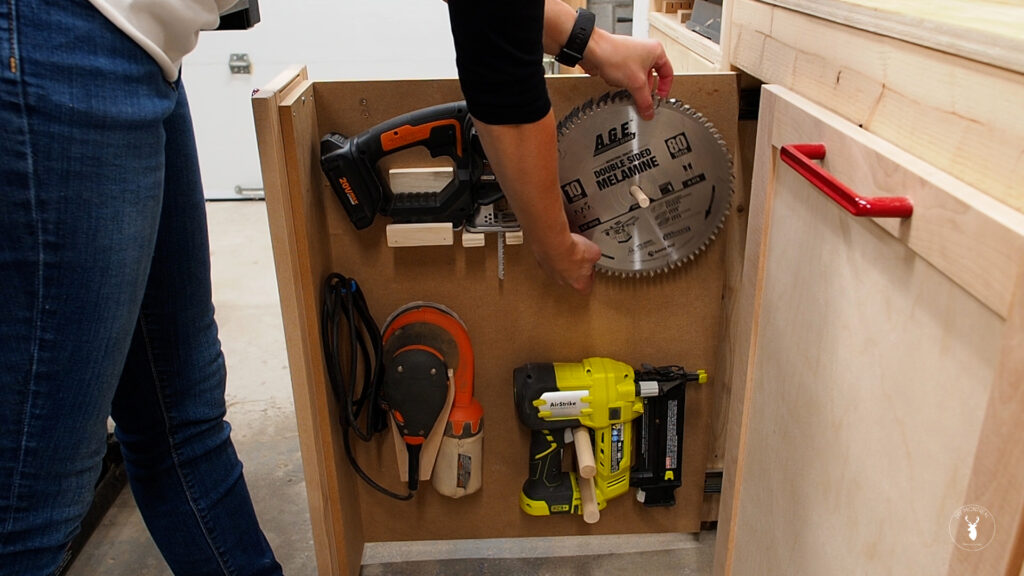
But first, before going any further, I’m going to change my blade and install a melamine cutting blade to get clean cuts on this panel. In fact, I decided this will be the blade I always use with this sled since it’s ideal for cutting laminate panels or melamine and veneered plywood.
Next it’s time to make the runners which are key to the success of this sled. I grabbed a piece of maple, set my fence to 3/4 inch and ripped a strip. I did a test fit and could see that it was a little too big, so I adjusted my fence ever so slightly and trimmed off a little more off. You want the runners to slide nicely without any side to side play. Once the fit was perfect, without adjusting the fence, I cut the second runner.
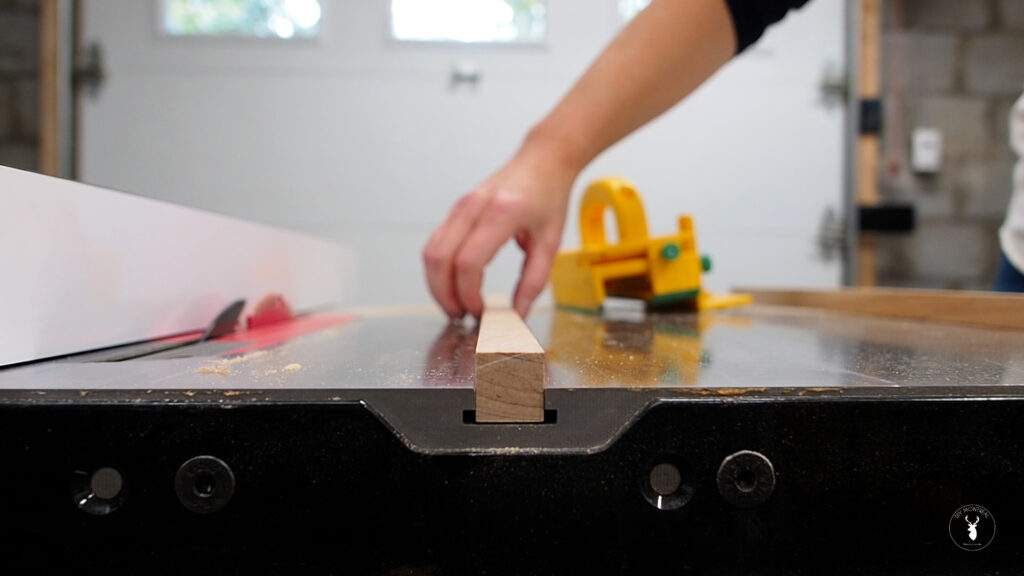
I could then set my fence to 3/8″, flip the runners on their side, and rip down the thickness. At three eighths, they should sit just below the surface of the table, which is what we want.
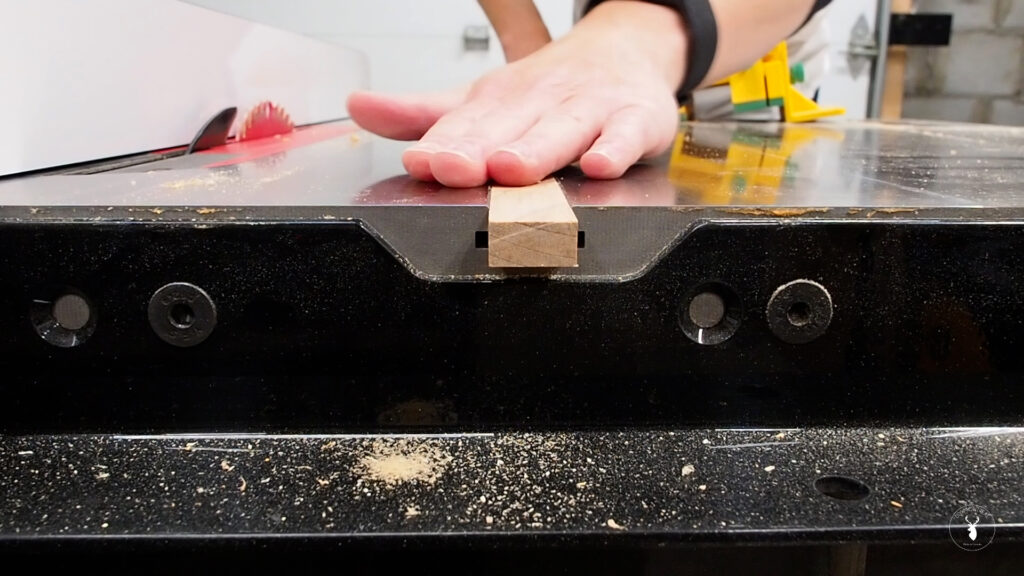
Next, I’m going to attach the runners to the sled. Since my blade tilts left, I’ve decided to skew my sled to the right of my blade so that I’ll have more support for long panels. I set my fence at 26 inches to be used as a reference.
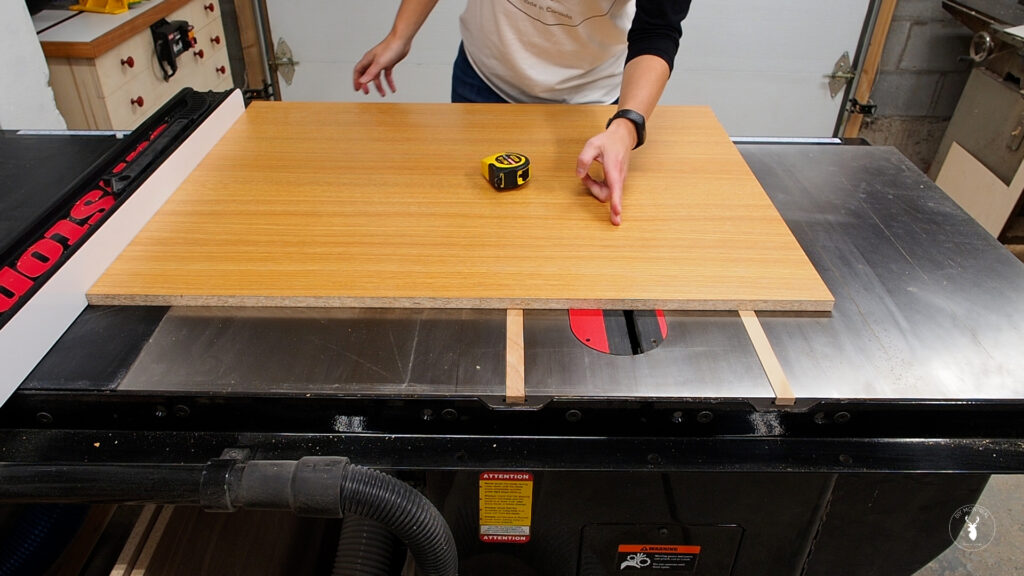
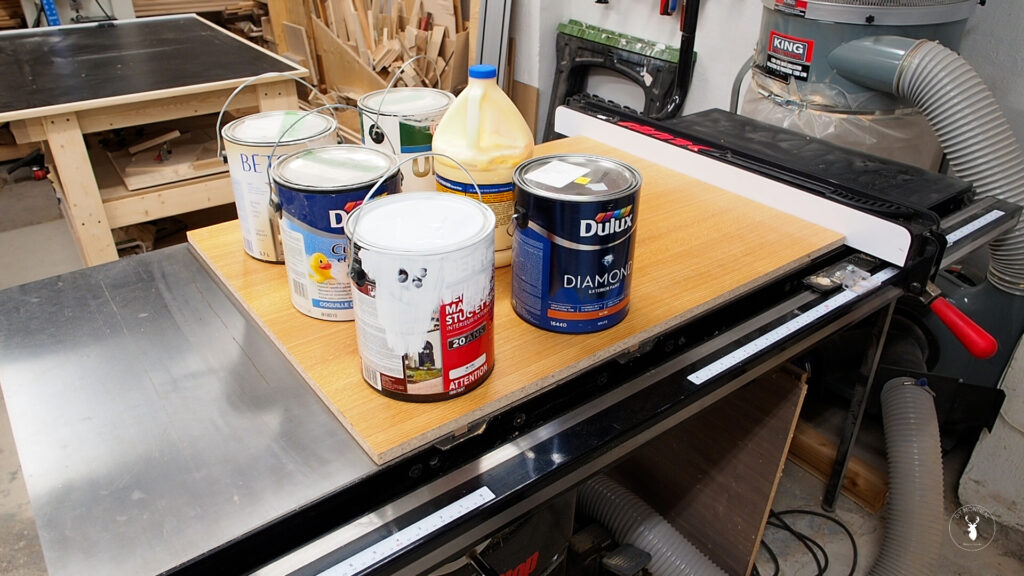
Because the runners sit below the surface, I’m using a few pennies to raise them up so they’ll make contact with the panel. Canadian pennies were phased out in 2012 but I keep a few on hand just for this.
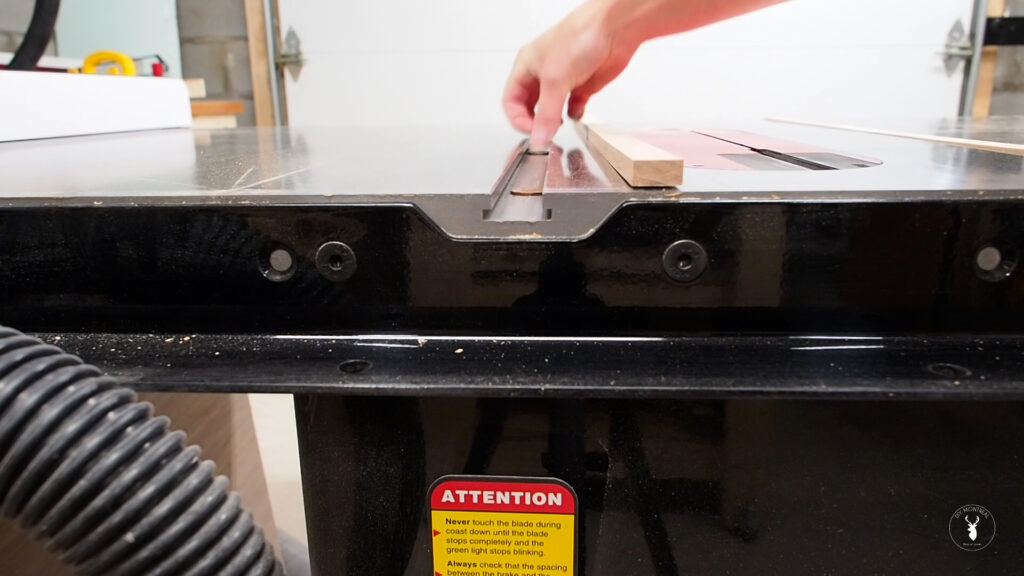
I applied a very thin bead of melamine glue – not too much so it won’t get all over my table saw. Then using the fence as a reference, I can just drop in the panel and simply make sure the runners are aligned with the edges. I added some weights on top of the runners and let it sit for about an hour.
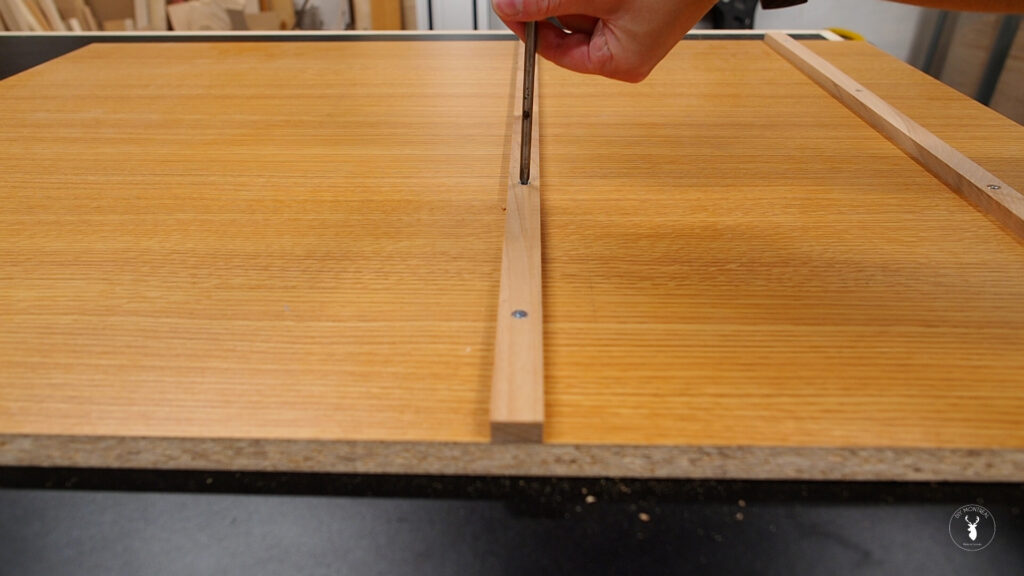
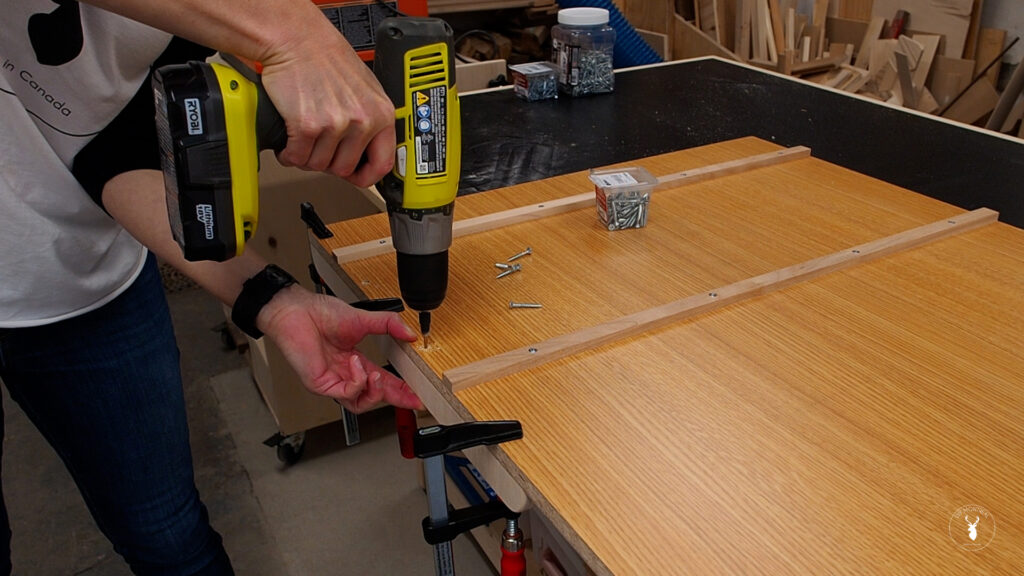
I could then remove the sled and carefully make some pilot holes using a countersink bit. I then secured the runners with some #6 3/4 inch screws, making sure the heads were sunken. I also avoid using a driver here and tightened the screws by hand to avoid splitting the runners.
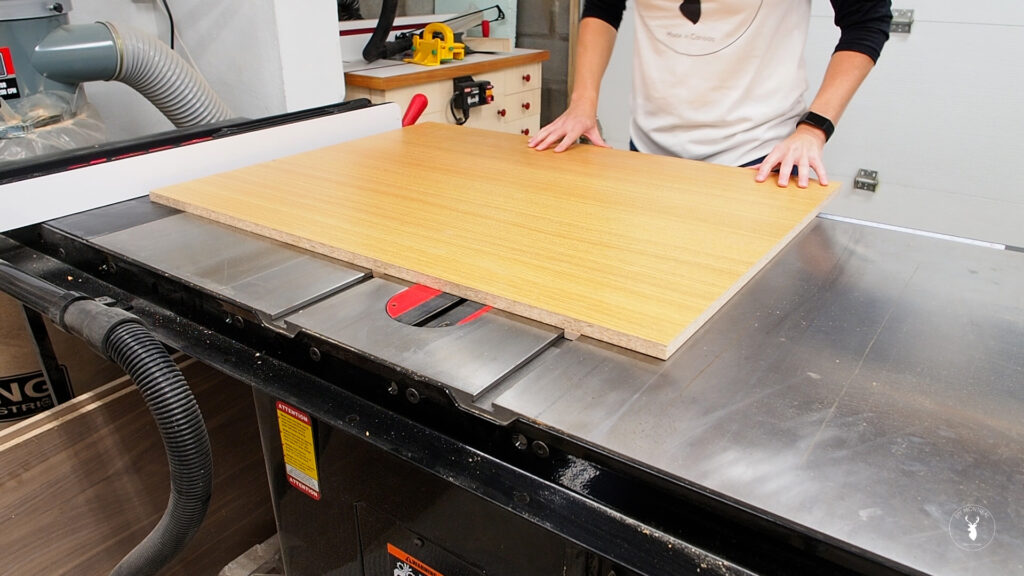
Ok, let’s give it a try. Wow! Maybe I got lucky. Maybe it’s the laminate. But boy does this slide smoothly, and I haven’t even added any paste wax yet.
Next I’m going to add a back fence. And just a note that at its highest my blade only reaches 2 and one eighth, so the fence doesn’t have to be high, nor does it have to be full length, just enough to cover the runners basically. Just to make it smoother to the touch I’m going to round the corners using my bench sander. Then I’ll use a round over bit to break the sharp edges.
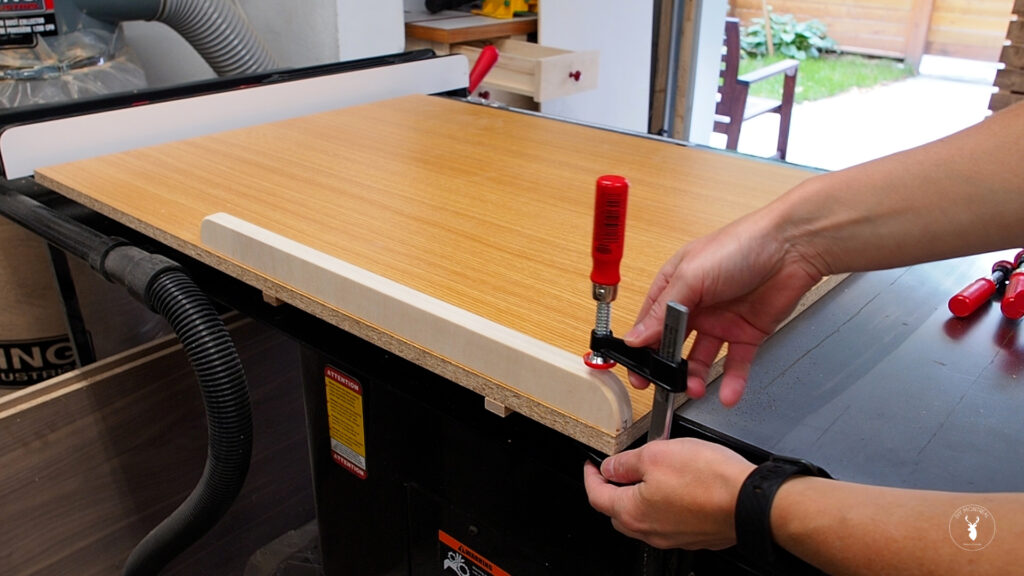
Now I can just clamp the back fence on. It doesn’t have to be square, it’s really just here to hold the sled together. I made pilot holes using a countersink bit and attached the fence using #8 1-1/4 inch screws, making sure to avoid the area between the runners where the blade will pass.
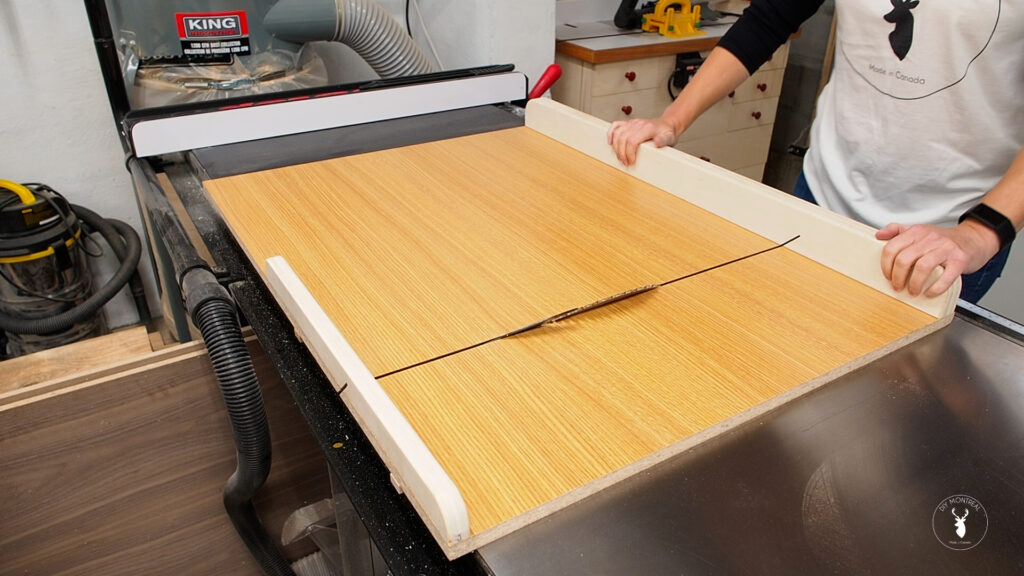
Next I set my blade to 45 degrees, making sure to be super accurate, then ran the sled through to cut the kerf, but stopped just short from the front edge, leaving a few inches intact.
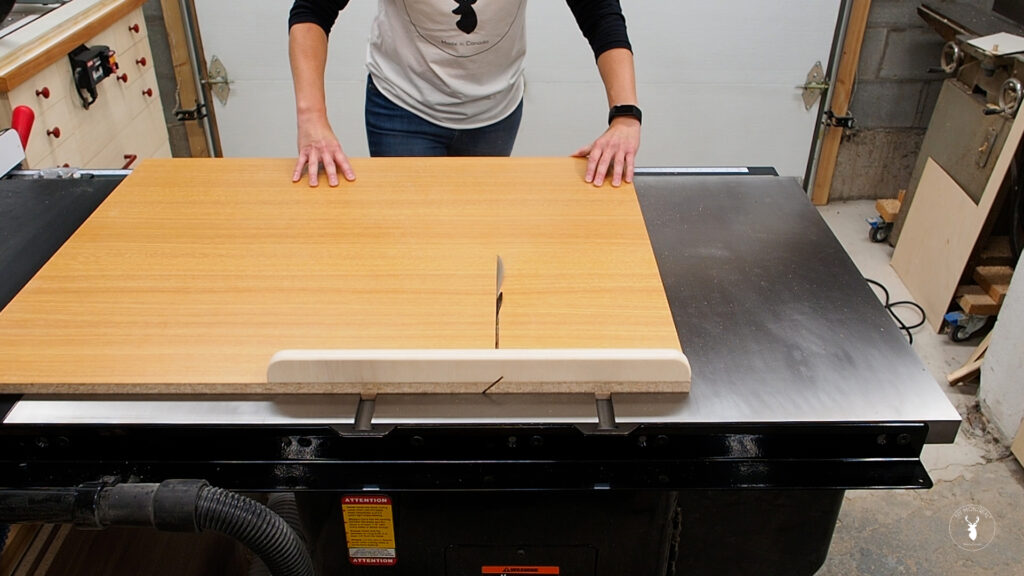
The front fence needs to be dead flat so I first thought about using some more laminate, but the particle board core is brittle and won’t hold screws very well. Instead I decided to glue a few pieces of half inch plywood together, which should help keep them flat. I’m using 3 pieces of 1/2 inch, but 2 pieces of 3/4 inch should work the same. I added ample glue and spread it around. I then clamped the three pieces together, using my table saw’s fence in order to make sure the boards stay dead flat.
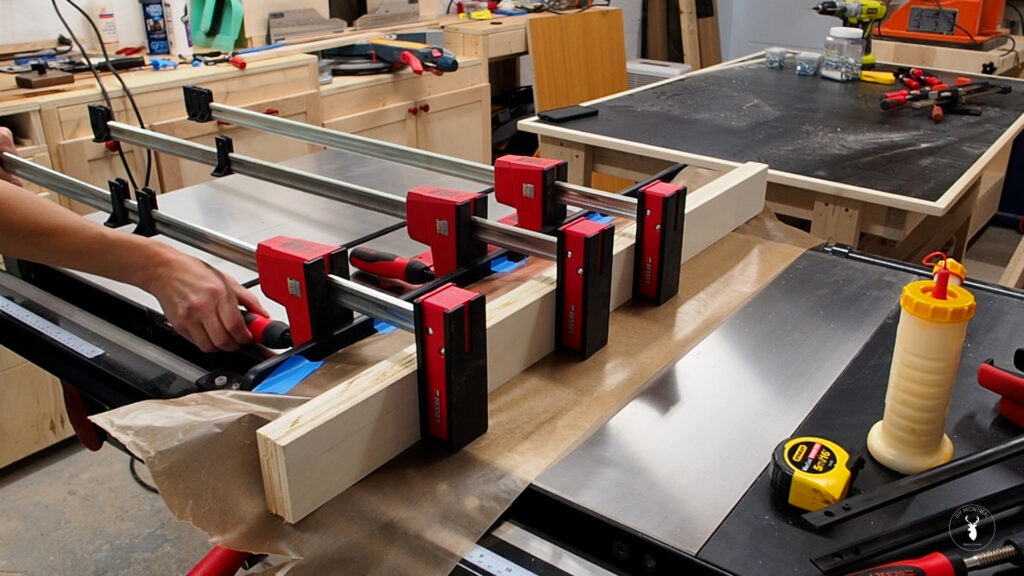
With the glue now dried, I ran the fence through the table saw to clean off the glue and flipped it over to trim it down to size, at about 2-1/2 inches tall. I did the same for the ends, and cut it to 36 inches long.
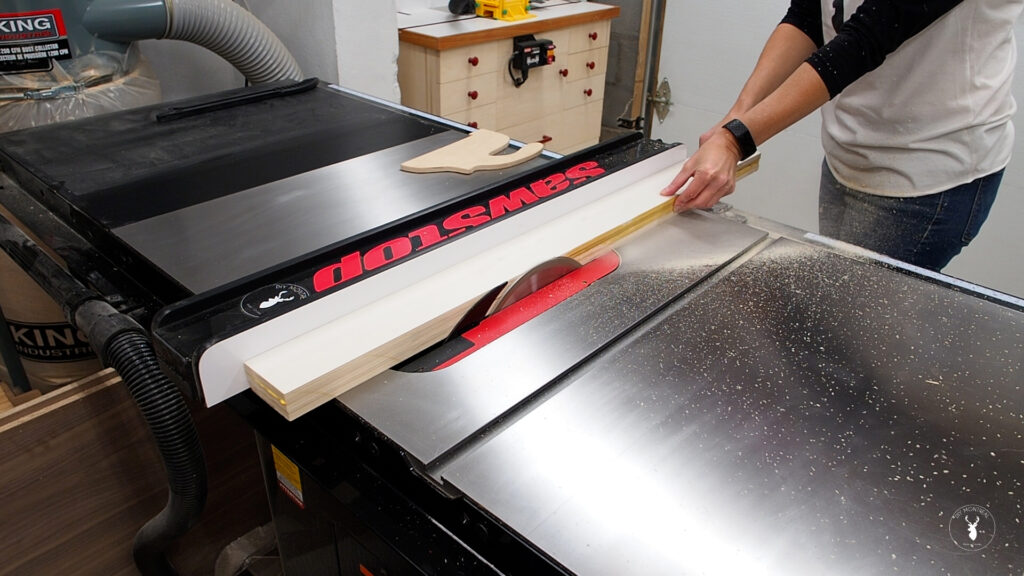
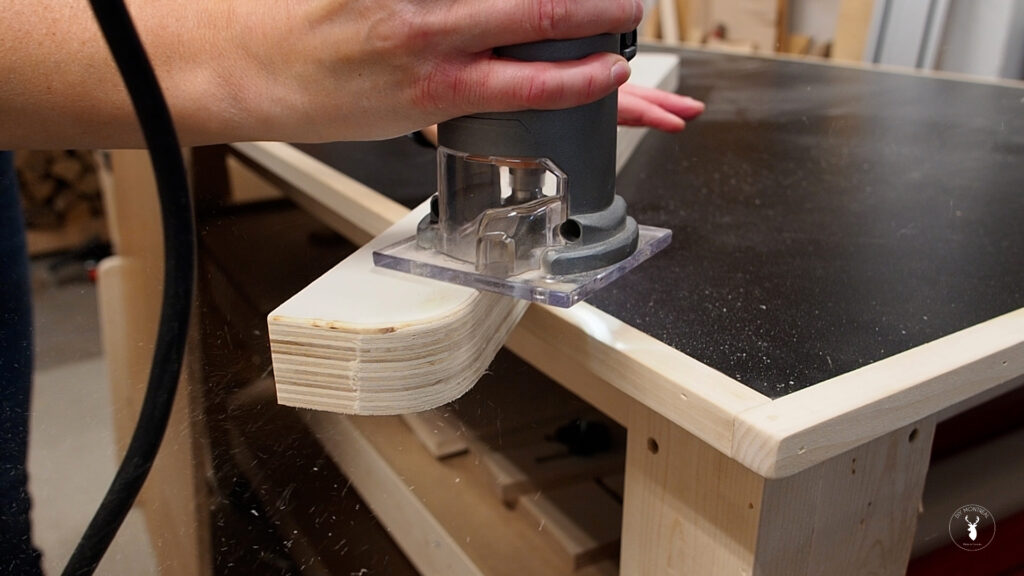
Just as I did for the back fence, I rounded over the top corners and rounded over the edges, then sanded it smooth to the touch. While I’m at it, I used a chamfer bit to make a tiny chamfer on the bottom edge of the fence, just so the sawdust will have somewhere to go without getting in the way.
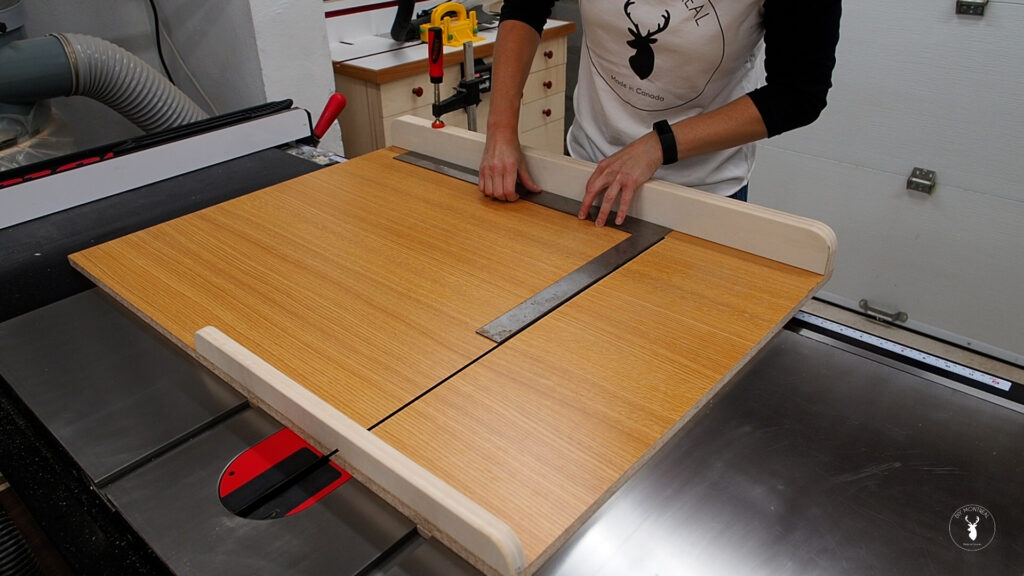
The front fence needs to be perfectly perpendicular to the blade, and to do this, I’ll first add a screw on the left end, then adjust the right side. Using a carpenter square I adjusted the fence until it was perfectly square with the kerf line. I really took my time here, checking on both sides of the blade. When I was satisfied, I delicately added a clamp, then checked it again to make sure nothing had moved.
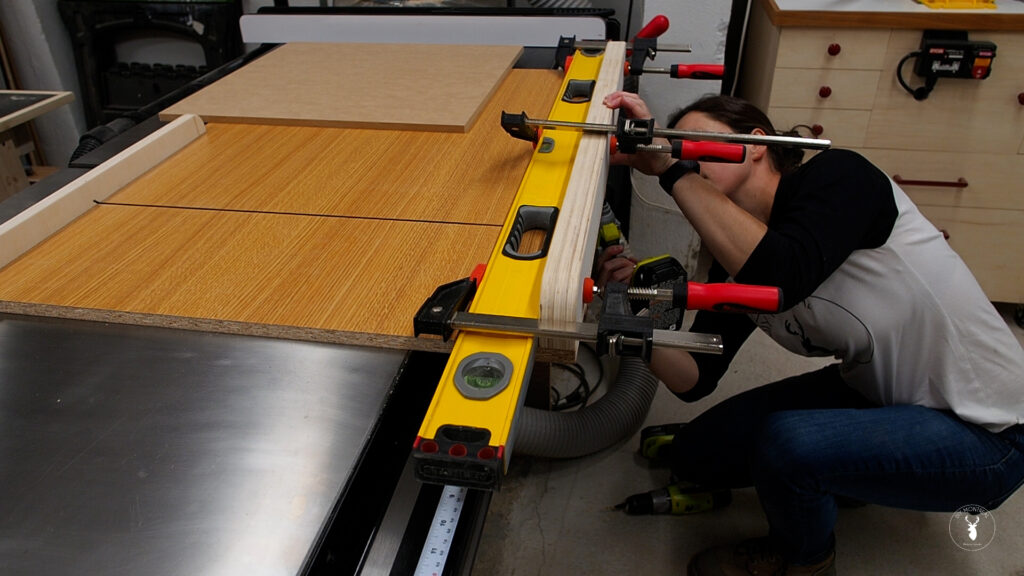
I added a single screw from underneath, then one more towards the middle, using a straightedge to make sure the fence wasn’t bowed.
Before adding any more screws, I’m going to test out the accuracy. Now there are some very precise ways to do this, like the 5 cut method, but I’m just going to cut a large panel in half, then flip over one piece and see if the seams line up, without any gaps. Making sure to butt both pieces up against the back fence, I gently push them inwards. I can see the seam lines up perfectly, so that’s good enough for me!
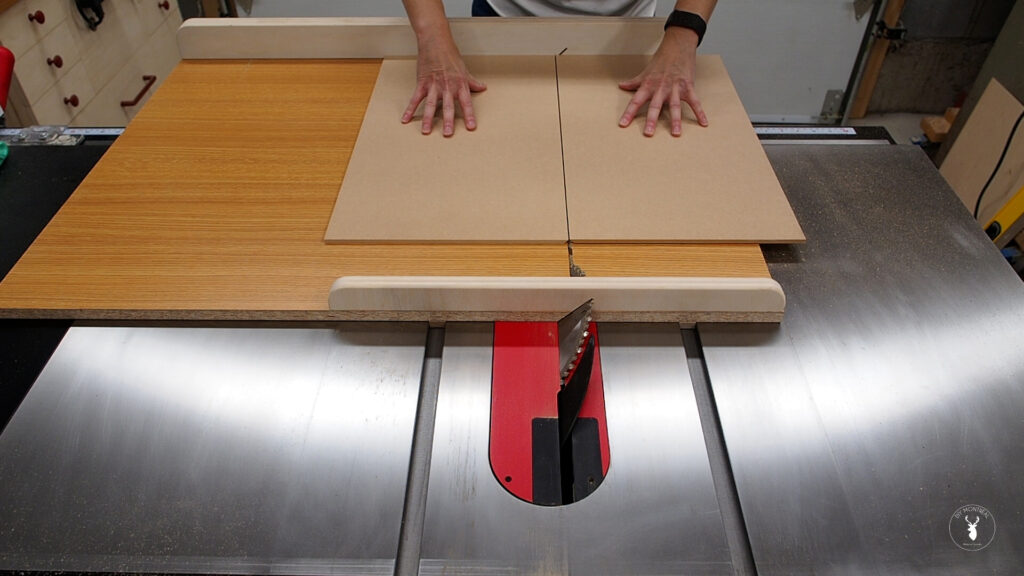
If the seams don’t line up, adjust the fence and secure it using a new screw hole and test again. If you’re lucky like I was, simply add some more screws and you’re done!
In my next video I’ll be making floating shelves using the sled so be sure to check back for that video, or subscribe to my channel to get notified when I post new videos!
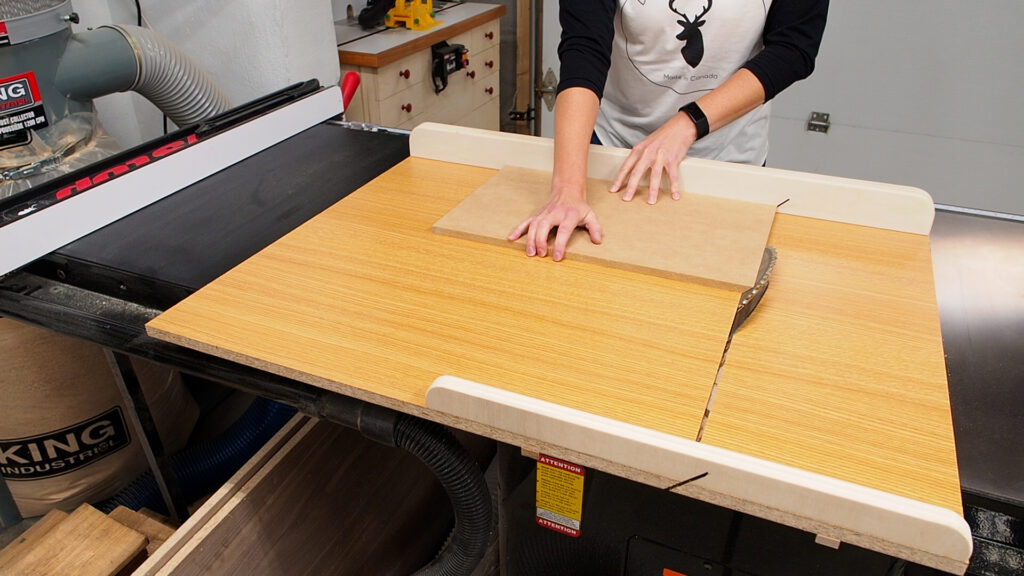
In the end, the laminated particle board turned out to be a great choice for making a sled. It slides super smoothly on the table without friction; it’s sturdy and dead flat. And my concerns about the panel sliding around when I made the cut were completely unfounded. I definitely recommend trying out laminate for your next sled!
