Most saws are made to cut straight lines, but what if you want to cut a circle? You could use a hole saw, but the size of the circle is limited, and you’ll be left with a hole in the center. In this tutorial, I’ll show you 4 ways to cut circles in wood, using homemade circle cutting jigs.

Below, I’ve included a summary of how to make each circle cutting jig, whether it be with a router, a bandsaw, a table saw, or even a jigsaw. For more details on each method, be sure to check out the YouTube video.
— WATCH — SUBSCRIBE ON YOUTUBE —
4 Homemade Circle Cutting Jigs
Method #1: Router Circle Cutting Jig
- Plunge router
- 1/4 inch plywood
- Upspiral bit
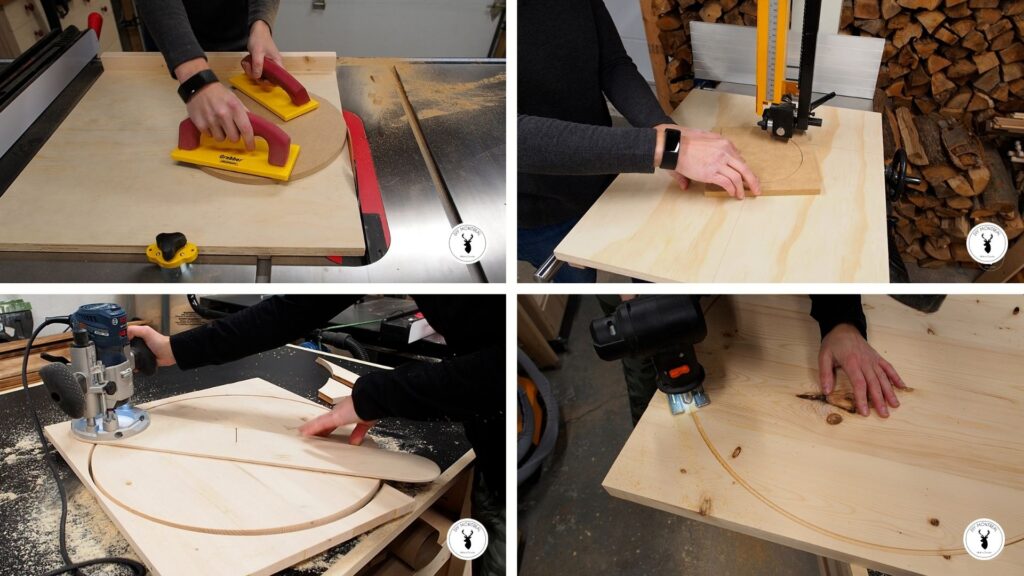
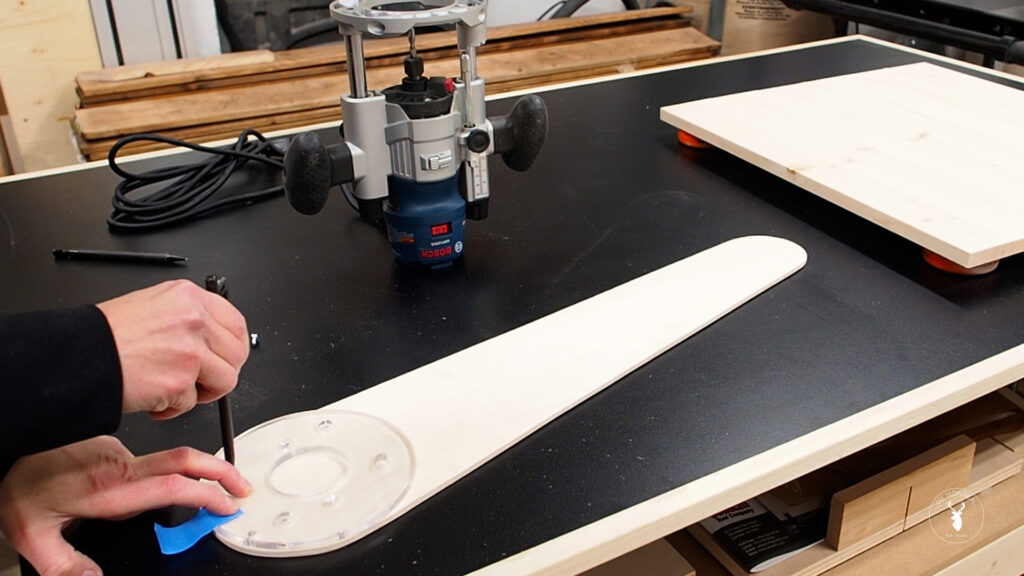
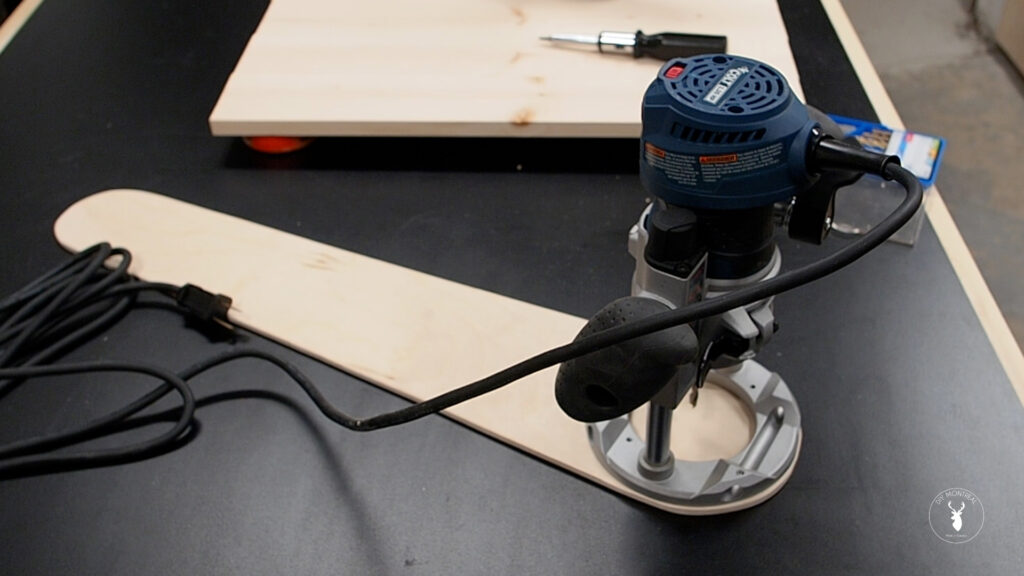
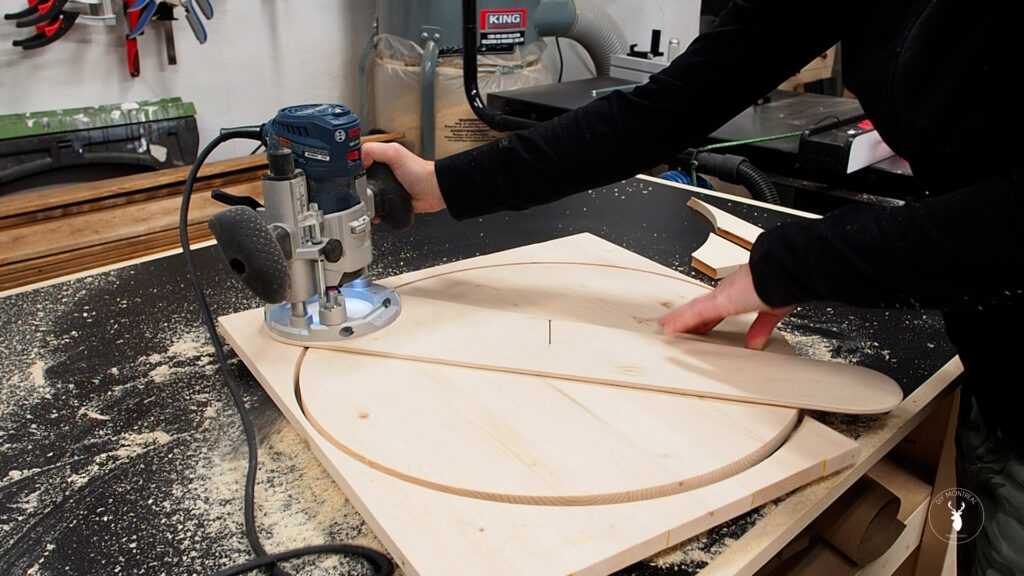
The most common way of cutting circles in wood is using a plunge router with a circle cutting jig, and it’s the method I used to make my Lazy Susan. Now, you can buy a circle jig to fit your router, like this one, or you can make one yourself out of 1/4 inch plywood. I used my bandsaw to shape it, but this step is optional.
Remove the base plate from your router and use it to trace the screw holes on one end of you strip of plywood.
Then attach the router to the plywood making sure to countersink the screw heads.
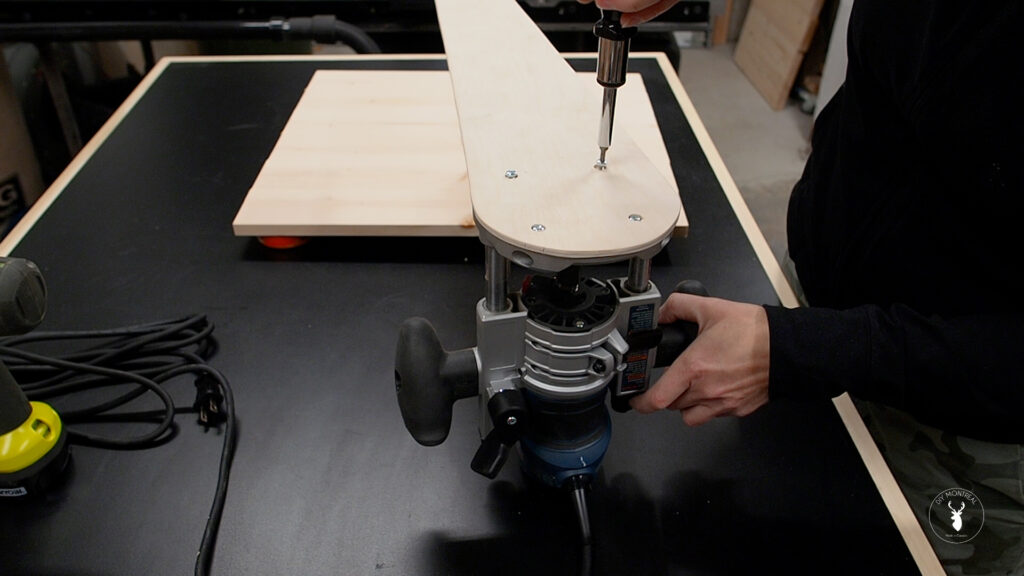
Plunge the bit through the plywood jig, then remove the jig from the router and make the hole bigger.
Using a Router Circle Cutting Jig
To use the jig, make a small pilot hole in the jig, measuring from the edge of your router’s bit. For an 18 inch diameter circle for example, make a pilot hole at 9 inches from the bit.
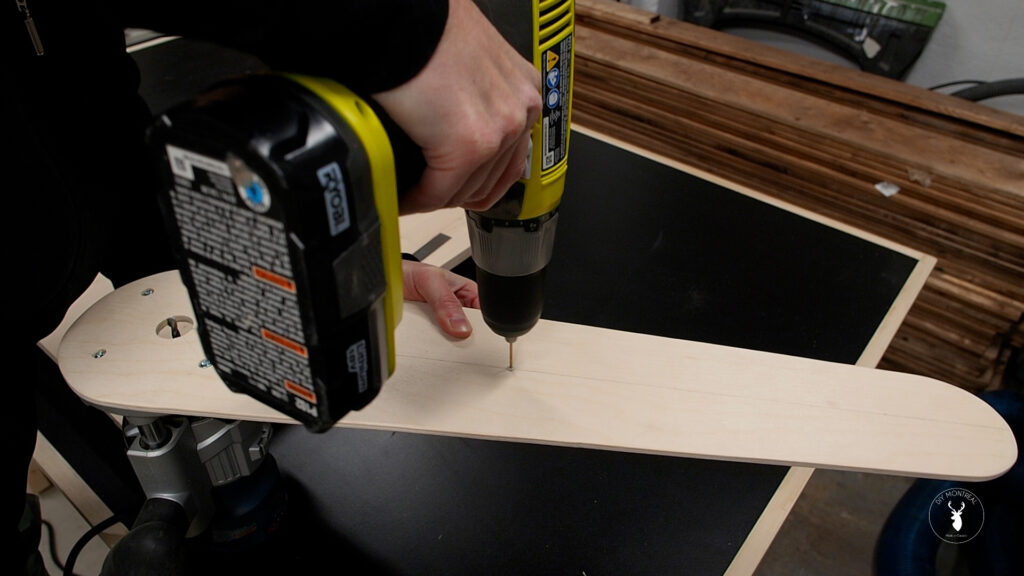
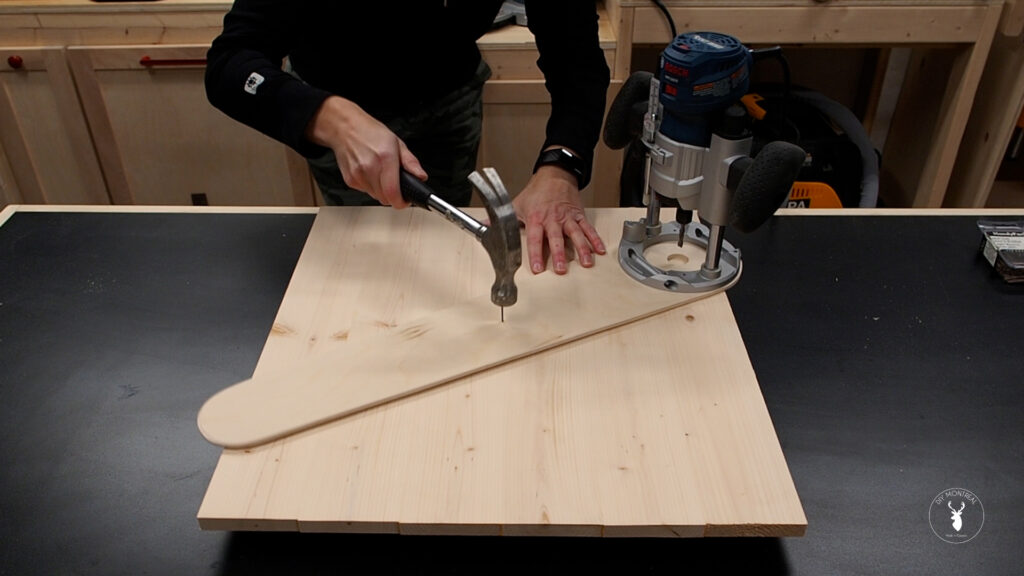
Find the center of your wood blank and drill a pilot hole, then mount the jig using a finish nail.
With an upspiral bit mounted in the router, plunge the router 1/8th of an inch and guide the router around in a clockwise direction until you’ve made on full revolution.
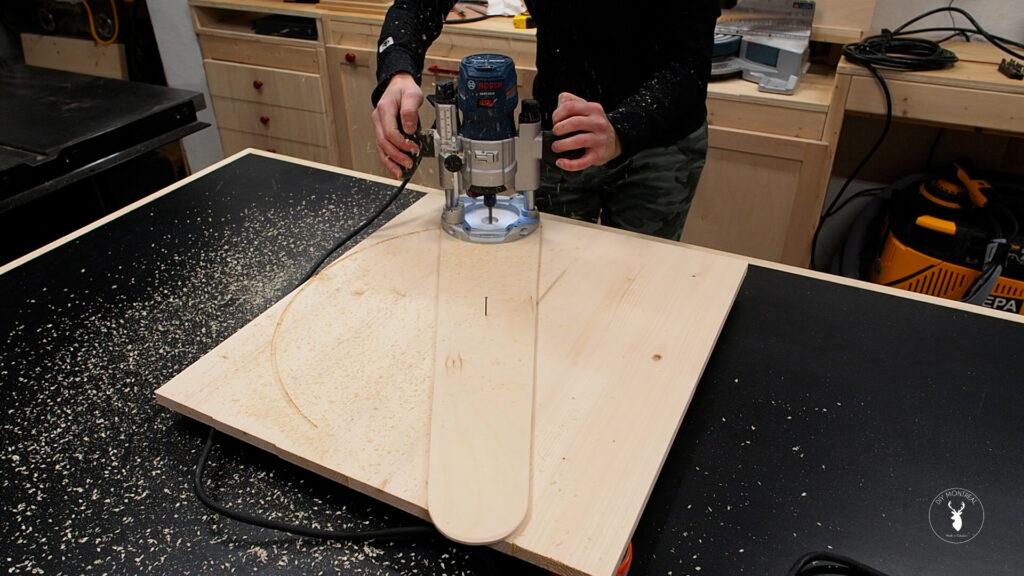
Adjust the bit to plunge 1/8th deeper and make another revolution at this depth. Continue until you make it all the way through the wood and you’re left with a perfect circle.
Method #2: Router jig + Jigsaw + Flush Trim Bit
- Plunge router
- Circle cutting jig (see above)
- Upspiral bit
- Jigsaw
- Fine cutting jigsaw blade
- Flush trim bit
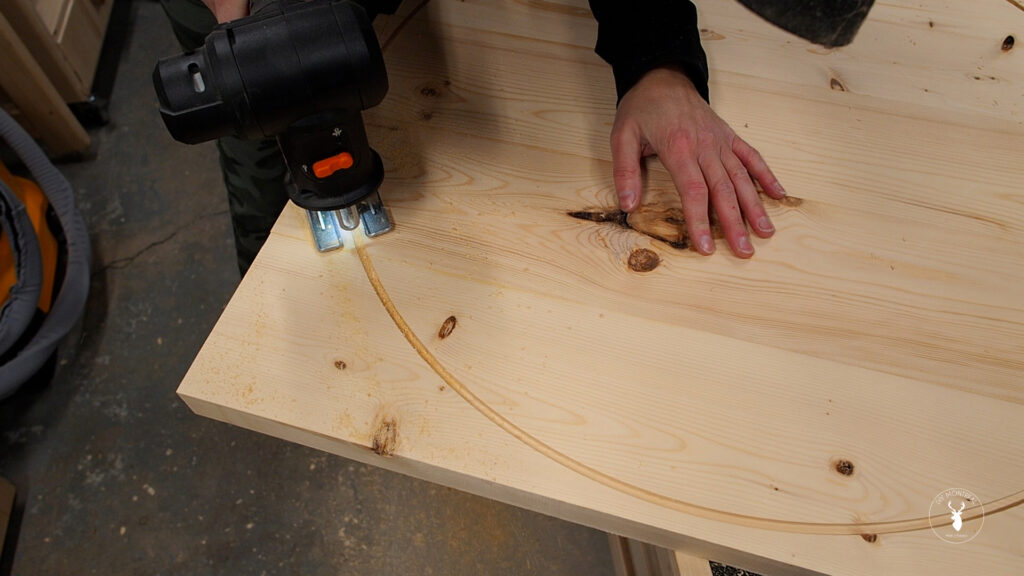
This method starts out the same as the previous using a plunge router and a circle cutting jig. Using the upsiral bit to make 2-3 revolutions, then remove the circle jig and grab your jigsaw.

Using the jigsaw free-hand, cut out the circle using the groove as a guide. Avoid getting too close to the inside edge of the groove, so that when you’re done, you’ll be left with a lip all round the circle.
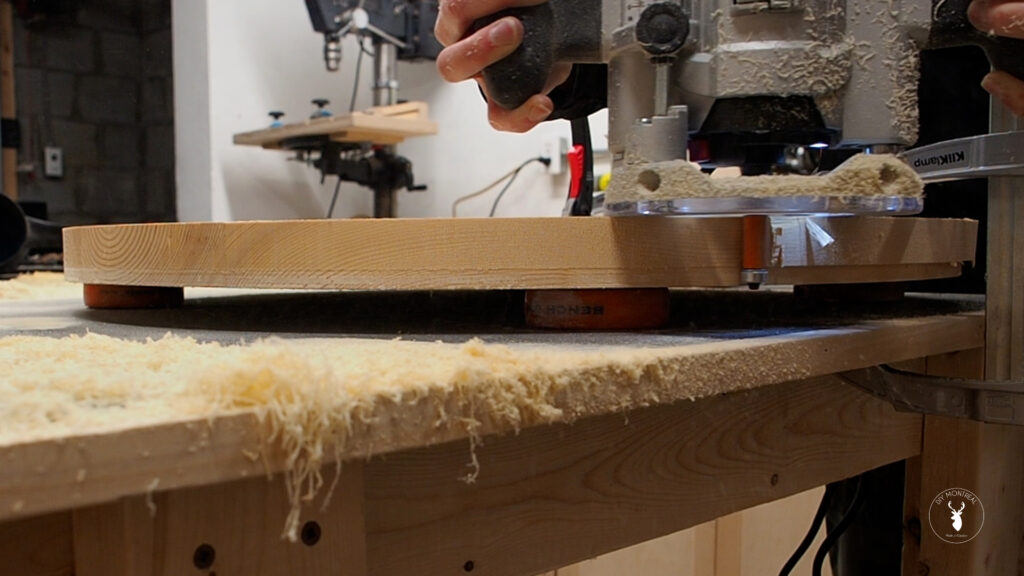
Grab your router and install a flush trim bit with a bearing. Plunge the router and line up the bearing with the clean lip previously left by the router.
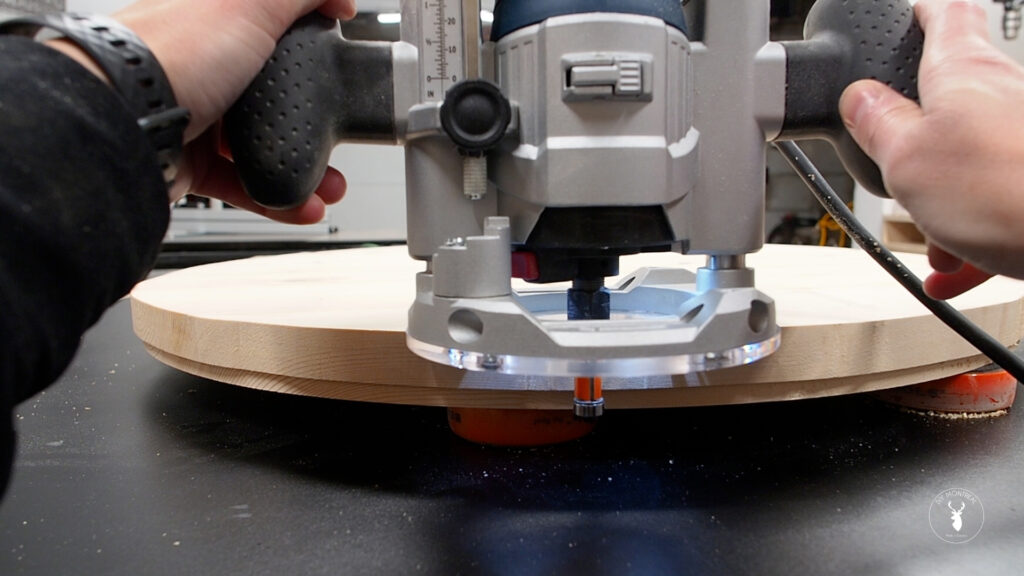
Going in a counter-clockwise direction, progressively shave off the excess wood until the bearing contacts the lip. Go all the way around the circle until you are left with a perfect circle.
Method #3: Bandsaw Circle Cutting Jig
- Bandsaw
- 1/4 inch blade
- 3/4 plywood
- Hardwood runner & stop blocks
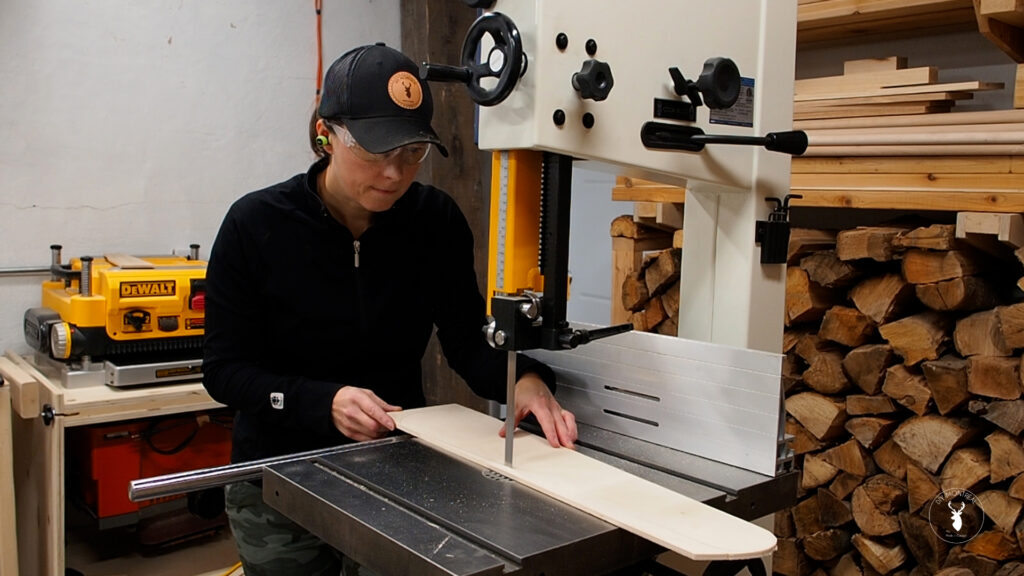
If you have a bandsaw, I highly recommend this method. Cut a runner out of hardwood to fit the bandsaw’s miter slot, and a piece of 3/4 inch plywood. Attach the runner underneath the plywood so that the plywood overhangs the bandsaw’s table on the right.
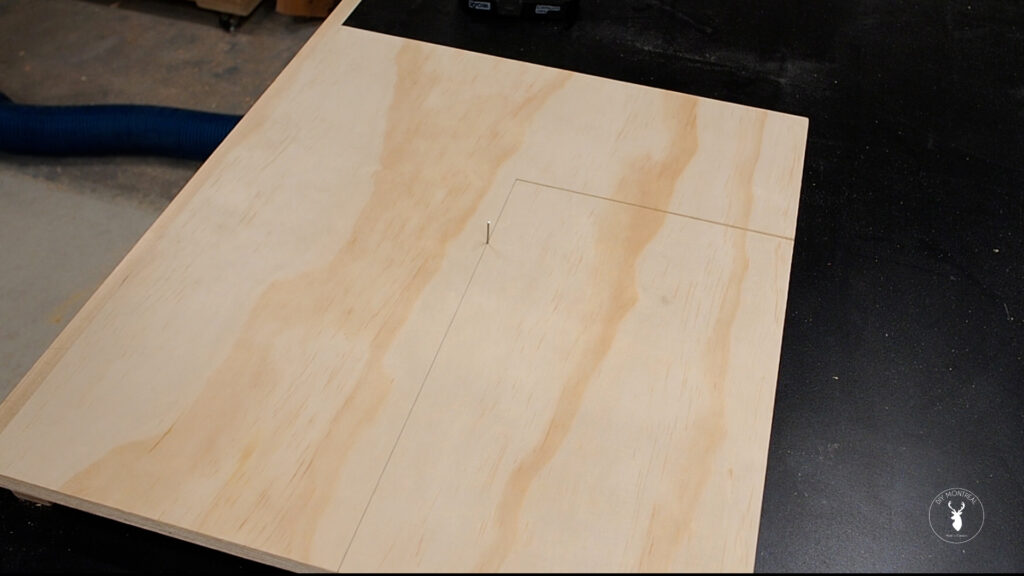
Mount the sled to the bandsaw and cut the kerf, stopping about half way through.
Then mount some stops from underneath up against the front edge of the table.

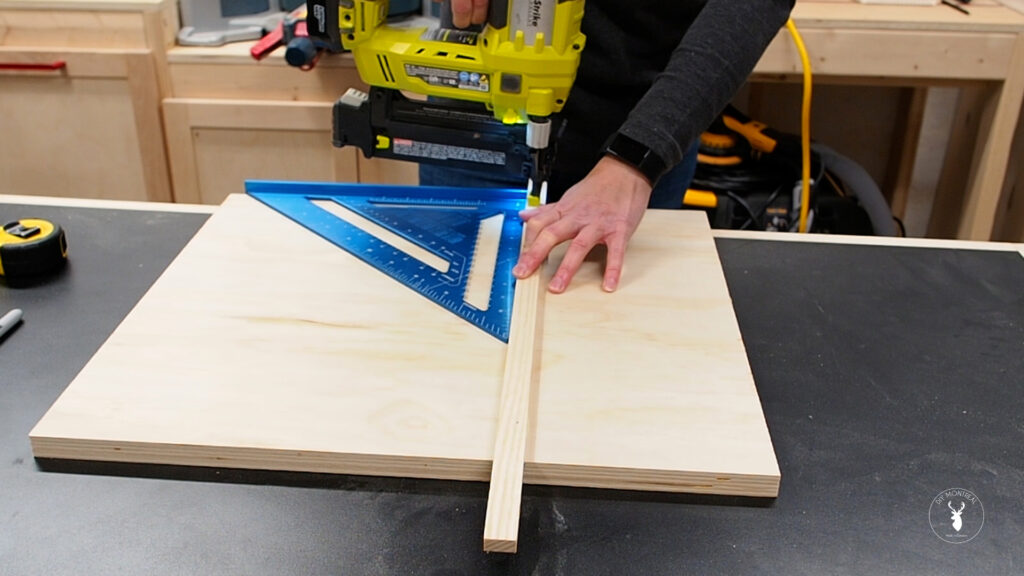
Trace a line perpendicular to the front tip of the kerf line, then drill a pilot hole on the line to match the radius of the circle you want to make. Use a finish nail with the head cut off as a pivot pin.
Using a Bandsaw Circle Cutting Jig
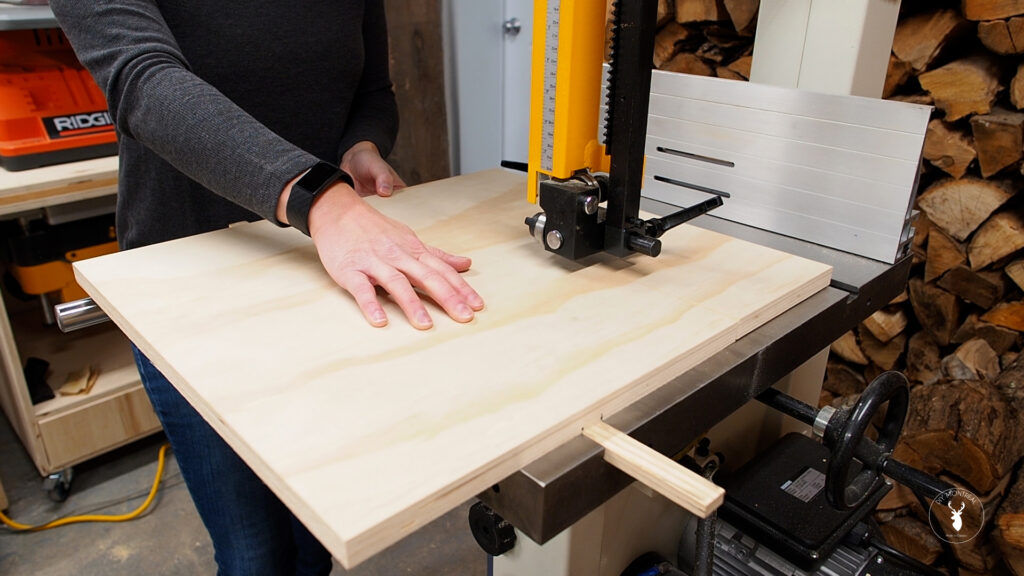
To use the jig, find the center of your wood blank and make a small pilot hole, then mount the blank to the pivot pin on the jig.
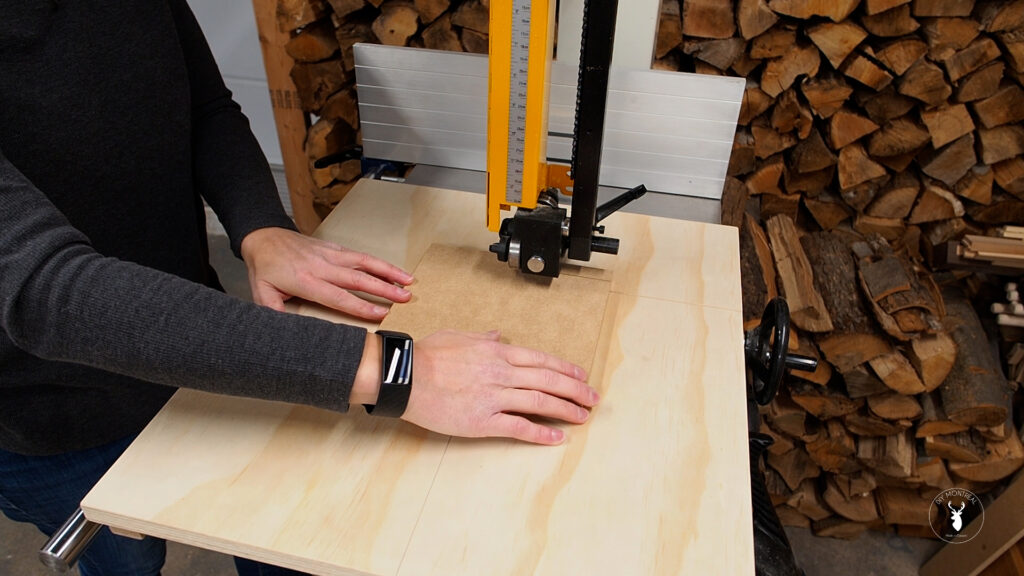
Using a 1/4 inch bandsaw blade, slide the sled forward straight, cutting into the blank, until the stops hit the table and you can’t push the jig forward any further.
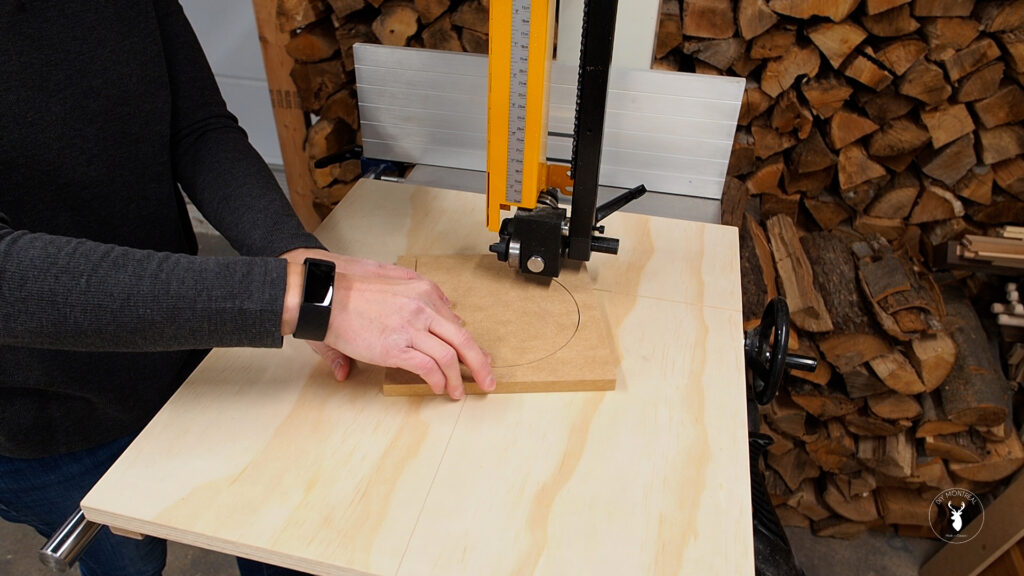
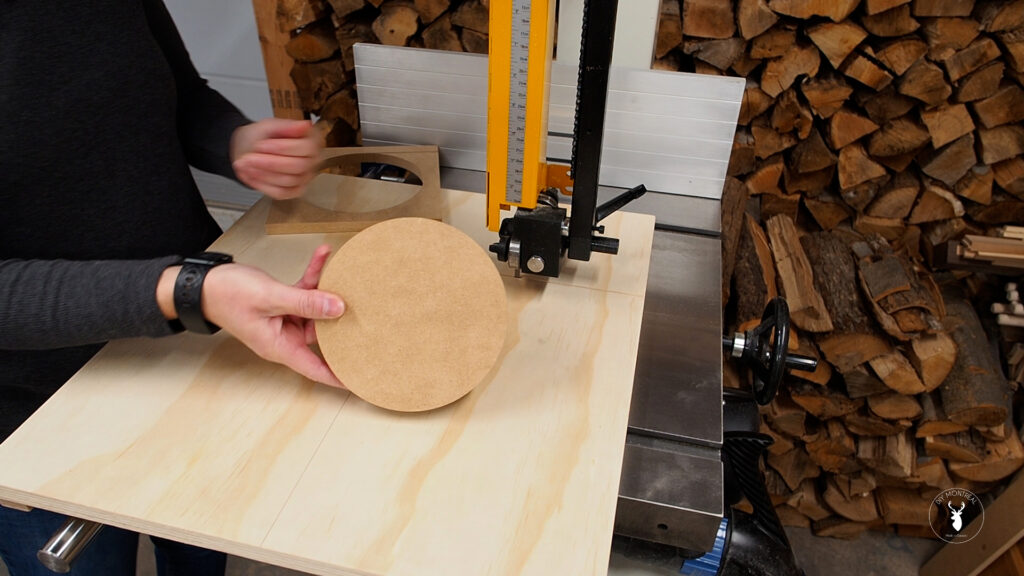
At this point, simply rotate the blank clockwise and cut the circle.
Method #4: Table Saw Circle Cutting Jig
- Table Saw
- 3/4 inch plywood
- Hardwood runner
- Magswitch
- Combination blade
The last method made me a bit nervous at first, but I just had to give it a try. Cutting circles with a table saw? Yes, it is possible.
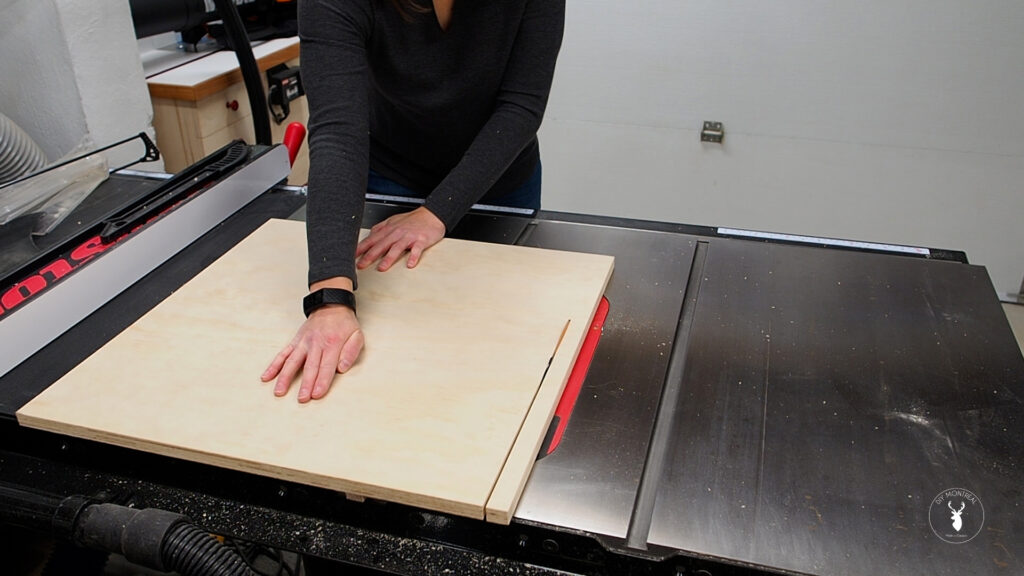
Mount a runner to a piece of 3/4 inch plywood, then run the sled through the blade to trim off the excess and create a zero clearance edge.
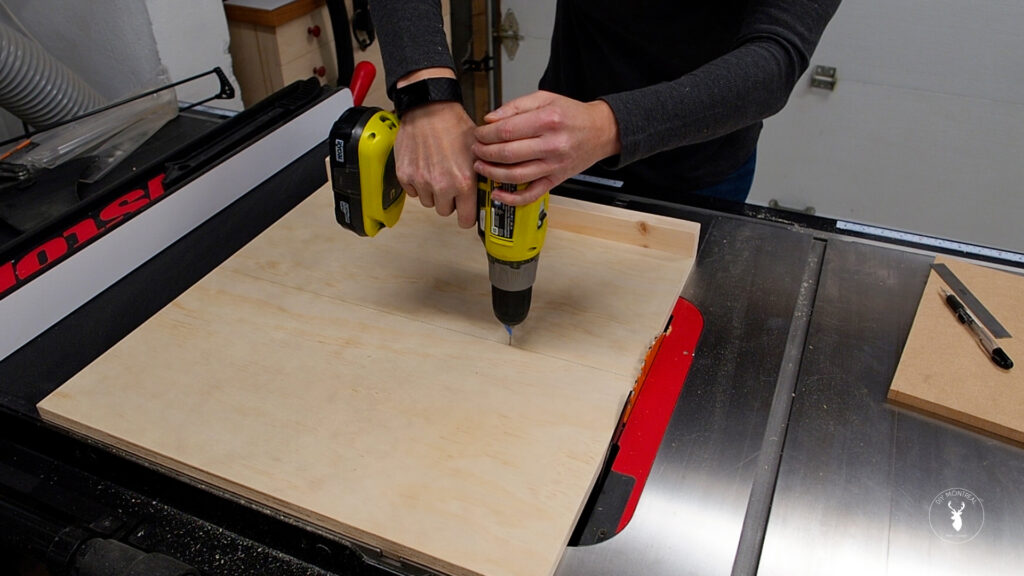
Trace a line across the sled, perpendicular to the blade, about half way front to back. On this line, drill a pilot then drill hole on the line to match the radius of the circle you want to make. Use a finish nail with the head cut off as a pivot pin.
Using the Table Saw Circle Cutting Jig
To use the jig, find the center of your wood blank and make a small pilot hole, then mount the blank to the pivot pin on the jig.
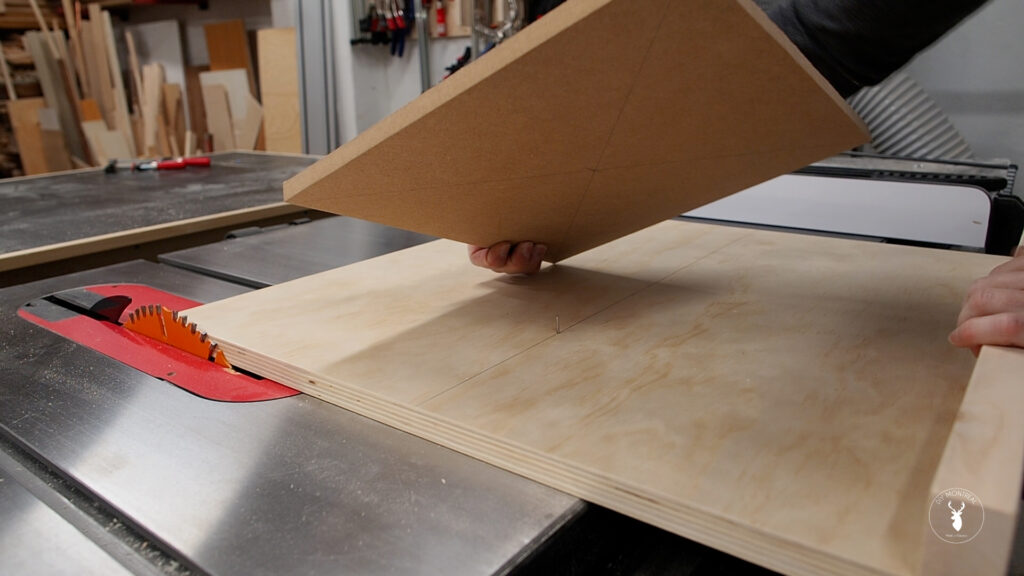
Start by slide the jig back and forth through the blade to cut off the 4 corners of the square blank.

Continue to cut off the 8 remaining tips of the blank. Then again to cut off all remining protrusions until your blank is as close to a circle as you can make it.
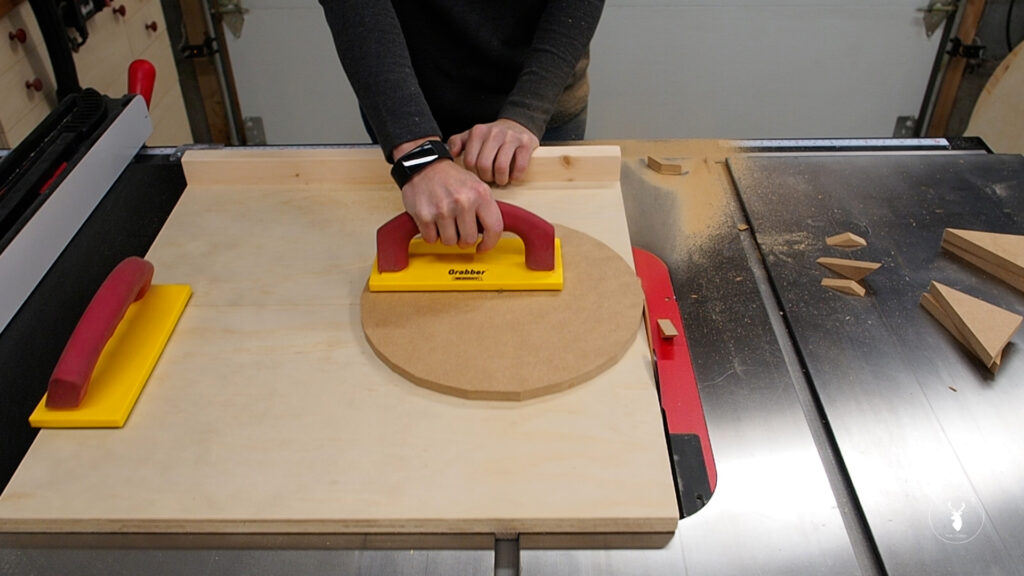
Line up the line on your jig with the front tip of you saw blade, then use a magswitch or stop to lock the jig in the position.
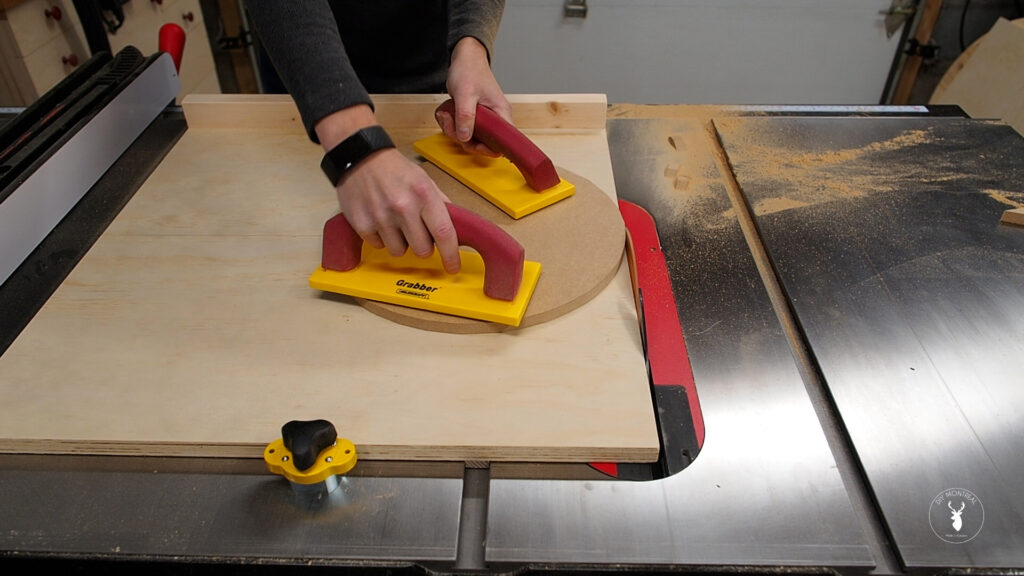
Using push pads to protect your hands, rotate the blank clockwise into the blade in order to shave and sculpt it into a perfect circle.